2004 VOLVO S80 homelink
[x] Cancel search: homelinkPage 2 of 110

Volvo Cars of North America Volvo Cars of Canada Ltd.
Customer Relations175 Gordon Baker Road
P.O. Box 914 North York, Ontario M2H 2N7
Rockleigh, New Jersey 07647-0914 800-663-8255
800-458-1552
We also invite you to visit our Home Page on the Internet at:
http://www.volvocars.com
Contents
Contents
Chapter 1 - Safety
Chapter 2 - Instruments, switches and controls
Chapter 3 - Climate control system
Chapter 4 - Interior
Chapter 5 - Keys, Locks, Alarm
Chapter 6 - Starting and driving
Chapter 7 - Wheels and tires
Chapter 8 - Maintenance/Servicing
Chapter 9 - Specifications
Chapter 10 - Audio systems
HomeLink® Universal Transceiver (option)
Index
Back Cover
© 2003 Volvo Cars of North America LLC.
General information
Shiftlock
When your car is parked, the gear selector is locked in the (P)ark position. To release the selector from this position,
turn the ignition key to position II (or start the engine), depress the brake pedal, press the button on the front side of the
gear selector and move the selector from (P)ark.
Keylock
This means that when you switch off the ignition, the gear selector must be in the (P)ark position before the key can be
removed from the ignition switch.
Anti-lock Brake System (ABS)
The ABS system in your car performs a self -diagnostic test when the vehicle first reaches the speed of approximately
12 mph (20 km/h). The brake pedal will pulsate several times and a sound may be audible from the ABS control
ProCarManuals.com
Page 87 of 110

2 0 0 4
VOLVO S80
Chapter 10 - Audio systems
pg. 137 Audio systems
HU-611 overview138
HU-801 overview139
Functions140
Specifications151
General information152
HomeLink® Universal Transceiver (option)153
NOTE: The text on the face of the radio, describing the button functions, may vary slightly depending on which audio
system you have in your car.
pg. 138 Audio system HU-611 - overview
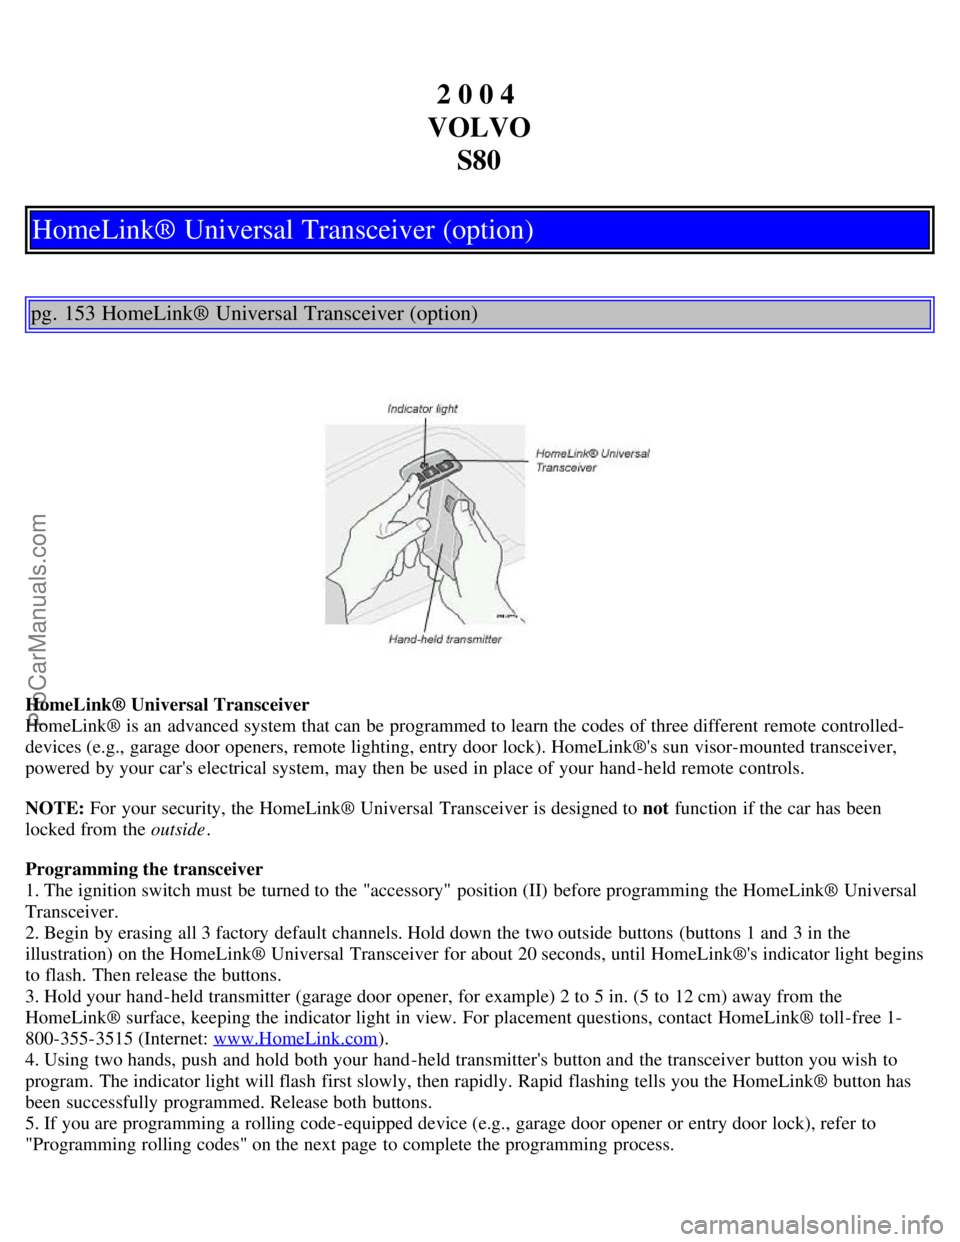
1. On/off - press
Volume - turn
2. Selector knob for:
Stored radio frequencies
CD changer - selecting disc
3. Selector knob:
Radio
ProCarManuals.com
Page 96 of 110

2 0 0 4
VOLVO S80
HomeLink® Universal Transceiver (option)
pg. 153 HomeLink® Universal Transceiver (option)
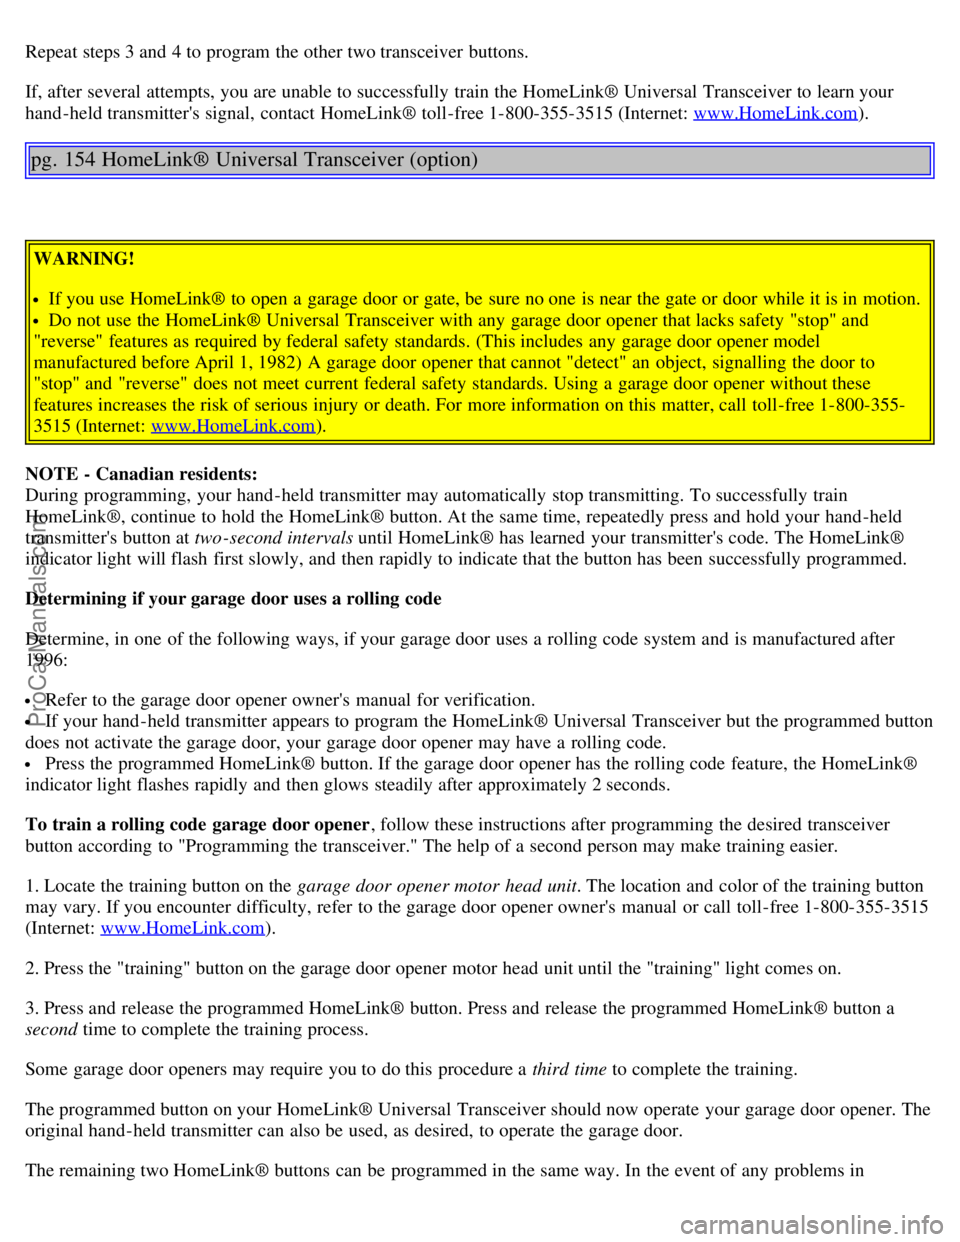
HomeLink® Universal Transceiver
HomeLink® is an advanced system that can be programmed to learn the codes of three different remote controlled-
devices (e.g., garage door openers, remote lighting, entry door lock). HomeLink®'s sun visor-mounted transceiver,
powered by your car's electrical system, may then be used in place of your hand -held remote controls.
NOTE: For your security, the HomeLink® Universal Transceiver is designed to not function if the car has been
locked from the outside .
Programming the transceiver
1. The ignition switch must be turned to the "accessory" position (II) before programming the HomeLink® Universal
Transceiver.
2. Begin by erasing all 3 factory default channels. Hold down the two outside buttons (buttons 1 and 3 in the
illustration) on the HomeLink® Universal Transceiver for about 20 seconds, until HomeLink®'s indicator light begins
to flash. Then release the buttons.
3. Hold your hand -held transmitter (garage door opener, for example) 2 to 5 in. (5 to 12 cm) away from the
HomeLink® surface, keeping the indicator light in view. For placement questions, contact HomeLink® toll-free 1-
800-355-3515 (Internet: www.HomeLink.com
).
4. Using two hands, push and hold both your hand -held transmitter's button and the transceiver button you wish to
program. The indicator light will flash first slowly, then rapidly. Rapid flashing tells you the HomeLink® button has
been successfully programmed. Release both buttons.
5. If you are programming a rolling code-equipped device (e.g., garage door opener or entry door lock), refer to
"Programming rolling codes" on the next page to complete the programming process.
ProCarManuals.com
Page 97 of 110

Repeat steps 3 and 4 to program the other two transceiver buttons.
If, after several attempts, you are unable to successfully train the HomeLink® Universal Transceiver to learn your
hand -held transmitter's signal, contact HomeLink® toll-free 1-800-355-3515 (Internet: www.HomeLink.com
).
pg. 154 HomeLink® Universal Transceiver (option)
WARNING!
If you use HomeLink® to open a garage door or gate, be sure no one is near the gate or door while it is in motion.
Do not use the HomeLink® Universal Transceiver with any garage door opener that lacks safety "stop" and
"reverse" features as required by federal safety standards. (This includes any garage door opener model
manufactured before April 1, 1982) A garage door opener that cannot "detect" an object, signalling the door to
"stop" and "reverse" does not meet current federal safety standards. Using a garage door opener without these
features increases the risk of serious injury or death. For more information on this matter, call toll-free 1-800-355-
3515 (Internet: www.HomeLink.com
).
NOTE - Canadian residents:
During programming, your hand -held transmitter may automatically stop transmitting. To successfully train
HomeLink®, continue to hold the HomeLink® button. At the same time, repeatedly press and hold your hand -held
transmitter's button at two -second intervals until HomeLink® has learned your transmitter's code. The HomeLink®
indicator light will flash first slowly, and then rapidly to indicate that the button has been successfully programmed.
Determining if your garage door uses a rolling code
Determine, in one of the following ways, if your garage door uses a rolling code system and is manufactured after
1996:
Refer to the garage door opener owner's manual for verification.
If your hand -held transmitter appears to program the HomeLink® Universal Transceiver but the programmed button
does not activate the garage door, your garage door opener may have a rolling code.
Press the programmed HomeLink® button. If the garage door opener has the rolling code feature, the HomeLink®
indicator light flashes rapidly and then glows steadily after approximately 2 seconds.
To train a rolling code garage door opener , follow these instructions after programming the desired transceiver
button according to "Programming the transceiver." The help of a second person may make training easier.
1. Locate the training button on the garage door opener motor head unit . The location and color of the training button
may vary. If you encounter difficulty, refer to the garage door opener owner's manual or call toll-free 1-800-355-3515
(Internet: www.HomeLink.com
).
2. Press the "training" button on the garage door opener motor head unit until the "training" light comes on.
3. Press and release the programmed HomeLink® button. Press and release the programmed HomeLink® button a
second time to complete the training process.
Some garage door openers may require you to do this procedure a third time to complete the training.
The programmed button on your HomeLink® Universal Transceiver should now operate your garage door opener. The
original hand -held transmitter can also be used, as desired, to operate the garage door.
The remaining two HomeLink® buttons can be programmed in the same way. In the event of any problems in
ProCarManuals.com
Page 98 of 110

programming the HomeLink® Universal Transceiver, call toll-free 1-800-355-3515 (Internet: www.HomeLink.com).
Operating the HomeLink® Universal Transceiver
Once programmed, the HomeLink® Universal Transceiver can be used in place of hand -held transmitters.
To operate, the key must be turned to the "accessory" position (II) or the engine must be running. Press the
programmed HomeLink® button to activate the garage door, driveway gate, security lighting, home security system,
etc.
Your original hand -held transmitters may, of course, be used at any time.
pg. 155 HomeLink® Universal Transceiver (option)
Erasing programmed buttons
Individual buttons cannot be erased. To erase all three programmed buttons:
1. Turn the ignition key to the "accessory" position (II).
2. Hold down the two outside buttons on the HomeLink® Universal Transceiver for about 20 seconds, until
HomeLink®'s indicator light begins to flash.
3. Release both buttons.
The HomeLink® buttons can be reprogrammed using the procedures described on the previous pages.
Reprogramming a single HomeLink® button
1. Press and hold the desired HomeLink® button. Do not release the button until step 3 has been completed.
2. When the indicator light begins to flash slowly (after approximately 20 seconds), position the hand -held transmitter
2 to 5 in. (5 to 12 cm) away from the HomeLink® surface.
3. Press and hold the hand -held transmitter button. The HomeLink® indicator light will flash first slowly, then rapidly.
When the indicator light flashes rapidly, release both buttons.
The previously programmed device has now been erased and the new device can be activated by pressing the
HomeLink® button that has just been programmed. This procedure will not affect any other programmed HomeLink®
buttons.
NOTE:
Retain the original transmitter(s) for future programming procedures (i.e., if you purchase a new car).
For your own security, erase all programmed buttons on the HomeLink® Universal Transceiver when you sell your
car.
Metallic sun protection films should not be used on any windows in a car equipped with HomeLink® Universal
Transceiver. This could interfere with the transceiver's function.
Contents | Top of Page
ProCarManuals.com
Page 102 of 110

Front courtesy lights - replacing..........112
Front fog lights..........32
Front fog lights - replacing ........109
Front reading lights..........54
Front seats - adjusting..........52
Front seats - heated..........37
Front suspension..........134
Fuel..........70, 133
Fuel filler cap..........72
Fuel filler door..........72
Fuel filler door - unlocking manually..........33
Fuel filter ..........119
Fuel gauge..........25
Fuel requirements..........70
Fuel system..........117, 119, 134
Fuel/emissions systems..........117
Fuses..........102 - 105
G
Gas cap..........72
Gasoline..........70
Gear indicator..........25
Geartronic (automatic transmission)..........76 - 77
Generator..........135
Generator warning light..........26
H
Hand brake..........38
Handling..........81
Hazard warning flashers..........37
Head restraint - center rear..........3
Head restraints, rear - folding..........29
Headlight bulbs - replacing..........106
Headlight wiper blades - replacing..........127
Headlights..........32
Heated front seats..........37
Heated rear window..........37
Heated sideview mirrors..........37
Heating..........45 - 49
Hoisting the car..........120
Home Safe System..........60
HomeLink® ........153-155
Hood - opening..........121
I
Ignition switch..........36
Immobilizer (start inhibitor)..........60,73
ProCarManuals.com