2004 VOLKSWAGEN GOLF PLUS cooling
[x] Cancel search: coolingPage 154 of 541
Never drive fa ster than mph mph -
Never try to stop the swaying by accelerating.
fir st read a nd note the imroductory informatio n and heed the on page
If the ve hicle was fac tory-equipped with a trail er
hi tch, all technical and lega l require m em s fo r
trailer towi ng have already been m et.
use a trai le r hitc h w hich is approve d for the
g ro ss wei ght rating of the trailer yo u want to tow. The hit ch mus t be s uitabl e fo r your vehicle and
tr ailer and be securely bolt ed to the ve hicle's chassis. use a trail er hitc h with a re movable ball mount. Alway s check and follow the trail er
hi tch manufacturer's information. Neve r in stall a o r tra ile r hitch on yo u r vehicle.
D o n
ot use a bumper-mounted trai le r h itch
Never insta
ll a trailer hitch on the bumper o r or on th e bumper mountings. The traile r hit ch mus t not in terfe re wit h the impact-absorbing bumper syste m . D o not make any changes to the ve hicl e exhaust and brake sys te m s. From time to time, check that all hitch m oumin g bolts are securely fas ten ed . W hen not towing. re m ove the trailer hi tch. Thi s help s ke ep the hitch from causin g damage if your ve hicl e is hit from behind.
Eng ine cooling syste m
Tow ing a tra
iler makes the e ngin e
If you arc dri ving a new ve hicle or ave-do not tow
a t railer
mil es
need
load it h as to pull.
When you are not towin g, remove the trailer
models need trail er hit ch to tow or tow -s tart other ve hicl es. may
Trailer brakes
If your trail er has its own brake s, make sure it
meet s all regulati ons. Th e trailer bmke sys te m
mu st never be directly connecte d to the ve hicle's brake system .
Safety c
hain s
A lways u
se safety chains be tween yo ur vehicle and
th e trailer.
Trail er rear lights
Tra
ile r lights must meet all regulation s.
Neve r
connect the tmil er l ights directly to the e lec
trica l s ys tem of your ve hicl e. Be su re to check wit h
your authorized Volkswagen dealer or authorized Volk swagen Faci lit y about correct w iring, sw itches and re lay s.
Outside mirrors
I f
the s ta ndard ou ts id e mirror, addition al outs ide m irrors are needed and required b y law in so me coumrie s I states I provin ces. The o uts id e
mirr o rs mus t b e adjuste d b efore driv in g and g ive good v iew to the rear.
Max im um power consump tio n f or th e trailer
D o no t excee d the power ratin gs liste d in the chart below.
E l
ectrical consumers power con-sumptio n
Taillight s
Turn signals pe r sid e 54 wat ts
Page 164 of 541
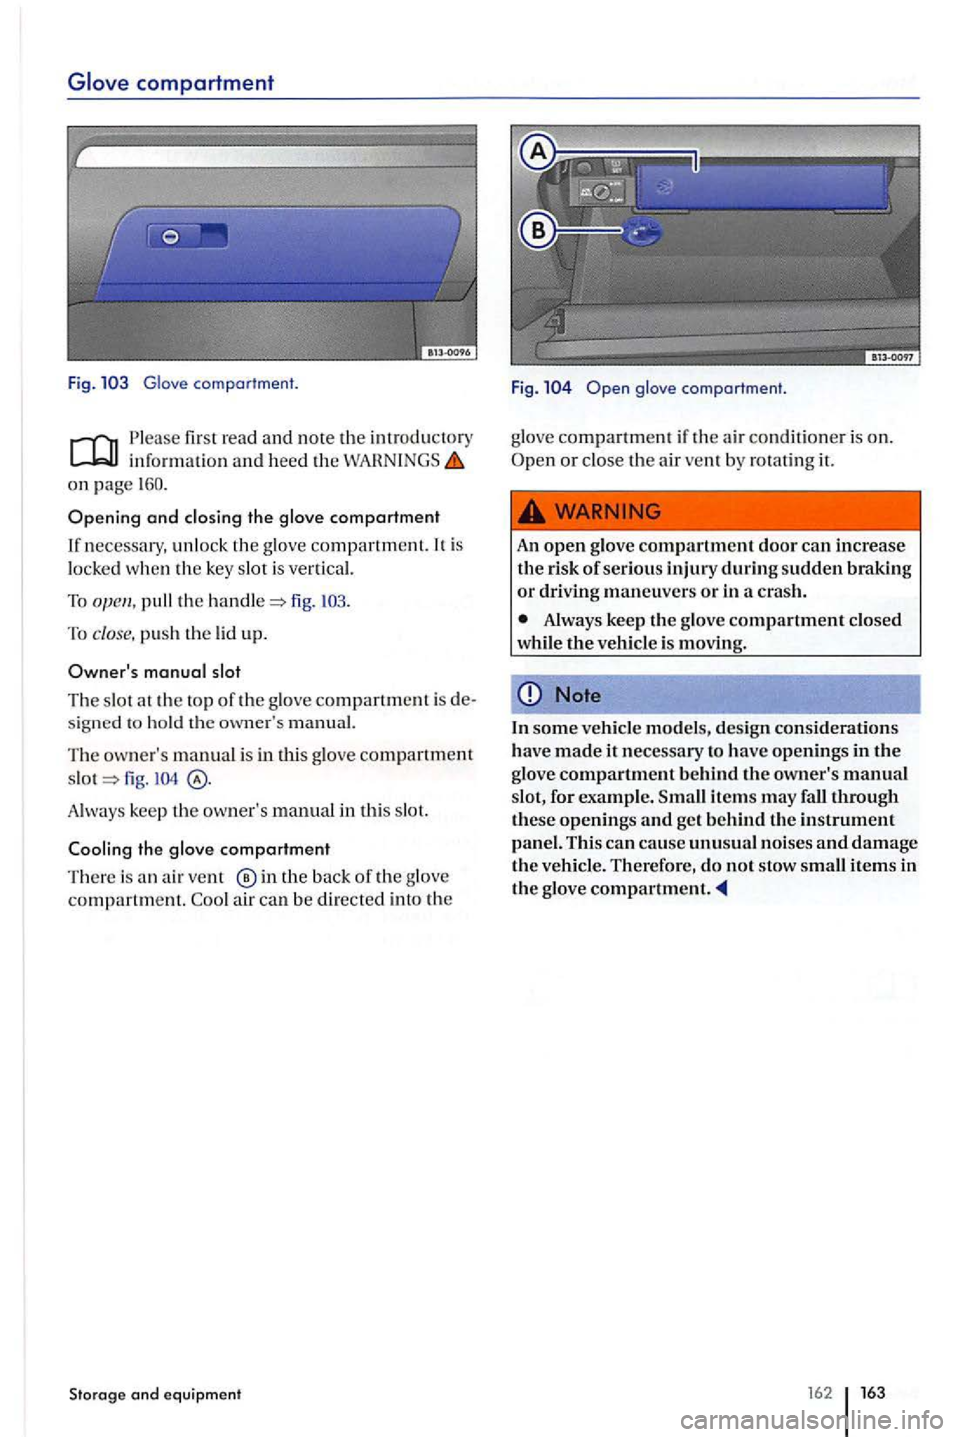
Glove comportment.
first rea d and note the introductory inf ormation and heed the on page
necessary, unlock the glove compartment. It is
l ocked when the key slot is vertical.
To fig.
To close, pus h th e lid up.
fig.
Always keep the owner's manual in thi s slot.
Cooling the glove comportment
T here is ® in the back of the g lov e compartment. air can be directed into the
Storage and equipment
Fig.
Note
In some vehicle models, design considerations
have made it necessary to hav e openings in the glove compartment behind the owner's manual
s lot , for example . Small item s may
items in the glove
162 163
Page 228 of 541
Air conditioner operation
information and heed the WAHNINGS on page 226.
The cooling syste m for the passenger compart
ment o nl y functions when the engin e is running
and the fan is switched on.
The air conditioner is most efficient when the w indows an d the power sunroof are closed. However,
if th e vehicle is sta ti o nary and the passenger compartment becomes very hot due to sunlight, opening the w indows briefly may speed up the cooling proce ss.
Keep
the a ir intake slot in front of the windshield
free of i ce, snow and lea ves in order to maintain proper funct ioning of the heating and ventilation systems.
Settings for optimal driving safety
When yo u sw itch on the cooling system, both the temperature and humidity in the vehicle are reduced. Th is will help make passengers feel more comfo rtable and prevent windows from fogging
up.
For
Sw itch off a ir page 232.
fan to Ievell or 2.
T urn the temperature knob to t he center posi
tion.
all air vents in the in strument panel page232 .
Turn the air distribution knob to the des ired settin g.
butto n to turn on the air conditioner. The indicator light illumin ate s in the button.
For
th e button.
temperature to +72
pa ge232.
Sw itching between Fahrenheit and Celsius in Cli
matronic
The t empe ratu re disp lay is switched from to Fahrenheit and vice versa in the display of the factory- in stalled radio or naviga tion system via the in strument cluster page
control
H eating
Maximum heating output and fas t defrosting will
only be possib le a fte r the e ngin e has reached operating tempe rature.
T he e ng in e is not running.
T he fan is switc hed off.
The a ir conditi one r fuse has blown.
The ambien t a ir temperature is colder than (+3
T he air condition er compresso r has been tem
porarily switched off due to excess ive engin e coolant temperature.
The re is a nother malfunction in the ve hicle.
Ha ve the ai r conditioner checked by an authorize d
Volkswage n dealer or authorized Volkswage n Ser
v ice Facility.
Special considerations
Whe n it is very hot and humid outside, water con
d ensation can drip from the air condition er evaporator and form
The air condit ioner takes a few minutes to reach the selected temperature in the passenger compartment.
Due to residual m oisture in the air condi tione r, th e windshi eld may fog up after the
engi ne is s tarted.
23 1
Page 229 of 541
Air from the air vents flow s through the e ntire passenger compartment and leaves the vehicle through air vents under the rear w ind ow.
The a ir vents s hould not be covere d by clothin g or other
Air vents
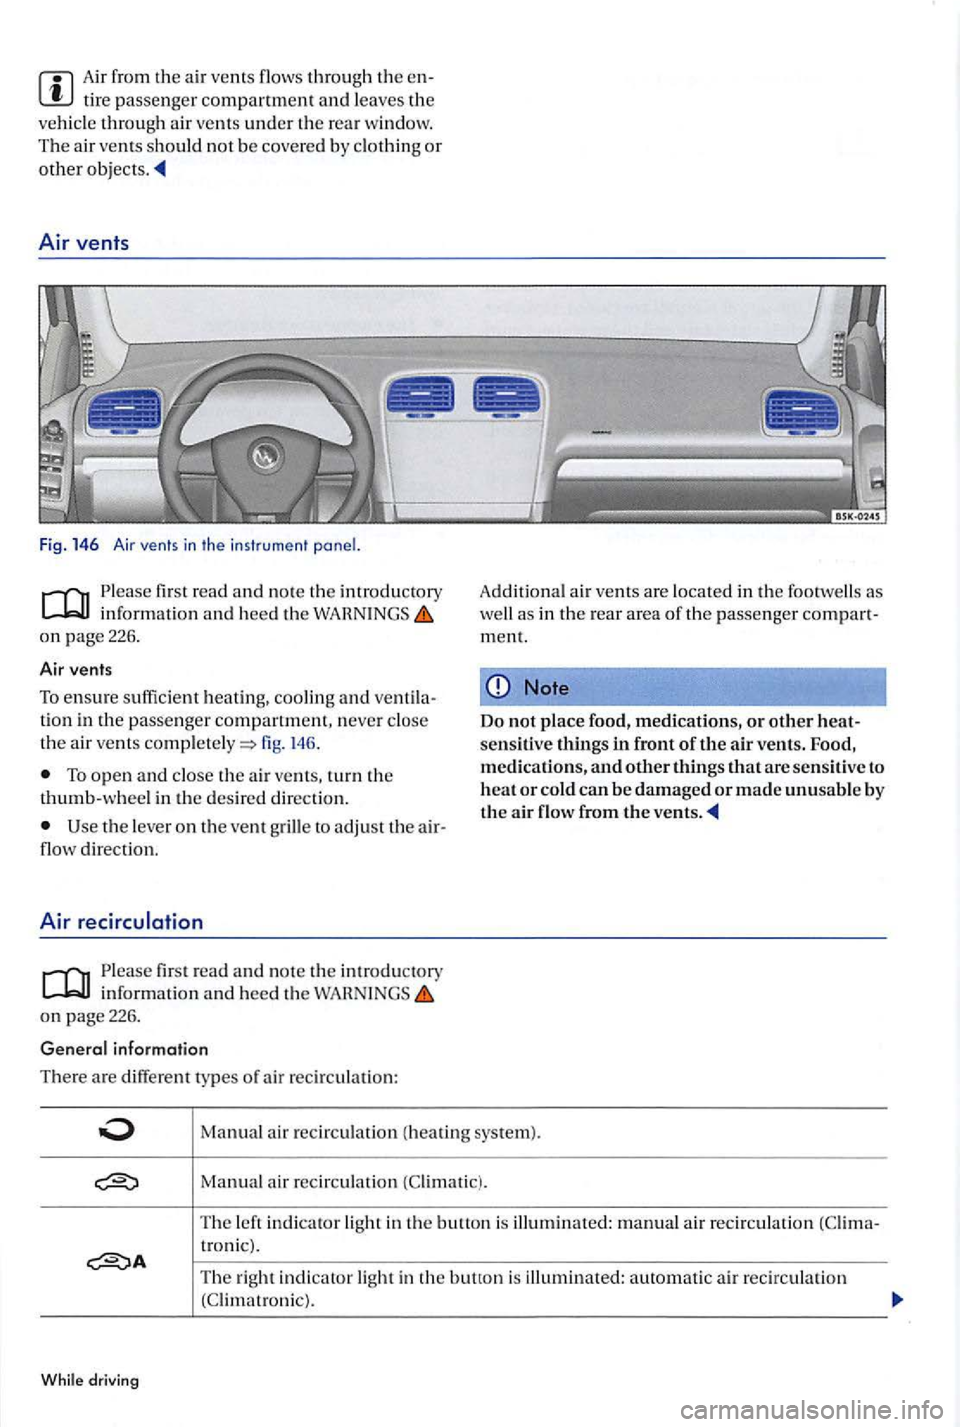
Fig. 146 Air vents in the instrument
Please fir st read and no te th e introductory informati on and heed the on page 226.
Air
vents
To e n sure s uffici ent heating, cooling and ve ntil ation in the passenger compartment, n eve r close the air vents fig. 146 .
To ope n and close the air vents. turn the thumb-wheel in the desired direction.
Use the lever on the vent grill e to adj ust the air
flo w direction.
Air recirculation
Pleas e fir st re a d and note the in trod uctory information and heed the on page 226.
General information
There are different t y p e s of air recirculati on : A
dditi onal air
vents are located in the foorwells as well as in the rear area of the passe nger compart
m ent.
Note
Do not place food, medications, or other heatsensiti ve things in front of the air vents. Food, medications, and other things that are sensitive to
heat or cold can be damaged or made unusable by the air flow from the
Ma nual air re circulati on (h eatin g sys te m ).
Manual air r e circulatio n
troni c).
Th e
right indi cato r light in the is illumin ate d : automatic air recir cul atio n
Page 230 of 541
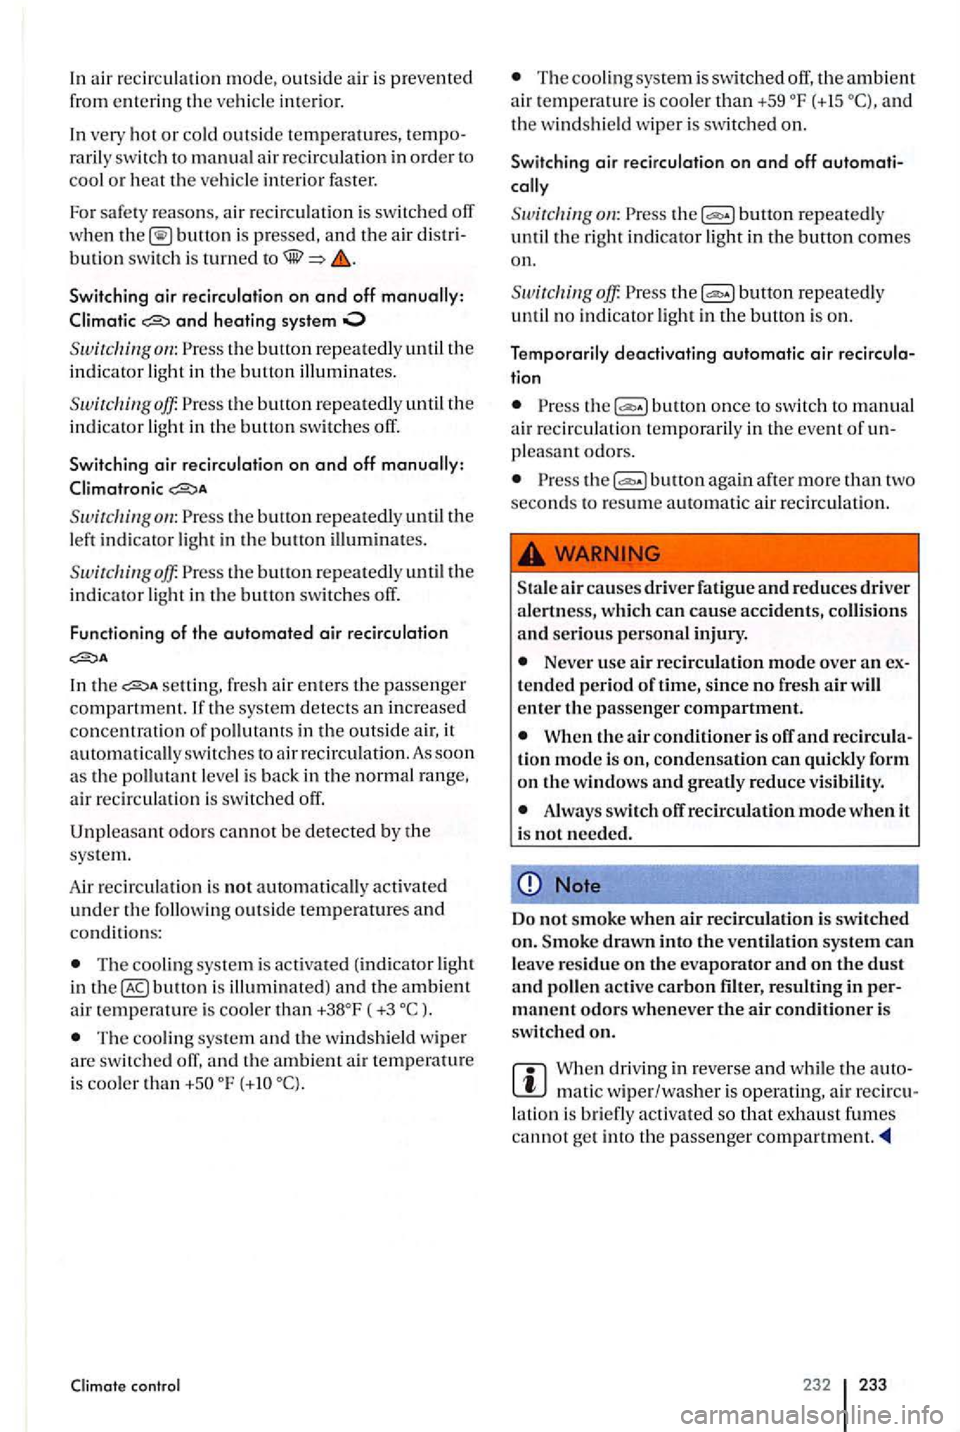
In air rec irculati on mod e, out sid e air is pre vente d
from ent
erin g the ve hicle inte rior.
In very hot or co ld out sid e t
emperature s, rarily sw itch to manual a ir recircula tion in orde r to cool o r heat th e ve hicle interior faster.
For safet y re aso ns, air recircu latio n is switch ed off when
and heating system
th e button repeated ly until the
indi cator ligh t in the button illumin ates.
the button re peatedly until the
indi cator light in the button switche s off.
Switching air recirculation on and off
the button re peatedly the left indi cato r light in the butto n iUuminates.
Swirclzin goff. the buHon repeatedly th e
i n d icato r ligh t in th e butto n swit ches off.
Functioning of the automated air recirculation
sett ing, fresh air ent ers the p assen ger compartment. If th e sys te m detects an in crease d
co ncentrat ion in the out side air, it automatically switches to air recirc ulation. As soon
a s th e po llut an t leve l is bac k in th e no rmal range,
air recirculati o n is switc h ed off .
Unpl
easa nt od ors can no t be detected by th e
sys tem.
A ir rec ir c ulati on i s n
ot automatically activated under th e followin g o utside tempe ratures and conditi ons:
The coo ling sys te m i s activa te d (indicato r light
in butt on is illum inated) an d th e ambient
air temperature is coo ler than ( +3 oc ).
The co oling sys te m and the w in dshie ld wipe r
are switc h ed off, and the ambien t a ir temperature
i s coo le r th an
Th e cooling sys te m i s switched th e am bient
a ir temperature is c oole r th a n +59 and
th e w indshi eld wip er is switched on.
Switching air recircu lation on and off
button repeatedly
until the rig ht ind icator light in th e button co mes on.
off. button re peate dl y
u ntil no indicat or light in the button is on.
Temporarily deactivating automatic air
butt on once to switch to m anual
a ir recirculatio n t emporarily in the event of
buH on aga in afte r more than two
seco nds to resume auto matic ai r recir cul atio n.
air ca uses driver fatigue and reduces dri ver
a lertness, which can cause accidents, collisions and serious personal injury.
Neve r use air recirculation mode over an tende d p eriod of lime, since no fre sh air will
e nt er the passen ge r compartment.
When the air conditioner is off and tion mode is condensat ion can quickly form on th e w indows and greatly reduce visibility.
Alwa ys sw itc h off recirculation mode when it
i s not needed.
Note
Do not smoke w hen air re circulation is switc hed draw n into the ventilation syste m can le ave residue on tl1e evaporator and on the dust and poll en acti ve carbon filter , resulting in mane nt odors wheneve r the air conditioner is switched
W hen driv in g in reverse and w hil e th e mati c wipe r/washer is op erating, air latio n is bri efly act ivate d so exh au st fumes canno t ge t into th e passenger
232 233
Page 253 of 541
-Turn the cap slowly and ve ry ca re full y in a
counte r- clo ckwise dir ect.ion whil e appl yin g light downwa rd pressure o n the top of th e cap.
-
Always prot ect your face, h ands, an d a rms
f ro m hot escaping co olant o r steam b y ering the ca p with a la rge, thick ra g.
Never spill fluid s on th e e ng in e o r exhaust
sys te m when refi lling . fluid s ont o ho t
p ar ts of the e ng ine or exhaust syste m can cause a fire. some conditio ns, the eth yle ne
g lycol in en gin e cool an t catc h fir e.
Note
di still ed wa te r onl y when adding coo lant! All othe r types of wa te r contain ch e m ica l pounds that can ca use exte nsive cor rosio n
damag e to the e ngin e. Th is can eve n lead to
ri zed Volkswa ge n deale r or an authorize d to have th e coo lant sys te m
d rai ned , flu sh ed , and refille d compl ete ly w ith the
p ro per co olant.
m aintenance
Note (co ntinue d !
Refill eng in e cool ant only up to th e to p edge o f the m arke d fill range=> p age 255, fig. 154 . Excess
e ng in e coolan t m ay be forced out of th e e ng in e
co olin g sys te m when it ge ts ho t and cau se
d am age.
engi ne coo lant o nl y wh en the e ng in e is coole d Sig n ifica nt engin e cool ant loss is a s ig n of leak s in the cooling sys te m. Have
th e e ng in e coo ling syste m ch ecke d immedi ate ly
b y a n authorize d Volkswage n deale r or an ri ze d Volkswage n
When ch an gin g o r top pin g off ope ratin g
fluid s, make sure tha t yo u pour the fluid s int o th e
correc t reservoi rs. ma lfunctio n s and gine da m age can result if yo u p ou r operating fluid s int o the wro ng
Page 325 of 541
covers
In thi s sect io n you'll find in formation on the low ing:
Hubcap . . . . . . . . . . . . . . . . . . . . . . . . . . . . . . . . . . . 328
Wheel cover . . . . . . . . . . . . . . . . . . . . . . . . . . . . . . . 329
Wheel cops . . . . . . . . . . . . . . . . . . . . . . . . . . . 329
More information:
Exterior care and page 262
Vehicle too l page 326
a page
Tire mobility page 336
Hubcap
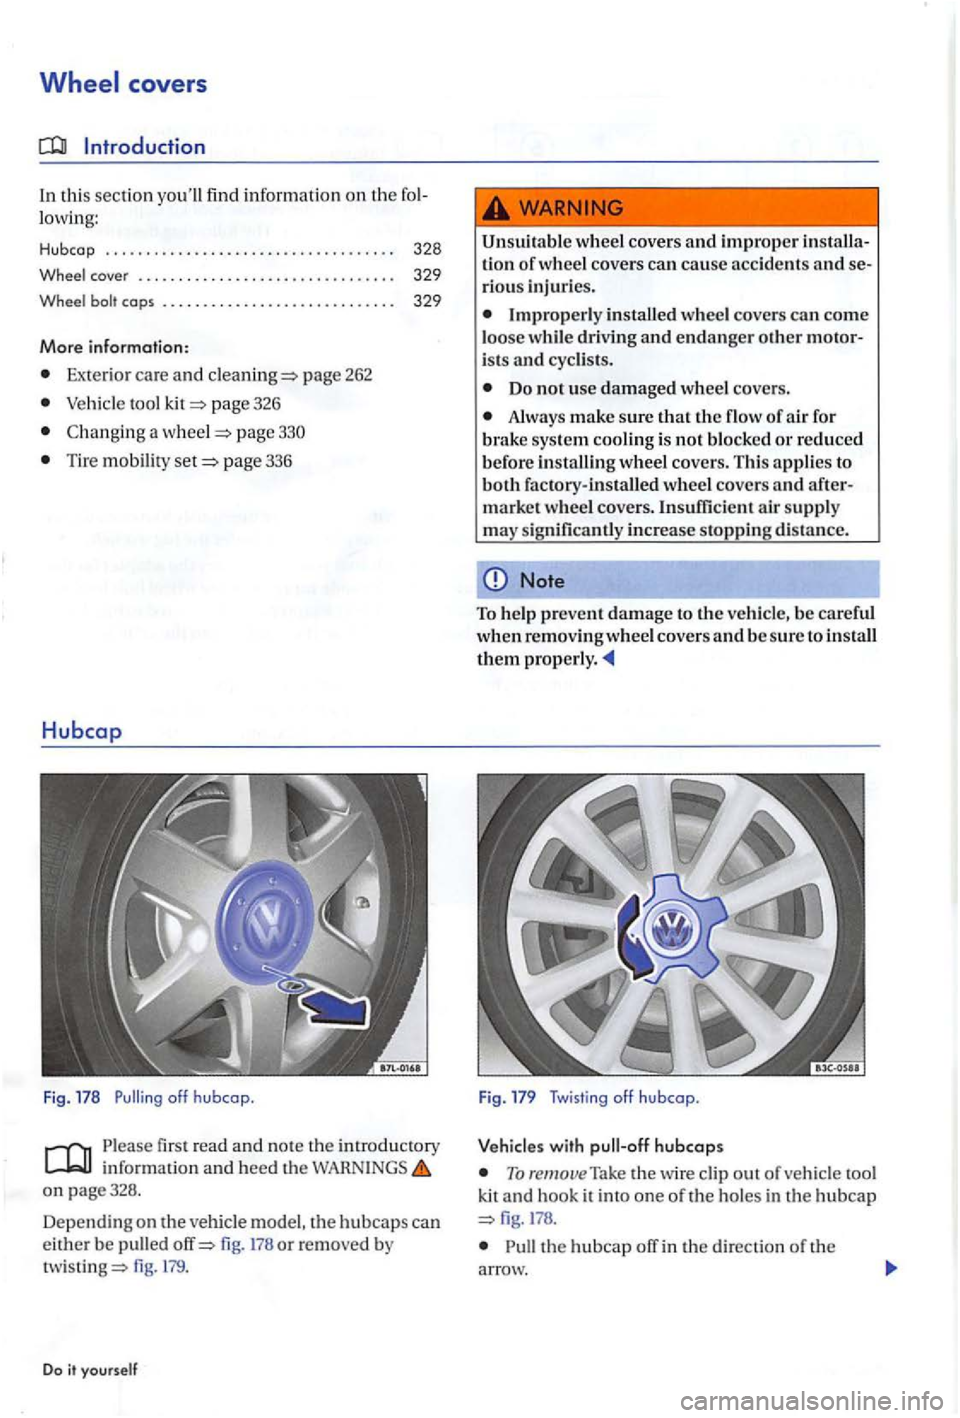
Fig. 178 off hubcap.
Please first read and note th e introductory information and heed the on page328 .
D ependin g on t
he vehicle mode l, th e hubcaps can
e ith er b e pulled fig. 178 or removed by fig. 179.
D o it yourself
Un suitabl e wheel cover s and improp er ti on or w hee l cov ers can cause accid ent s a nd
Improperl y in stall ed w hee l cove rs can come
l o ose w hil e driving and endan ger other
Do no t use d am aged wheel cove rs.
Alw ays m ake s ure that the flow of air for
brak e sys te m cooling is not block ed or r educe d
b e for e in stalling wheel co vers . Thi s appli es to
b o th
factory-in sta ll ed wh eel co vers and mark et w heel c o ve rs . In suffi cient a ir suppl y
m ay sig nifi cantly increa se sto ppin g di sta n ce.
Note
To help prevent damage to th e ve hicle , be ca re ful
wh en r em ov ing wheel co ve rs and b e sure to in stall the m prop erl y.
Fig . 179 Twis ting off h ubcap.
with hubcaps
To remove Take th e wire clip out ve hicl e tool kit and hook it int o one of the ho les in t h e hubca p
Pull the hubcap off in the dir ection of th e
arrow.