2004 VOLKSWAGEN GOLF PLUS horn
[x] Cancel search: hornPage 10 of 541
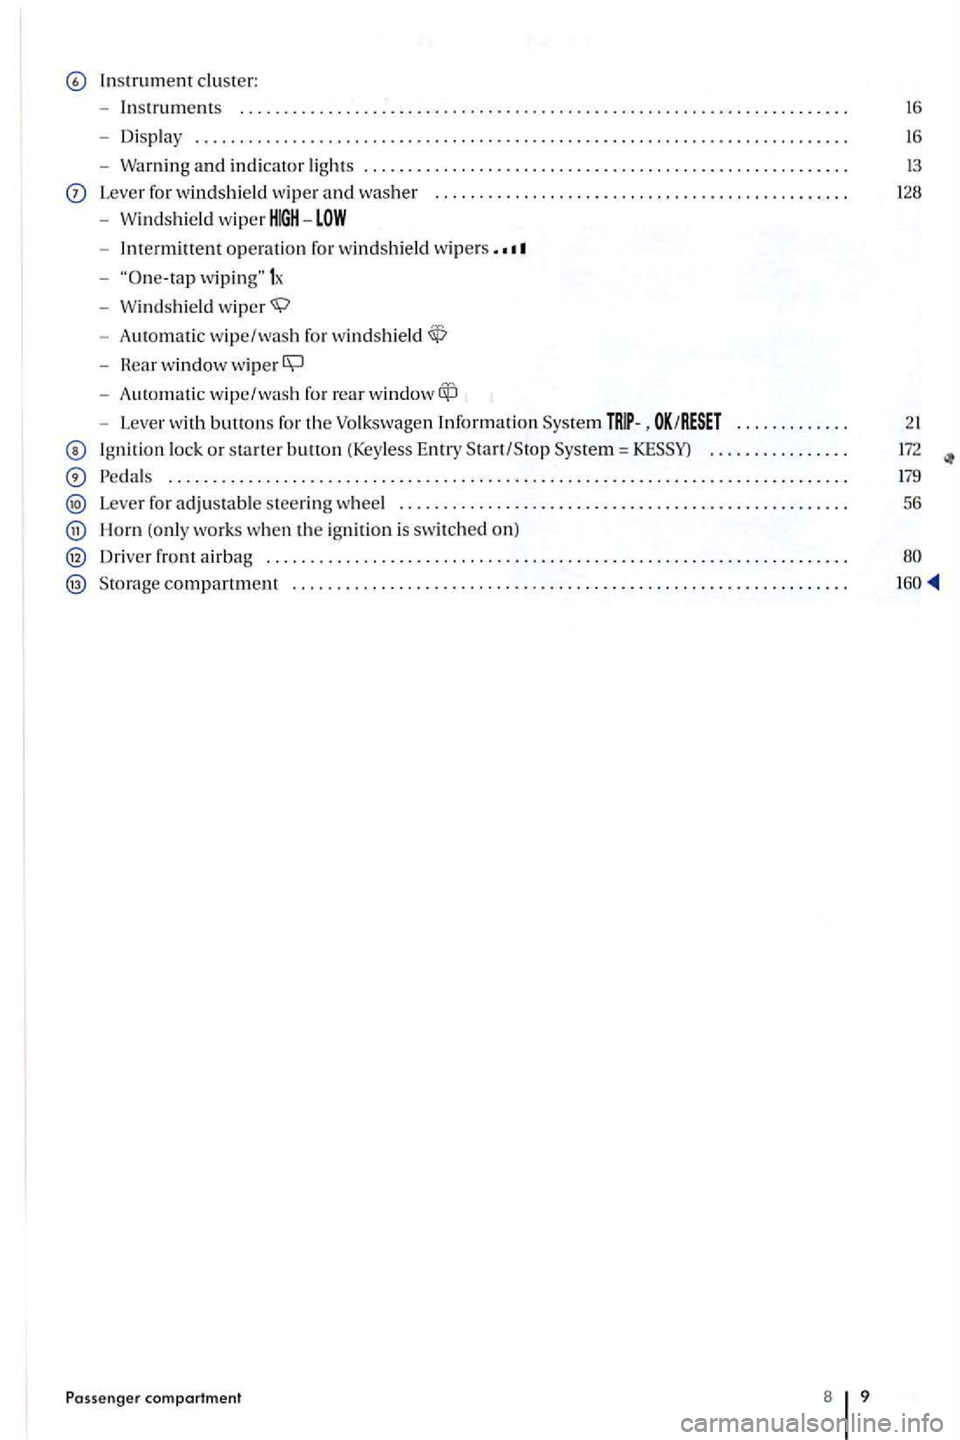
Instrument cluster:
- Instr
uments .................................. o o o............ 16
- Disp lay ............................ o o 16
-Warning and in dicator lig hts ............... ..... o o o ... 13
Lever for windshi eld wip er and washer ........ o o
-Imermittent o pe rat ion for windshi eld wip ers .
-wiping" 1x
- W
indshield
- Rear window wip er
- Aut om ati c wipe/wash rea r
-Lever with buttons for the Volkswagen Information
Ignit ion lock or starter butto n (Keyless Ent ry .............
..... ........................................................ .......
Lever for adjustable s teering wheel ........................... o o
Horn (o nl y work s w hen the ign ition is sw itched o n)
Driver front airbag ............................... ........... o o o
o o
Pa ssenger compartment 8 9
172
179
56
Page 36 of 541
Folding the key bit in or out
Press ing page 34, fig. releases the
k ey bit.
To
fold th e key bit
this button in emergencies! After pushin g th e button, the horn will sound and the turn signal s will the button aga in to
sw itch off the panic fe ature.
Replacement keys
The ve hicl e id entifi cation number is required to
ge t a replacement k ey or an additiona l vehicle key.
No more th an eight ve hicl e keys , w hi ch have been
cut. coded and syn chroni zed can be used with your ve hicle .
E a c h n
ew key contains a microchip and must be coded w ith the data from the ve hicle's electroni c immobilizer. A key will not work if it does not co n
t a in a mi crochip o r co ntains a chip that is not coded, even if the key bit was cut co rrectly.
You can obtain additional or duplicate remote co ntrol keys from authorize d Volkswagen dealers,
authorize d Volkswage n Service Facilities and from certain indep end ent repai r facilities and locksmiths which are qualifi ed to make these remote control keys.
Eac h key must be programmed to wo rk with your pag e 37.
key
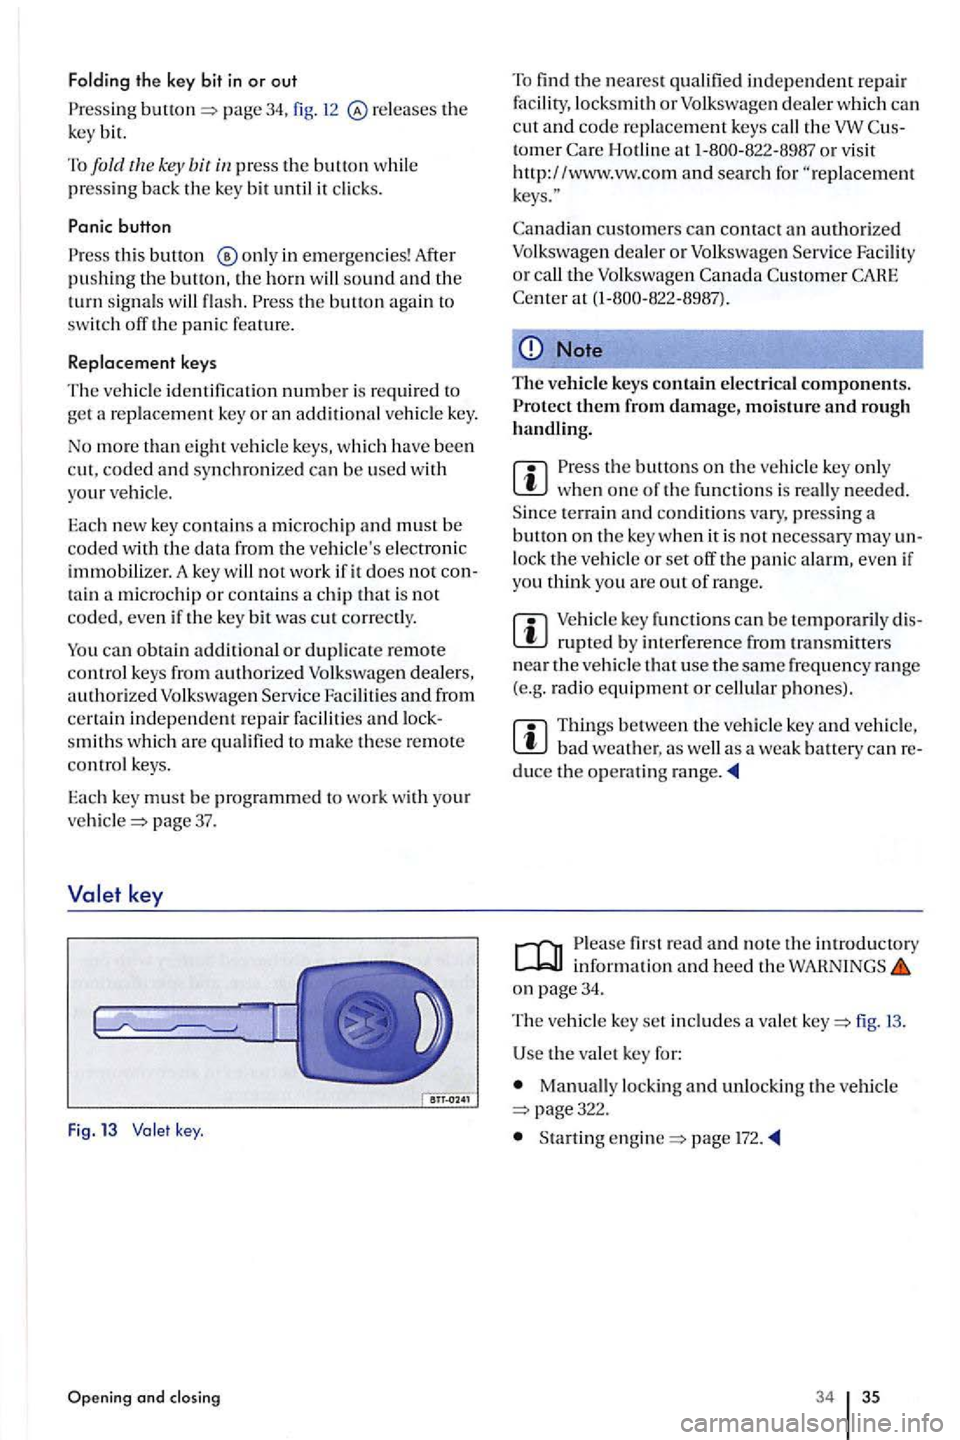
Fig . 13 key .
Opening and closing
To find the nearest qualifi ed ind ep endent repair fac ility, locksmith or Volkswag en d eal er w hi ch ca n
c ut and co de re placement keys call the tomer H otlin e at
cu stomers can contact an authorized Volkswagen dea ler or Volksw age n Serv ice Facility or call the Volk swage n
Note
The vehicle keys contain electrica l components.
the buttons on the ve hicl e key onl y when one of th e fun ctions is re all y needed .
S ince terrain and condition s vary , pressing a button on the key whe n it is not ne cess ary may un
l ock the vehicle or set off the panic alarm, eve n if
yo u think yo u are out of rang e.
m key fun ctions can be te mporaril y dis
bad weather. as well as a weak battery can reduce the operating range.
fir st read and note the introductory information and heed the WAHNINGS on page 34.
The ve hicl e key set includes a valet fig.
U se the va le t key for:
Manually locking and unlock ing the v ehicle page322.
Startin g page l72.
34 35
Page 82 of 541
Have repairs and vehicle modification s
rized Volkswagen dealers and authorized swagen Facilities have the required
tool s, dia gnostic equipment, repair tion, and trained personnel.
Never permit salvaged or recycled airbags to be installed in your veh icle.
Never modify any components of the airbag syste m.
During activation of the
The fine dust can irritate the skin and eye muco us membranes and cause breathing lems for people who suffer from asthma or other breathin g conditions. To reduce th e risk of breathing probl em s, those with asthma o r o th er
r es piratory
Be careful no t t o ge t the dust into your eyes or
into any c uts or sc ratches.
Using so lve nts or other improper cleaning
u cts containing so lvents w ill ch ange the ti es of the plastic s and may cause plastic parts to break and fly around when the airbag deploys in a crash, causin g injury.
Never usc so lven ts or cleaners on th e
s teering wheel horn pad or on the instrument pan el b eca use they ca n damage the airbag cover or change the s tiffness or strength of the rial so that the airba g cannot deploy and protect properly. When cleaning the horn pad a n d strument panel, use onl y a soft, dry cloth or a
cloth moistened w ith plain water.
Please first read and note th e introductory informatio n and heed the WARN INGS on
Be sure to read the important inform ation and th e for important detail s about child ren
and Adva nce d Airbags
in you r ve hicl e has
been ce rtifi ed to comply wit h th e requirement s of the Unit ed Federal Moto r Vehicle as well a s Motor Vehicl e as a pplicabl e
at the time your vehicle was manufactured. co rding to req uirement s, th e front Advance d
A ir bag on th e passeng er side h as been tified for for infant s of about 12
months old and you nger and for risk for ch ildren aged 3 to 6 yea rs old {as defined
in the stand ard ).
Even th ough your vehicl e is equipp ed w ith an vance d Air bag mak e ce rtain that all dre n, es pecially 12 years and younge r, a lways ride
o n th e back seat properly restra ined for their a ge
Sitting properly and safely
and size. The airb ag on the front passenge r side m ak es the fron t seat a potentially dangerou s pla ce for a child ride. Th e front seat is no t th e sa fest
p lace for a child in a fo rward -faci ng chil d seat. is
a very dangerous place for an in fant or a child in a
r earward-fac ing sea t.
is in an improp erl y in stall ed for ward-faci ng
child res traint, or
in an y rearward- facing child restraint
will
be se riously injur ed and can be kill ed.
Eve n though your vehicl e is equipped with an Advance d Air bag make certain that aU children, especia lly years and you nger,
a lwa ys rid e o n the back seat properly restrained
for their age and s ize.
Always properly install reanvard-facing child seats or infant carriers and forward -faci ng c hild
s eats on the rear seat-even with an Advanced
81
Page 93 of 541

Always make sure nothing is in the front airbag deploym ent zone that could be struck by the airbag when it inflates.
Never hold things or on your lap when the vehicle is in use.
Never place accesso ries or other objects
(such as cup holders, tel ephone brackets, note pads, navigation systems, or things that are large, heavy, or bulky) on the doors; never attach them to the doors or the windshield; never place th em over or near or attach them to the area marked
fig. 59 or 91, fig.
Never attach objects to the windshield above the passenger front airbag, such as accessory navigation units or music player s.
Never recline th e front passenger seat to transport objects. can also move into the deployment area of the side airbags or the front airbag during breaking or in a sudden maneuver. near th e a irbags can fly dangerously through the pass enger compartment and cause injury, particularly when the seat is reclined and the airbags inflate.
Always make sure that there is nothing on the front passe nger seat that will cause the weightsensing mat in the scat to signal to theAirbag that the scat is occupied by a person when it i s not, or to signal that it is occupied by someone who is heav ie r than the person actually
sitting on th e sca t. The weight of th e object could cause the passenger front airbag to be turned on when it should be off, or could cause the airbag to work in a way that is differ ent from the way it
would have worked without the added weight.
Alwa ys make sure that nothing is on the front passenger seat when the backrest is folded
forward. Even light objec ts could be pushed into the seat cu shi on and cause th e weight-sensing mat in the seat to re gister enough weight to turn the airbag on.
Never usc solvents or cleaners on the steering wheel horn pad or instrument panel, because they can damage the
Before driving
airbag cover or change the stiffne ss or strength of the material so that the airbag cannot deploy and protect properly. When cleaning the hom pad and instrumen t p anel, use only a soft, dry cloth or a cloth moist en ed
with plain water.
A front seat passenger, especially an infant or small child, will be seriously injured and could
eve n be killed if he or she is
Although the Advanced Airbag has been designed to switch off when an infant or child is on the front passenger seat in a child seat that was used during the certification
process for the Advanced Airbag no one can guarantee with absolute certainty that the airbag never deploy under these particular conditions in all conceivable situations for the duration of the vehicle 's use.
For their own safety, all children, especially those 12 years and younger, mus t always sit on the back seat, properly restrained for their age and size.
Facility. A lit indicator light means the airbag may not work properly if
activated in a crash.
Page 271 of 541
on page
Cleaning storage compartments and cup ho lders
Some storage compartmen ts and cup h old ers
have a remov able rubber inse rt at the bottom.
Mo is ten a clea n, lint -free cloth with water and
clean th e pa rt s.
If thi s is not then use a special vent -free care an d clea ning produ ct d es igned for plastics.
Cleaning the ashtray
Re mo ve and empty th e ashtray.
Wipe clean with a paper towel.
Use a toothpick or s imilar objec t to remove ash res idu e fr o m the ex tingui sh er
Care and
read an d no te the introdu ctory information and heed the on page
Mo is te n clea n, lint -free cloth with water and
clean the part s.
Clea n on/ywith a
so lvent-fr ee care an d clea ning product that is cifically desig ned for pla stics and approve d
Clean wood trim with mild soap solution.
Core, cleaning, maintenance
Usin g solven ts or o ther improper cleaning
Never usc solve nts or cleaners on the steerin g wheel horn pad or on the in strument panel b eca use they ca n damage the airbag cover or change the rial so that th e airbag cannot deploy and protect
properly. When cleaning the horn pad and strument panel, u se only a soft, dry cloth or a
cloth moistened with plain
Page 357 of 541
Driving tips towing
Please fir st read and note the introd uctory in form ation and heed the on p age357.
Tow
ing r equires som e ex perience, especiall y w hen
u sin g a tow rop e. Both drivers mus t be familiar
w ith the techniques required f or towin g.
paved roa d, there is always a risk of overloading and damaging th e a ttachment points.
your ve hicl e is bein g towe d, it can still sign al turns eve n if the em erge ncy flashers are activate d , as lo n g as the ig nit ion is switched on. the turn sig nal in the no rm al way. The e merge ncy flashers
go off as l ong as th e tu rn sig nal is blin kin g. As soon as the turn sig nal lever returns to its ne u tr a l tio n . the e merge ncy flash e rs are auto matically tiv ated agai n.
The driver of the vehicl e towed:
your vehicle is the on e being towed, the ti on switch m ust b e swit ch ed on to keep the
Do it yourself
s teeri ng wheel from loc king. Also m ake sure that the turn signal s, horn , winds hi eld wip ers, and w indshi eld was he rs wo rk properly.
power steering does not wo rk w hen th e
e ngi ne is swi tc h e d off, more e ffort is needed t o
s teer th e ve hicl e.
the brak e booster also does no t w ork when the engin e is s topped, you will need t o press harder o n the brak e ped al to slo wdown or stop. Do not hit the towing vehicl e.
Head and heed the inform ation and in the tow in g ve hicle's owners m anu al.
The driver of the towing vehicle:
Accele rat e g raduall y and gentl y a nd avoid
jerking move men ts. Do no t s teer s h arply.
Brake earli er and m ore ge ntl y than in normal driving.
Head and heed the informatio n and in the owner's m anual of the ve hicl e bein g
tow ed
Page 365 of 541
Garage door opener
De leti ng programming . . . . . . . . . . . . . . . 54
. . . . . . . . . . . . . . . . . . . . . . . . . . . 55
. . . . . . . . . . . . . . . . . . . . . . . 54
Synchronizing . . . . . . . . . . . . . . . . . . . . . . . 54
Gasoline . . . . . . . . . . . . . . . . . . . . . . . . . . . . . . 239
F u el
............................... 239
Grades ............................. 239
Generator. . . . . . . . . . . . . . . . . . . . . . . . . . . . . 258
Gettin g re ady
........................... 28
Glasse s storage compartment. . . . . . . . . . . . 16 1
Light ................................ 125
See storage compart ment s ............ 163
Gross vehicle weig
ht ....................
H
Head restraints ....................... 61, 62
Headlig
ht r a n ge adjustment ............. 125
D ynamic headli ght range adjustment .. 125
Fully automated leve lin g sys tem ....... 125
Headlight range control sw itch . . . . . . . . . . . 8
Headlights Washe r sys t
em .......................
Heated seats . . . . . . . . . . . . . . . . . . . . . . . . . . . 65
Heating sys tem
Also see: Air conditioning. . . . . . . . . . . . 226
. . . . . . . . . . . . . . . . . . . . . . . . . . . 228
High
beam s witch ...................... 122
Hill Hold . . . . . . . . . . . . . . . . . . . . . . . . . . . . . .
Horn . . . . . . . . . . . . . . . . . . . . . . . . . . . . . . . . . . . 9
Ic e
removal . . . . . . . . . . . . . . . . . . . . . . . . . . . 265
Id
ent ifica tio n number ................... 3 1
Igniti
on See engine and ign ition ............... 172
Ignition keys see Vehi cle key s. . . . . . . . . . . . . . . . . . . . . . 34
Ignition swit ch ......................... 174
Safety int erlock . . . . . . . . . . . . . . . . . . . . . . 175 Unauthorized vehicle key ............. 174
Immobilizer ............................ 178
Malf
unc tion . . . . . . . . . . . . . . . . . . . . . . . . . 172
Import ant vehicle la bel s ................. 31
Alphabetical index
In an em erg ency.......................
In emergency
Breakdown . . . . . . . . . . . . . . . . . . . . . . . . .
. . . . . . . . . . . . . . . . . . . . . . . . . .
Em ergenc y . . . . . . . . . . . . . . . . .
yoursel f and the ve hicl e . . .
Indicator ligh t
Brake
pad i ndica tor ............. 189
Brake syste m ........................ 189
e n g in e o il leve l ............. 247
S te ering column lock. . . . . . . . . . . . . . . .
Vehicle key.. . . . . . . . . . . . . . . . . . . . . . . . . 36
Windshield wash e r
leve l ......... 128
Indicator light s
L ig ht s
............................... 121
Indirect ve ntil ation.................... 232
Individ ual door unlocking............... 39
Infr
ared-reflecting winds hi eld . . . . . . . . . . . 127
Inside mirror ........................... 134
I n s
trument clu ste r ....................... 13
D is p l
ay ........................... 16, 17
Dis p lays .............................. 21
In dica tor light .. .................. .... 13
I n strumen ts .......................... 1 6
Menu stru cture ....................... 21
Serv ic e r
eminder disp lay . . . . . . . . . . . . .
Symbols .............................. 13 U sing m enu s . . . . . . . . . . . . . . . . . . . . . . . . 22
Warning lig ht s ........................ 13
In s
trument cluster di splays ...... ........ 21
Instrument panel........................ 6 Air 274
Page 480 of 541

-
-operation for windshield wipers
-wiping" tx
-Windshield wiper
-Automatic wipe/wash for windshield
-Rear window wiper
-Lever with buttons for the Volkswagen information system ,
let and s topping the engine
® Pedals Manual , chapter Switches
® Adjustable steering column lever sition
Horn (only works when the ignition is swi tc h ed on)
Driver 's front airbag