2004 VOLKSWAGEN BEETLE turn signal
[x] Cancel search: turn signalPage 62 of 138
Downloaded from www.Manualslib.com manuals search engine f!l In cool or damp wea her, the mtenor of the
L!J headltgh s. rear lights and turn stgnals may
m1st up bm.:fly Thts 1s normal and does not affect
the serv•ce life of the hghts on your vehicle
l'('n First read and observo the Introductory
L-..kJ.J Information and safety warnings.&. on
page 105 .
Main beam assist (Light Assist)
W•thtn the limit s of th e sy s te m , th e main b eam as
sis t au t
omatically swi tc h es the main bea m on at
speeds o f o ve r approxim ate ly 60 km/h (3 7 m ph) ,
depending on environm ent al a nd traffic condttions,
and swi tc hes it off again at spee ds und er appr oxi
mately 30 km /h (18 mph) ~&.The fun ction is
controlled by a came ra lo ca te d nea r the int erior
mirro r.
Main beam ass is t n ormall y recog nises illumin ate d
areas such as to wn s and deac tivates
the main
beam while driving throug h th em .
Automatic main beam assist (Dynamic Light
Assist)
W ithin the limits of the sys tem , the aut omatic main
beam assist (Dynamic Light A ssist) ca n minimi se
or even prevent dazzling of other road use rs ~ &.
The system detects other road users and their dis
tan ce from your vehic le and covers part o f th e
he adlights appropriately .
If dazz ling other road u
so rs canno t be
pre vented , th e ligh t dtstnbution rs
automa ticall y se t to d1pped beam headlights . The
func tion is controlled by a camera located on the
in side of th e wind screen above the mterior m~rror
The automatic m am beam assist automati cally
s w it c hes the main beam on at speeds
of more than
approximately 60 km /h (37 m ph) and off again at
speeds under approxima te ly 30 km /h (18 mph ) de
pending on whether there a re vehicles ahead.
wh eth er t here is oncoming traffic, and also on
oth
e r g eneral factors and traffic conditions .
Th e
automat1c main beam assist does no t work
w hen
travel mode is ac tt v ated ~page 111.
If the dynamt c bend llgh ttng is deac tivate d
~page 109 , or t he headltgh t switc h -ove r is acti va
t ed
~page 111, the f ull beam lights are only
s w it ched on and off automa ttcall y. This occurs i n
r esponse to
the v ehtcles ahead, oncoming traffic
a nd
the road lighting
Aut oma t
1c main beam assist normally dete cts illu
min ate d areas such as to wns and deac tiv a tes the
mai n beam wh ile dnving throug h them .
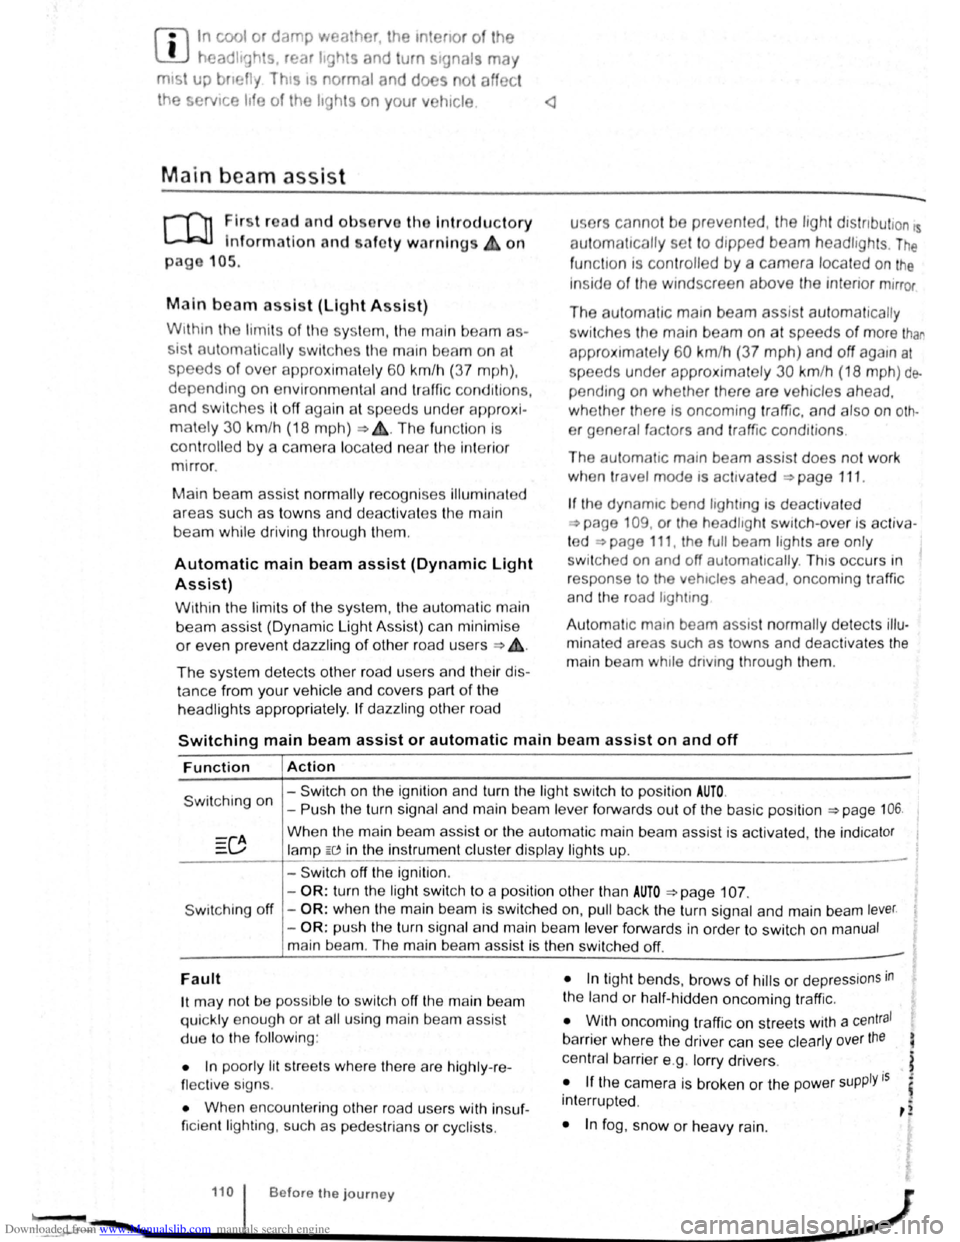
Switching main beam assist or automatic main beam assist on and off
Function Action
- Switch on the ignition and turn the light switch to positio n AUTO.
Switching on -Push the turn signal and main be am le ve r forwards out of the basic position ~page 106.
Wh en the m ain beam assis t or the au tom atic main beam assist is activ ated, the indica tor
la mp W in the instrument clu ste r display ligh ts up .
- Swi tc h off
the ignition .
-
OR : turn the light swit ch to a position other than AUTO ~page 107.
S wit ching off -OR : when the main bea m is swi tc h ed on, pull back the turn signal a nd main beam lever.
- OR : push the turn signa l and main beam le ver forwards in order to switch on manual
main bea m. The main beam assist is then switched off. -
Fault
1t may not be pos sibl e to switch off the main beam
qui ckly e nou gh or at all using main bea m assist
due to
the follo win g:
• In poo rly lit
str ee ts whe re the re are highly -re
flec tiv e sig ns.
• Wh en enco unt ering other road u sers with insuf
ficie nt lighting , su ch as p ed es trian s or cyc lis ts .
• In tigh t bends, brows of hills or dep ressions in
the land or h alf-h idde n oncomi ng traffic.
• W ith oncoming traff ic on str eets with a central
barrier where the driver can see clearly over the
central barrier e .g . lo rry drivers .
• If the came ra is broken or the pow er supply is
interrupt ed .
• In fog , sno w or hea vy rain.
... ~.==~~~~~~------1•1•0.i .. B .. ef•o •re .. th •e• j•o •u •rn•e•y._ .................. __________________ .............. ~ -.,
Page 63 of 138

Downloaded from www.Manualslib.com manuals search engine • In dusty or sandy a re a s.
• If thore is s to ne damage in the cam era's field of
V IO W .
• If the viewing fie ld of the camera is mis te d up,
d
irty, cov e re d by a sticke r, snow or ice.
I '~A WARNING ~
~ .
Do not le t the extra convenience afforded by
main b
eam assist or automatic main beam
ass is t tempt you Into taking any risks when
driving . The system is not a substitute
for the
full concentration of the driver.
• Always check the lights yourself and ad
just them to the prevailing conditions for
lights, vision and road traffic .
• The main beam assist or automatic main
beam assist may not
be able to detect all
driving situations correctly and may not work
properly in certain situations.
A WARNING (Continued)
• If the camera's field of view is dirty, cov
ered or damaged, the function of the main
beam assist and automatic main beam assist
may
be impaired. This also applies if changes
are made
to the vehicle's lighting system, for
example if additional headlights are fitted.
(Dt
Please observe the following points in order to
avoid impairing the proper function of the sys
tem:
• Regularly clean the camera's field of view,
and keep it free from snow and ice.
• Do not cover the camera's field of view.
• Check the area of the windscreen that is in
the camera's field
of view for damage.
r::l The headlight flasher and the main beam can
L!:J be switched on and off manually at any time
with the turn signal and main beam lever
~page 106.
r-l'n First read and observe the introductory
L-W.I information and safety warnings£ on
page 105.
If you have to drive a right -hand drive vehicle in a
l e ft-h a nd drive country , or vice versa , the asymmet
ric dipped beam headlights may dazzle oncoming
traffic . Th erefo re, the headl
ights must be masked
or switched over
if you are driving abroad.
Th e headlight orientation can be adjusted using
the@) button and the 0 and (L ight ] function but
t o ns in the infotai nment system
~page 31.
In vehicles in which the headl ights cannot be ad
just ed via a
menu , stickers should be applied to
certain parts
of the headlight lenses, or the head
lights should be adjusted by a qualified workshop.
A qualified workshop can provide you with further
information . Volkswagen recom mends using a
Volkswagen dea lership for this purpose .
r::l The use of travel mode and stickers on the
L!J headlights is only permitted for limited peri
ods .
Please contact a qualified workshop for a per
manent alteration . Volkswagen recommends using
a Volkswag en dealership for this purpose.
r-('n First read and observe the i~troductory
L-W.I information and safety warnmgs • on
page 105.
The Coming Home function is switched on manual
ly. However, the Leaving Home function is cotltrol-
led automatically
by a twilight sensor . ..,.
Lights and vision 111
Page 89 of 138

Downloaded from www.Manualslib.com manuals search engine ParkPilot di play
I g. 149 11 !--Pilot lispl y
Vl l~i ·I ( , I ur)
round l11e Fig. 150 Mini ParkPilot display of the area arounc
the vehic le (co lo ur)
ro Firs t road and ol>sorve the Introductory Information and safety warnings&, on page 201.
Key
Fig . 149 and
Fig. 149 Definition
Scann d
area behind the vehicle. ®
® ©
------------------------ -----------Scanned area in front of the ve hicle.
--------------------------------Scanned area to the ~ide of the vehic le (depe nding on the ve hicl e equipment level).
I
• Sys te m fa ult in the scanned area .
The
y ello w segm ent represents an obstacle in the vehic le's path .
Th e r
ed segment represents an obsta cle loca te d in the vehicle's collision a rea.
0 T he grey segment represents a n obstacle outside of the ve hicl e's path.
When the factory- fitt ed inf otainment syste m is
sw it c h ed on , the a reas to the front , rear and side of
the vehicle tha t are scanned by ultrasound sensors
cH e sh own o n the scree n =>Fig. 149. The positions
o f
potentia l obs tacles are displa ye d re lative to the
v e hic le
=> & .
The vehicle mus t be move d a fe w m etres forwards
or back war
ds in order to show the e ntire area
around the vehicle 1
) => & . The missing areas are
t11en scanned and the area around the vehic le is
Cf'llcula ted.
1
) Th or round th v hic le Is no t shown in vohrc l s wrth 4 ult
2o4 1 Whil e driving
Screen display and acoustic signal
The graphic on the screen displays the scann~dl
areas in several segments . The closer the veh~:nt
drives towards an obstacle the closer the se9, n . • olhSIO Will move to the ve hicle in the displ ay. The c .
a r
ea has been reache d when the penultimate se~
m entis displayed, if not be fore . Do not drive on
Th . bstacle e yello w segments may turn grey 1f an °
ends up outside of the vehi cle's path due to a
s teeri
ng input =>page 207.
rasound se .
n sors m eac h bumper .
Page 98 of 138

Downloaded from www.Manualslib.com manuals search engine park Assist system
WJl Introduction
is c ha pt er contain s information on th e following
5 bJects :
par in g using the Park Assist system . . . . . . . 214
Driv in g out of a parkin g space with the Park
Assist s y stem (only parking spaces paralle l to
s id e of
road) . . . . . . . . . . . . . . . . . . . . . . . . . . . . 216
A
toma ti c brak e intervention . . . . . . . . . . . . . . 216
; e Park As sist s y stem helps the driver in findi ng
su·table park in g spaces, when parking in suitable
p a ra
lle l or perpend icu lar parking spaces and whe n
get ·n g o ut of para lle l parking spaces.
T
e Park Ass ist system has certa in system-rela ted
limitations and th e driver should be particularly
carefully when using the Park Assist system => 4::,..
One element of the Park Assi st system is the Park
Pilo~ which is des igned to provide assist an ce
when parkin g.
In vehicles w ith ParkP ilot optical display the scan
ned area to the front , rear and to the sides of the
vehicle will be shown on the screen of the radio or
the navigat ion sys tem. W ith in the scope permitted
by the sys tem , the pos it ion of obstacles w ill be
s
hown in rel at ion to the vehicle .
T he
Park Ass is t system cannot be sw itched on if
the factory -fitted towing bracket is e lectrically co n
n e
cted to the trailer.
Additional information and warnings:
• Exterior views =>page 6
• Braking , stopp ing and parking =>page 179
• ParkPilo t =>page 201
•
C leaning and caring for the vehicle exterior
~page 294
• Accessor ies, mod ificatio ns, repairs and renew al
of Parts =>page 320
..._A W ARN ING
D o not le t the extra convenience afforded by
the Park Assist system tempt you into taking
any risks when driving-this can cause acci
dents. The system is not a substitute for the
full concentration of the driver.
• Un intentional vehicle movements can
cause serious injury.
A WARNING (Continuec;f) -
• Always adapt your speed and driving style
to suit visibility, weather, road and traffic con
ditions.
• The surface of certain objects, including
clothing, as well as external noise sources do
not reflect the signals from the Park Assist
system or the parking distance warning sen
sors or can cause the system to fail to detect
objects or persons.
• Sensors have blind spots in which obsta
cles and people cannot be detected.
• Always monitor the area around the vehi
cle as the sensors will not always detect in
fants, animals and objects.
..
A WARNING .. p k
When driving into or out of a parking space
using the Park Assist system, the steering
wheel will automatically make quick turning
movements. You could be injured if you at
tempt to touch the steering wheel spokes.
• The Park Assist system uses parked vehi
cles, the kerb and other objects as guidance.
Please ensure that the wheels and tyres are not
damaged when parking the vehicle. If necessa
ry, stop the parking procedure in good time to
prevent damage to the vehicle.
• The sensors may not always be able to de
tect objects such as trailer drawbars, thin rails,
fences, posts, trees and open or opening tail
gates. This can result in damage to your vehi
cle.
•
If the ParkPilot has detected an obstacle
and issued a warning, the obstacle may move
out of the detection range of the sensors as the
vehicle approaches it, particularly if the object
is very high or very low. These objects are no
longer registered. The vehicle can sustain con
siderable damage if the warning given by the
ParkPilot is ignored. The same applies to the
Park Assist system, for example when parking
behind a lorry o r a motorbike. Therefore, al
ways check the space in front of and behind
the vehicle and stop the vehicle in good time if
necessary.
I D•ive• assist systems 12t3
~~------------------~-~! ----------------~~@~-~· ~---J~-
Page 100 of 138
Downloaded from www.Manualslib.com manuals search engine ' '' '
-
,li ~lP lllP lUll' slynr~l for tl1e s.ide o f th e s tree t
11 1, ,,u v ;:~r1l t
o l P lP ·t a pllrk111g space . Th e ,,, ,, 11 ' ' ~1,, ruli11\.l ~ide f the lr ells sl1own o n the tn-
'''"P , ~\111111P11 l itlq{(ll displlly
I p8d,ir1\-J ~pc:n·e i s t gmdod as suit ab le i f it is
:IIPR~l o a 11, lo11u o r lllall llle ve hi cle.
1'~1 "'" • WIIPil 1 AI kin g prtrall el to the road: driv e pas t
thE~ pe~'"'''~ Rp;:~ce Rl a SI ee d of no m ore than
~~ ~rll'h ( r. rnpll) and at a d is ta n ce betw een ap
pr\.l\llllRlr l Q .r. Ill cmd 2 rn from the parking sp ace .
, Wlum p~r kin perpendicular to the road:
dn\ e pns tllle p;:1rl~i11 space a t a sp ee d of n o mor e
lhan :£0 ""'11' (1 2 111~h) and a t a dista nce be tw ee n
ili'P' \ltmle ly 0.5 m a nd 2 m from the parking
~I'R '9 .
• Yuu \1 ill R ·lli eve b st parkin g result s if yo u stop
, ur el11 ·le a para lle l as possib le to the parke d
veh1 ·I o r tll o edge of til e road.
• If a ullal>l e par king space is indi cated in the in-
l1lll11e llt ·lust r disp la y, s lop the ve hicle and , after
a brief pause, se lect rev erse gear.
• F 11 w til e Ins tructions in the instrum ent cluster
dtSIJI~y
• Rei :la e til e steeri ng wheel wh en th e following
me· age Is sh ow n ~ in Introduc tio n on
Page21 teering intervent. active!
Monitor the area around vehicle.
• Clle k the area aro und the ve hi cle and careful-
1 depress til e acce lerator p e dal - do not exceed
7 hm/11 (4 nliJh).
• The Park Ass is t sys te m will only operate the
steenng wheel duri ng the parki ng pro ced ure. The
driver operates the accelerator, clutch, gear
hift and bra ke .
• r=ollow the vis ual in stru ctions and the acoustic
Wan~ing to nes of the Park As sis t system until the
Palkll1g procedur e has bee n completed .
• lhe Park Assis t sys te m will guide the vehicle
\Vhen d rivin g fo rw ards and re ve rsing until the vehi
cle Is parked straig ht in the parking space.
t Wait until the stee ring has completed the steer
ng P1~C dure at the e nd of eve ry parking move
nlent In orde r to ac hieve an optimal p arking result.
; )
A n1es age is display ed on the instrument clus
Ger one the parking procedure is completed and
n ~cou tic s ignal tone may b e he ard .
... .__ -.. -r ---.J'-
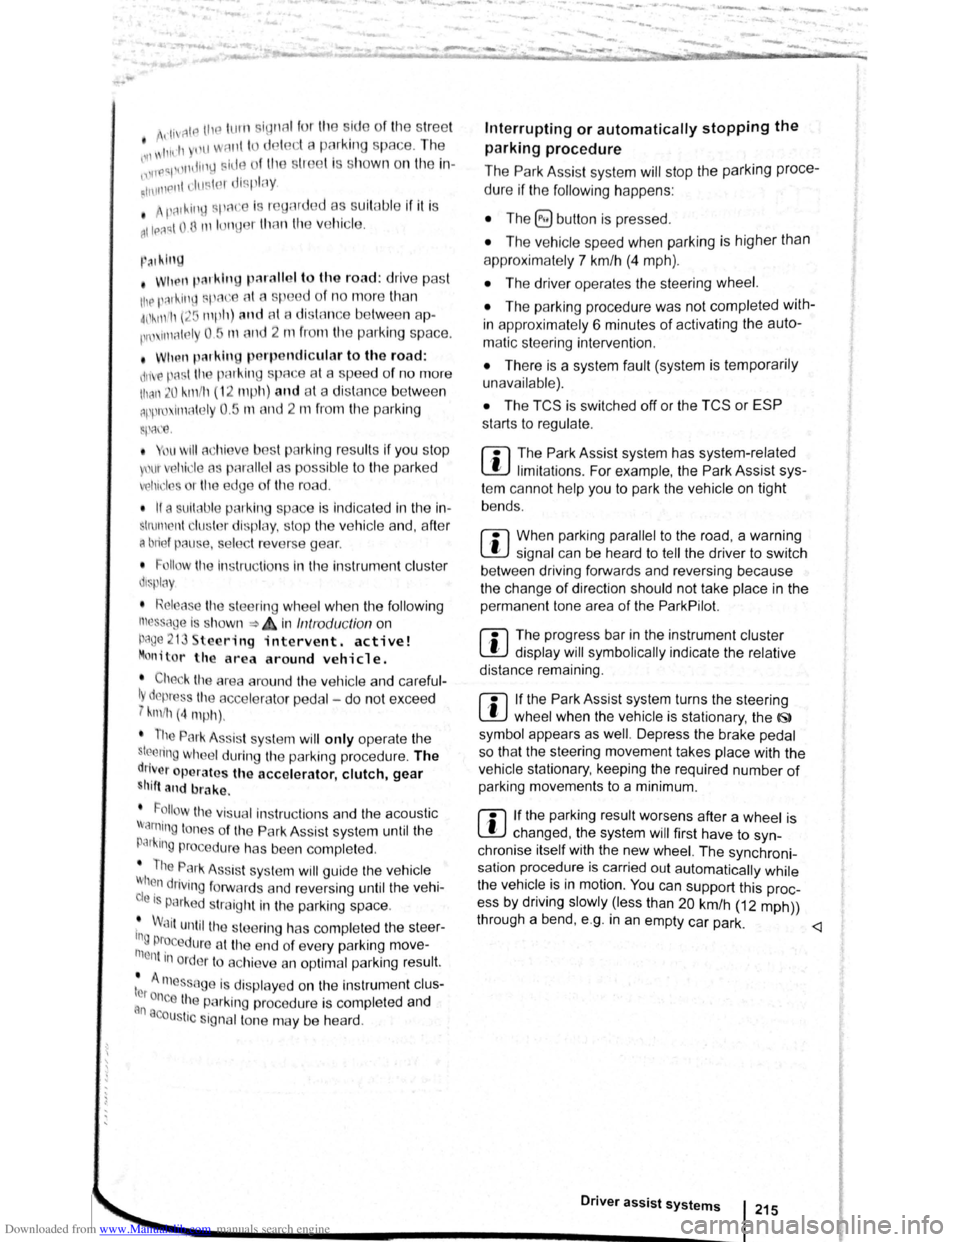
Interrupting or automatically stopping the
parking procedure
The Park Ass is t system will stop the parking proce
dure if th e following happens :
• The 8 button is pressed.
• The ve hi cle spee d when parking is higher than
app roxim ate ly
7 km /h (4 mph).
• The driver operates the steering wheel.
• The parking procedure was not completed with
in approximately 6 minutes of activating the auto
matic stee ring intervention .
• There is a system fault (system is temporarily
un ava ilable) .
•
The TCS is switched off or the TCS or ESP
starts to regulate .
r::l The Park Assist system has system-related
l!J limitations . For example, the Park Assist sys
t e m cannot help you to park the
vehicle on tight
b e nd s.
r::l Wh en parking parallel to the road , a warning
L!J signal can be heard to tell the driver to switch
between driving forwards and reversing because
the change
of direct ion should not take place in the
permanent tone area
of the ParkPilot.
r::l The progress bar in the instrument cluster
l!J display will symbolically indicate the relative
distance remaining .
W If the Park Assist system turns the steering
l!J wheel when the vehicle is stationary , the 6l
symbol appears as well. Depress the brake pedal
so that the steering movement takes place with the
vehicle stationary, keeping the required number of
parking movements to a minimum.
r::l If the parking result worsens after a wheel is
~ changed, the system will first have to syn
chronise
itself with the new wheel. The synchroni
sation procedure is carried out
automatically while
the vehicle is in motion. You can support this proc
ess by driving slowly (less than 20 km/h (12 mph))
through a bend, e.g. in an empty car park.
Page 104 of 138
Downloaded from www.Manualslib.com manuals search engine th . troductory information and safety warnings & on page 218 First
read and observe e m ·
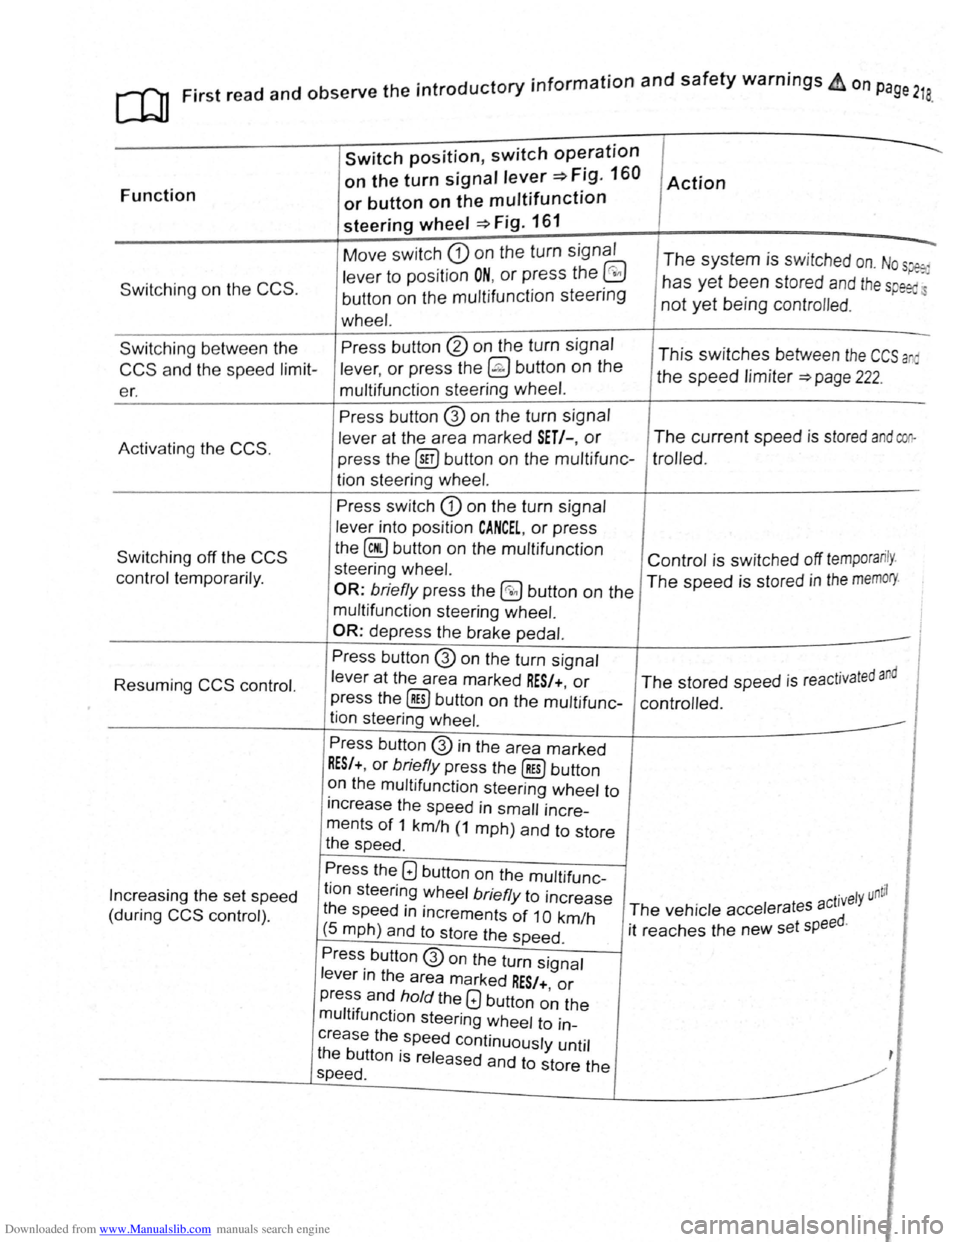
Function
Switching on the CCS .
Switch position, switch op~ration
on the turn signal lever~ Fig. 160
or button on the multifunction
steering wheel ~Fig. 161
Move switch CD on the turn signal
lever to position ON, or press the @
button on the multifunction steering
wheel.
Action
--.
The system is switched on. Nos~
has yet been stored and th e sp eed.
not yet being contro lled .
Switching between the
CCS and the speed limit
er. Press
button
@ on the turn signal
lever,
or press the @ button on the
multifunction steering wheel. This switches between the CCS a
the speed limiter ~page 222.
Activating
the CCS.
Switching off the CCS
control temporarily.
Resuming
CCS control.
Increasing the set speed
(during
CCS control) . Press button
@ on
the turn signal
lever at the area marked
SET/-, or
press the @iJ button on the multifunc
tion steering
wheel.
Press switch CD on the turn signal
lever into position
CANCEL, or press
the
@ button on the multifunction
steering wheel.
OR: briefly press the @0 button on the
multifunction steering wheel.
OR:
depress the brake pedal.
Press button
@ on the turn signal
lever
at the area marked RES/+, or
press the @] button on the multifunc
tion steering wheel.
Press button
@ in the area marked
RES/+, or briefly press the@) button
on the multifunction steering wheel to
increase the speed in
small incre
ments
of 1 km/h (1 mph) and to store
the speed .
The current speed is stored and coo
trolled .
Control is switched off temporarily .
The speed is stored in the memory.
· t d and The stored speed is reactJva e
controlled .
Press the
Q button on the multifunc
tion steering wheel
briefly to increase
the speed
in increments of 1 0 km/h
(5 mph) and to store the speed .
. ntil ct1vely u The vehicle accelerates a
it reaches the new set
speed.
Press button
@on the turn signal
lever in the area marked
RES/+, or
press and hold the Q button on the
multifunction steering wheel to in
crease the speed continuously until
the button is released and to store the
speed .
Page 105 of 138
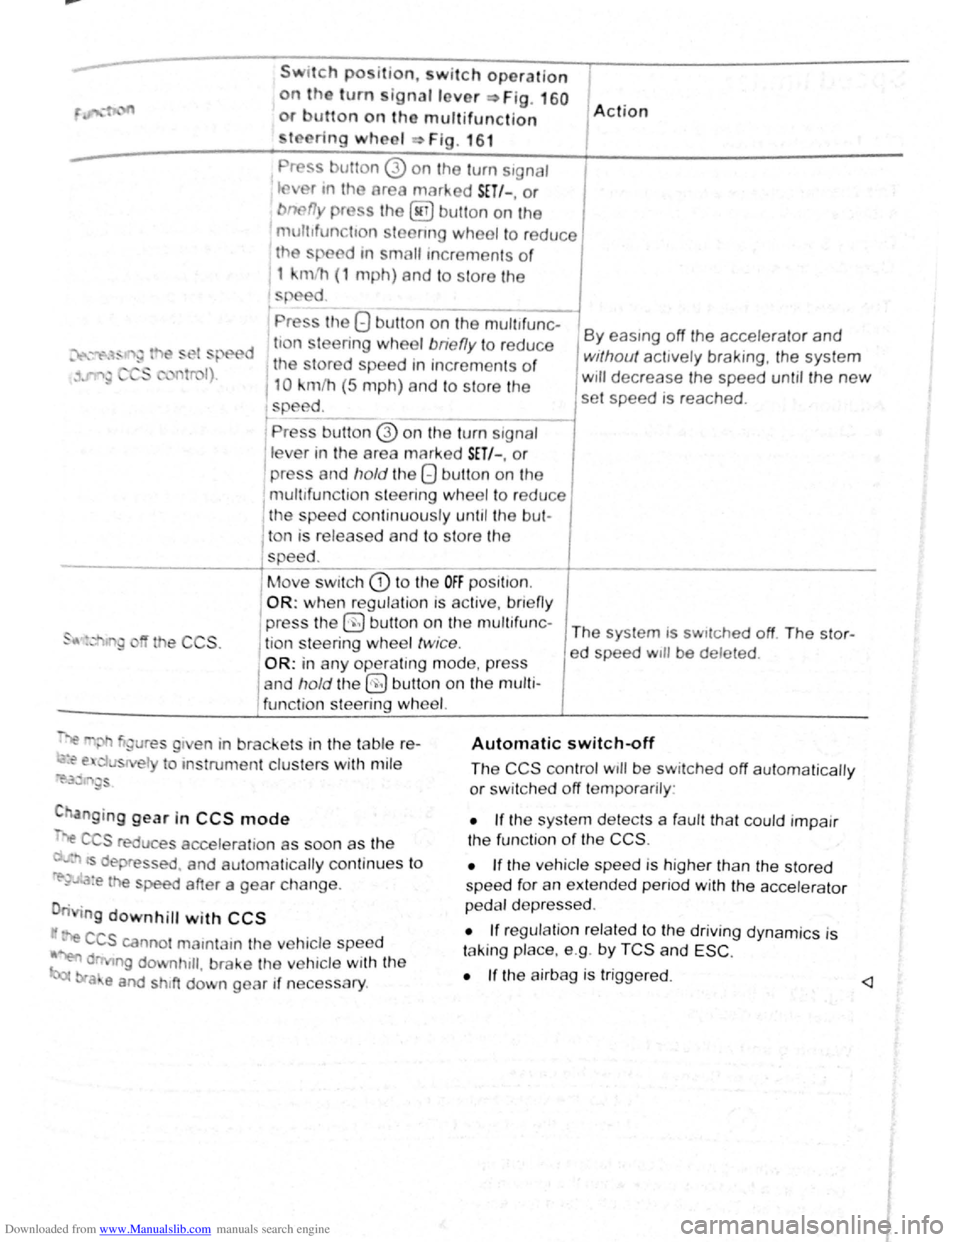
Downloaded from www.Manualslib.com manuals search engine Swttch po ition, w itch operation
on the turn ignallover ~Fig. 160
or utton on tho multifunction
to ring wheel Fig . 16 1
Pr ss utton 0 on the turn s1gnaJ
tflv r tn tho area marked SET/-, or
bnefly pr ss the @ button on the
mult1fun tton stoenng wheel to reduce
th
sp ed tn small tncrements o f
1 kmlh (1 mph) and to s tore the
s ed
' Pr ss the 8 button on the mult~~
d ti n leering wheel bne fly to redu ce
1 the tored speed tn increments of
110 km/h (5 m ph) and to store the
speed. t -------l Pre s button @ on the tu m signal
lev r in the area marked SET/-. or
I press and hold the 8 button on the
mult tfunc tion st
eering wheel to re du ce 1 the spee d con tin uously un til the bul-
1 A ction
By eas1ng off the accelerator and
without acttvely braking, the system
w111 decrease the speed unt1l the new
set speed is reached .
l ton is released and to s tore the
-----------+spee d. ____ _
I
Move swi tch CD t o the OFF posi t1on.
OR: when regula tio n IS ac tiv e, bnefl y
the CCS .
press the 0 b utt on on t he mu ltif u n c-The system is sw1tched off The stor-
j tio n s teering wheel twice . ed speed w1ll be deleted .
OR: in any operating mode , p res s
and
hold t he §) butt on on the multi
func tion steering
wh eel.
~"' gure s g1 en in brackets in th e table r e-
~~ e. u s el to ms trume nt clus ters with mil e
~i'.3~ '"~gs
C anging gear in CCS mode
".e C S reduce s accelera tio n as soon as th e
· ts dep ressed . and automa tically continu es t o
re-~..~:a:e the speed after a gear change .
n g
downhill with CCS
· e CCS canno t mamtam the ve hicle speed
~ d ng downhtll , brake the ve hicle with the
bra e and shtft down gear if neces sary .
Automatic switch~ff
The CCS control wtll be switched off automaticall y
or sw it c h e d off temporarily :
• If the sys te m d etects a fau lt th at co uld impair
th e fun ctio n
of th e CCS .
•
If th e ve hicle spee d is h igher than the stor ed
spee d for an exte nd ed p enod with the acc ele ra to r
p e dal d ep re ss ed .
• If reg ulation re la te d to the driv ing dyn ami cs is
t a kin g place. e.g . by
TCS and ESC .
•
If the a irbag is trigge red. <1
Page 107 of 138
Downloaded from www.Manualslib.com manuals search engine ~
A WARNING ...
~re to observe illuminated w~rning lan1ps
d text messages can lead to your vehicle
an tt· d breaking down in tra 1C, a n can cause acci-
dent and serious injury.
• Never ignore any Illuminated w arning
lamps or text messages,
CD I'. [
Failure to observe illuminated indicator lamps
and text messages can lead to your vehicle be-
ing damaged.
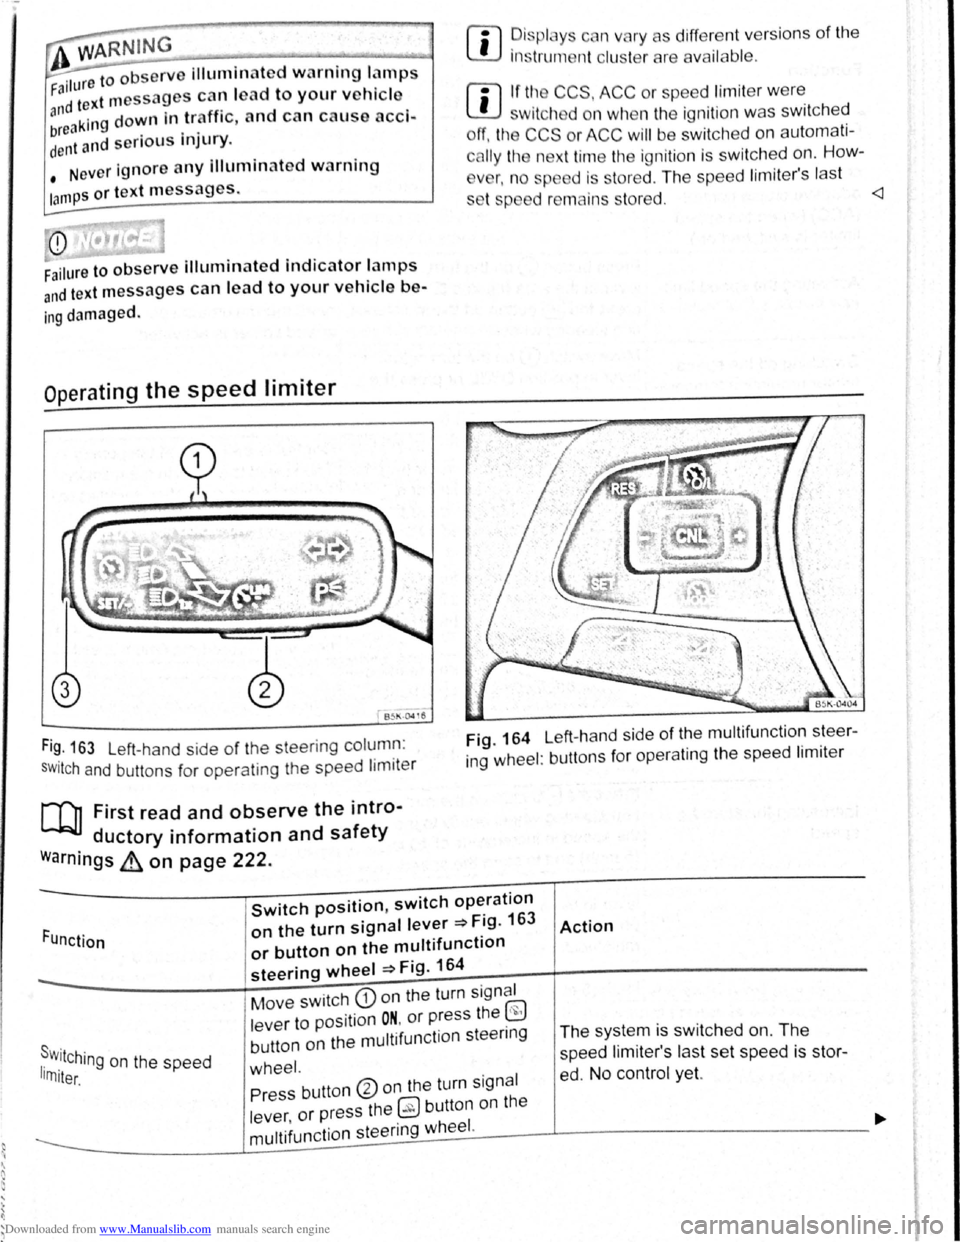
Operating the speed limiter
B~l\·04 16
Fi~. 163 Left-hand side of the steering column :
SWitch and buttons for operating the speed limiter
[Q] First read and observe the intro-
ductory information and safety
warnings ~ on page 222.
rn
• ~is plc y c n vary as different vers ions of the
1ns trum nt clu t rare availab le .
rn
• If tl~ CCS, ACC or spe ed limit er w ere
w1tch d on wh n the ignition was switched
ff, the CCS or ACC will be switched on automati
c
lly the n xt time the ignition is switched on. How-
v
r, n o sp d is stored . The speed lim iter's last
s t p d r mains s tored.
ing wheel : buttons for operating the speed limiter
Function
Switch position, switch operation
on the turn signal lever ~Fig. 163
or button on the multifunction
steering wheel ~Fig. 164
Action
s . r w.11Ching on the speed 1rn1ter.
Move switch CD on the turn signal
lever to position
ON. or press the ~
button on the multifunction steenng
wheel.
The system is switched on. The
speed li miter's las t set speed is st or
ed. No control yet. Press button ®on the turn signal
lever ,
or press the 0 button on the
----------------~m~u~lti~fu~n~c~ti~o~n~s~te~e~r~in~g~w~he~e~I~·------J----------------------------~