Page 11 of 342
3
2004 L/C100 from Aug ’03 Prod. (OM60A04U)
1. Headlight, turn signal and front foglight switches
2. Cruise control switch
3. Ignition switch
4. Wiper and washer switches
5. Emergency flasher switch
6. Clock, outside temperature and trip infor- mation display
7. Car audio
8. Front passenger ’s seat belt reminder light
9. Air conditioning controls
10. Outside rear view mirror heater switch 11. Rear air conditioning switch
12. Rear window defogger switch
13. Center differential lock switch
14. Power antenna switch
15. Power tilt and telescopic steering switch
16. Instrument panel light control dial
17. Power rear view mirror control switches
18. Power quarter window switch (left −hand
side)
19. Power quarter window switch (right −
hand side)
20. Roll sensing of curtain shield airbags off switch
�
View B
Page 119 of 342
111
2004 L/C100 from Aug ’03 Prod. (OM60A04U)
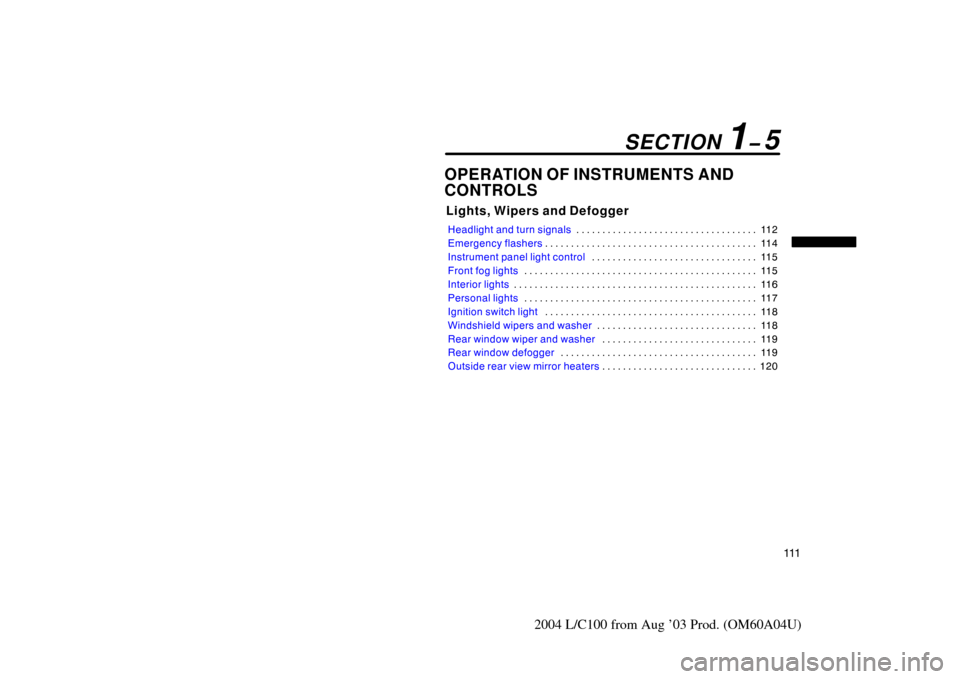
OPERATION OF INSTRUMENTS AND
CONTROLS
Lights, Wipers and Defogger
Headlight and turn signals11 2
. . . . . . . . . . . . . . . . . . . . . . . . . . . . . . . . . . .
Emergency flashers 11 4
. . . . . . . . . . . . . . . . . . . . . . . . . . . . . . . . . . . . \
. . . . .
Instrument panel light control 11 5
. . . . . . . . . . . . . . . . . . . . . . . . . . . . . . . .
Front fog lights 11 5
. . . . . . . . . . . . . . . . . . . . . . . . . . . . . . . . . . . . \
. . . . . . . . .
Interior lights 11 6
. . . . . . . . . . . . . . . . . . . . . . . . . . . . . . . . . . . . \
. . . . . . . . . . .
Personal lights 11 7
. . . . . . . . . . . . . . . . . . . . . . . . . . . . . . . . . . . . \
. . . . . . . . .
Ignition switch light 11 8
. . . . . . . . . . . . . . . . . . . . . . . . . . . . . . . . . . . . \
. . . . .
Windshield wipers and washer 11 8
. . . . . . . . . . . . . . . . . . . . . . . . . . . . . . .
Rear window wiper and washer 11 9
. . . . . . . . . . . . . . . . . . . . . . . . . . . . . .
Rear window defogger 11 9
. . . . . . . . . . . . . . . . . . . . . . . . . . . . . . . . . . . . \
. .
Outside rear view mirror heaters 120
. . . . . . . . . . . . . . . . . . . . . . . . . . . . . .
SECTION 1� 5
Page 123 of 342
11 5
2004 L/C100 from Aug ’03 Prod. (OM60A04U)
NOTICE
To prevent the battery from being dis-
charged, do not leave the switch on
longer than necessary when the en-
gine is not running.
Instrument panel light control
To adjust the brightness of the instru-
ment panel lights, turn the dial.
Front fog lights
To turn on the front fog lights, twist
the band of the headlight/turn signal
lever. They will come on only when the
headlights are on low beam.
Page 127 of 342
11 9
2004 L/C100 from Aug ’03 Prod. (OM60A04U)
Rear window wiper and washer
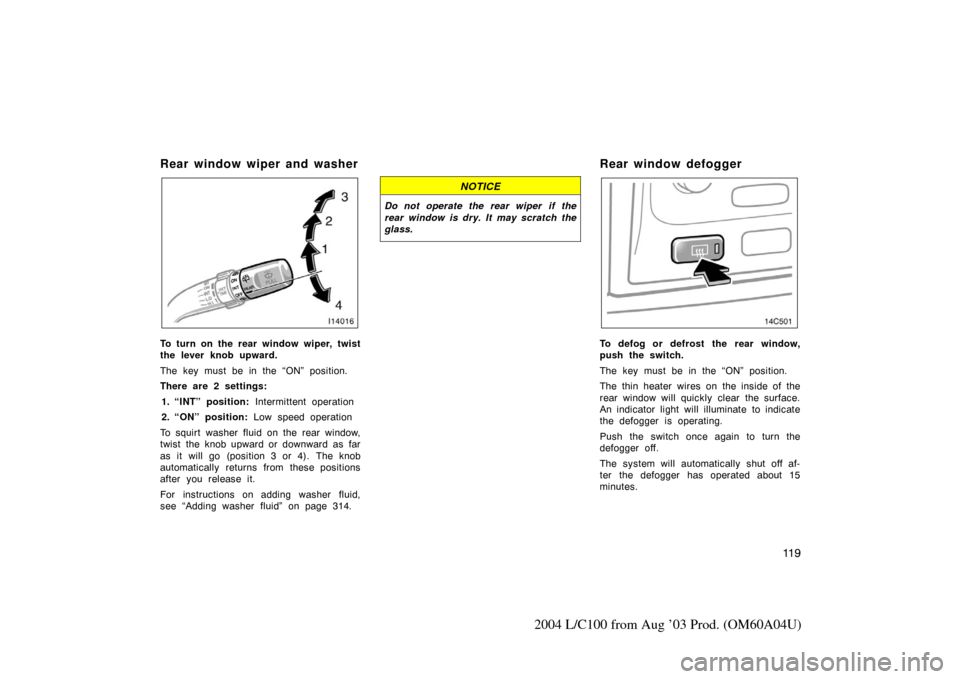
To turn on the rear window wiper, twist
the lever knob upward.
The key must be in the “ON” position.
There are 2 settings:1. “INT” position: Intermittent operation
2. “ON” position: Low speed operation
To squirt washer fluid on the rear window,
twist the knob upward or downward as far
as it will go (position 3 or 4). The knob
automatically returns from these positions
after you release it.
For instructions on adding washer fluid,
see “Adding washer fluid” on page 314.
NOTICE
Do not operate the rear wiper if the
rear window is dry. It may scratch the
glass.
Rear window defogger
To defog or defrost the rear window,
push the switch.
The key must be in the “ON” position.
The thin heater wires on the inside of the
rear window will quickly clear the surface.
An indicator light will illuminate to indicate
the defogger is operating.
Push the switch once again to turn the
defogger off.
The system will automatically shut off af-
ter the defogger has operated about 15
minutes.
Page 128 of 342
120
2004 L/C100 from Aug ’03 Prod. (OM60A04U)
Make sure you turn the defogger off when
the surfaces are clear. Leaving the defog-
ger on for a long time could cause the
battery to discharge, especially during
stop−and− go driving. The defogger is not
designed for drying rain water or for melt-
ing snow.
NOTICE
� When cleaning the inside of the
rear window, be careful not to
scratch or damage the heater wires
or connectors.
� To prevent the battery from being
discharged, turn the switch off
when the engine is not running.
Outside rear view mirror heaters
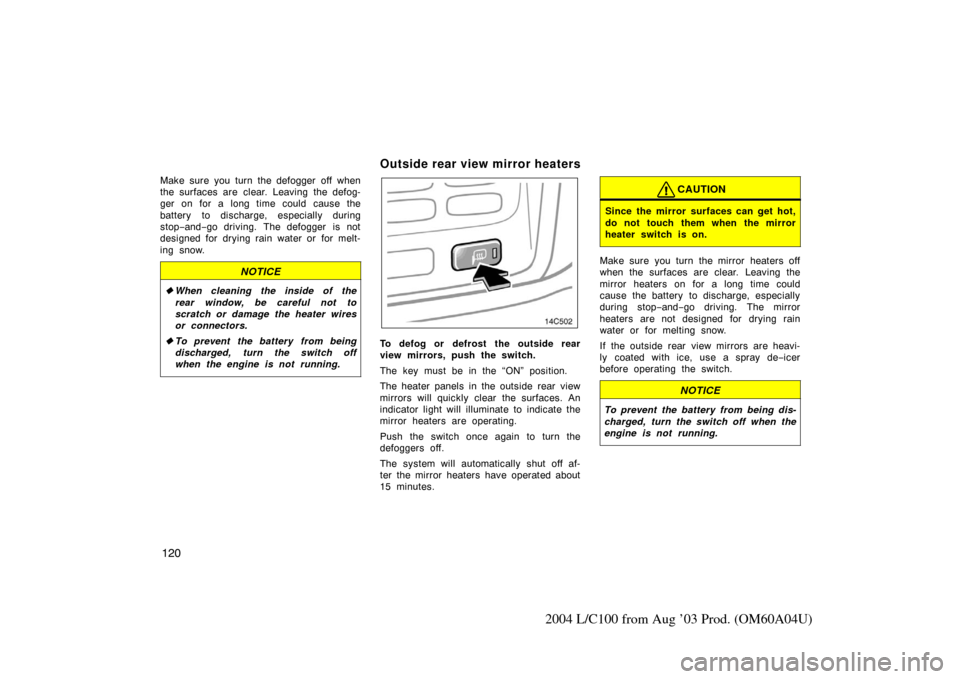
To defog or defrost the outside rear
view mirrors, push the switch.
The key must be in the “ON” position.
The heater panels in the outside rear view
mirrors will quickly clear the surfaces. An
indicator light will illuminate to indicate the
mirror heaters are operating.
Push the switch once again to turn the
defoggers off.
The system will automatically shut off af-
ter the mirror heaters have operated about
15 minutes.
CAUTION
Since the mirror surfaces can get hot,
do not touch them when the mirror
heater switch is on.
Make sure you turn the mirror heaters off
when the surfaces are clear. Leaving the
mirror heaters on for a long time could
cause the battery to discharge, especially
during stop− and−go driving. The mirror
heaters are not designed for drying rain
water or for melting snow.
If the outside rear view mirrors are heavi-
ly coated with ice, use a spray de −icer
before operating the switch.
NOTICE
To prevent the battery from being dis-
charged, turn the switch off when the
engine is not running.
Page 322 of 342
314
2004 L/C100 from Aug ’03 Prod. (OM60A04U)
Adding washer fluid
If any washer does not work, the wash-
er tank may be empty. Add washer
fluid.
You may use plain water as washer fluid.
However, in cold areas where tempera-
tures range below freezing point, use
washer fluid containing antifreeze. This
product is available at your Toyota dealer
and most auto parts stores. Follow the
manufacturer ’s directions for how much to
mix with water.
NOTICE
�Do not use engine antifreeze or any
other substitute because it may
damage your vehicle’s paint.
� Do not fill washer fluid over the
“NORMAL” level.
Replacing light bulbs—
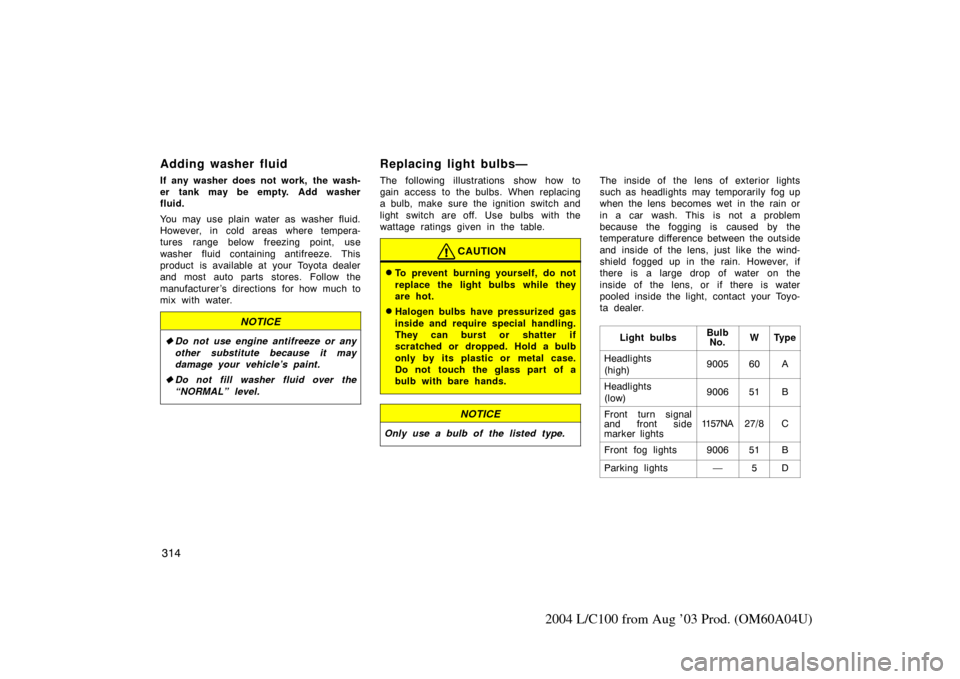
The following illustrations show how to
gain access to the bulbs. When replacing
a bulb, make sure the ignition switch and
light switch are off. Use bulbs with the
wattage ratings given in the table.
CAUTION
�To prevent burning yourself, do not
replace the light bulbs while they
are hot.
�Halogen bulbs have pressurized gas
inside and require special handling.
They can burst or shatter if
scratched or dropped. Hold a bulb
only by its plastic or metal case.
Do not touch the glass part of a
bulb with bare hands.
NOTICE
Only use a bulb of the listed type.
The inside of the lens of exterior lights
such as headlights may temporarily fog up
when the lens becomes wet in the rain or
in a car wash. This is not a problem
because the fogging is caused by the
temperature difference between the outside
and inside of the lens, just like the wind-
shield fogged up in the rain. However, if
there is a large drop of water on the
inside of the lens, or if there is water
pooled inside the light, contact your Toyo-
ta dealer.
Light bulbs
BulbNo.WTy p e
Headlights
(high)900560A
Headlights
(low)900651B
Front turn signal
and front side
marker lights1157NA27/8C
Front fog lights900651B
Parking lights—5D
Page 324 of 342
316
2004 L/C100 from Aug ’03 Prod. (OM60A04U)
3. Pull the bulb out of the bulb base.
If the connector is tight, wiggle it.4. Install a new bulb base by turning it clockwise to the front of the vehicle.
LEFT–HAND HEADLIGHT: Install the
washer inlet securely.
Aiming is not necessary after replacing
the bulb. When aiming adjustment is nec-
essary, contact your Toyota dealer.
—Front fog lights
1. Turn the bulb base counterclockwise to the front of the vehicle as shown.
Page 335 of 342
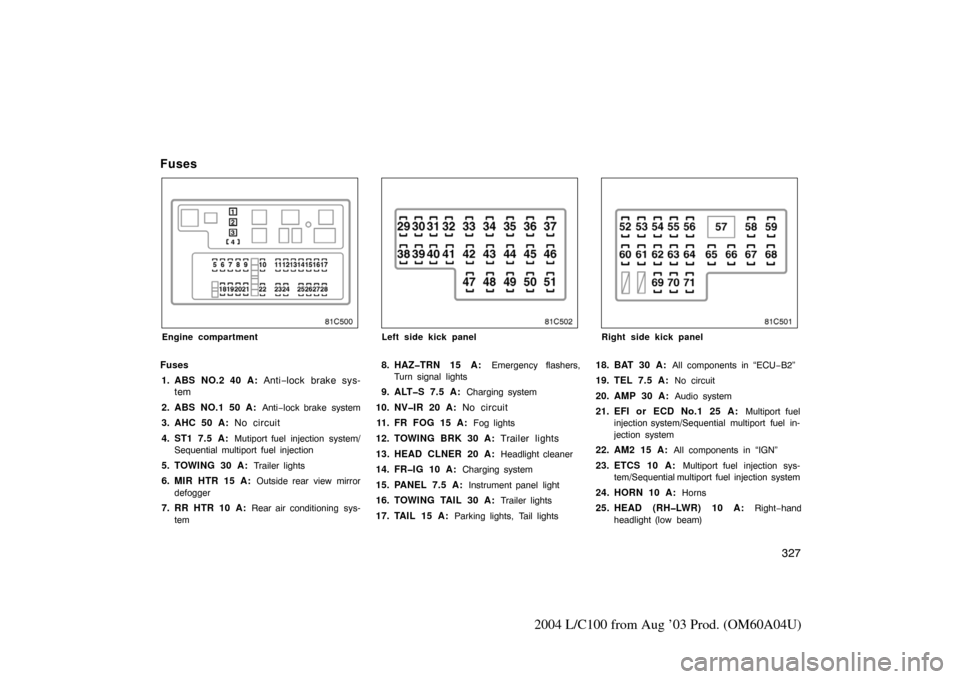
327
2004 L/C100 from Aug ’03 Prod. (OM60A04U)
Fuses
Engine compartment
Fuses1. ABS NO.2 40 A: Anti−lock brake sys-
tem
2. ABS NO.1 50 A:
Anti−lock brake system
3. AHC 50 A: No circuit
4. ST1 7.5 A:
Mutiport fuel injection system/
Sequential multiport fuel injection
5. TOWING 30 A: Trailer lights
6. MIR HTR 15 A: Outside rear view mirror
defogger
7. RR HTR 10 A: Rear air conditioning sys-
tem
Left side kick panel
8. HAZ�TRN 15 A: Emergency flashers,
Turn signal lights
9. ALT�S 7.5 A: Charging system
10. NV�IR 20 A: No circuit
11. FR FOG 15 A:
Fog lights
12. TOWING BRK 30 A: Trailer lights
13. HEAD CLNER 20 A:
Headlight cleaner
14. FR�IG 10 A: Charging system
15. PANEL 7.5 A: Instrument panel light
16. TOWING TAIL 30 A: Trailer lights
17. TAIL 15 A: Parking lights, Tail lights
Right side kick panel
18. BAT 30 A: All components in “ECU −B2”
19. TEL 7.5 A: No circuit
20. AMP 30 A: Audio system
21. EFI or ECD No.1 25 A: Multiport fuel
injection system/Sequential multiport fuel in-
jection system
22. AM2 15 A: All components in “IGN”
23. ETCS 10 A: Multiport fuel injection sys-
tem/Sequential multiport fuel injection system
24. HORN 10 A: Horns
25. HEAD (RH�LWR) 10 A: Right−hand
headlight (low beam)