Page 107 of 173

97
Notice of “Date”: You can input the next
maintenance date.
Notice of “Distance”: You can input the driv-
ing distance until the next maintenance
check.
When you touch the
switch on the
“Maintenance” screen, the screen changes to
the “Personal Event” screen. Touch the keys
to input the desired name and then input con-
ditions.
After you input the date and/or distance,
touch the
“OK” switch. The screen then re-
turns to the “Maintenance” screen.
The following switches appear.
“Delete All”: To cancel all conditions which
have been inputted.“Reset All”: To reset the item which has sat-
isfied a condition.
Touch the
“Off” switch at the top of the
“Maintenance” screen to turn off the informa-
tion screen.
When your vehicle needs to be serviced, the
icon color will change to orange.
INFORMATION
�For scheduled maintenance informa-
tion, please refer to the “Scheduled
Maintenance Guide” or “Owner’s
Manual Supplement”.
�Depending on the driving or the road
conditions, the actual date and dis-
tance may differ from the stored date
and distance in the system.
Information items
Oil change
Replace oil filter
Rotate tires
Replace tires
Replace battery
Replace brake linings
Replace wiper blades
Page 130 of 173

120
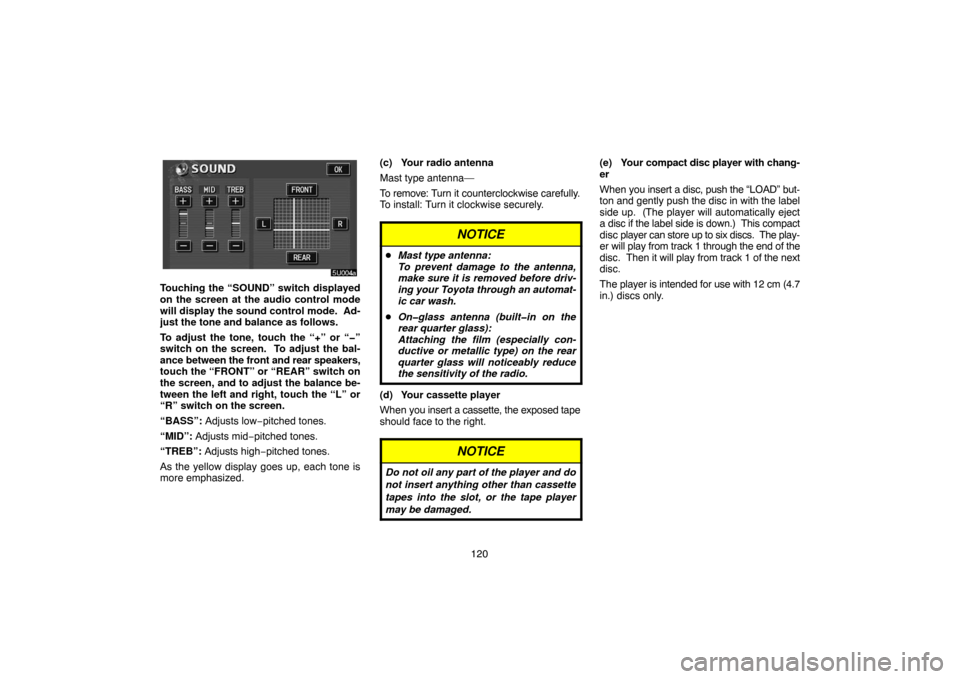
Touching the “SOUND” switch displayed
on the screen at the audio control mode
will display the sound control mode. Ad-
just the tone and balance as follows.
To adjust the tone, touch the “+” or “�”
switch on the screen. To adjust the bal-
ance between the front and rear speakers,
touch the “FRONT” or “REAR” switch on
the screen, and to adjust the balance be-
tween the left and right, touch the “L” or
“R” switch on the screen.
“BASS”: Adjusts low−pitched tones.
“MID”: Adjusts mid−pitched tones.
“TREB”: Adjusts high−pitched tones.
As the yellow display goes up, each tone is
more emphasized.(c) Your radio antenna
Mast type antenna—
To remove: Turn it counterclockwise carefully.
To install: Turn it clockwise securely.
NOTICE
�Mast type antenna:
To prevent damage to the antenna,
make sure it is removed before driv-
ing your Toyota through an automat-
ic car wash.
�On�glass antenna (built�in on the
rear quarter glass):
Attaching the film (especially con-
ductive or metallic type) on the rear
quarter glass will noticeably reduce
the sensitivity of the radio.
(d) Your cassette player
When you insert a cassette, the exposed tape
should face to the right.
NOTICE
Do not oil any part of the player and do
not insert anything other than cassette
tapes into the slot, or the tape player
may be damaged.
(e) Your compact disc player with chang-
er
When you insert a disc, push the “LOAD” but-
ton and gently push the disc in with the label
side up. (The player will automatically eject
a disc if the label side is down.) This compact
disc player can store up to six discs. The play-
er will play from track 1 through the end of the
disc. Then it will play from track 1 of the next
disc.
The player is intended for use with 12 cm (4.7
in.) discs only.
Page 131 of 173

121
NOTICE
�Do not stack up two discs for inser-
tion, or it will cause damage to the
compact disc player with changer. In-
sert only one compact disc into slot
at a time.
�Never try to disassemble or oil any
part of the compact disc player. Do
not insert anything except a compact
disc into the slot.
(f) Your DVD player
You can enjoy the sound of the rear seat en-
tertainment system by pushing the “DISC”
button.
— Radio operation
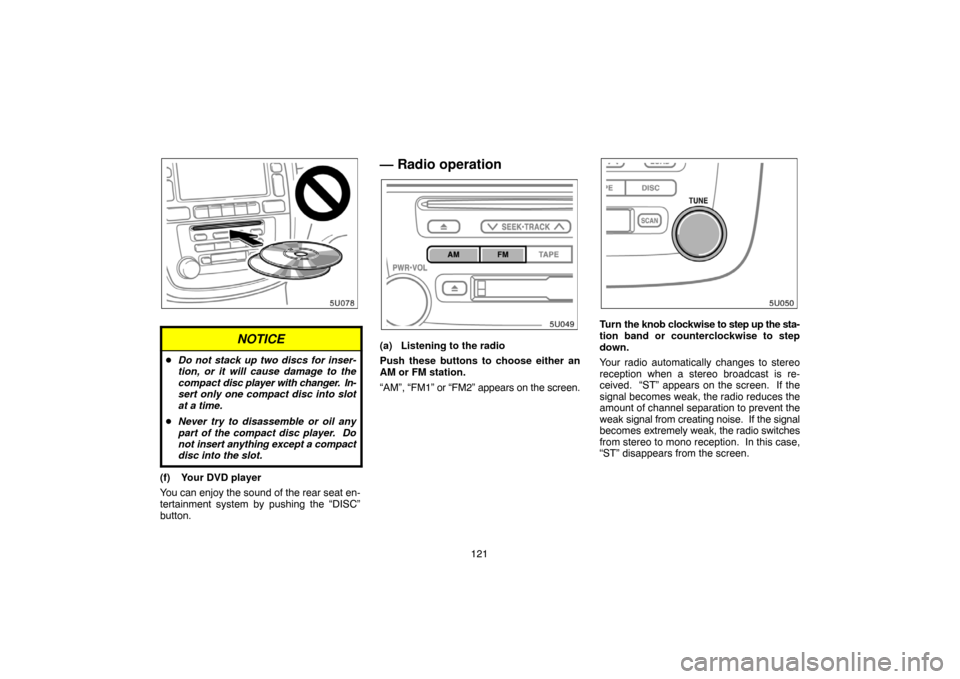
(a) Listening to the radio
Push these buttons to choose either an
AM or FM station.
“AM”, “FM1” or “FM2” appears on the screen.
Turn the knob clockwise to step up the sta-
tion band or counterclockwise to step
down.
Your radio automatically changes to stereo
reception when a stereo broadcast is re-
ceived. “ST” appears on the screen. If the
signal becomes weak, the radio reduces the
amount of channel separation to prevent the
weak signal from creating noise. If the signal
becomes extremely weak, the radio switches
from stereo to mono reception. In this case,
“ST” disappears from the screen.
Page 141 of 173
131
—DVD player operation
The DVD player can play DVD video, audio
CD, video CD, CD text, dts�CD or DVD au-
dio only when a disc is loaded in the DVD
player.
Refer to “Rear seat entertainment system” for
details.
For appropriate discs for this player, see “Car
audio system operating hints” on page 146.
(a) Inserting the disc
The indicator light turns on while the disc is
loaded.
If the label faces forward, the disc cannot be
played. In this case, “DISC CHECK” appears
on the screen.
If a disc which is not playable is inserted,
“DISC CHECK” will also appear on the
screen. For appropriate discs for this player,
see “Car audio system operating hints” on
page 146.
NOTICE
Never try to disassemble or oil any part
of the DVD player. Do not insert any-
thing other than a disc into the slot.
(b) Ejecting a disc
Push the “
” button.