2004 SUBARU IMPREZA heating
[x] Cancel search: heatingPage 5 of 491

2
How to use this owner’s manual !Using your Owner’s manual
Before you operate your vehicle, carefully read this
manual. To protect yourself and extend the service life
of your vehicle, follow the instructions in this manual.
Failure to observe these instructions may result in se-
rious injury and damage to your vehicle.
This manual is composed of fourteen chapters. Each
chapter begins with a brief table of contents, so you
can usually tell at a glance if that chapter contains the
information you want.
Chapter 1: Seat, seatbelt and SRS airbags
This chapter informs you how to use the seat and seat-
belt and contains precautions for the SRS airbags.
Chapter 2: Keys and doors
This chapter informs you how to operate the keys,
locks and windows.
Chapter 3: Instruments and controls
This chapter informs you about the operation of instru-
ment panel indicators and how to use the instruments
and other switches.
Chapter 4: Climate Control
This chapter informs you how to operate the climate
control.
Chapter 5: Audio This chapter informs you how to operate your audio system.
Chapter 6: Interior equipment
This chapter informs you how to operate interior
equipment.
Chapter 7: Starting and operating
This chapter informs you how to start and operate your SUBARU.
Chapter 8: Driving tips
This chapter informs you how to drive your SUBARU
in various conditions and explains some safety tips on
driving.
Chapter 9: In case of emergency
This chapter informs you what to do if you have a prob-
lem while driving, such as a flat tire or engine over-
heating.
Chapter 10: Appearance care
This chapter informs you how to keep your SUBARU
looking good.
Chapter 11: Maintenance and service
This chapter informs you when you need to take your
SUBARU to the dealer for scheduled maintenance
and informs you how to keep your SUBARU running
properly.
Chapter 12: Specifications
This chapter informs you about dimension and capac-
ities of your SUBARU.
Page 34 of 491
1-7
Seat, seatbelt and SRS airbags
– CONTINUED –
that the center of the head restraint is closest to the top
of the occupant’s ears.
"Each active head restraint is effective only
when its height is properly adjusted and the
user sits in the correct position on the seat. " Each active head restraint is designed to
work only once. If your vehicle is involved in a
rear-end collision, have an authorized SUBARU
dealer inspect the active head restraints." The active head restraints may not operate in
the event the vehicle experiences only a slight
impact in the rear." The active head restraints may be damaged if
they are pushed hard from behind or subjected
to shock. As a result, they may not function if
the vehicle suffers a rear impact.
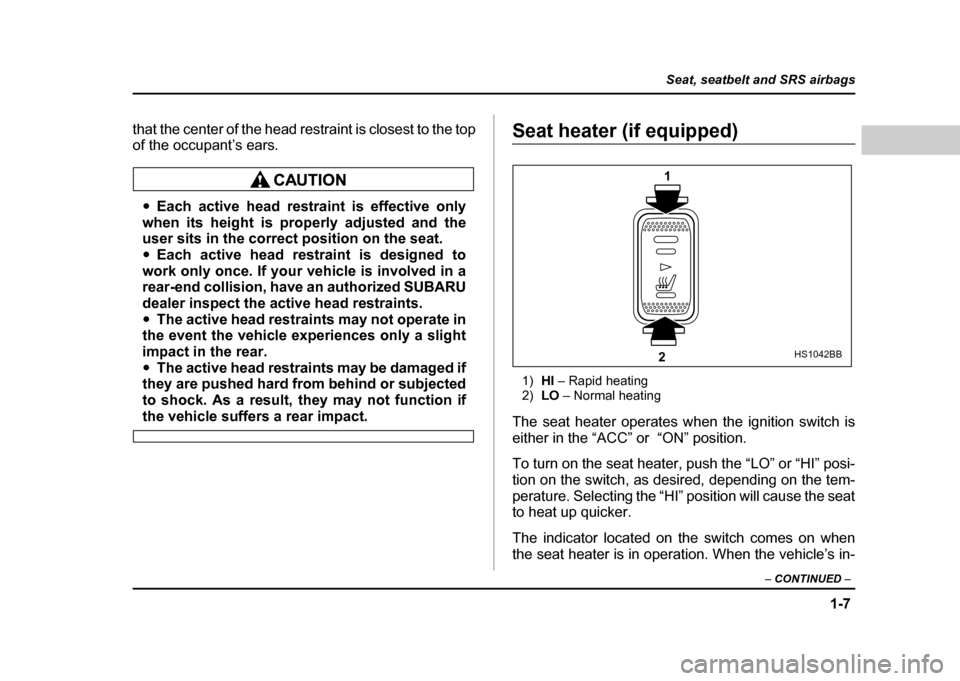
Seat heater (if equipped)
1) HI – Rapid heating
2) LO – Normal heating
The seat heater operates when the ignition switch is
either in the “ACC” or “ON” position.
To turn on the seat heater, push the “LO” or “HI” posi-
tion on the switch, as desired, depending on the tem-
perature. Selecting the “HI” position will cause the seat
to heat up quicker.
The indicator located on the switch comes on when
the seat heater is in operation. When the vehicle’s in-
1
2
HS1042BB
Page 172 of 491
3-35
Instruments and controls
– CONTINUED –
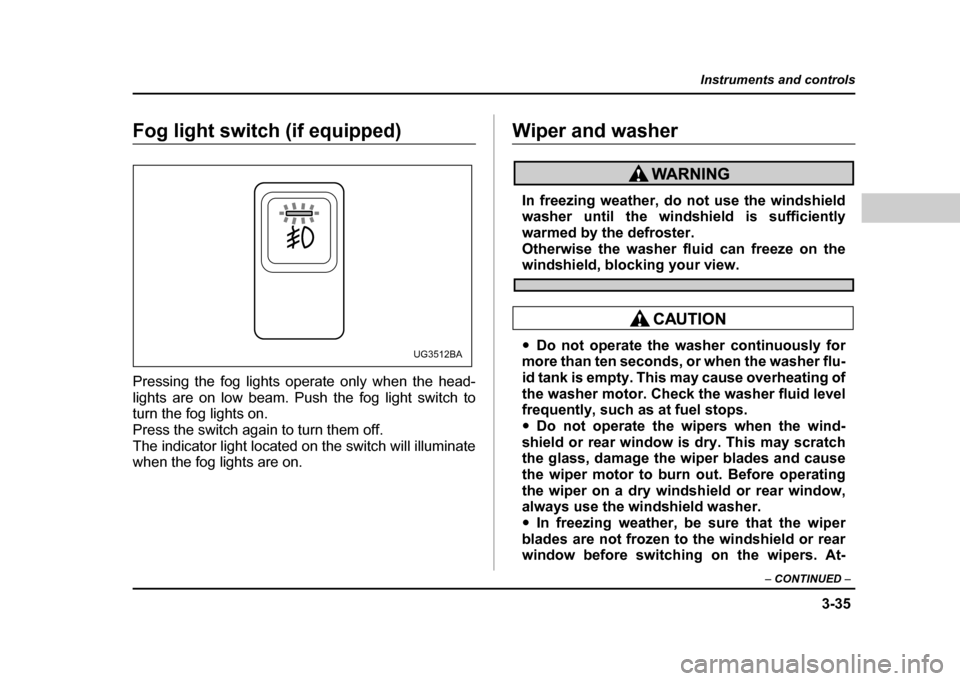
Fog light switch (if equipped)
Pressing the fog lights operate only when the head-
lights are on low beam. Push the fog light switch to
turn the fog lights on.
Press the switch again to turn them off.
The indicator light located on the switch will illuminate
when the fog lights are on.Wiper and washer
In freezing weather, do not use the windshield
washer until the windshield is sufficiently
warmed by the defroster.
Otherwise the washer fluid can freeze on the
windshield, blocking your view.
"Do not operate the washer continuously for
more than ten seconds, or when the washer flu-
id tank is empty. This may cause overheating of
the washer motor. Check the washer fluid level
frequently, such as at fuel stops. " Do not operate the wipers when the wind-
shield or rear window is dry. This may scratch
the glass, damage the wiper blades and cause
the wiper motor to burn out. Before operating
the wiper on a dry windshield or rear window,
always use the windshield washer. " In freezing weather, be sure that the wiper
blades are not frozen to the windshield or rear
window before switching on the wipers. At-UG3512BA
Page 196 of 491
4-7
Climate control
– CONTINUED –
gardless of the position of the air conditioner button to
defog the windshield quickly.
However, the air conditioner indicator light does not
come on at this time.
NOTE
Warm air also comes out from the right and left air
outlets. To stop warm air flow from these outlets,
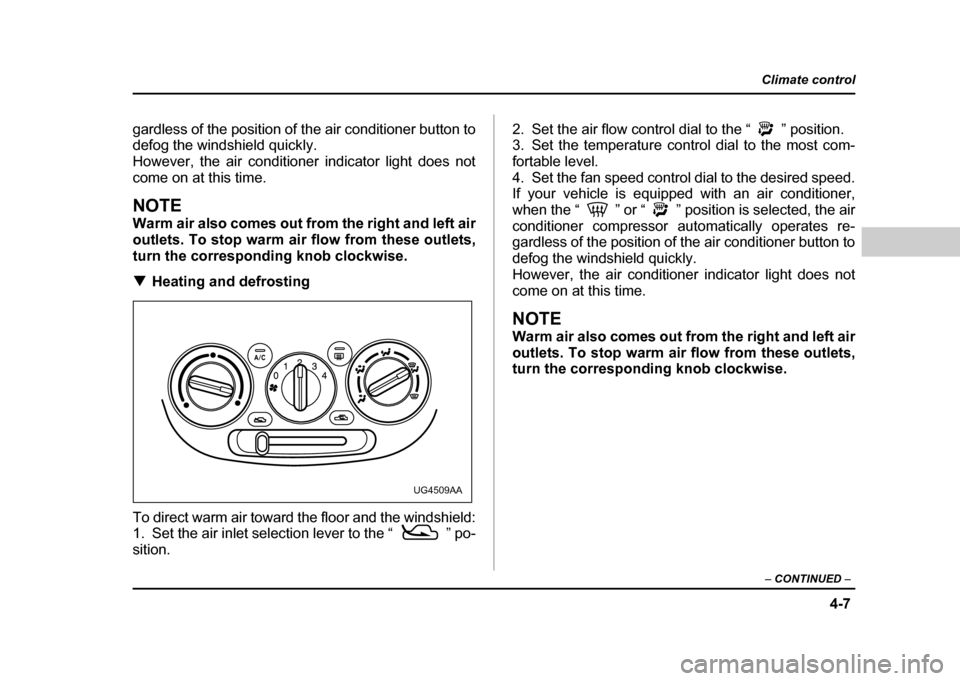
turn the corresponding knob clockwise. !Heating and defrosting
To direct warm air toward the floor and the windshield:
1. Set the air inlet selection lever to the “ ” po- sition. 2. Set the air flow control dial to the “ ” position.
3. Set the temperature control dial to the most com-
fortable level.
4. Set the fan speed control dial to the desired speed.
If your vehicle is equipped with an air conditioner,
when the “ ” or “ ” position is selected, the air
conditioner compressor automatically operates re-
gardless of the position of the air conditioner button to
defog the windshield quickly.
However, the air conditioner indicator light does not
come on at this time.
NOTE
Warm air also comes out from the right and left air
outlets. To stop warm air flow from these outlets,
turn the corresponding knob clockwise.
UG4509AA
Page 197 of 491

4-8
Climate control
!
Heating
To direct warm air toward the floor:
1. Set the air inlet selection lever to the “ ” po-sition.
2. Set the air flow control dial to the “ ” position.
3. Set the temperature control dial to the most com-
fortable level.
4. Set the fan speed control dial to the desired speed.
NOTE
Warm air also comes out from the right and left air
outlets. To stop warm air flow from these outlets,
turn the corresponding knob clockwise. !
Bi-level heating
This setting allows you to direct air of different temper-
atures from the instrument panel and foot outlets. The
air from the foot outlets is slightly warmer than from the
instrument panel outlets.
1. Set the air inlet selection lever to the “ ” po-sition.
2. Set the air flow control dial to the “ ” position.
3. Set the temperature control dial to the desired tem-perature level.
4. Set the fan speed control dial to the desired speed.
Setting the temperature control dial fully turned to the
red area or blue area decreases the temperature dif-
UG4510AAUG4511AA
Page 201 of 491
4-12
Climate control
functions are as follows:
OFF:
The fan does not operate.
AUTO: The fan speed is adjusted automatically in ac-
cordance with the air temperature inside and outside
the passenger compartment, the intensity of sunlight,
and other factors. Subaru recommends using the
AUTO position.
Other positions: The fan speed can be adjusted in
four steps.
NOTE
With the fan speed control dial in the AUTO posi-
tion and the air flow control dial in the “ ”,
“ ”, or “ ” position, the fan does not oper-
ate during engine warmup until the engine coolant
temperature exceeds approx. 122 °F (50 °C).
! Temperature control dial
This dial is used to set the desired interior tempera-
ture. With the dial set to your desired temperature, the
system automatically adjusts the temperature of air
supplied from the outlets such that the desired temper-
ature is achieved and maintained.
If the dial is turned fully counterclockwise, the system
gives maximum cooling performance. If the dial is
turned fully clockwise, the system gives maximum
heating performance. !
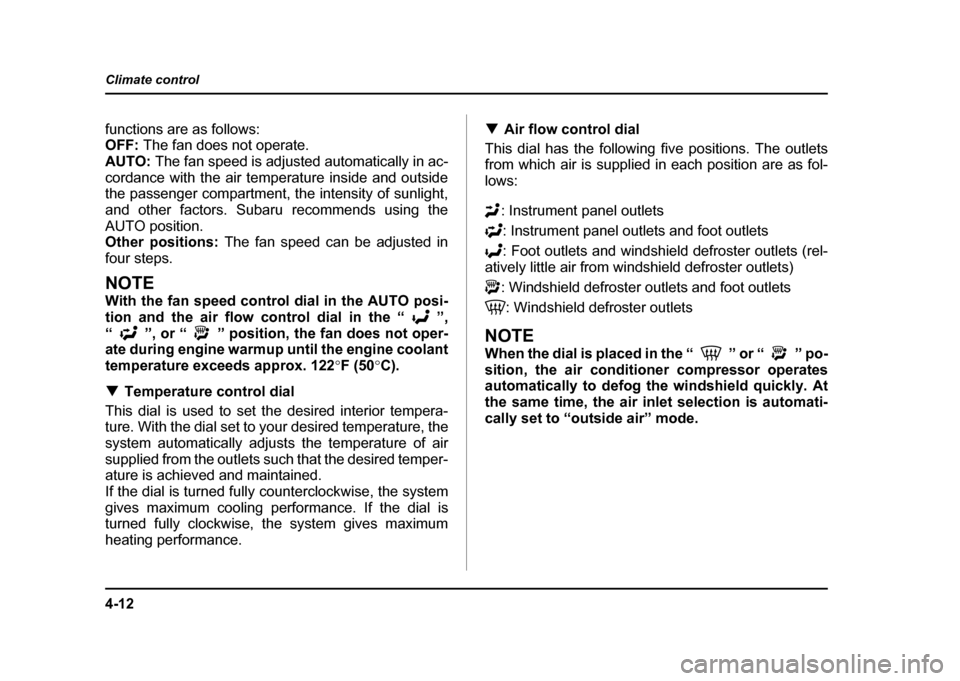
Air flow control dial
This dial has the following five positions. The outlets
from which air is supplied in each position are as fol-
lows:
: Instrument panel outlets: Instrument panel outlets and foot outlets
: Foot outlets and windshield defroster outlets (rel-
atively little air from windshield defroster outlets)
: Windshield defroster outlets and foot outlets
: Windshield defroster outlets
NOTE
When the dial is placed in the “ ” or “ ” po-
sition, the air conditioner compressor operates
automatically to defog the windshield quickly. At
the same time, the air inlet selection is automati-
cally set to “outside air” mode.
Page 203 of 491
4-14
Climate control
OFF:
The air conditioner does not operate.
Push the button a second time to select this position.
The indicator light will go off.
NOTE
The air conditioner’s compressor does not oper-
ate with an outside temperature of 32 °F (0 °C) or
lower. ! Operating method
! Normal operation (automatic control)
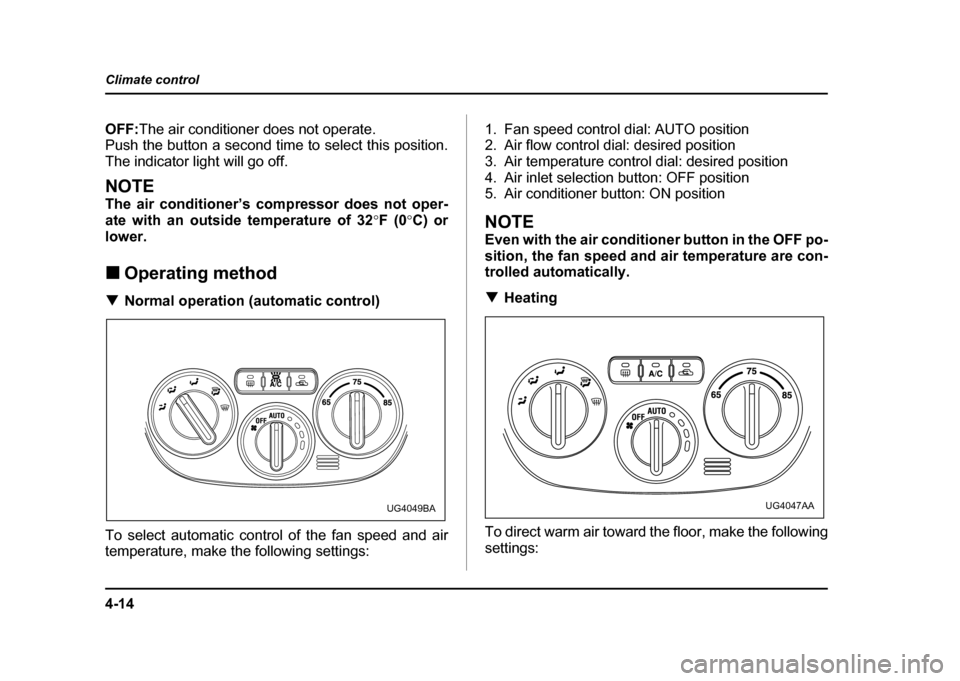
To select automatic control of the fan speed and air
temperature, make the following settings: 1. Fan speed control dial: AUTO position
2. Air flow control dial: desired position
3. Air temperature control dial: desired position
4. Air inlet selection button: OFF position
5. Air conditioner button: ON position
NOTE
Even with the air conditioner button in the OFF po-
sition, the fan speed and air temperature are con-
trolled automatically. !
Heating
To direct warm air toward the floor, make the following settings:
UG4049BAUG4047AA
Page 205 of 491
4-16
Climate control
!
Bi-level heating
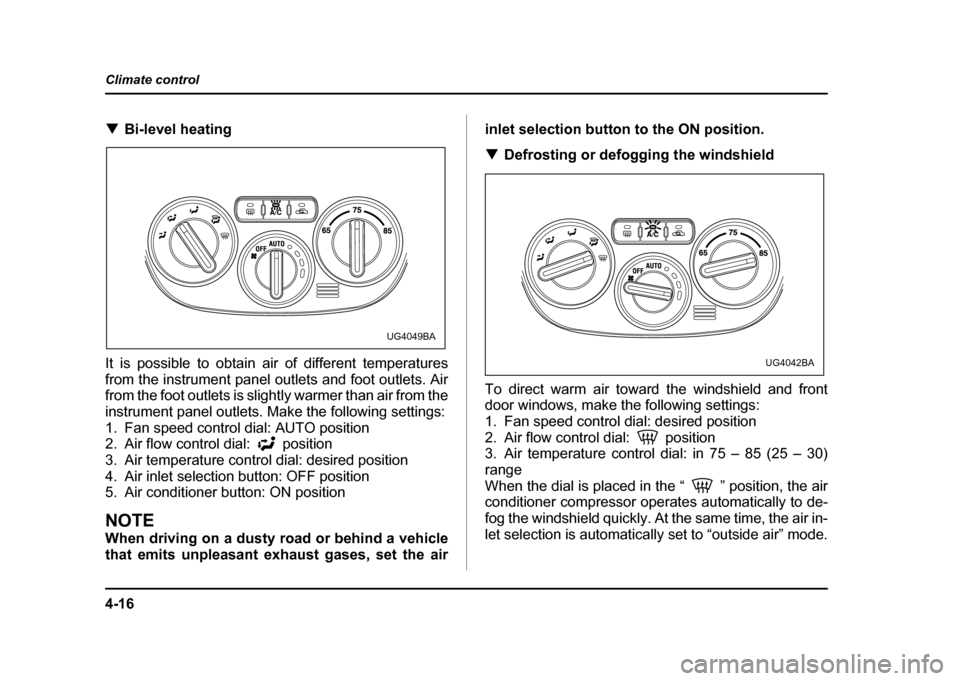
It is possible to obtain air of different temperatures
from the instrument panel outlets and foot outlets. Air
from the foot outlets is slightly warmer than air from the
instrument panel outlets. Make the following settings:
1. Fan speed control dial: AUTO position
2. Air flow control dial: position
3. Air temperature control dial: desired position
4. Air inlet selection button: OFF position
5. Air conditioner button: ON position
NOTE
When driving on a dusty road or behind a vehicle
that emits unpleasant exhaust gases, set the air inlet selection button to the ON position. !
Defrosting or defogging the windshield
To direct warm air toward the windshield and front
door windows, make the following settings:
1. Fan speed control dial: desired position
2. Air flow control dial: position
3. Air temperature control dial: in 75 – 85 (25 – 30)
range
When the dial is placed in the “ ” position, the air
conditioner compressor operates automatically to de-
fog the windshield quickly. At the same time, the air in-
let selection is automatically set to “outside air” mode.
UG4049BA
UG4042BA