Page 7 of 491
4
ual. This symbol means “Do not”, “Do not do this”, or
“Do not let this happen”, depending upon the context.Vehicle symbols
There are some of the symbols you may see on your vehicle.Mark Name CAUTION
Power door lock and unlock
Passenger’s windows lock and un-
lock Fuel
Front fog lights
Parking lights
Hazard warning flasher
Cigarette lighter
Page 17 of 491
14
Illustrated index !Exterior
10
12 11 8 7 965
4
3
12UGF054BB
1) Engine hood (page 11-5)
2) Headlight switch (page 3-29)
3) Replacing bulbs (page 11-64)
4) Wiper switch (page 3-37)
5) Moonroof (page 2-31)
6) Door locks (page 2-3)
7) Tire pressure (page 11-45)
8) Flat tires (page 9-5)
9) Tire chains (page 8-16)
10) Front fog light switch (page 3-
35)
11) Tie-down hooks (page 9-17)
12) Towing hooks (page 9-17)
Page 139 of 491

3-2
Instruments and controls
Daytime running light system (except U.S. spec. WRX-STi) .............................................. 3-31
Turn signal lever ........................................... 3-31
Illumination brightness control ................... 3-32
Illumination brightness control (WRX-STi) 3-33
Headlight beam leveler (U.S. spec. WRX-STi) ................................ 3-33
Parking light switch ..................................... 3-34
Fog light switch (if equipped) ..................... 3-35
Wiper and washer ......................................... 3-35 Windshield wiper and washer switches ......... 3-37
Rear window wiper and washer switch – Wagon .......................................................... 3-39
Rear window defogger switch ..................... 3-40
Windshield wiper deicer (if equipped) ....... 3-42
Intercooler water spray switch (WRX-STi) . 3-43
Mirrors ........................................................... 3-44 Inside mirror ...................................................... 3-44
Outside mirrors ................................................. 3-47
Tilt steering wheel ........................................ 3-49
Horn ............................................................... 3-50
Page 172 of 491

3-35
Instruments and controls
– CONTINUED –
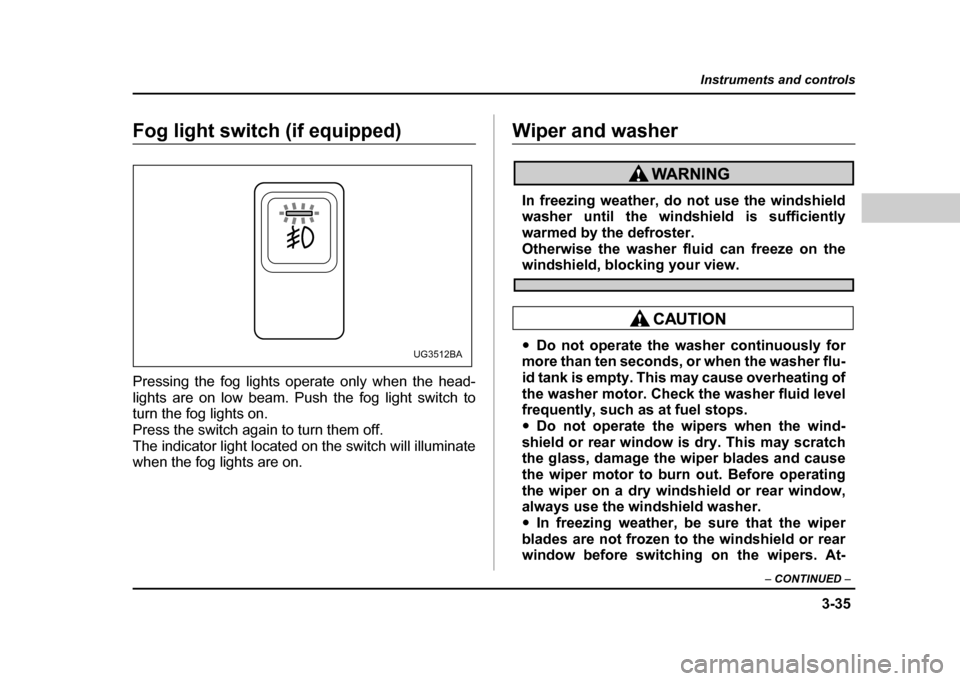
Fog light switch (if equipped)
Pressing the fog lights operate only when the head-
lights are on low beam. Push the fog light switch to
turn the fog lights on.
Press the switch again to turn them off.
The indicator light located on the switch will illuminate
when the fog lights are on.Wiper and washer
In freezing weather, do not use the windshield
washer until the windshield is sufficiently
warmed by the defroster.
Otherwise the washer fluid can freeze on the
windshield, blocking your view.
"Do not operate the washer continuously for
more than ten seconds, or when the washer flu-
id tank is empty. This may cause overheating of
the washer motor. Check the washer fluid level
frequently, such as at fuel stops. " Do not operate the wipers when the wind-
shield or rear window is dry. This may scratch
the glass, damage the wiper blades and cause
the wiper motor to burn out. Before operating
the wiper on a dry windshield or rear window,
always use the windshield washer. " In freezing weather, be sure that the wiper
blades are not frozen to the windshield or rear
window before switching on the wipers. At-UG3512BA
Page 178 of 491
3-41
Instruments and controls
– CONTINUED –
Semi-automatic climate control system
To turn on the defogger, push the switch. To turn it off,
push the switch again.
The indicator light located on the switch lights up while
the rear window defogger is operating.
NOTE
If your vehicle is equipped with the outside mirror
defogger, the outside mirror defogger operates
while the rear window defogger is operating.
" Do not use sharp instruments or window cleaner containing abrasives to clean the inner
surface of the rear window. They may damage
the conductors printed on the window."
To prevent the battery from being dis-
charged, do not operate the defogger continu-
ously for any longer than necessary.
UG3035BA
Page 179 of 491

3-42
Instruments and controls
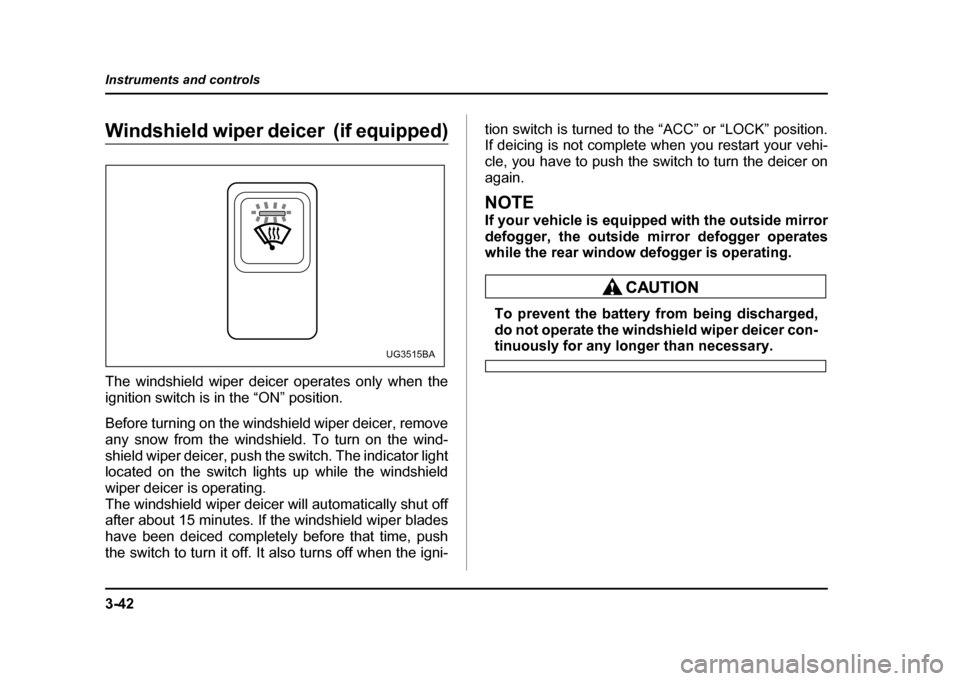
Windshield wiper deicer (if equipped)
The windshield wiper deicer operates only when the
ignition switch is in the “ON” position.
Before turning on the windshield wiper deicer, remove
any snow from the windshield. To turn on the wind-
shield wiper deicer, push the switch. The indicator light
located on the switch lights up while the windshield
wiper deicer is operating.
The windshield wiper deicer will automatically shut off
after about 15 minutes. If the windshield wiper blades
have been deiced completely before that time, push
the switch to turn it off. It also turns off when the igni-
tion switch is turned to the “ACC” or “LOCK” position.
If deicing is not complete when you restart your vehi-
cle, you have to push the switch to turn the deicer on
again.
NOTE
If your vehicle is equipped with the outside mirror
defogger, the outside mirror defogger operates
while the rear window defogger is operating.
To prevent the battery from being discharged,
do not operate the windshield wiper deicer con-
tinuously for any longer than necessary.UG3515BA
Page 183 of 491

3-46
Instruments and controls
detect it and make the reflection surface of the mirror
dimmer to help prevent you from being blinded. For
this reason, use care not to cover the sensors with
stickers, or other similar items. Periodically wipe the
sensors clean using a piece of dry soft cotton cloth or
an applicator. "
Compass calibration
1. For optimum calibration, switch off all nonessential
electrical accessories (rear window defogger, heater/
air conditioning system, spotlight, etc.) and ensure all
doors are shut.
2. Drive to an open, level area away from large metal-
lic objects or structures and make certain the ignition
switch is in the “ON” position.
3. Press and hold the left button for 3 seconds then re-
lease, and the compass will enter the calibration
mode. “CAL” and direction will be displayed.
4. Drive slowly in a circle until “CAL” disappears from
the display (about two or three circles). The compass
is now calibrated.
5. Further calibration may be necessary should out-
side. Influences cause the mirror to read inaccurately.
You will know that this has occurred if your compass
begins to read in only limited directions. Should you
encounter this situation, return to step one of the
above procedure and recalibrate the mirror. "
Compass zone adjustment
Compass calibration zones
1. The zone setting is factory preset to Zone 8. Refer
to the “Compass calibration zone” map shown above
or one attached to the end of this manual to verify that
the compass zone setting is correct for your geograph-ical location.
2. Press and hold the right button for 3 seconds then
release, and the word “ZONE” will briefly appear and
then the zone number will be displayed.
3. Press the right hand button repeatedly to cycle the
display through all possible zone settings. Stop cycling
when the correct zone setting for your location is dis-
10
9
8
7
6
5
4
3
1112
13
HGF048AA
Page 185 of 491
3-48
Instruments and controls
3. Return the selection switch to the neutral position
to prevent unintentional operation.
The mirrors can also be adjusted manually. !
Outside mirror defogger (if equipped)
Manual climate control system Semi-automatic climate control system
The outside mirror defogger shares the switch with
rear window defogger.
The outside mirror defogger operates only when the
ignition switch is in the “ON” position.
To turn on the outside mirror defogger, push the
switch. To turn it off, push the switch again. The indi-
cator light located on the switch lights up while the out-
side mirror defogger is operating.
The defogger will automatically shut off after about 15
minutes. If the mirror clears before that time, push the
switch to turn it off. It also turns off when the ignition
switch is turned to the “ACC” or “LOCK” position. If de-
UG3508BA
UG3035BA