Page 406 of 491
11 -2 1
Maintenance and service
– CONTINUED –
Never attempt to remove the radiator cap until
the engine has been shut off and has cooled
down completely. Since the coolant is under
pressure, you may suffer serious burns from a
spray of boiling hot coolant when the cap is re-
moved.
4. Install the under cover.
Non-turbo models
1) Filler neck
2) Fill up to this level Turbo models
1) Filler neck
2) Fill up to this level
5. Slowly pour the coolant and fill to the radiator filler
neck. Do not pour the coolant too quickly, as this may
lead to insufficient air bleeding and trapped air in the system.
1
2
UGB508BB
1
2
USB518BB
Page 407 of 491
11 - 2 2
Maintenance and service
Guideline of coolant quantity (including coolant in reservoir tank):
Non-turbo models: MT. 7.4 US qt (7.0 liters, 6.2 Imp qt)
AT. 7.3 US qt (6.9 liters, 6.1 Imp qt)
Turbo models: MT. 8.1 US qt (7.7 liters, 6.8 Imp qt)
AT. 8.0 US qt (7.6 liters, 6.7 Imp qt)
1) “FULL” level mark
2) “LOW” level mark
" Be careful not to spill engine coolant when
adding it. If coolant touches the exhaust pipe, it
may cause a bad smell, smoke, and/or a fire." Do not splash the engine coolant over paint-
ed parts. The alcohol contained in the engine
coolant may damage the paint surface.
6. Pour the coolant and fill to the reservoir tank’s
“FULL” level mark.
1) Rubber gaskets
FULL
LOW
HGB056CB
1 21
HSB026BB
Page 408 of 491

11 -2 3
Maintenance and service
– CONTINUED –
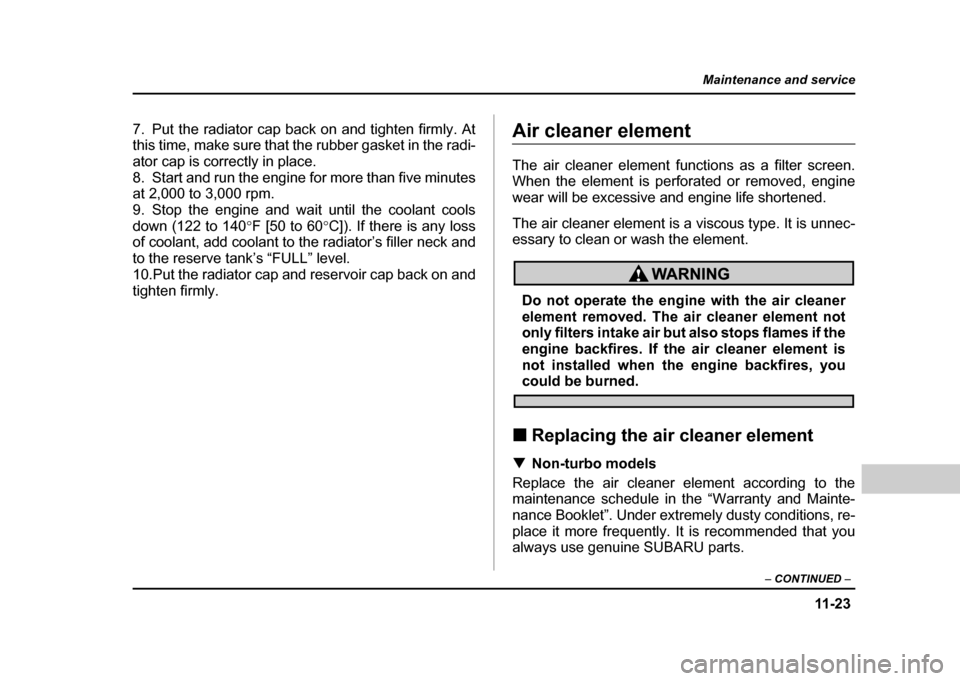
7. Put the radiator cap back on and tighten firmly. At
this time, make sure that the rubber gasket in the radi-
ator cap is correctly in place.
8. Start and run the engine for more than five minutes
at 2,000 to 3,000 rpm.
9. Stop the engine and wait until the coolant cools
down (122 to 140 °F [50 to 60 °C]). If there is any loss
of coolant, add coolant to the radiator’s filler neck and
to the reserve tank’s “FULL” level.
10.Put the radiator cap and reservoir cap back on and
tighten firmly.Air cleaner element
The air cleaner element functions as a filter screen.
When the element is perforated or removed, engine
wear will be excessive and engine life shortened.
The air cleaner element is a viscous type. It is unnec-
essary to clean or wash the element.
Do not operate the engine with the air cleaner
element removed. The air cleaner element not
only filters intake air but also stops flames if the
engine backfires. If the air cleaner element is
not installed when the engine backfires, you
could be burned.
! Replacing the air cleaner element
! Non-turbo models
Replace the air cleaner element according to the
maintenance schedule in the “Warranty and Mainte-
nance Booklet”. Under extremely dusty conditions, re-
place it more frequently. It is recommended that you
always use genuine SUBARU parts.
Page 416 of 491
11 -3 1
Maintenance and service
– CONTINUED –
Automatic transmission fluid !Checking the fluid level
The automatic transmission fluid expands largely as
its temperature rises; the fluid level differs according to
fluid temperature. Therefore, there are two different
scales for checking the level of hot fluid and cold fluid
on the dipstick.
Though the fluid level can be checked without warm-
ing up the fluid on the “COLD” range, we recommend
checking the fluid level when the fluid is at operating
temperature. ! Checking the fluid level when the fluid is hot
1. Drive the vehicle several miles to raise the temper-
ature of the transmission fluid up to normal operating
temperature; 158 to 176 °F (70 to 80 °C) is normal.
2. Park the vehicle on a level surface and set the park-
ing brake.
3. First shift the selector lever in each position. Then
shift it in the “P” position, and run the engine at idling
speed. 1) Yellow handle
HGB056JB
1
Page 425 of 491

11 - 4 0
Maintenance and service
Brake booster
If the brake booster does not operate as described be-
low, have it checked by your SUBARU dealer.
1. With the engine off, depress the brake pedal sever-
al times, applying the same pedal force each time. The
distance the pedal travels should not vary.
2. With the brake pedal depressed, start the engine.
The pedal should move slightly down to the floor.
3. With the brake pedal depressed, stop the engine
and keep the pedal depressed for 30 seconds. The
pedal height should not change.
4. Start the engine again and run for about one minute
then turn it off. Depress the brake pedal several times
to check the brake booster. Brake booster operates
properly if the pedal stroke decreases with each de- pression.Brake pedal
Check the brake pedal free play and reserve distance
according to the maintenance schedule in the “War-
ranty and Maintenance Booklet”. !
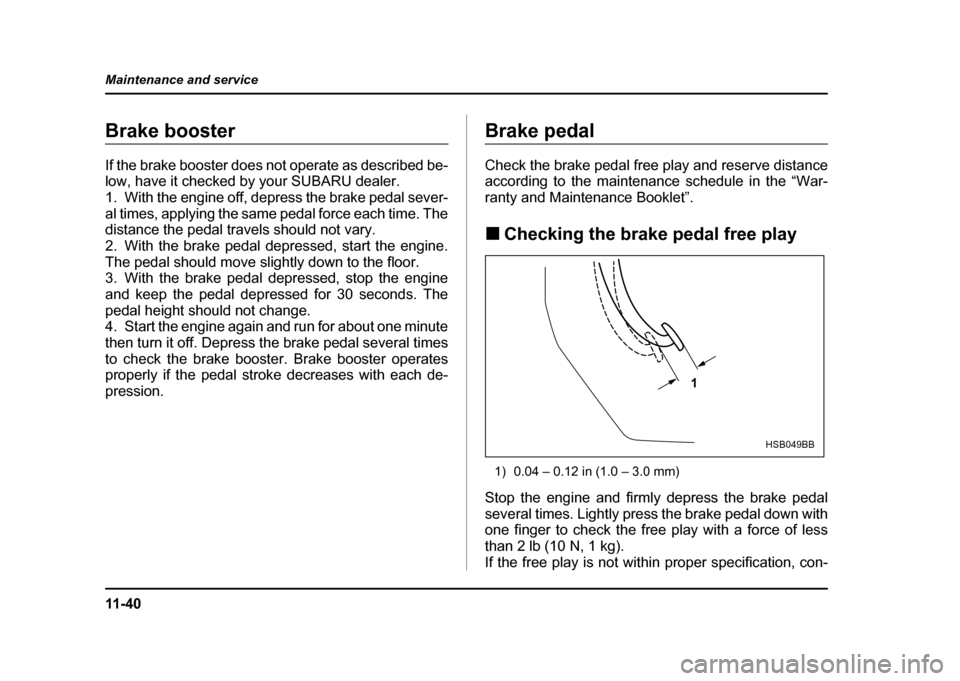
Checking the brake pedal free play
1) 0.04 – 0.12 in (1.0 – 3.0 mm)
Stop the engine and firmly depress the brake pedal
several times. Lightly press the brake pedal down with
one finger to check the free play with a force of less
than 2 lb (10 N, 1 kg).
If the free play is not within proper specification, con-
1
HSB049BB
Page 426 of 491
11 -4 1
Maintenance and service
– CONTINUED –
tact your SUBARU dealer. !Checking the brake pedal reserve dis- tance
1) More than 2.56 in (65 mm)
Depress the pedal with a force of approximately 66 lb
(294 N, 30 kg) and measure the distance between the
upper surface of the pedal pad and the floor.
When the measurement is smaller than the specifica-
tion, or when the pedal does not operate smoothly,
contact with your SUBARU dealer.Clutch pedal (MT vehicles)
Check the clutch pedal free play and reserve distance
according to the maintenance schedule in the “War-
ranty and Maintenance Booklet”. ! Checking the clutch function
Check the clutch engagement and disengagement.
1. With the engine idling, check that there are no ab-
normal noises when the clutch pedal is depressed,
and that shifting into 1st or reverse feels smooth.
2. Start the vehicle by releasing the pedal slowly to
check that the engine and transmission smoothly cou-
ple without any sign of slippage.
1
HSB050BB
Page 440 of 491

11 -5 5
Maintenance and service
– CONTINUED –
Never use engine coolant as washer fluid be-cause it could cause paint damage. Replacement of windshield wiper
blades
Grease, wax, insects, or other material on the wind-
shield or the wiper blade results in jerky wiper opera-
tion and streaking on the glass. If you cannot remove
the streaks after operating the windshield washer or if
the wiper operation is jerky, clean the outer surface of
the windshield (or rear window) and the wiper blades
using a sponge or soft cloth with a neutral detergent or
mild-abrasive cleaner. After cleaning, rinse the wind-
shield and wiper blades with clean water. The wind-
shield is clean if beads do not form when you rinse the
windshield with water.
Do not clean the wiper blades with gasoline or
a solvent, such as paint thinner or benzene.
This will cause deterioration of the wiper
blades.
If you cannot eliminate the streaking even after follow-
ing this method, replace the wiper blades using the fol-
lowing procedures:
1. Raise the wiper arm off the windshield.
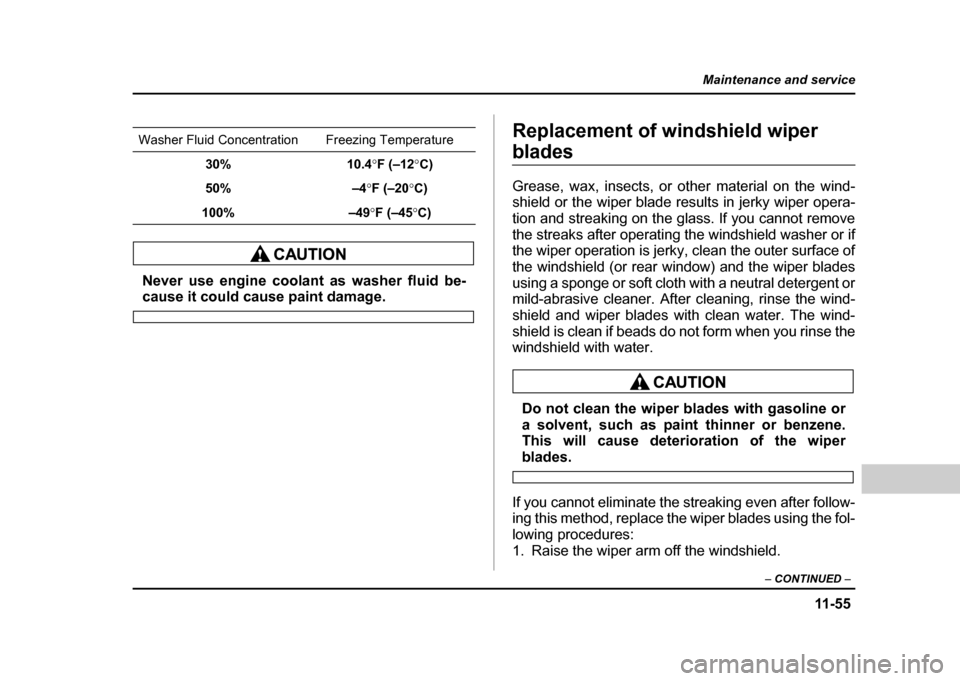
Washer Fluid Concentration Freezing Temperature
30% 10.4 °F (–12 °C)
50% –4 °F (–20 °C)
100% –49 °F (–45 °C)
Page 446 of 491
11 -6 1
Maintenance and service
– CONTINUED –
The other one is housed in the engine compartment. 1) Fuse puller
2) Spare fuse
The fuse puller and spare fuses are stored in the main
fuse box cover in the engine compartment.
HSB065BA
1
2
HSB066BB