Page 308 of 432
Checking Coolant
The coolant recovery tank is located in the engine
compartment toward the rear of the engine on
the passenger's side of the vehicle. See
Engine
Compartment Overview on page 5-12for more
information on location.
The vehicle must be on a level surface when checking
the coolant level.
When your engine is cold,
the coolant level should be
at the COLD mark or a
little higher.
When your engine is warm, the level should be up to
the HOT mark or a little higher.
Adding Coolant
This symbol, along with
the LOW COOLANT
LEVEL warning message
will appear in the Driver
Information Center
(DIC) when coolant needs
to be added to the
coolant recovery tank.
See
DIC Controls and Displays on page 3-45for more
information.
If you need more coolant, add the proper DEX-COOL
ž
coolant mixture at the coolant recovery tank, but be
careful not to spill it.
If the coolant recovery tank is completely empty,
add coolant to the radiator. See
Engine Overheating on
page 5-29.
5-28
Page 309 of 432

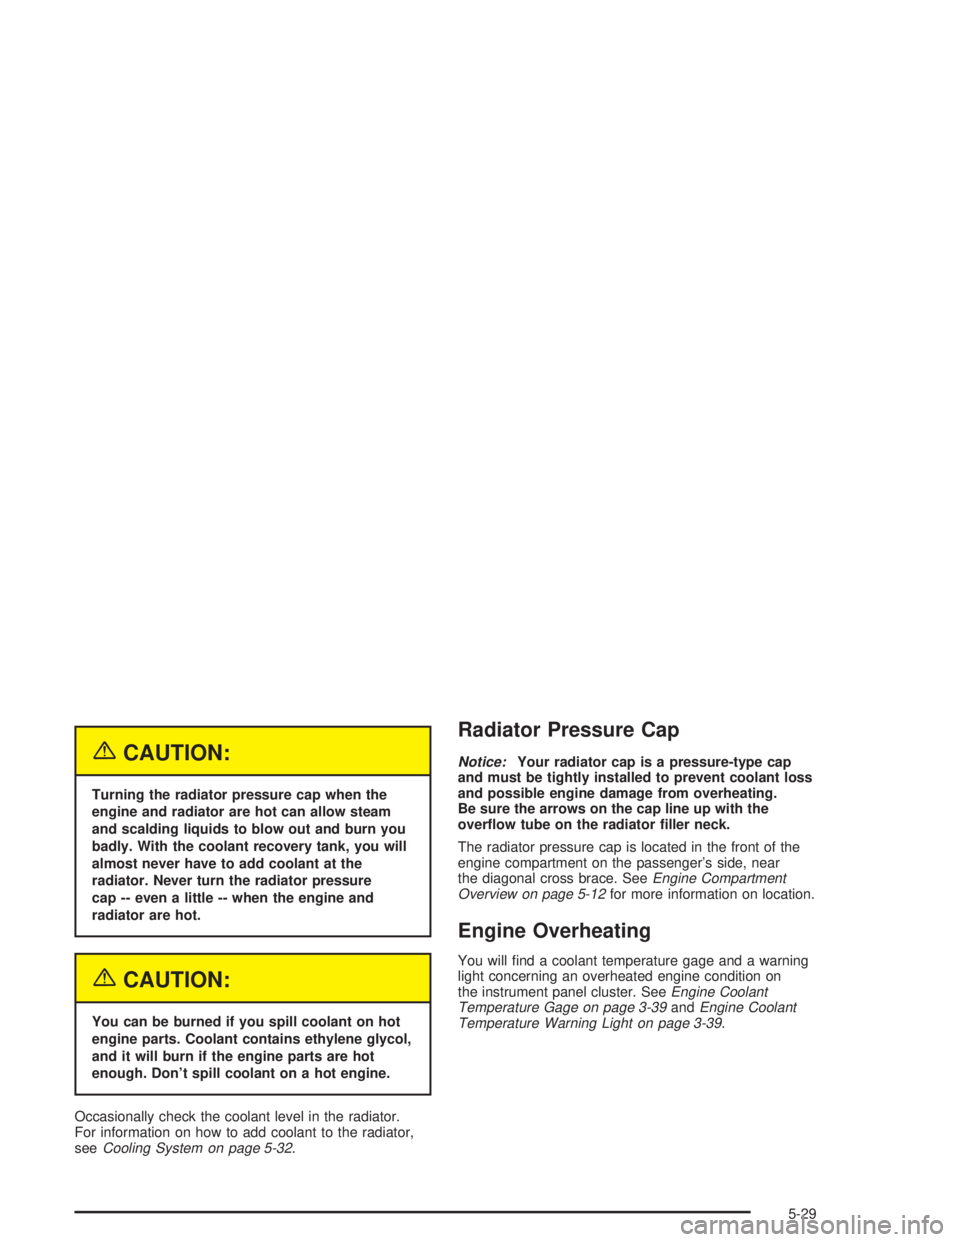
{CAUTION:
Turning the radiator pressure cap when the
engine and radiator are hot can allow steam
and scalding liquids to blow out and burn you
badly. With the coolant recovery tank, you will
almost never have to add coolant at the
radiator. Never turn the radiator pressure
cap -- even a little -- when the engine and
radiator are hot.
{CAUTION:
You can be burned if you spill coolant on hot
engine parts. Coolant contains ethylene glycol,
and it will burn if the engine parts are hot
enough. Don't spill coolant on a hot engine.
Occasionally check the coolant level in the radiator.
For information on how to add coolant to the radiator,
see
Cooling System on page 5-32.
Radiator Pressure Cap
Notice:Your radiator cap is a pressure-type cap
and must be tightly installed to prevent coolant loss
and possible engine damage from overheating.
Be sure the arrows on the cap line up with the
over¯ow tube on the radiator ®ller neck.
The radiator pressure cap is located in the front of the
engine compartment on the passenger's side, near
the diagonal cross brace. See
Engine Compartment
Overview on page 5-12for more information on location.
Engine Overheating
You will ®nd a coolant temperature gage and a warning
light concerning an overheated engine condition on
the instrument panel cluster. See
Engine Coolant
Temperature Gage on page 3-39andEngine Coolant
Temperature Warning Light on page 3-39.
5-29
Page 314 of 432

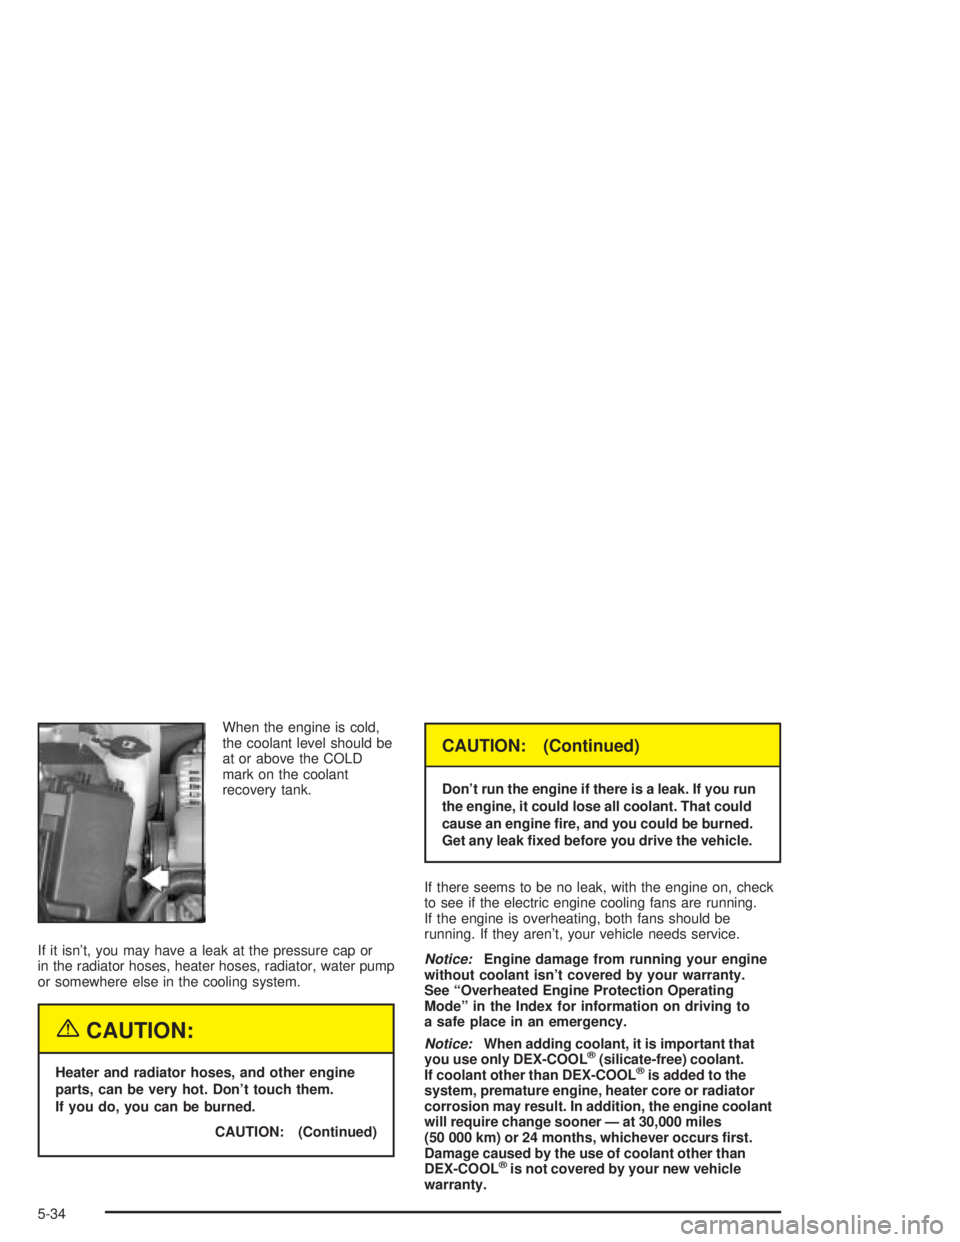
When the engine is cold,
the coolant level should be
at or above the COLD
mark on the coolant
recovery tank.
If it isn't, you may have a leak at the pressure cap or
in the radiator hoses, heater hoses, radiator, water pump
or somewhere else in the cooling system.
{CAUTION:
Heater and radiator hoses, and other engine
parts, can be very hot. Don't touch them.
If you do, you can be burned.
CAUTION: (Continued)
CAUTION: (Continued)
Don't run the engine if there is a leak. If you run
the engine, it could lose all coolant. That could
cause an engine ®re, and you could be burned.
Get any leak ®xed before you drive the vehicle.
If there seems to be no leak, with the engine on, check
to see if the electric engine cooling fans are running.
If the engine is overheating, both fans should be
running. If they aren't, your vehicle needs service.
Notice:Engine damage from running your engine
without coolant isn't covered by your warranty.
See ªOverheated Engine Protection Operating
Modeº in the Index for information on driving to
a safe place in an emergency.
Notice:When adding coolant, it is important that
you use only DEX-COOLž(silicate-free) coolant.
If coolant other than DEX-COOLžis added to the
system, premature engine, heater core or radiator
corrosion may result. In addition, the engine coolant
will require change sooner Ð at 30,000 miles
(50 000 km) or 24 months, whichever occurs ®rst.
Damage caused by the use of coolant other than
DEX-COOL
žis not covered by your new vehicle
warranty.
5-34
Page 321 of 432
10. Start the engine and let it run until you can feel the
upper radiator hose getting hot. Watch out for the
engine cooling fans.
11. By this time, the coolant level inside the radiator
®ller neck may be lower. If the level is lower, add
more of the proper DEX-COOL
žcoolant mixture
through the ®ller neck until the level reaches
the base of the ®ller neck.12. Then replace the radiator pressure cap. At any time
during this procedure if coolant begins to ¯ow out of
the ®ller neck, reinstall the pressure cap. Be sure
the arrow on the pressure cap lines up like this.
13. Check the coolant in the recovery tank. The level in
the coolant recovery tank should be at the HOT
mark when the engine is hot or at the COLD mark
when the engine is cold.
5-41
Page 322 of 432
Power Steering Fluid
The power steering ¯uid reservoir is located in the
engine compartment next to the engine coolant recovery
tank. It sits low in the engine compartment. See
Engine Compartment Overview on page 5-12.
When to Check Power Steering Fluid
It is not necessary to regularly check power steering ¯uid
unless you suspect there is a leak in the system or
you hear an unusual noise. A ¯uid loss in this system
could indicate a problem. Have the system inspected
and repaired.
How to Check Power Steering Fluid
Turn the key off, let the engine compartment cool down,
wipe the cap and the top of the reservoir clean, then
unscrew the cap and wipe the dipstick with a clean rag.
Replace the cap and completely tighten it. Then remove
the cap again and look at the ¯uid level on the dipstick.
5-42
Page 332 of 432
5. Check that the jumper cables don't have loose or
missing insulation. If they do, you could get a
shock. The vehicles could be damaged too.
Before you connect the cables, here are some
basic things you should know. Positive (+) will go to
positive (+) or to a remote positive (+) terminal if
the vehicle has one. Negative will go to a heavy,
unpainted metal engine part or to a remote
negative (-) terminal if the vehicle has one.
Don't connect positive (+) to negative (-), or you'll
get a short that would damage the battery and
maybe other parts, too. And don't connect
the negative (-) cable to the negative (-) terminal
on the dead battery because this can cause sparks.
6. Connect the red positive (+) cable to the positive (+)
terminal location on the vehicle with the dead battery.
Use a remote positive (+) terminal if the vehicle
has one.
5-52
Page 384 of 432
Capacities and Speci®cations
Please refer toPart D: Recommended Fluids and Lubricants on page 6-16for more information.
Capacities and Speci®cations
ApplicationCapacities
English Metric
Air Conditioning Refrigerant R134a 2.4 lbs 1.1 kg
Automatic Transaxle
Pan Removal and Replacement
After Complete Overhaul7.4 quarts
10.0 quarts7.0 L
9.5 L
When draining/replacing converter or auxiliary cooler, more ¯uid may be needed.
Cooling System Including Reservoir
3800 V6 (Code K)
3800 V6 Supercharged (Code 1)11.2 quarts
11.2 quarts10.6 L
10.6 L
Engine Oil with Filter
3800 V6 (Code K)
3800 V6 Supercharged (Code 1)4.3 quarts
4.3 quarts4.1 L
4.1 L
Fuel Tank 17.0 gallons 64.0 L
Wheel Nut Torque 100 ft lb 140Y
All capacities are approximate. When adding ¯uid, be sure to ®ll to the appropriate level, as recommended in this
manual. Recheck ¯uid level after ®lling. See
Part D: Recommended Fluids and Lubricants on page 6-16for more
information.
5-104
Page 387 of 432

Maintenance Schedule......................................6-2
Introduction...................................................6-2
Maintenance Requirements..............................6-2
Your Vehicle and the Environment....................6-2
How This Section is Organized.........................6-3
Part A: Scheduled Maintenance Services...........6-4
Using Your Maintenance Schedule....................6-4
Scheduled Maintenance...................................6-5
Part B: Owner Checks and Services................6-10
At Each Fuel Fill..........................................6-10
At Least Once a Month.................................6-10
At Least Twice a Year...................................6-11At Least Once a Year...................................6-11
Part C: Periodic Maintenance Inspections.........6-14
Steering, Suspension and Front Drive Axle
Boot and Seal Inspection............................6-14
Exhaust System Inspection............................6-14
Fuel System Inspection..................................6-14
Engine Cooling System Inspection...................6-15
Throttle System Inspection.............................6-15
Brake System Inspection................................6-15
Part D: Recommended Fluids and Lubricants. . . .6-16
Part E: Maintenance Record...........................6-17
Section 6 Maintenance Schedule
6-1