2004 PONTIAC GRAND PRIX display
[x] Cancel search: displayPage 230 of 432
sSCANt:To scan one disc, press and hold either
SCAN arrow for more than two seconds until SCAN
appears on the display and you hear a beep. Use this
feature to listen to 10 seconds of each track of the
currently selected disc. SCAN will appear on the display.
Press either SCAN arrow again, to stop scanning.
To scan all loaded discs, press and hold either SCAN
arrow for more than four seconds until DISC SCAN
appears on the display and you hear a beep. Use this
feature to listen to 10 seconds of the ®rst tracks of each
disc loaded. Press either SCAN arrow again, to stop
scanning.
RCL (Recall):Press this button to see how long the
current track has been playing. To change the default on
the display (track and elapsed time), press the button
until you see the display you want, then hold the button
until the display ¯ashes. The selected display will
now be the default.
BAND:Press this button to play the radio when a
disc(s) is in the player.Using Song List Mode
The integrated six-disc CD changer has a feature called
song list. This feature is capable of saving 20 track
selections.
To save tracks into the song list feature, perform the
following steps:
1. Turn the CD player on and load it with at least one
disc. See ªLOAD CDº listed previously in this section
for more information.
2. Check to see that the disc changer is not in song
list mode. S-LIST should not appear in the display.
If S-LIST is present, press the SONG LIST
button to turn it off.
3. Select the desired disc by pressing the numbered
pushbutton and then use the SEEK SCAN right
arrow button to locate the track that you want
to save. The track will begin to play.
4. Press and hold the SONG LIST button for two or
more seconds to save the track into memory.
When SONG LIST is pressed a beep will be
heard immediately. After two seconds of pressing
SONG LIST continuously, two beeps will sound
to con®rm that the track has been saved.
5. Repeat Steps 3 and 4 for saving other selections.
If you attempt to save more than 20 selections,
S-LIST FULL will appear on the display.
3-126
Page 231 of 432
To play the song list, press the SONG LIST button.
One beep will be heard and S-LIST will appear on the
display. The recorded tracks will begin to play in
the order that they were saved.
You may seek through the song list by using the SEEK
SCAN arrows. Seeking past the last saved track will
return you to the ®rst saved track.
To delete tracks from the song list, perform the
following steps:
1. Turn the CD player on.
2. Press the SONG LIST button to turn song list on.
S-LIST will appear on the display.
3. Press the SEEK SCAN arrows to select the desired
track to be deleted.
4. Press and hold the SONG LIST button for two
seconds. When pressing SONG LIST, one beep
will be heard immediately. After two seconds
of pressing the SONG LIST button continuously,
two beeps will be heard to con®rm that the track has
been deleted.
After a track has been deleted, the remaining tracks are
moved up the list. When another track is added to the
song list, the track will be added to the end of the list.To delete the entire song list, perform the following steps:
1. Turn the disc player on.
2. Press the SONG LIST button to turn song list on.
S-LIST will appear on the display.
3. Press and hold the SONG LIST button for more
than four seconds. A beep will be heard, followed
by two beeps after two seconds and a ®nal beep will
be heard after four seconds. S-LIST EMPTY will
appear on the display indicating that the song
list has been deleted.
If a disc is ejected, and the song list contains saved
tracks from that disc, those tracks are automatically
deleted from the song list. Any tracks saved to the song
list again are added to the bottom of the list.
To end song list mode, press the SONG LIST button.
One beep will be heard and S-LIST will be removed from
the display.
3-127
Page 232 of 432
Compact Disc Messages
CHECK CD:If this message appears on the radio
display, it could be due to one of the following reasons:
·You're driving on a very rough road. When the
road becomes smoother, the disc should play.
·The disc is dirty, scratched, wet, or upside down.
·The air is very humid. If so, wait about an hour
and try again.
·There may have been a problem while burning
the CD.
·The label may be caught in the CD player.
If the CD is not playing correctly, for any other reason,
try a known good CD.
If any error occurs repeatedly or if an error can not be
corrected, contact your dealer. If your radio displays
an error message, write it down and provide it to your
dealer when reporting the problem.
Theft-Deterrent Feature
THEFTLOCKžis designed to discourage theft of your
radio. The feature works automatically by learning
a portion of the Vehicle Identi®cation Number (VIN).
If the radio is moved to a different vehicle, it will
not operate and LOCKED will be displayed.
When the radio and vehicle are turned off, the blinking
red light indicates that THEFTLOCK
žis armed.
With THEFTLOCK
žactivated, your radio will not operate
if stolen.
3-128
Page 234 of 432
Understanding Radio Reception
AM
The range for most AM stations is greater than for FM,
especially at night. The longer range, however, can
cause stations to interfere with each other. AM can pick
up noise from things like storms and power lines.
Try reducing the treble to reduce this noise if you ever
get it.
FM Stereo
FM stereo will give you the best sound, but FM signals
will reach only about 10 to 40 miles (16 to 65 km).
Tall buildings or hills can interfere with FM signals,
causing the sound to come and go.
XMŸ Satellite Radio Service (USA Only)
XMŸ Satellite Radio gives you digital radio reception
from coast to coast. Just as with FM, tall buildings
or hills can interfere with satellite radio signals, causing
the sound to come and go. Your radio may display
ªNO SIGNALº to indicate interference.
Care of Your Cassette Tape Player
A tape player that is not cleaned regularly can cause
reduced sound quality, ruined cassettes, or a damaged
mechanism. Cassette tapes should be stored in their
cases away from contaminants, direct sunlight, and
extreme heat. If they are not, they may not operate
properly or may cause failure of the tape player.
Your tape player should be cleaned regularly after every
50 hours of use. Your radio will display CLEAN
PLAYER to indicate that you have used your tape
player for 50 hours without resetting the tape clean
timer. If this message appears on the display, your
cassette tape player needs to be cleaned. It will still play
tapes, but you should clean it as soon as possible to
prevent damage to your tapes and player. If you notice
a reduction in sound quality, try a known good
cassette to see if the tape or the tape player is at fault.
If this other cassette has no improvement in sound
quality, clean the tape player.
For best results, use a scrubbing action, non-abrasive
cleaning cassette with pads which scrub the tape
head as the hubs of the cleaner cassette turn. The
recommended cleaning cassette is available through
your dealership.
3-130
Page 235 of 432

The broken tape detection feature of your cassette tape
player may identify the cleaning cassette as a damaged
tape, in error. To prevent the cleaning cassette from
being ejected, use the following steps:
1. Turn the ignition on.
2. Turn the radio off.
3. Press and hold the CD TAPE button for ®ve
seconds. READY will appear on the display for
®ve seconds.
4. Insert the scrubbing action cleaning cassette.
5. Eject the cleaning cassette after the manufacturer's
recommended cleaning time.
After the cleaning cassette is ejected, the broken tape
detection feature will be active again.
You may also choose a non-scrubbing action, wet-type
cleaner which uses a cassette with a fabric belt to
clean the tape head. This type of cleaning cassette will
not eject on its own. A non-scrubbing action cleaner
may not clean as thoroughly as the scrubbing type
cleaner. The use of a non-scrubbing action, dry-type
cleaning cassette is not recommended.After you clean the player, press and hold the eject
button for ®ve seconds to reset the CLEAN PLAYER
indicator. The radio will display CLEANED to show the
indicator was reset.
Cassettes are subject to wear and the sound quality
may degrade over time. Always make sure the cassette
tape is in good condition before you have your tape
player serviced.
Care of Your CDs
Handle discs carefully. Store them in their original cases
or other protective cases and away from direct sunlight
and dust. If the surface of a disc is soiled, dampen
a clean, soft cloth in a mild, neutral detergent solution
and clean it, wiping from the center to the edge.
Be sure never to touch the side without writing when
handling discs. Pick up discs by grasping the outer
edges or the edge of the hole and the outer edge.
Care of Your CD Player
The use of CD lens cleaner discs is not advised, due to
the risk of contaminating the lens of the CD optics
with lubricants internal to the CD mechanism.
3-131
Page 246 of 432
Traction Control System (TCS)
If your vehicle has the 3800 supercharged V6 engine
it has a traction control system that limits wheel
spin. This is especially useful in slippery road conditions.
The system operates only if it senses that one or both
of the front wheels are spinning or beginning to lose
traction. When this happens, the system works the front
brakes and reduces engine power to limit wheel spin.
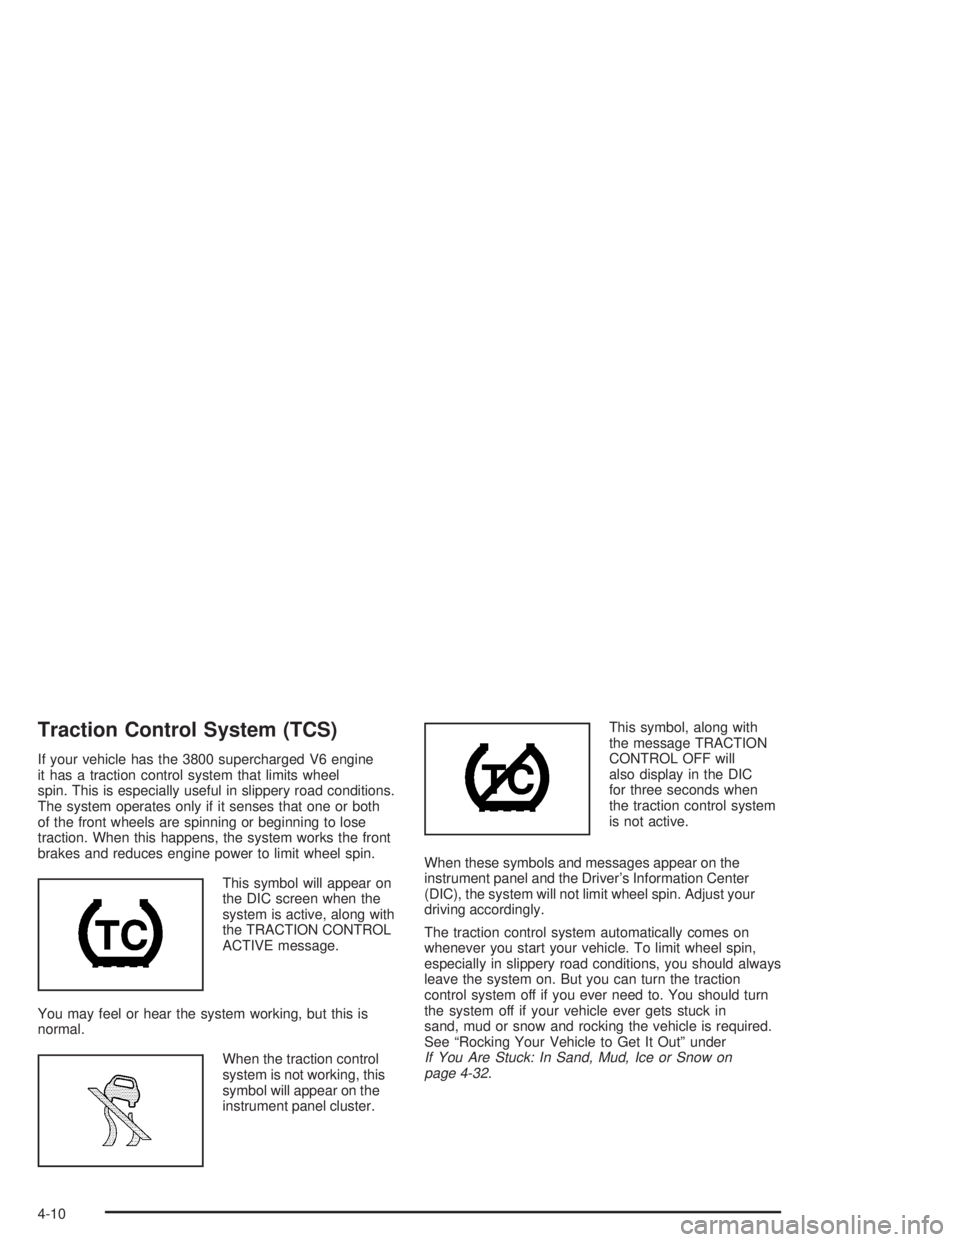
This symbol will appear on
the DIC screen when the
system is active, along with
the TRACTION CONTROL
ACTIVE message.
You may feel or hear the system working, but this is
normal.
When the traction control
system is not working, this
symbol will appear on the
instrument panel cluster.This symbol, along with
the message TRACTION
CONTROL OFF will
also display in the DIC
for three seconds when
the traction control system
is not active.
When these symbols and messages appear on the
instrument panel and the Driver's Information Center
(DIC), the system will not limit wheel spin. Adjust your
driving accordingly.
The traction control system automatically comes on
whenever you start your vehicle. To limit wheel spin,
especially in slippery road conditions, you should always
leave the system on. But you can turn the traction
control system off if you ever need to. You should turn
the system off if your vehicle ever gets stuck in
sand, mud or snow and rocking the vehicle is required.
See ªRocking Your Vehicle to Get It Outº under
If You Are Stuck: In Sand, Mud, Ice or Snow on
page 4-32.
4-10
Page 248 of 432
The Enhanced Traction System operates in all transaxle
shift lever positions. But the system can upshift the
transaxle only as high as the shift lever position you've
chosen, so you should use the lower gears only when
necessary. See
Automatic Transaxle Operation on
page 2-22.
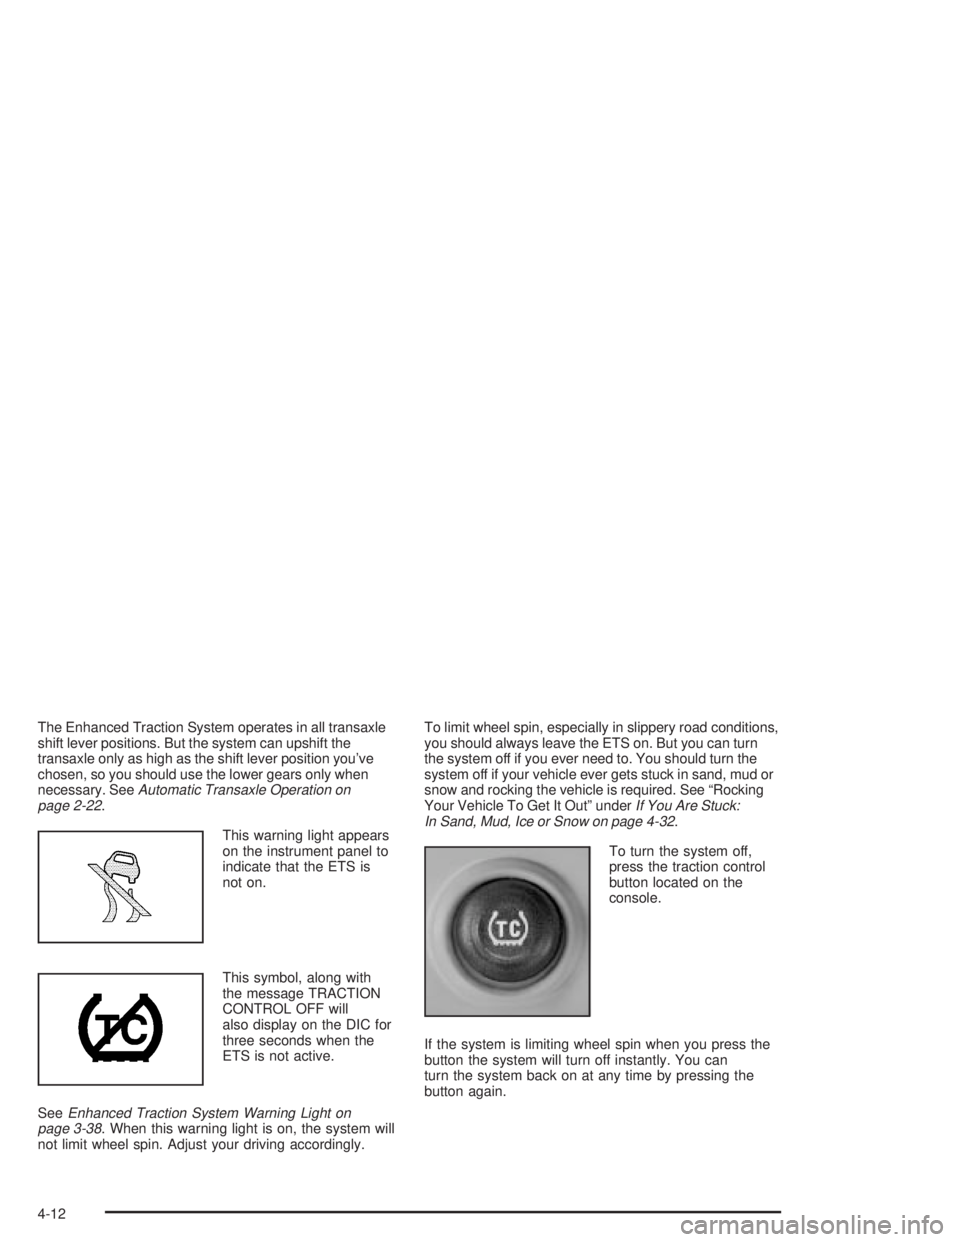
This warning light appears
on the instrument panel to
indicate that the ETS is
not on.
This symbol, along with
the message TRACTION
CONTROL OFF will
also display on the DIC for
three seconds when the
ETS is not active.
See
Enhanced Traction System Warning Light on
page 3-38. When this warning light is on, the system will
not limit wheel spin. Adjust your driving accordingly.To limit wheel spin, especially in slippery road conditions,
you should always leave the ETS on. But you can turn
the system off if you ever need to. You should turn the
system off if your vehicle ever gets stuck in sand, mud or
snow and rocking the vehicle is required. See ªRocking
Your Vehicle To Get It Outº under
If You Are Stuck:
In Sand, Mud, Ice or Snow on page 4-32.
To turn the system off,
press the traction control
button located on the
console.
If the system is limiting wheel spin when you press the
button the system will turn off instantly. You can
turn the system back on at any time by pressing the
button again.
4-12
Page 249 of 432

StabilitrakžPlus System
Your vehicle may be equipped with a vehicle stability
enhancement system called StabilitrakžPlus. It is
an advanced computer controlled system that assists
you with directional control of the vehicle in difficult
driving conditions.
Stabilitrak
žPlus comes on whenever the vehicle is
started. It activates when the computer senses a
discrepancy between your intended path and the
direction the vehicle is actually traveling. Stabilitrak
ž
Plus selectively applies braking pressure at any one of
the vehicle's brakes to help steer the vehicle in the
direction which you are steering.
This symbol, along with
the STABILITY CONTROL
ACTIVE message will
appear on the Driver
Information Center (DIC).See
DIC Warnings and Messages on page 3-65.
You may also hear a noise or feel vibration in the brake
pedal. This is normal. Continue to steer the vehicle in
the direction you want it to go.
If there is a problem
detected with Stabilitrak
ž
Plus, this symbol along
with the SERVICE
STABILITY SYSTEM
warning message will be
displayed on the Driver
Information Center (DIC).
See
DIC Warnings and Messages on page 3-65. When
this message is displayed, the system is not operational.
Driving should be adjusted accordingly.
If your vehicle is in cruise control when Stabilitrak
žPlus
activates, the cruise control will automatically disengage.
When road conditions allow you to safely use it again,
you may reengage the cruise control. See
Cruise Control
Lever on page 3-8for more information.
4-13