2004 PONTIAC BONNEVILLE Set time
[x] Cancel search: Set timePage 219 of 446
If playing a CD-R the sound quality may be reduced
due to CD-R quality, the method of recording, the quality
of the music that has been recorded, and the way the
CD-R has been handled. You may experience an
increase in skipping, difficulty in �nding tracks, and/or
difficulty in loading and ejecting. If these problems occur
try a known good CD.
Do not add paper labels to CDs, they could get caught
in the CD player.
Do not play 3 inch CDs without a standard adapter CD.
If an error appears on the display, see “CD Messages”
later in this section.
\1 (Forward):Press and hold this pushbutton to
advance quickly within a track. You will hear sound at a
reduced volume. Release this button to play the
passage. The elapsed time of the track will appear on
the display.
RDM 3 (Random):Press this pushbutton to hear the
tracks in random, rather than sequential, order.
RDM and the track number will appear on the display.4
s(Reverse):Press and hold this pushbutton to
reverse quickly within a track. You will hear sound at a
reduced volume. Release this button to play the
passage. The elapsed time of the track will appear on
the display.
EQ (Equalizer):Press EQ to select the desired
customized equalization setting while playing a CD. The
equalization will be automatically set whenever you
play a CD. See “EQ” listed previously for more
information.
wSEEKx:Press the down arrow while playing a
CD to go to the start of the current track if more
than eight seconds have played. Press the up arrow to
go to the next track. If you hold either arrow or press
it more than once, the player will continue moving
backward or forward through the CD.
wSCANx:Press and hold either arrow for more
than two seconds until SCAN and the track number
appear on the display and you hear a beep. The CD will
go to the next track, play for a few seconds, then go
on to the next track. Press this button again to stop
scanning.
3-99
Page 220 of 446
RCL (Recall):Push this knob to see how long the
current track has been playing. To change the default
on the display (track or elapsed time), push the
knob until you see the display you want, then hold the
knob until the display �ashes. The selected display
will now be the default. While elapsed time is showing,
CD TIME will appear on the display.
BAND:Press this button to listen to the radio when a
cassette tape or CD is playing. The inactive tape or CD
will remain safely inside the radio for future listening.
CD TAPE:Press this button to play a cassette tape or
CD when listening to the radio. The cassette tape or
CD symbol will appear on the display when a tape or CD
is loaded.
Z(Eject):Press this button, located next to the CD
slot, to eject a CD. Eject may be activated with either
the ignition or radio off. CDs may be loaded with
the radio and ignition off if this button is pressed �rst.
CD Messages
CHECK CD:If this message appears on the display
and the CD comes out, it could be for one of the
following reasons:
It is very hot. When the temperature returns to
normal, the CD should play.
You are driving on a very rough road. When the
road becomes smooth, the CD should play.
The CD is dirty, scratched, wet, or upside down.
The air is very humid. If so, wait about an hour and
try again.
There may have been a problem while burning
the CD.
The label may be caught in the CD player.
If the CD is not playing correctly, for any other reason,
try a known good CD.
If any error occurs repeatedly or if an error cannot be
corrected, contact your dealer. If your radio displays an
error message, write it down and provide it to your
dealer when reporting the problem.
3-100
Page 227 of 446
XM™ Satellite Radio Service
(48 Contiguous US States)
XM™ Satellite Radio gives you digital radio reception
from coast to coast. Just as with FM, tall buildings
or hills can interfere with satellite radio signals, causing
the sound to come and go. Your radio may display
NO SIGNAL to indicate interference.
Care of Your Cassette Tape Player
A tape player that is not cleaned regularly can cause
reduced sound quality, ruined cassettes, or a damaged
mechanism. Cassette tapes should be stored in their
cases away from contaminants, direct sunlight, and
extreme heat. If they are not, they may not operate
properly or may cause failure of the tape player.
Your tape player should be cleaned regularly after every
50 hours of use. Your radio may display CLEAN PLAYER
to indicate that you have used your tape player for
50 hours without resetting the tape clean timer. If this
message appears on the display, your cassette tape
player needs to be cleaned. It will still play tapes, but you
should clean it as soon as possible to prevent damage to
your tapes and player. If you notice a reduction in sound
quality, try a known good cassette to see if the tape or the
tape player is at fault. If this other cassette has no
improvement in sound quality, clean the tape player.For best results, use a scrubbing action, non-abrasive
cleaning cassette with pads which scrub the tape
head as the hubs of the cleaner cassette turn. The
recommended cleaning cassette is available through
your dealer.
You may also choose a non-scrubbing action, wet-type
cleaner which uses a cassette with a fabric belt to
clean the tape head. This type of cleaning cassette will
not eject on its own. A non-scrubbing action cleaner
may not clean as thoroughly as the scrubbing type
cleaner. The use of a non-scrubbing action, dry-type
cleaning cassette is not recommended.
After you clean the player, press and hold the eject
button for �ve seconds to reset the CLEAN PLAYER
indicator. The radio will display CLEANED to show the
indicator was reset.
Cassettes are subject to wear and the sound quality
may degrade over time. Always make sure the cassette
tape is in good condition before you have your tape
player serviced.
3-107
Page 273 of 446
Driving with a Trailer
Towing a trailer requires a certain amount of experience.
Before setting out for the open road, you will want to
get to know your rig. Acquaint yourself with the feel of
handling and braking with the added weight of the trailer.
And always keep in mind that the vehicle you are
driving is now a good deal longer and not nearly as
responsive as your vehicle is by itself.
Before you start, check all trailer hitch parts and
attachments, safety chains, electrical connector, lamps,
tires and mirror adjustment. If the trailer has electric
brakes, start your vehicle and trailer moving and then
apply the trailer brake controller by hand to be sure
the brakes are working. This lets you check your
electrical connection at the same time.
During your trip, check occasionally to be sure that the
load is secure, and that the lamps and any trailer
brakes are still working.
Following Distance
Stay at least twice as far behind the vehicle ahead as
you would when driving your vehicle without a trailer.
This can help you avoid situations that require
heavy braking and sudden turns.
Passing
You will need more passing distance up ahead when
you are towing a trailer. And, because the vehicle
is a good deal longer, you will need to go much farther
beyond the passed vehicle before you can return to
your lane.
Backing Up
Hold the bottom of the steering wheel with one hand.
Then, to move the trailer to the left, just move that hand
to the left. To move the trailer to the right, move your
hand to the right. Always back up slowly and, if possible,
have someone guide you.
Making Turns
Notice:Making very sharp turns while trailering
could cause the trailer to come in contact with the
vehicle. Your vehicle could be damaged. Avoid
making very sharp turns while trailering.
When you are turning with a trailer, make wider turns
than normal. Do this so your trailer will not strike
soft shoulders, curbs, road signs, trees or other objects.
Avoid jerky or sudden maneuvers. Signal well in
advance.
4-43
Page 296 of 446
When to Change Engine Oil (Vehicles
With the GM Oil Life System)
If so equipped, your vehicle has a computer system that
lets you know when to change the engine oil and
�lter. This is based on engine revolutions and engine
temperature and not on mileage. Based on driving
conditions, the mileage at which an oil change will be
indicated can vary considerably. For the oil life system to
work properly, you must reset the system every time
the oil is changed.
When the system has calculated that oil life has been
diminished, it will indicate that an oil change is necessary.
An ENGINE OIL CHANGE SOON message will come on.
Change your oil as soon as possible within the next two
times you stop for fuel. It is possible that, if you are driving
under the best conditions, the oil life system may not
indicate that an oil change is necessary for over a year.
However, your engine oil and �lter must be changed at
least once a year and at this time the system must be
reset. Your dealer has GM-trained service people who
will perform this work using genuine GM parts and reset
the system. It is also important to check your oil regularly
and keep it at the proper level.
If the system is ever reset accidentally, you must
change your oil at 3,000 miles (5 000 km) since your
last oil change. Remember to reset the oil life system
whenever the oil is changed.
How to Reset the Oil Life System
The GM Oil Life System calculates when to change
your engine oil and �lter based on vehicle use. Anytime
your oil is changed, reset the system so it can
calculate when the next oil change is required. If a
situation occurs where you change your oil prior to an
ENGINE OIL CHANGE SOON message being
turned on, reset the system.
Always reset the engine oil life to 100% after every oil
change. It will not reset itself. To reset the Oil Life
System, do the following:
1. Display OIL LIFE on the DIC.
2. Press and hold the RESET button for more than
�ve seconds. The oil life will change to 100%.
3. Turn the key to OFF.
If the ENGINE OIL CHANGE SOON message comes
back on when you start your vehicle, the engine oil
life system has not reset. Repeat the procedure.
5-20
Page 303 of 446
CAUTION: (Continued)
Your vehicle’s coolant warning system is set for
the proper coolant mixture. With plain water or
the wrong mixture, your engine could get too
hot but you would not get the overheat warning.
Your engine could catch �re and you or others
could be burned. Use a 50/50 mixture of clean,
drinkable water and DEX-COOL
®coolant.
Notice:If you use an improper coolant mixture,
your engine could overheat and be badly damaged.
The repair cost would not be covered by your
warranty. Too much water in the mixture can freeze
and crack the engine, radiator, heater core and
other parts.
If you have to add coolant more than four times a year,
have your dealer check your cooling system.
Notice:If you use the proper coolant, you do not
have to add extra inhibitors or additives which claim
to improve the system. These can be harmful.
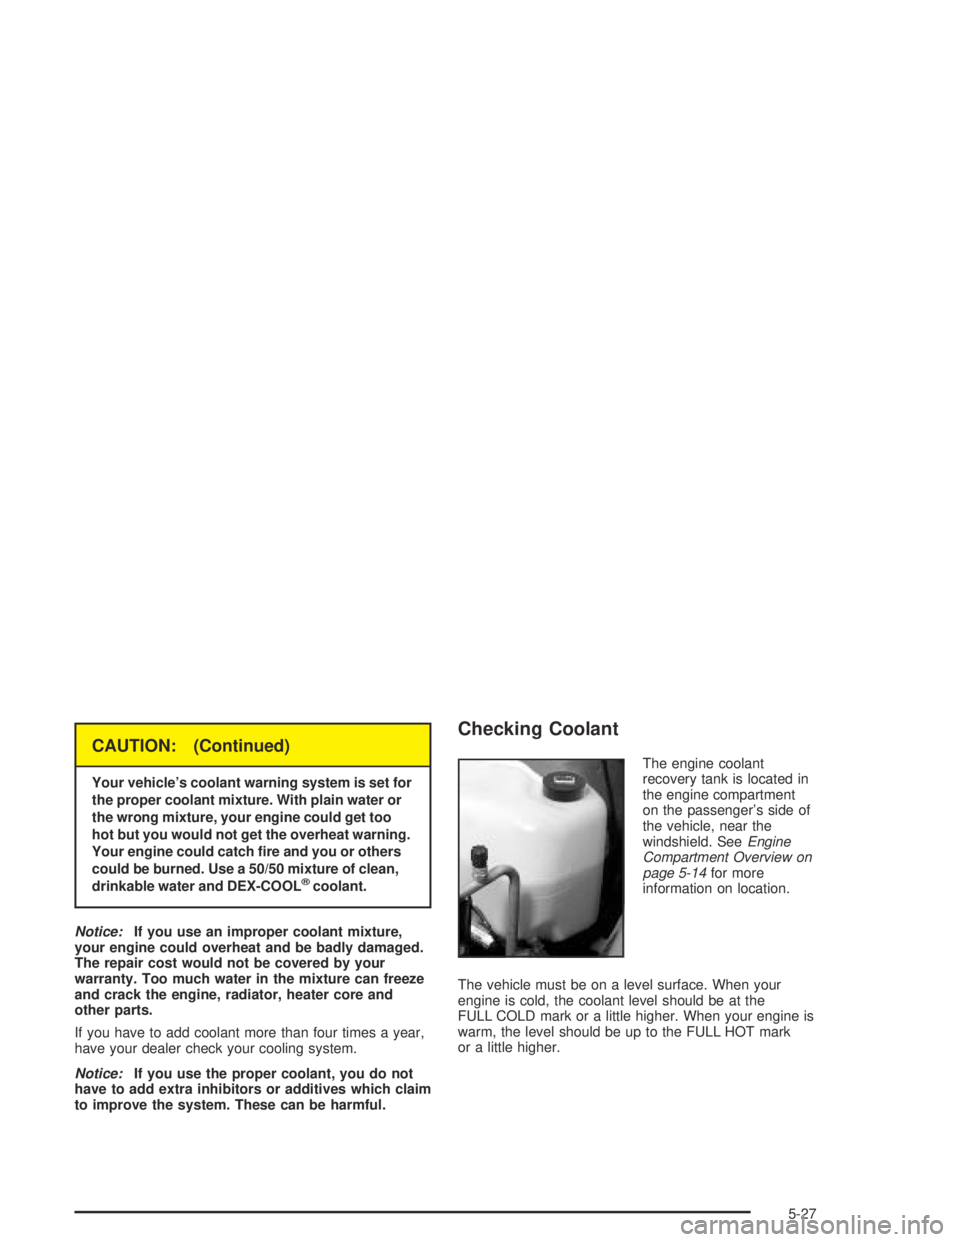
Checking Coolant
The engine coolant
recovery tank is located in
the engine compartment
on the passenger’s side of
the vehicle, near the
windshield. SeeEngine
Compartment Overview on
page 5-14for more
information on location.
The vehicle must be on a level surface. When your
engine is cold, the coolant level should be at the
FULL COLD mark or a little higher. When your engine is
warm, the level should be up to the FULL HOT mark
or a little higher.
5-27
Page 320 of 446
Brake Wear
Your vehicle has four-wheel disc brakes.
Disc brake pads have built-in wear indicators that make
a high-pitched warning sound when the brake pads
are worn and new pads are needed. The sound
may come and go or be heard all the time your vehicle
is moving (except when you are pushing on the
brake pedal �rmly).
{CAUTION:
The brake wear warning sound means that
soon your brakes will not work well. That
could lead to an accident. When you hear the
brake wear warning sound, have your vehicle
serviced.Notice:Continuing to drive with worn-out brake
pads could result in costly brake repair.
Some driving conditions or climates may cause a brake
squeal when the brakes are �rst applied or lightly
applied. This does not mean something is wrong with
your brakes.
Properly torqued wheel nuts are necessary to help
prevent brake pulsation. When tires are rotated, inspect
brake pads for wear and evenly tighten wheel nuts in
the proper sequence to GM torque speci�cations.
Brake linings should always be replaced as complete
axle sets.
SeeBrake System Inspection on page 6-24.
Brake Pedal Travel
See your dealer if the brake pedal does not return to
normal height, or if there is a rapid increase in
pedal travel. This could be a sign of brake trouble.
Brake Adjustment
Every time you apply the brakes, with or without the
vehicle moving, your brakes adjust for wear.
5-44
Page 345 of 446
The check tire pressure system detects differences in
tire rotation speeds that are caused by changes in
tire pressure. The system can alert you about a
low tire — but it does not replace normal tire
maintenance. SeeTires on page 5-58.
When the CHECK TIRE PRESSURE message appears
on the Driver Information Center (DIC) or the systems
monitor TIRE PRESS light comes on, you should stop as
soon as you can and check all your tires for damage. If a
tire is �at, seeIf a Tire Goes Flat on page 5-79. Also
check the tire pressure in all four tires as soon as you
can. SeeIn�ation - Tire Pressure on page 5-67.
Any time you adjust a tire’s pressure or have one or more
tires repaired or replaced, you will need to reset
(calibrate) the check tire pressure system. You will also
need to reset the system whenever you rotate the tires,
buy new tires and install or remove the compact spare.Do not reset the check tire pressure system without �rst
correcting the cause of the problem and checking
and adjusting the pressure in all four tires. If you reset
the system when the tire pressures are incorrect,
the check tire pressure system will not work properly
and may not alert you when a tire is low or high.
To reset (calibrate) the system with a Driver Information
Center (DIC):
1. Turn the ignition switch to ON.
2. Using the MODE and SELECT buttons, change the
DIC to display TIRE PRESSURE.
3. Press and hold the RESET button for about �ve
seconds.
4. The display should change to read TIRE
PRESSURE RESET. If TIRE PRESSURE RESET
does not appear on the display after about �ve
seconds, see your dealer for service.
5. When you release the button after seeing the TIRE
PRESSURE RESET message, the display will
change to read TIRE PRESSURE NORMAL.
5-69