2004 PONTIAC BONNEVILLE change time
[x] Cancel search: change timePage 95 of 446
Retained Accessory Power (RAP)
After you turn the ignition off and remove the key, you
will still have power to such accessories as the
radio, sunroof (if equipped) and power windows for up
to 10 minutes. Power is turned off if you open a door.
Always leave your key in OFF. If you leave your key in
any position other than OFF, your battery will discharge
prematurely.
Starting Your Engine
Move your shift lever to PARK (P) or NEUTRAL (N).
Your engine will not start in any other position — that is
a safety feature. To restart when you are already
moving, use NEUTRAL (N) only.
Notice:Shifting into PARK (P) with the vehicle
moving could damage the transaxle. Shift into
PARK (P) only when your vehicle is stopped.
1. With your foot off the accelerator pedal, turn your
ignition key to START. When the engine starts, let
go of the key. The idle speed will go down as
your engine gets warm.Notice:Holding your key in START for longer than
15 seconds at a time will cause your battery to
be drained much sooner. And the excessive heat
can damage your starter motor. Wait about
15 seconds between each try to help avoid draining
your battery or damaging your starter.
2. If it does not start within 10 seconds, hold your key
in START for about 10 seconds at a time until your
engine starts. Wait about 15 seconds between
each try.
3. If your engine still will not start, or starts but then
stops, it could be �ooded with too much gasoline.
Try pushing your accelerator pedal all the way to the
�oor and holding it there as you hold the key in
START for about three seconds. If the vehicle starts
brie�y but then stops again, do the same thing.
This time keep the pedal down for �ve or six
seconds to clear the extra gasoline from the engine.
After waiting about 15 seconds, repeat the normal
starting procedure.
Notice:Your engine is designed to work with the
electronics in your vehicle. If you add electrical
parts or accessories, you could change the way the
engine operates. Before adding electrical equipment,
check with your dealer. If you do not, your engine
might not perform properly.
2-27
Page 107 of 446
Mirrors
Manual Rearview Mirror
When you are sitting in a comfortable driving position,
adjust the mirror so you can see clearly behind your
vehicle. Grip the mirror in the center to move it up
or down and side to side. The day/night adjustment
allows you to adjust the mirror to avoid glare from any
headlamps behind you. Push the tab away from
you for daytime use; pull it toward you for night use.
Automatic Dimming Rearview Mirror
Your vehicle may have an automatic dimming rearview
mirror. Your vehicle’s mirror may also contain OnStar®
controls. SeeOnStar®System on page 2-42for
more information.
At night, when the glare is too high, the mirror will
gradually darken to reduce glare. This change may take
a few seconds. The mirror will return to its clear
daytime state when the glare is reduced.
Mirror Operation
AUTO:Press this button to turn on the automatic
dimming feature.
OFF:Press this button to turn off the automatic
dimming feature.
O(On/Off):For mirrors equipped with OnStar®
controls, press this button to turn on the automatic
dimming feature. To turn off automatic dimming, press
this button again.
The indicator light will be illuminated when this feature
is active.
2-39
Page 122 of 446
Audio System(s).............................................3-73
Setting the Time...........................................3-73
Radio with CD..............................................3-74
Radio with Cassette and CD..........................3-86
Trunk-Mounted CD Changer.........................3-101
Theft-Deterrent Feature................................3-105
Audio Steering Wheel Controls......................3-105Radio Reception.........................................3-106
Care of Your Cassette Tape Player...............3-107
Care of Your CDs.......................................3-108
Care of Your CD Player...............................3-108
Diversity Antenna System.............................3-108
XM™ Satellite Radio Antenna System............3-109
Chime Level Adjustment...............................3-109
Section 3 Instrument Panel
3-2
Page 140 of 446
To turn the feature on do the following:
1. Keep all doors closed, the vehicle in PARK (P) and
the ignition on throughout this procedure.
2. Press and hold LOCK on the power door lock
switch throughout this procedure. All the doors
will lock.
3. Press the remote alarm button on the transmitter.
Perimeter lighting remains off at this time and the
horn will chirp once.
4. Press the remote alarm button again. Perimeter
lighting is now enabled and the horn will chirp
twice.
5. Release the door lock switch. The perimeter lighting
feature is now on.
This procedure only changes the mode for the
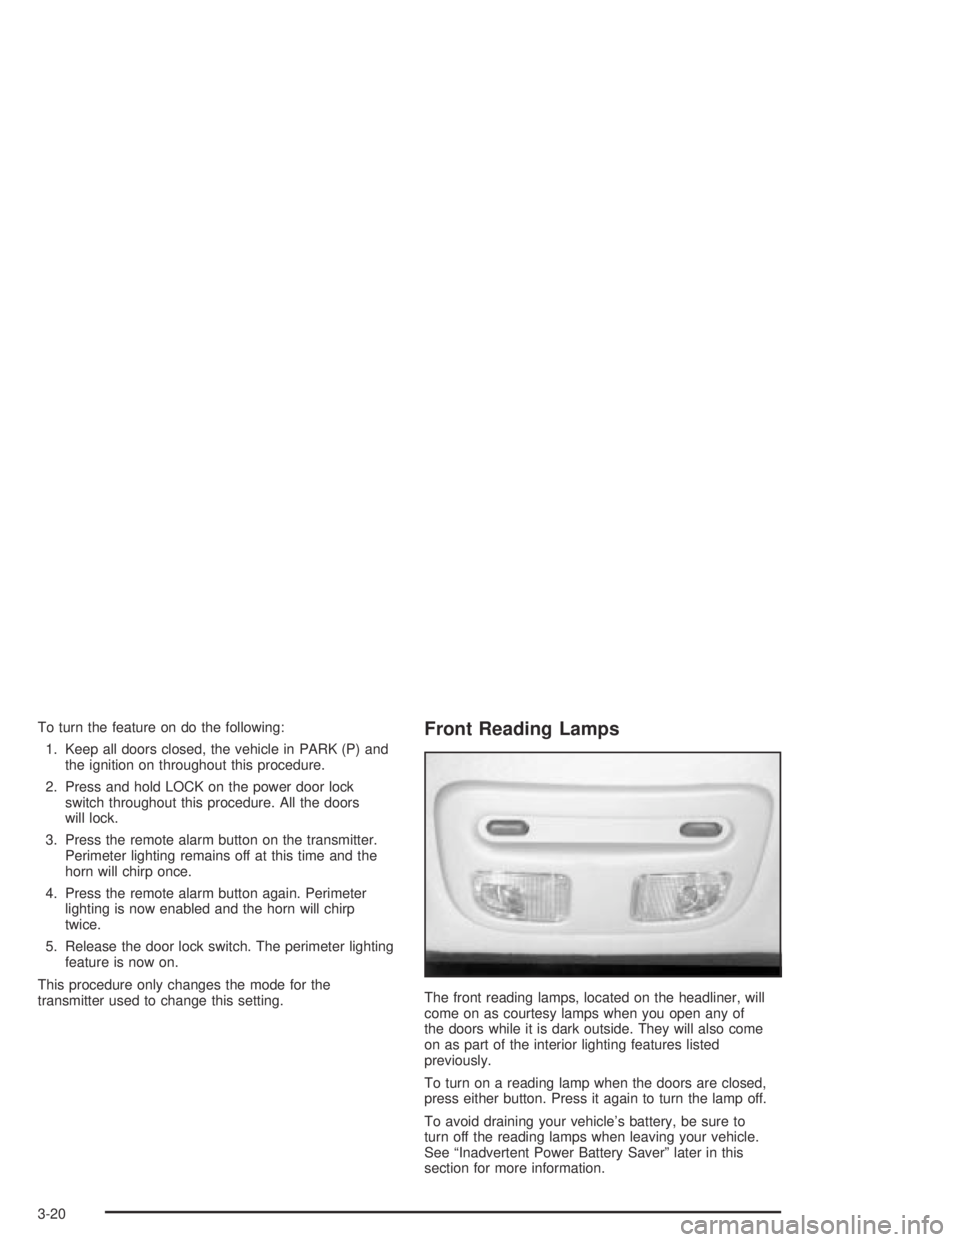
transmitter used to change this setting.Front Reading Lamps
The front reading lamps, located on the headliner, will
come on as courtesy lamps when you open any of
the doors while it is dark outside. They will also come
on as part of the interior lighting features listed
previously.
To turn on a reading lamp when the doors are closed,
press either button. Press it again to turn the lamp off.
To avoid draining your vehicle’s battery, be sure to
turn off the reading lamps when leaving your vehicle.
See “Inadvertent Power Battery Saver” later in this
section for more information.
3-20
Page 150 of 446

Automatic Operation
AUTO (Automatic):Press the AUTO button for
automatic control of the inside temperature, the air
delivery mode and the fan speed.
1. Press the AUTO button. Whenever this button is
pressed, the display will show the current settings
for �ve seconds before returning the display to
the exterior temperature.
2. Adjust the temperature to 75°F (24°C).
Choosing the coldest or warmest temperature
setting will not cause the system to cool or heat any
faster. If you set the system at the coldest or
warmest temperature setting, the system will remain
at the maximum cold or hot setting and fan speed.
In cold weather, the system will start at reduced fan
speeds to avoid blowing cold air into your vehicle
until warmer air is available. The system will
start out blowing air at the �oor but may change
modes automatically as the vehicle warms up
to maintain the chosen temperature setting. The
length of time needed for warm up will depend on
the outside temperature and the length of time
that has elapsed since your vehicle was last driven.3. Wait for the system to regulate. This may take from
10 to 30 minutes. Then adjust the temperature, if
necessary.
Do not cover the solar sensor located in the center of
the instrument panel, near the windshield. For more
information on the solar sensor, see “Sensors” later in
this section.
Manual Operation
DRIVER (Driver’s Side Temperature):The knob on
the left is used to change the temperature of the
air coming through the system on the driver’s side of
the vehicle. Push this knob to turn the system on and off.
Turn the knob toward the blue area to decrease the
set temperature, and toward the red area to increase the
set temperature. When this knob is adjusted, the word
DRIVER will be displayed under the set temperature.
When the passenger’s set temperature is not active, this
knob controls both the driver’s and passenger’s side,
and both DRIVER and PASS will be displayed under the
set temperature.
3-30
Page 155 of 446
Operation Tips
Clear away any ice, snow or leaves from the air
inlets at the base of the windshield that may
block the �ow of air into your vehicle.
Use of non-GM approved hood de�ectors may
adversely affect the performance of the system.
Keep the path under the front seats clear of objects
to help circulate the air inside of your vehicle more
effectively.
Climate Controls Personalization
If your vehicle is equipped with this feature, up to two
drivers are able to store and recall climate control
settings for the temperature, the fan speed and the
direction of the air�ow.
Memory buttons 1 and 2 are located on the driver’s
door panel and correspond to the numbers 1 or 2 found
on the back of each remote keyless entry transmitter.To store settings, do the following:
1. Select the desired temperature, fan speed and
air�ow mode. If desired, a separate temperature
setting may also be selected for the front seat
passenger. For information on how to do this, see
Automatic Climate Control System on page 3-29.
2. Locate memory buttons 1 and 2 on the driver’s
door panel.
3. Press the memory button on the door panel that
corresponds to the number on the back of the
transmitter you are programming, until you hear two
beeps. The beeps con�rm that your selection has
been saved and can now be recalled. For more
information on the memory feature, seeMemory
Seat and Mirrors on page 2-50.
Follow these steps each time you want to change the
stored settings.
To recall the climate control settings last stored on your
transmitter, press the unlock button on your remote
keyless entry transmitter and put the ignition in
ACCESSORY or RUN.
3-35
Page 178 of 446
The following buttons are on the systems monitor
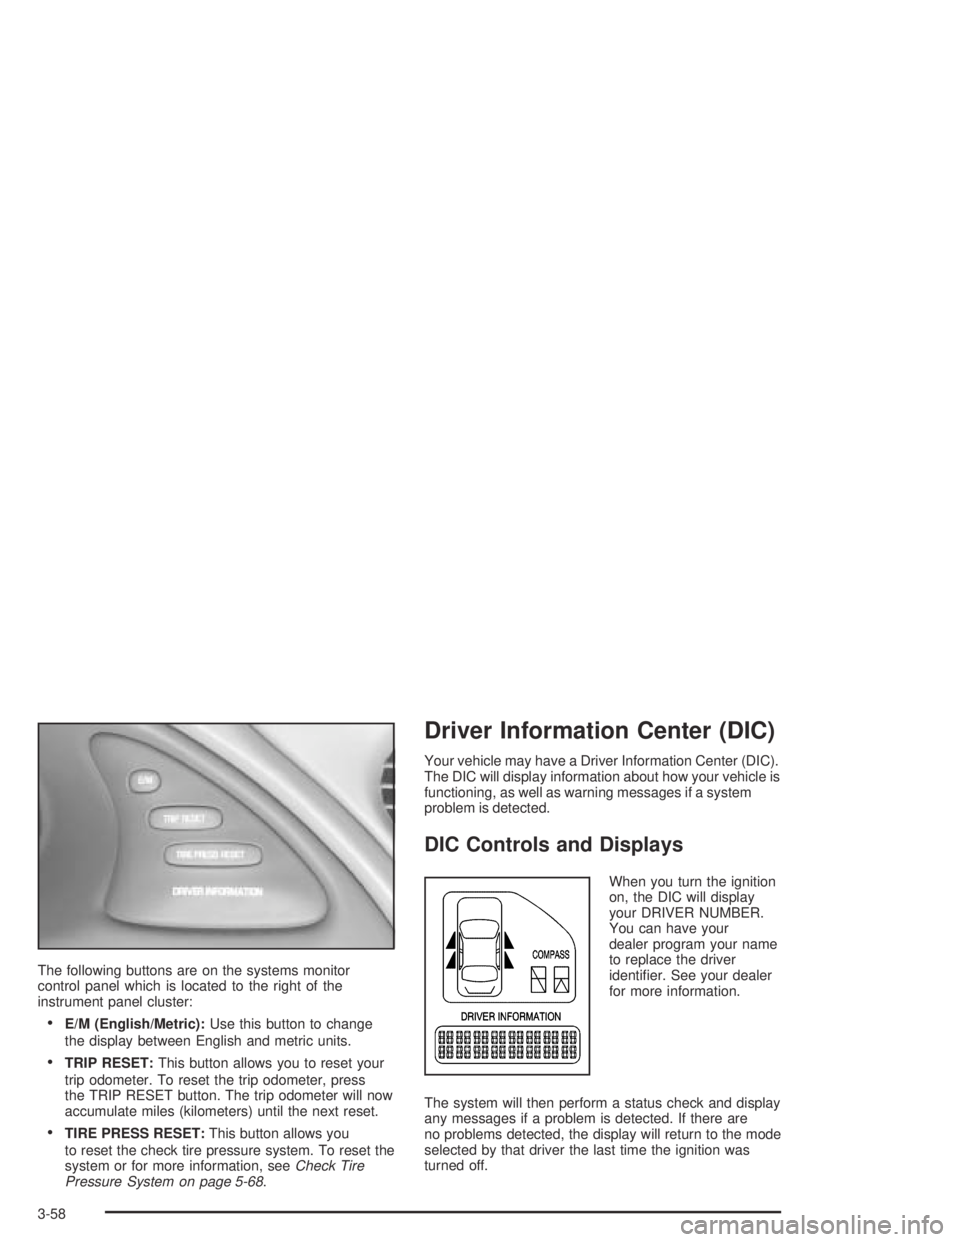
control panel which is located to the right of the
instrument panel cluster:
E/M (English/Metric):Use this button to change
the display between English and metric units.
TRIP RESET:This button allows you to reset your
trip odometer. To reset the trip odometer, press
the TRIP RESET button. The trip odometer will now
accumulate miles (kilometers) until the next reset.
TIRE PRESS RESET:This button allows you
to reset the check tire pressure system. To reset the
system or for more information, seeCheck Tire
Pressure System on page 5-68.
Driver Information Center (DIC)
Your vehicle may have a Driver Information Center (DIC).
The DIC will display information about how your vehicle is
functioning, as well as warning messages if a system
problem is detected.
DIC Controls and Displays
When you turn the ignition
on, the DIC will display
your DRIVER NUMBER.
You can have your
dealer program your name
to replace the driver
identi�er. See your dealer
for more information.
The system will then perform a status check and display
any messages if a problem is detected. If there are
no problems detected, the display will return to the mode
selected by that driver the last time the ignition was
turned off.
3-58
Page 186 of 446
Automatic Door Locks
The door lock modes when shifting in and out of
PARK (P), can be changed through the DIC. You can
change these modes using different selections of
the following DIC displays:
AUTO DOOR LOCKS – OFF/ON
UNLOCK – OFF/ON
UNLOCK – KEY OFF/PARK
DOOR TO UNLOCK – DRIVER/ALL
If you choose OFF for AUTO DOOR LOCKS, your door
locks will operate normally with no automatic feature.
If you choose ON for AUTO DOOR LOCKS, ON
for UNLOCK and KEY OFF, your doors will lock every
time you shift out of PARK (P), and the doors will unlock
every time you stop and turn the ignition to OFF.
If you choose ON for AUTO DOOR LOCKS, ON for
UNLOCK and PARK, your doors will lock every time you
shift out of PARK (P), and the doors will unlock every
time you stop and shift into PARK (P).If you choose ON for AUTO DOOR LOCKS, and OFF
for UNLOCK, your doors will lock every time you
shift out of PARK (P), and there will be no automatic
door unlock when shifting back into PARK (P).
If you choose ON for UNLOCK and DRIVER for DOOR
TO UNLOCK, only the driver’s door will automatically
unlock when shifting into PARK (P) or turning the key
to OFF.
If you choose ON for UNLOCK and ALL for DOOR TO
UNLOCK, all doors will automatically unlock when
shifting into PARK (P) or turning the key to OFF.
To change modes do the following:
1. Move the arrow on the display between the
selections by pressing the RESET button.
2. Once you have made your selection, press the
SELECT button and your choice will be retained
in memory.
SeeProgrammable Automatic Door Locks on page 2-13
for more information about this feature.
3-66