2004 NISSAN ALTIMA turn signal
[x] Cancel search: turn signalPage 78 of 264
XENON HEADLIGHTS (if so
equipped)
WARNING
cHIGH VOLTAGE
cWhen xenon headlights are on, they
produce a high voltage. To prevent an
electric shock, never attempt to modify
or disassemble. Always have your xe-
non headlights replaced at a NISSAN
dealer.
cXenon headlights provide considerably
more light than conventional head-
lights. If they are not correctly aimed,
they might temporarily blind an oncom-
ing driver or the driver ahead of you and
cause a serious accident. If headlights
are not aimed correctly, immediately
take your vehicle to a NISSAN dealer
and have the headlights adjusted
correctly.
When the xenon headlight is initially turned on, its
brightness or color varies slightly. However, the
color and brightness will soon stabilize.
cThe life of xenon headlights will be
shortened by frequent on-off opera-
tion. It is generally desirable not to turn
off the headlights for short intervals(for example, when the vehicle stops at
a traffic signal) . Even when the daytime
running lights are active (Canada only) ,
the xenon headlights do not turn on.
This way the life of the xenon head-
lights is not reduced.
cIf the xenon headlight bulb is close to
burning out, the brightness will drasti-
cally decrease, the light will start blink-
ing, or the color of the light will be-
come reddish. If one or more of the
above signs appear, contact a NISSAN
dealer.
Type C
LIC0637
HEADLIGHT AND TURN SIGNAL
SWITCH
2-18Instruments and controls
ZREVIEW COPY:Ð2004 Altima(l30)
Owners Manual(owners)ÐUSA English(nna)
10/10/03Ðtbrooks
X
Page 82 of 264

TURN SIGNAL SWITCH
Turn signal
s1Move the lever up or down to signal the
turning direction. When the turn is com-
pleted, the turn signals cancel automatically.
Lane change signal
s2To signal a lane change, move the lever up or
down to the point where the indicator light
begins to flash, but the lever does not latch.
FOG LIGHT SWITCH (if so equipped)
Normal operation of the fog lights in the
ONposition:
Headlight switch in the AUTO position; day-
time operation
cFog lights, marker and taillights come ON.
cHeadlights do not come ON.
cDash readouts dim unless the dimmer
switch is on full bright.
cIf the ignition switch is in the OFF position
with the fog lights turned ON, a warning
chime will sound indicating the fog lightswere left ON. The fog lights will be turned
OFF by the Battery Saver function approxi-
mately 5 minutes after the last door is
closed.
cIf the ignition switch is turned to the ON
position after the fog lights were turned OFF
by the Battery Saver function, the fog lights
will immediately come back ON.
Headlight switch in the AUTO position;
nighttime operation
cFog lights, marker and taillights come ON.
cHeadlights come ON.
The lights can be adjusted to turn ON in
brighter or dimmer environments. See
your NISSAN dealer to have the sensi-
tivity setting adjusted.
cDash readouts dim unless the dimmer
switch is on full bright.
cIf the ignition switch is in the OFF position
with the fog lights turned ON, the fog lights
will be turned OFF by the Twilight Sentinel
function approximately 45 seconds after the
last door is closed.
The default setting is 45 seconds. See
your NISSAN dealer to have this time
adjusted up to 180 seconds.
LIC0319WIC0320
2-22Instruments and controls
ZREVIEW COPY:Ð2004 Altima(l30)
Owners Manual(owners)ÐUSA English(nna)
10/10/03Ðtbrooks
X
Page 83 of 264
cIf any door is opened when the ignition
switch is in the OFF position, the Twilight
Sentinel function operates for approximately
5 minutes. After approximately 5 minutes,
the lights will turn OFF due to the Battery
Saver function.
cIf the ignition switch is turned to the ON
position after the fog lights were turned OFF
by the Twilight Sentinel function, the fog
lights and the headlights will come ON to-
gether when the Auto Light Sensor deter-
mines it is dark enough. The fog lights will
now operate independently of the headlights
only if the headlight switch is turned OFF.
cWhen the high beams are turned ON, the
fog lights will turn OFF. The fog lights will
come back ON when the high beams are
turned OFF.
Headlights turned ON and OFF by the
driver (no AUTO headlight function) ; day or
nighttime operation
cSame operation as “Headlight switch in the
AUTO position; daytime operation” de-
scribed above.
Some of the Battery Saver and Twilight
Sentinel functions can be turned ON and
OFF or adjusted. Please see your NISSAN
dealer if you have any questions.To turn the fog lights OFF, turn the switch to the
OFF position.
The fog lights automatically turn off whenever the
high beam headlight function is selected.
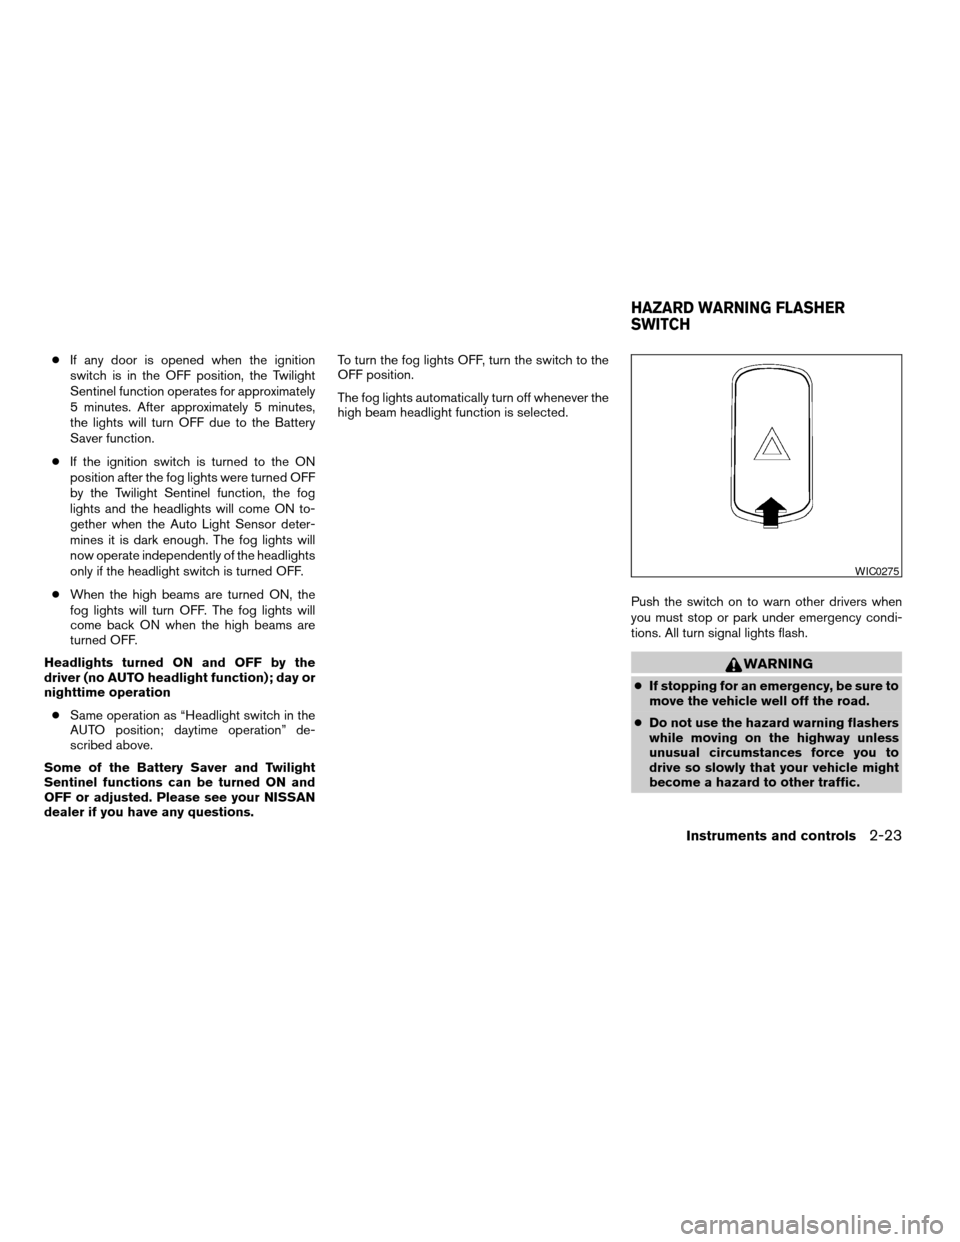
Push the switch on to warn other drivers when
you must stop or park under emergency condi-
tions. All turn signal lights flash.
WARNING
cIf stopping for an emergency, be sure to
move the vehicle well off the road.
cDo not use the hazard warning flashers
while moving on the highway unless
unusual circumstances force you to
drive so slowly that your vehicle might
become a hazard to other traffic.
WIC0275
HAZARD WARNING FLASHER
SWITCH
Instruments and controls2-23
ZREVIEW COPY:Ð2004 Altima(l30)
Owners Manual(owners)ÐUSA English(nna)
10/10/03Ðtbrooks
X
Page 84 of 264
cTurn signals do not work when the haz-
ard warning flasher lights are on.
The flashers will operate with the ignition switch
in any position.
Some state laws may prohibit the use of
the hazard warning flasher switch while
driving.
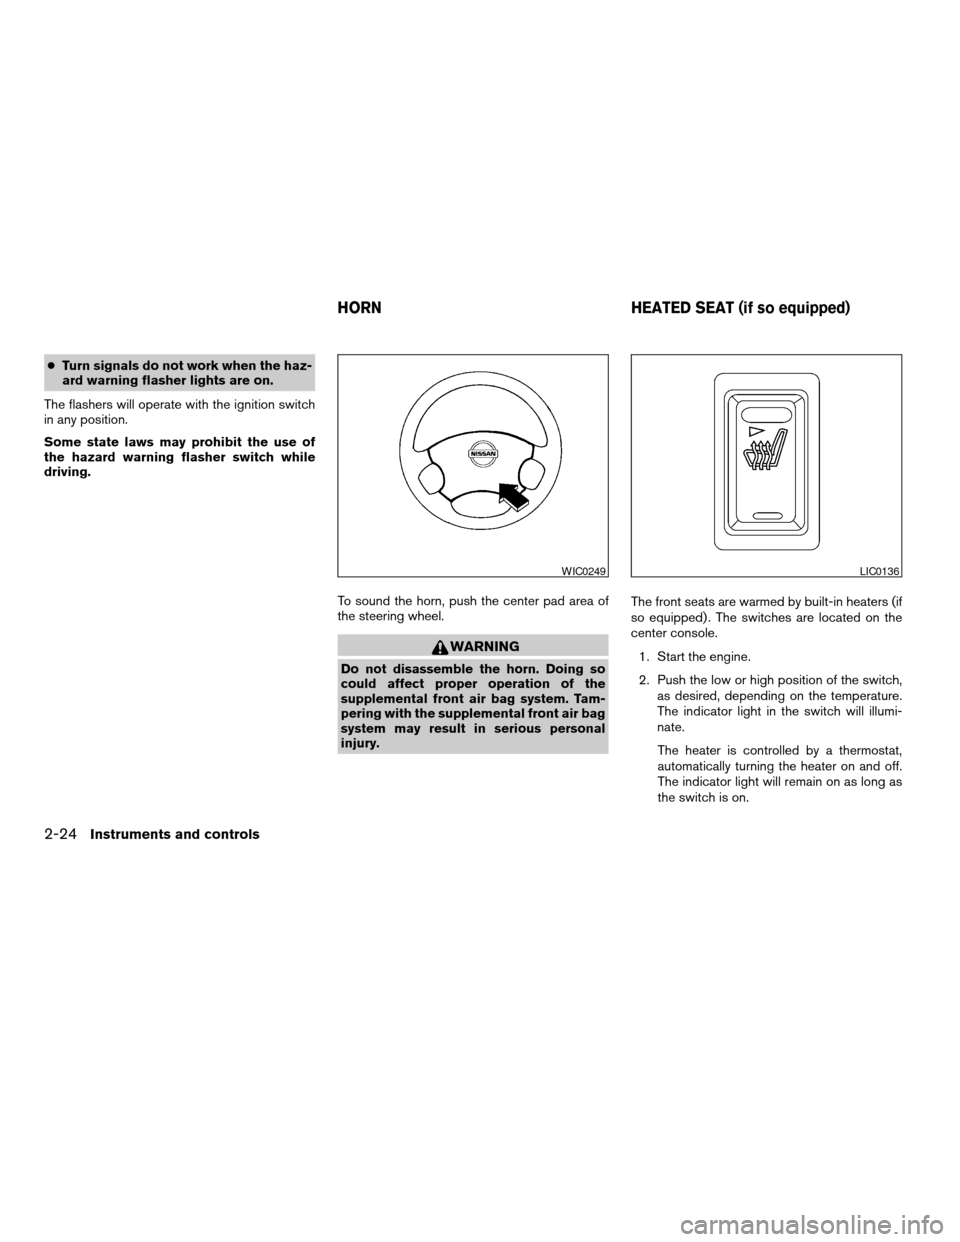
To sound the horn, push the center pad area of
the steering wheel.
WARNING
Do not disassemble the horn. Doing so
could affect proper operation of the
supplemental front air bag system. Tam-
pering with the supplemental front air bag
system may result in serious personal
injury.The front seats are warmed by built-in heaters (if
so equipped) . The switches are located on the
center console.
1. Start the engine.
2. Push the low or high position of the switch,
as desired, depending on the temperature.
The indicator light in the switch will illumi-
nate.
The heater is controlled by a thermostat,
automatically turning the heater on and off.
The indicator light will remain on as long as
the switch is on.
WIC0249LIC0136
HORN HEATED SEAT (if so equipped)
2-24Instruments and controls
ZREVIEW COPY:Ð2004 Altima(l30)
Owners Manual(owners)ÐUSA English(nna)
10/10/03Ðtbrooks
X
Page 99 of 264
WARNING
cDo not use the HomeLinkTUniversal
Transceiver with any garage door
opener that lacks safety stop and re-
verse features as required by federal
safety standards. (These standards be-
came effective for opener models
manufactured after April 1, 1982) . A ga-
rage door opener which cannot detect
an object in the path of a closing garage
door and then automatically stop and
reverse, does not meet current federal
safety standards. Using a garage door
opener without these features in-
creases the risk of serious injury or
death.
cDuring the programming procedure
your garage door or security gate will
open and close (if the transmitter is
within range) . Make sure that people or
objects are clear of the garage door,
gate, etc. that you are programming.
cYour vehicle’s engine should be turned
off while programming the HomeLinkT
Universal Transceiver.
PROGRAMMING HOMELINKT
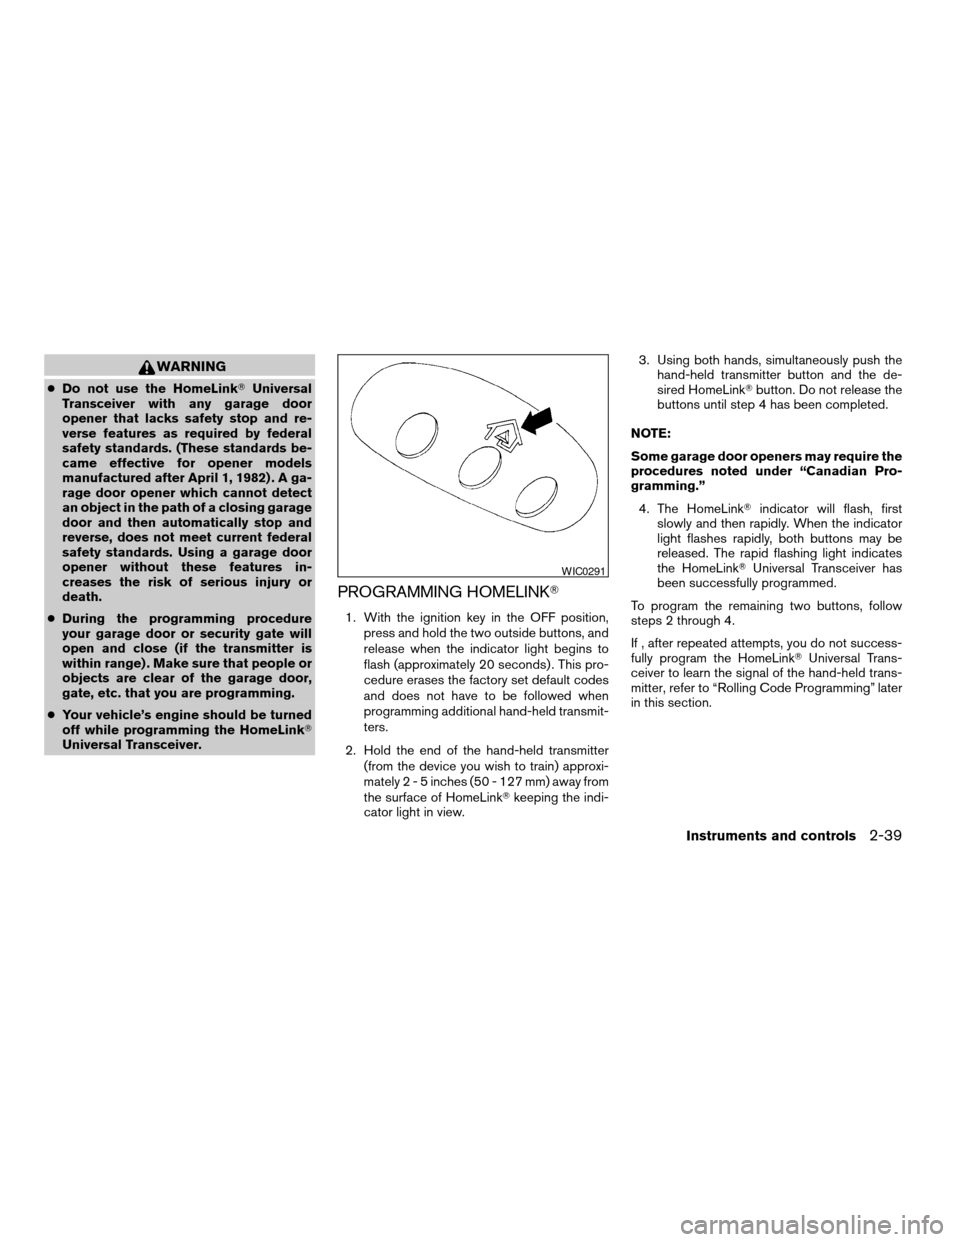
1. With the ignition key in the OFF position,
press and hold the two outside buttons, and
release when the indicator light begins to
flash (approximately 20 seconds) . This pro-
cedure erases the factory set default codes
and does not have to be followed when
programming additional hand-held transmit-
ters.
2. Hold the end of the hand-held transmitter
(from the device you wish to train) approxi-
mately2-5inches (50 - 127 mm) away from
the surface of HomeLinkTkeeping the indi-
cator light in view.3. Using both hands, simultaneously push the
hand-held transmitter button and the de-
sired HomeLinkTbutton. Do not release the
buttons until step 4 has been completed.
NOTE:
Some garage door openers may require the
procedures noted under “Canadian Pro-
gramming.”
4. The HomeLinkTindicator will flash, first
slowly and then rapidly. When the indicator
light flashes rapidly, both buttons may be
released. The rapid flashing light indicates
the HomeLinkTUniversal Transceiver has
been successfully programmed.
To program the remaining two buttons, follow
steps 2 through 4.
If , after repeated attempts, you do not success-
fully program the HomeLinkTUniversal Trans-
ceiver to learn the signal of the hand-held trans-
mitter, refer to “Rolling Code Programming” later
in this section.
WIC0291
Instruments and controls2-39
ZREVIEW COPY:Ð2004 Altima(l30)
Owners Manual(owners)ÐUSA English(nna)
10/10/03Ðtbrooks
X
Page 134 of 264

RADIO
Turn the ignition key to the ACC or ON position
and press the PWR (power)/VOL (volume) knob
to turn the radio on. If you listen to the radio with
the engine not running, the key should be turned
to the ACC position.
Radio reception is affected by station signal
strength, distance from radio transmitter, build-
ings, bridges, mountains and other external influ-
ences. Intermittent changes in reception quality
normally are caused by these external influences.
Using a cellular phone in or near the ve-
hicle may influence radio reception quality.
Radio reception
Your NISSAN radio system is equipped with
state-of-the-art electronic circuits to enhance ra-
dio reception. These circuits are designed to
extend reception range, and to enhance the qual-
ity of that reception.
However there are some general characteristics
of both FM and AM radio signals that can affect
radio reception quality in a moving vehicle, even
when the finest equipment is used. These char-
acteristics are completely normal in a given re-
ception area, and do not indicate any malfunction
in your NISSAN radio system.Reception conditions will constantly change be-
cause of vehicle movement. Buildings, terrain,
signal distance and interference from other ve-
hicles can work against ideal reception. De-
scribed below are some of the factors that can
affect your radio reception.
FM RADIO RECEPTION
Range: FM range is normally limited to 25 - 30
miles (40 - 48 km) , with monaural (single chan-
nel) FM having slightly more range than stereo
FM. External influences may sometimes interfere
with FM station reception even if the FM station is
within 25 miles (40 km) . The strength of the FM
signal is directly related to the distance between
the transmitter and receiver. FM signals follow a
line-of-sight path, exhibiting many of the same
characteristics as light. For example they will
reflect off objects.
Fade and drift: As your vehicle moves away from
a station transmitter, the signals will tend to fade
and/or drift.
Static and flutter: During signal interference from
buildings, large hills or due to antenna position
(usually in conjunction with increased distance
from the station transmitter) static or flutter can
be heard. This can be reduced by adjusting the
treble control to reduce treble response.Multipath reception: Because of the reflective
characteristics of FM signals, direct and reflected
signals reach the receiver at the same time. The
signals may cancel each other, resulting in mo-
mentary flutter or loss of sound.
AM RADIO RECEPTION
AM signals, because of their low frequency, can
bend around objects and skip along the ground.
In addition, the signals can be bounced off the
ionosphere and bent back to earth. Because of
these characteristics, AM signals are also sub-
ject to interference as they travel from transmitter
to receiver.
Fading: Occurs while the vehicle is passing
through freeway underpasses or in areas with
many tall buildings. It can also occur for several
seconds during ionospheric turbulence even in
areas where no obstacles exist.
Static: Caused by thunderstorms, electrical
power lines, electric signs and even traffic lights.
AUDIO SYSTEM
4-14Heater, air conditioner and audio systems
ZREVIEW COPY:Ð2004 Altima(l30)
Owners Manual(owners)ÐUSA English(nna)
10/13/03Ðtbrooks
X
Page 138 of 264
or CD) that was playing immediately before the
system was turned off resumes playing.
When no CD is loaded, the radio comes on.
Pushing the PWR/VOL control knob again turns
the system off.
Turn the PWR/VOL control knob to the right to
increase volume or to the left to decrease volume.
Adjusting tone quality and speaker balance
Press the AUDIO button to enter the audio adjust
mode:
Bass!Mid!Treb!Fade!Bal
Press the TUNE/FF-REV (
or)or
SEEK/TRACK (or) to adjust to the
desired levels. The display will return to the regu-
lar radio display after 7 seconds, or you may
press the AUDIO button again to return to the
regular radio display.
Clock operation
Pressing the MENU or CLOCK button displays
the clock with the radio on or off. Press the MENU
or CLOCK button again to turn off the clock
display.
Clock set
1. Press and hold the MENU or CLOCK button
until it beeps (longer than 2 seconds) .2. The hours will start flashing. Press
TUNE/FF-REV (
or)or
SEEK/TRACK (or) to adjust
the hours.
3. Press the MENU or CLOCK button to
switch to the minute adjustment.
4. Press TUNE/FF-REV (
or)or
SEEK/TRACK (or) to adjust
the minutes.
5. Press the MENU or CLOCK button again to
exit the clock set mode.
The display will return to the regular clock display
after 7 seconds, or you may press the MENU or
CLOCK button again to return to the regular
clock display.
FM-AM radio operation
FM-AM band select
Push the AM or the FM button to change from AM
to FM reception.
The FM stereo indicator, ST, illuminates during
FM stereo reception. When the stereo broadcast
signal is weak, the radio automatically changes
from stereo to monaural reception.
TUNE/FF—REV
WARNING
The radio should not be tuned while driv-
ing so full attention may be given to ve-
hicle operation.
Use the
andbuttons for manual
tuning. To move quickly through the channels,
hold the tuning buttons down.
SEEK tuning
Push SEEK/TRACK (
or) . SEEK
tuning begins from low to high frequencies or
high to low frequencies, depending on which
button is pressed, and stops at the next broad-
casting station. If using the up button, once the
highest broadcasting station is reached, the ra-
dio continues in the SEEK mode at the lowest
broadcasting station. If using the down button,
once the lowest broadcasting station is reached,
the radio continues in the SEEK mode at the
highest broadcasting station.
SCAN tuning
Push the SCAN button. SCAN illuminates in the
display window. SCAN tuning begins from low to
high frequencies. SCAN tuning stops for 5 sec-
onds at each broadcasting station that has suffi-
cient signal strength. When scanning, SCAN
4-18Heater, air conditioner and audio systems
ZREVIEW COPY:Ð2004 Altima(l30)
Owners Manual(owners)ÐUSA English(nna)
10/13/03Ðtbrooks
X
Page 142 of 264
1. PRESET ABC button
2. LOAD button
3. CD select button
4. Display
5. FM band select button
6. AM band select button
7. CD eject button
8. TRAVEL button
9. TUNE FF-REV button
10. MENU/CLOCK button
11. MIX/PTY button
12. AUDIO button
13. SCAN button
14. Station preset buttons
15. POWER/VOL control knob
16. CD insert slot
17. SEEK/TRACK button
FM-AM RADIO WITH COMPACT
DISC (CD) CHANGER (if so
equipped)
PWR/VOL control knob
Turn the ignition key to the ACC or ON position,
then push the PWR/VOL control knob. If you
listen to the radio with the engine not running,
turn the key to the ACC position. The mode (radio
or CD) that was playing immediately before the
system was turned off resumes playing.When no CD is loaded, the radio comes on.
Pushing the PWR/VOL control knob again turns
the system off.
Turn the PWR/VOL control knob to the right to
increase volume or to the left to decrease volume.
Adjusting tone quality and speaker balance
Press the AUDIO button to enter the audio adjust
mode:
Bass!Treb!Fade!Bal
Press the TUNE/FF-REV (
or)or
SEEK/TRACK (or) to adjust to the
desired levels. The display will return to the regu-
lar radio display after 7 seconds, or you may
press the AUDIO button again to return to the
regular radio display.
Clock operation
Pressing the MENU button displays the clock
with the radio on or off. Press the MENU button
again to turn off the clock display.
Clock set
1. Press and hold the MENU button until it
beeps (>2 seconds) .
2. The hours will start flashing. Press
TUNE/FF-REV (
or)or
SEEK/TRACK (or) to adjust
the hours.3. Press the MENU button to switch to the
minute adjustment.
4. Press TUNE/FF-REV (
or)or
SEEK/TRACK (or) to adjust
the minutes.
5. Press the MENU button again to exit the
clock set mode.
The display will return to the regular clock display
after 7 seconds, or you may press the MENU
button again to return to the regular clock display.
FM-AM radio operation
FM-AM band select
Push the AM or the FM button to change from AM
to FM reception.
The FM stereo indicator, ST, illuminates during
FM stereo reception. When the stereo broadcast
signal is weak, the radio automatically changes
from stereo to monaural reception.
TUNE/FF—REV
WARNING
The radio should not be tuned while driv-
ing so full attention may be given to ve-
hicle operation.
4-22Heater, air conditioner and audio systems
ZREVIEW COPY:Ð2004 Altima(l30)
Owners Manual(owners)ÐUSA English(nna)
10/13/03Ðtbrooks
X