2004 NISSAN ALTIMA tow
[x] Cancel search: towPage 9 of 264

1. Engine hood (P. 3-10)
2. Headlight and turn signal switch
(P. 2-18)
3. Replacing bulbs (P. 8-30)
4. Windshield wiper and washer switch
(P. 2-16)
5. Windshield (P. 8-24)
6. Power windows (P. 2-32)
7. Door locks, keyfob, keys
(P. 3-3, 3-5, 3-2)
8. Mirrors (P. 3-16)
9. Tire pressure (P. 9-11)
10. Flat tire (P. 6-2)
11. Tire chains (P. 8-40)
12. Fog light switch (if so equipped)
(P. 2-22)
13. Tie down/towing hooks (P. 6-11)
See the page number indicated in paren-
theses for operating details.
LII0024
EXTERIOR FRONT
Illustrated table of contents0-3
ZREVIEW COPY:Ð2004 Altima(l30)
Owners Manual(owners)ÐUSA English(nna)
10/13/03Ðtbrooks
X
Page 45 of 264
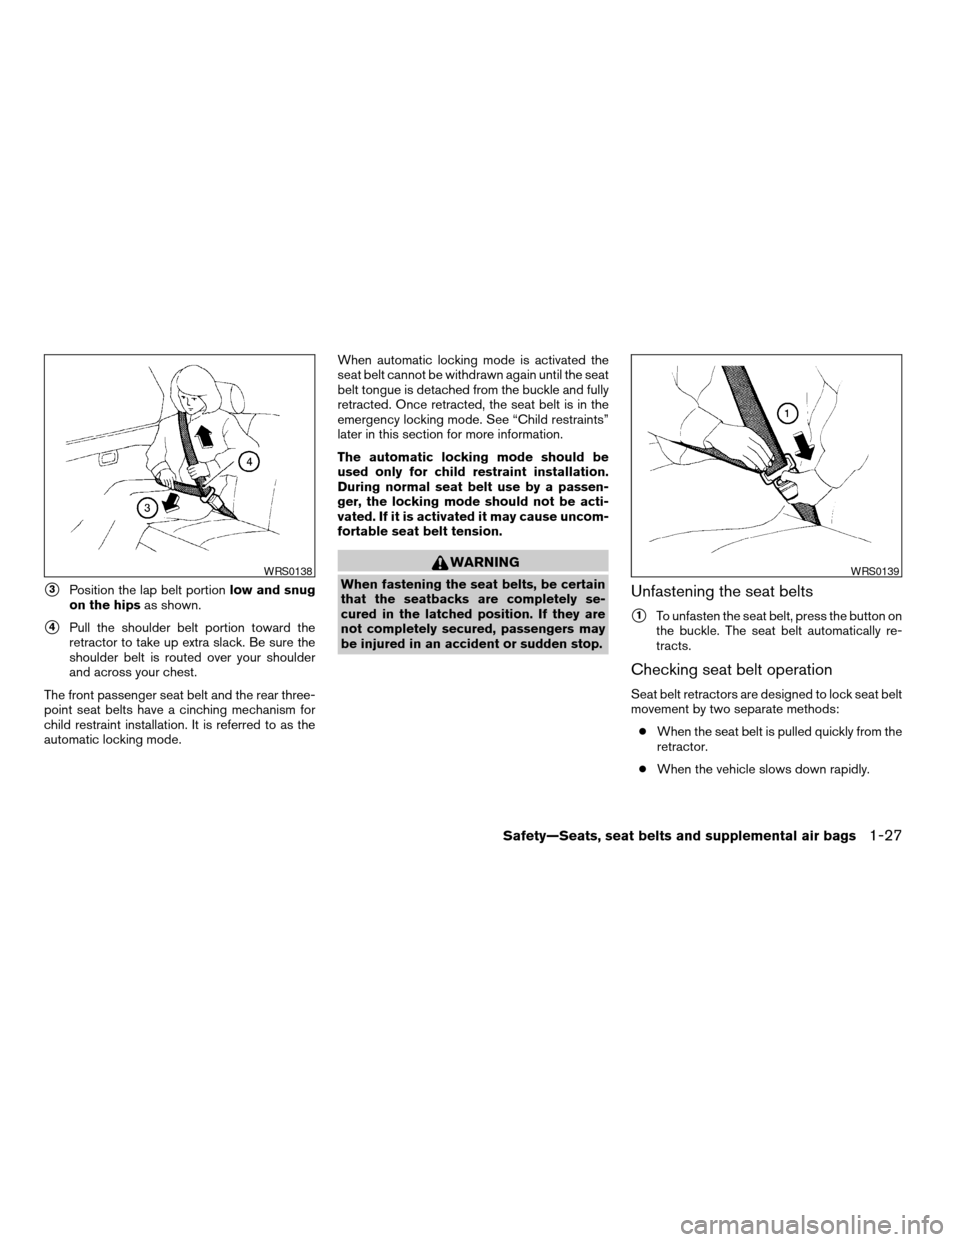
s3Position the lap belt portionlow and snug
on the hipsas shown.
s4Pull the shoulder belt portion toward the
retractor to take up extra slack. Be sure the
shoulder belt is routed over your shoulder
and across your chest.
The front passenger seat belt and the rear three-
point seat belts have a cinching mechanism for
child restraint installation. It is referred to as the
automatic locking mode.When automatic locking mode is activated the
seat belt cannot be withdrawn again until the seat
belt tongue is detached from the buckle and fully
retracted. Once retracted, the seat belt is in the
emergency locking mode. See “Child restraints”
later in this section for more information.
The automatic locking mode should be
used only for child restraint installation.
During normal seat belt use by a passen-
ger, the locking mode should not be acti-
vated. If it is activated it may cause uncom-
fortable seat belt tension.
WARNING
When fastening the seat belts, be certain
that the seatbacks are completely se-
cured in the latched position. If they are
not completely secured, passengers may
be injured in an accident or sudden stop.Unfastening the seat belts
s1To unfasten the seat belt, press the button on
the buckle. The seat belt automatically re-
tracts.
Checking seat belt operation
Seat belt retractors are designed to lock seat belt
movement by two separate methods:
cWhen the seat belt is pulled quickly from the
retractor.
cWhen the vehicle slows down rapidly.
WRS0138WRS0139
Safety—Seats, seat belts and supplemental air bags1-27
ZREVIEW COPY:Ð2004 Altima(l30)
Owners Manual(owners)ÐUSA English(nna)
10/10/03Ðtbrooks
X
Page 70 of 264
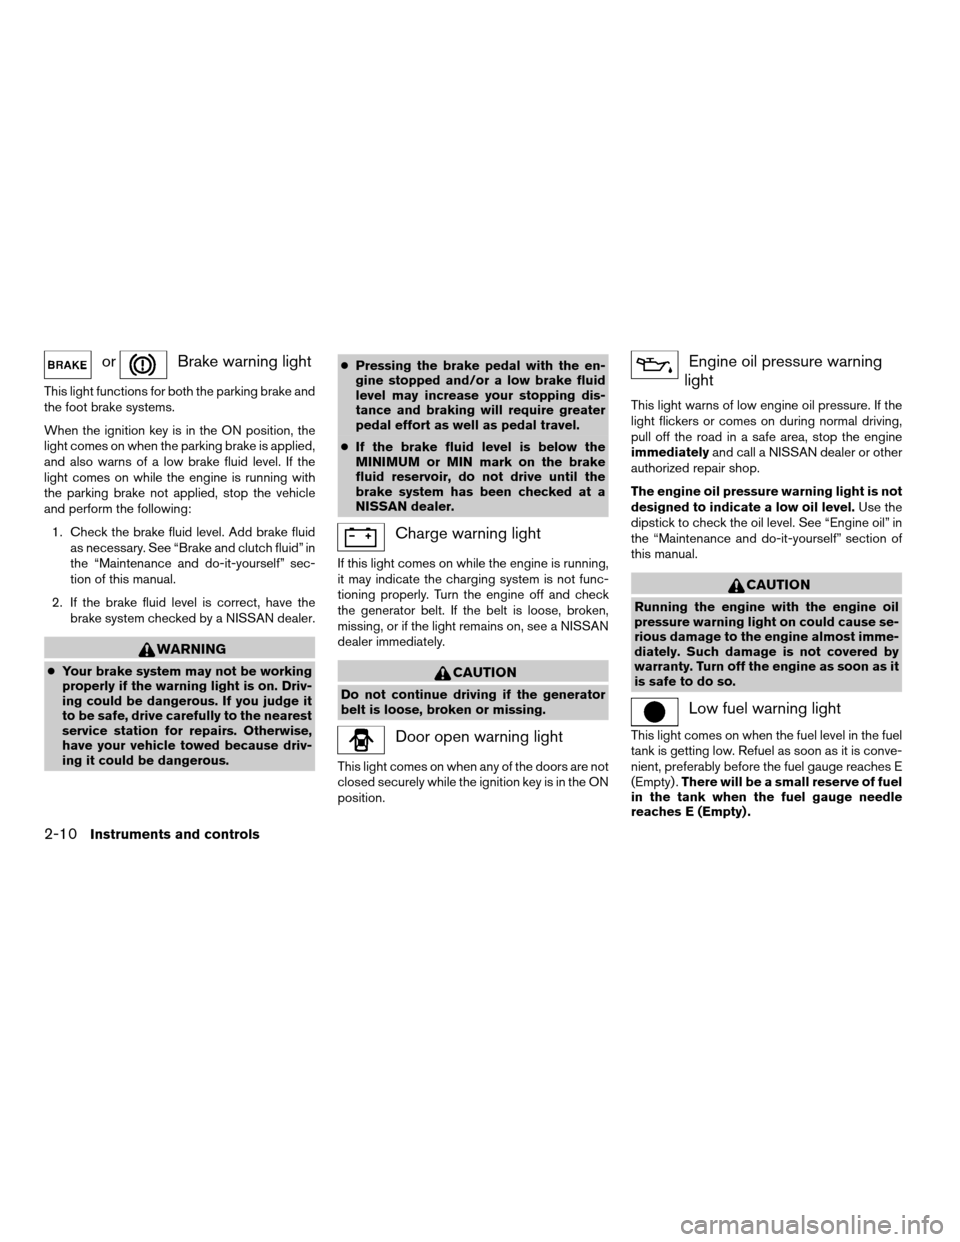
orBrake warning light
This light functions for both the parking brake and
the foot brake systems.
When the ignition key is in the ON position, the
light comes on when the parking brake is applied,
and also warns of a low brake fluid level. If the
light comes on while the engine is running with
the parking brake not applied, stop the vehicle
and perform the following:
1. Check the brake fluid level. Add brake fluid
as necessary. See “Brake and clutch fluid” in
the “Maintenance and do-it-yourself” sec-
tion of this manual.
2. If the brake fluid level is correct, have the
brake system checked by a NISSAN dealer.
WARNING
cYour brake system may not be working
properly if the warning light is on. Driv-
ing could be dangerous. If you judge it
to be safe, drive carefully to the nearest
service station for repairs. Otherwise,
have your vehicle towed because driv-
ing it could be dangerous.cPressing the brake pedal with the en-
gine stopped and/or a low brake fluid
level may increase your stopping dis-
tance and braking will require greater
pedal effort as well as pedal travel.
cIf the brake fluid level is below the
MINIMUM or MIN mark on the brake
fluid reservoir, do not drive until the
brake system has been checked at a
NISSAN dealer.
Charge warning light
If this light comes on while the engine is running,
it may indicate the charging system is not func-
tioning properly. Turn the engine off and check
the generator belt. If the belt is loose, broken,
missing, or if the light remains on, see a NISSAN
dealer immediately.
CAUTION
Do not continue driving if the generator
belt is loose, broken or missing.
Door open warning light
This light comes on when any of the doors are not
closed securely while the ignition key is in the ON
position.
Engine oil pressure warning
light
This light warns of low engine oil pressure. If the
light flickers or comes on during normal driving,
pull off the road in a safe area, stop the engine
immediatelyand call a NISSAN dealer or other
authorized repair shop.
The engine oil pressure warning light is not
designed to indicate a low oil level.Use the
dipstick to check the oil level. See “Engine oil” in
the “Maintenance and do-it-yourself” section of
this manual.
CAUTION
Running the engine with the engine oil
pressure warning light on could cause se-
rious damage to the engine almost imme-
diately. Such damage is not covered by
warranty. Turn off the engine as soon as it
is safe to do so.
Low fuel warning light
This light comes on when the fuel level in the fuel
tank is getting low. Refuel as soon as it is conve-
nient, preferably before the fuel gauge reaches E
(Empty) .There will be a small reserve of fuel
in the tank when the fuel gauge needle
reaches E (Empty) .
2-10Instruments and controls
ZREVIEW COPY:Ð2004 Altima(l30)
Owners Manual(owners)ÐUSA English(nna)
10/10/03Ðtbrooks
X
Page 72 of 264
the cruise control system is not functioning prop-
erly. Have the system checked by a NISSAN
dealer.
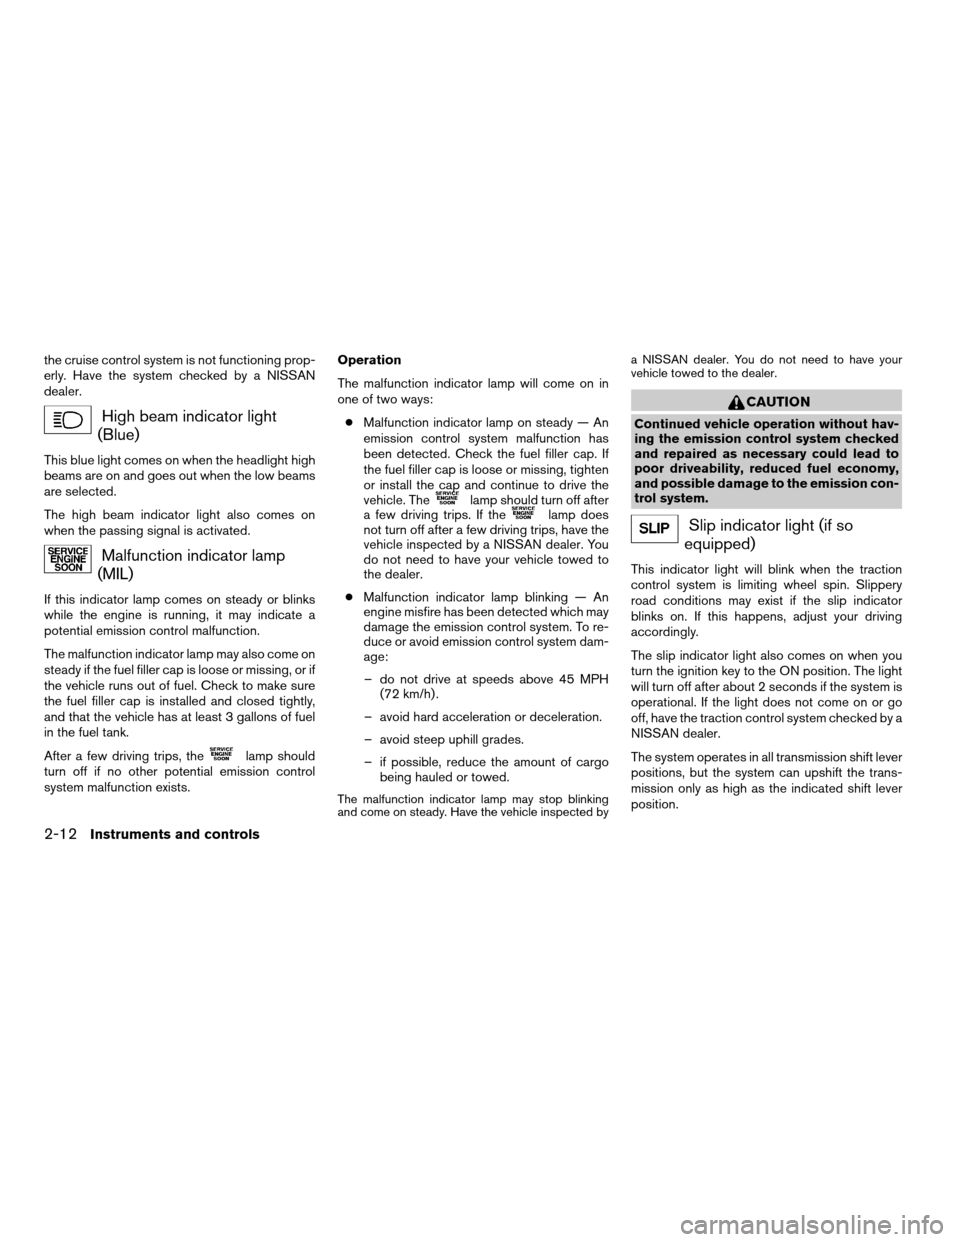
High beam indicator light
(Blue)
This blue light comes on when the headlight high
beams are on and goes out when the low beams
are selected.
The high beam indicator light also comes on
when the passing signal is activated.
Malfunction indicator lamp
(MIL)
If this indicator lamp comes on steady or blinks
while the engine is running, it may indicate a
potential emission control malfunction.
The malfunction indicator lamp may also come on
steady if the fuel filler cap is loose or missing, or if
the vehicle runs out of fuel. Check to make sure
the fuel filler cap is installed and closed tightly,
and that the vehicle has at least 3 gallons of fuel
in the fuel tank.
After a few driving trips, the
lamp should
turn off if no other potential emission control
system malfunction exists.Operation
The malfunction indicator lamp will come on in
one of two ways:
cMalfunction indicator lamp on steady — An
emission control system malfunction has
been detected. Check the fuel filler cap. If
the fuel filler cap is loose or missing, tighten
or install the cap and continue to drive the
vehicle. The
lamp should turn off after
a few driving trips. If thelamp does
not turn off after a few driving trips, have the
vehicle inspected by a NISSAN dealer. You
do not need to have your vehicle towed to
the dealer.
cMalfunction indicator lamp blinking — An
engine misfire has been detected which may
damage the emission control system. To re-
duce or avoid emission control system dam-
age:
– do not drive at speeds above 45 MPH
(72 km/h) .
– avoid hard acceleration or deceleration.
– avoid steep uphill grades.
– if possible, reduce the amount of cargo
being hauled or towed.
The malfunction indicator lamp may stop blinking
and come on steady. Have the vehicle inspected bya NISSAN dealer. You do not need to have your
vehicle towed to the dealer.
CAUTION
Continued vehicle operation without hav-
ing the emission control system checked
and repaired as necessary could lead to
poor driveability, reduced fuel economy,
and possible damage to the emission con-
trol system.
Slip indicator light (if so
equipped)
This indicator light will blink when the traction
control system is limiting wheel spin. Slippery
road conditions may exist if the slip indicator
blinks on. If this happens, adjust your driving
accordingly.
The slip indicator light also comes on when you
turn the ignition key to the ON position. The light
will turn off after about 2 seconds if the system is
operational. If the light does not come on or go
off, have the traction control system checked by a
NISSAN dealer.
The system operates in all transmission shift lever
positions, but the system can upshift the trans-
mission only as high as the indicated shift lever
position.
2-12Instruments and controls
ZREVIEW COPY:Ð2004 Altima(l30)
Owners Manual(owners)ÐUSA English(nna)
10/10/03Ðtbrooks
X
Page 74 of 264

2. Remove the key from the ignition switch.
3. Close the trunk lid and all doors. Lock all
doors. The doors can be locked with the key,
power door lock switch (if the door is
opened, locked, and then closed) or with the
keyfob.
Keyfob operation:
cPush the
button on the keyfob.
All doors lock. The hazard lights flash
twice and the horn beeps once to indicate
all doors are locked.
cWhen the
button is pushed with
all doors locked, the hazard lights flash
twice and the horn beeps once as a re-
minder that the doors are already locked.
The horn may or may not beep. Refer to
“Silencing the horn beep feature” later in this
section.4. Confirm that the SECURITY indicator light
comes on. The SECURITY light stays on for
about 30 seconds. The vehicle security sys-
tem is now pre-armed. After about 30 sec-
onds the vehicle security system automati-
cally shifts into the armed phase. The
SECURITY light begins to flash once every 3
seconds. If, during the 30-second pre-arm
time period, the door is unlocked by the key
or the keyfob, or the ignition key is turned to
ACC or ON, the system will not arm.
cIf the key is turned slowly when locking
the door, the system may not arm. Fur-
thermore, if the key is turned beyond
the vertical position toward the unlock
position to remove the key, the system
may be disarmed when the key is re-
moved. If the indicator light fails to
glow for 30 seconds, unlock the door
once and lock it again.
cEven when the driver and/or passen-
gers are in the vehicle, the system will
arm with all doors and trunk lid closed
and locked with the ignition key in the
OFF position.
Vehicle security system activation
The vehicle security system will give the following
alarm:
cThe headlights blink and the horn sounds
intermittently.
cThe alarm automatically turns off after ap-
proximately 45 seconds. However, the alarm
reactivates if the vehicle is tampered with
again. The alarm can be shut off by unlocking
a door or trunk lid with the key, or by pressing
the
button on the keyfob.
The alarm is activated by:
copening the door or trunk lid without using
the key or keyfob (even if the door is un-
locked by releasing the door inside lock
switch) .
How to stop an activated alarm
The alarm stops only by unlocking a door or the
trunk lid with the key, or by pressing the
button on the keyfob.
2-14Instruments and controls
ZREVIEW COPY:Ð2004 Altima(l30)
Owners Manual(owners)ÐUSA English(nna)
10/10/03Ðtbrooks
X
Page 76 of 264

Security indicator light (NISSAN Ve-
hicle Immobilizer System)
The security indicator lights1is located on the
instrument panel near the windshield.
The security indicator light blinks every 3 sec-
onds whenever the ignition switch is in the
LOCK, OFF or ACC position. This function indi-
cates the NISSAN Vehicle Immobilizer System
(NVIS) is operational.
If the NVIS is malfunctioning, the light will remain
on while the ignition key is in the ON position.If the light still remains on and/or the en-
gine will not start, see a NISSAN dealer for
NVIS service as soon as possible. Please
bring all NVIS keys that you have when
visiting your NISSAN dealer for service.
SWITCH OPERATION
The windshield wiper and washer switch oper-
ates when the ignition key is in the ON position.
Push the lever down to operate the wiper at the
following speed:
s1Intermittent — intermittent operation can be
adjusted by turning the knob toward
sA
(Slower) orsB(Faster) .
s2Low — continuous low speed operation
s3High — continuous high speed operation
Push the lever up
s4to have one sweep opera-
tion of the wiper.
WIC0270WIC0613
WINDSHIELD WIPER AND WASHER
SWITCH
2-16Instruments and controls
ZREVIEW COPY:Ð2004 Altima(l30)
Owners Manual(owners)ÐUSA English(nna)
10/10/03Ðtbrooks
X
Page 77 of 264
Pull the lever toward yous5to operate the
washer. The wiper will also operate several times.
WARNING
In freezing temperatures the washer solu-
tion may freeze on the windshield and
obscure your vision which may lead to an
accident. Warm the windshield with the
defroster before you wash the windshield.
CAUTION
cDo not operate the washer continu-
ously for more than 30 seconds.
cDo not operate the washer if the reser-
voir tank is empty.
c
Do not fill the window washer reservoir
tank with washer fluid concentrates at
full strength. Some methyl alcohol based
washer fluid concentrates may perma-
nently stain the grille if spilled while fill-
ing the window washer reservoir tank.
cPre-mix washer fluid concentrates with
water to the manufacturer’s recom-
mended levels before pouring the fluid
into the window washer reservoir tank.
Do not use the window washer reservoir
tank to mix the washer fluid concen-
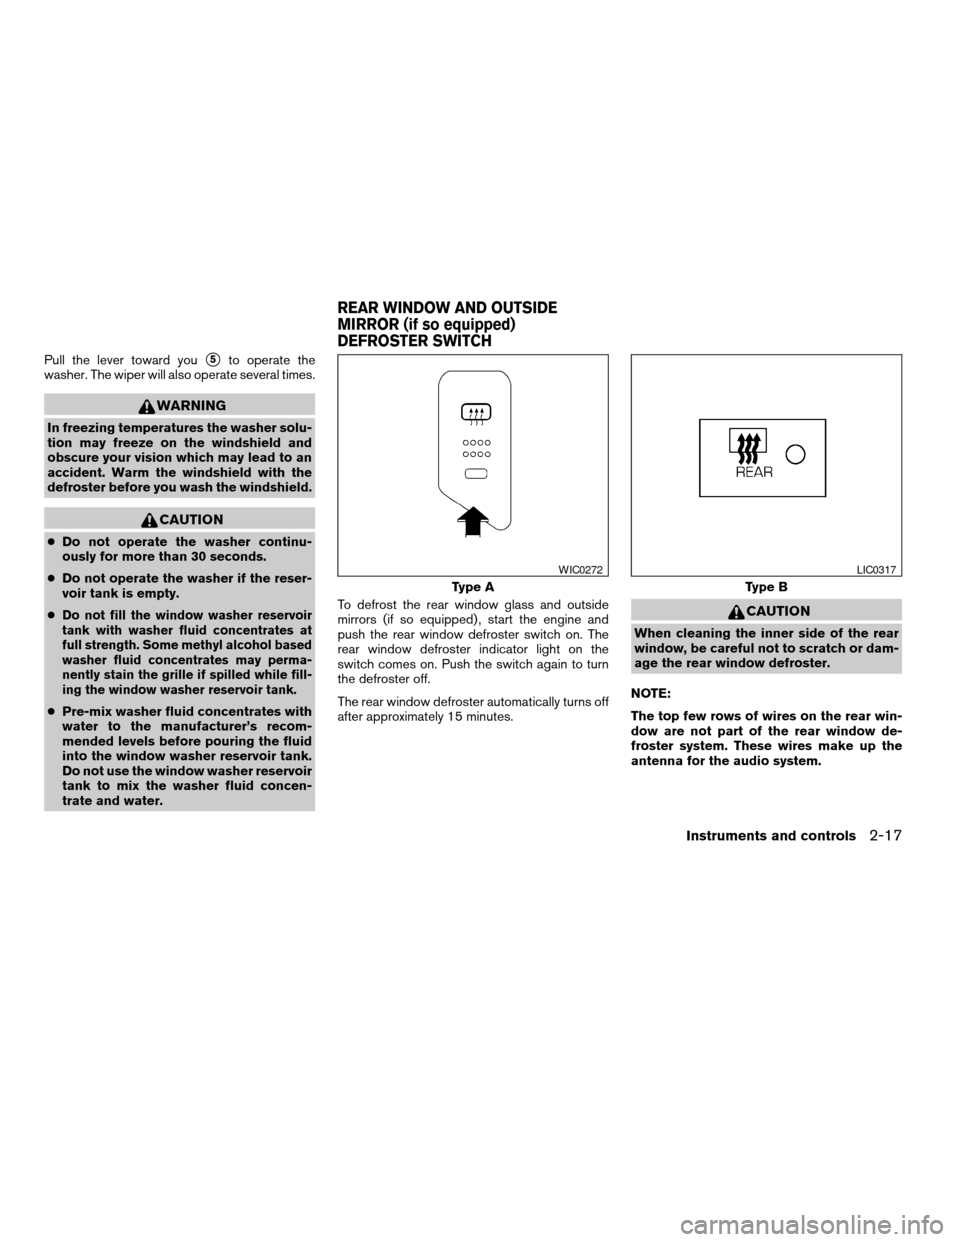
trate and water.To defrost the rear window glass and outside
mirrors (if so equipped) , start the engine and
push the rear window defroster switch on. The
rear window defroster indicator light on the
switch comes on. Push the switch again to turn
the defroster off.
The rear window defroster automatically turns off
after approximately 15 minutes.
CAUTION
When cleaning the inner side of the rear
window, be careful not to scratch or dam-
age the rear window defroster.
NOTE:
The top few rows of wires on the rear win-
dow are not part of the rear window de-
froster system. These wires make up the
antenna for the audio system.
Type A
WIC0272
Type B
LIC0317
REAR WINDOW AND OUTSIDE
MIRROR (if so equipped)
DEFROSTER SWITCH
Instruments and controls2-17
ZREVIEW COPY:Ð2004 Altima(l30)
Owners Manual(owners)ÐUSA English(nna)
10/10/03Ðtbrooks
X
Page 95 of 264
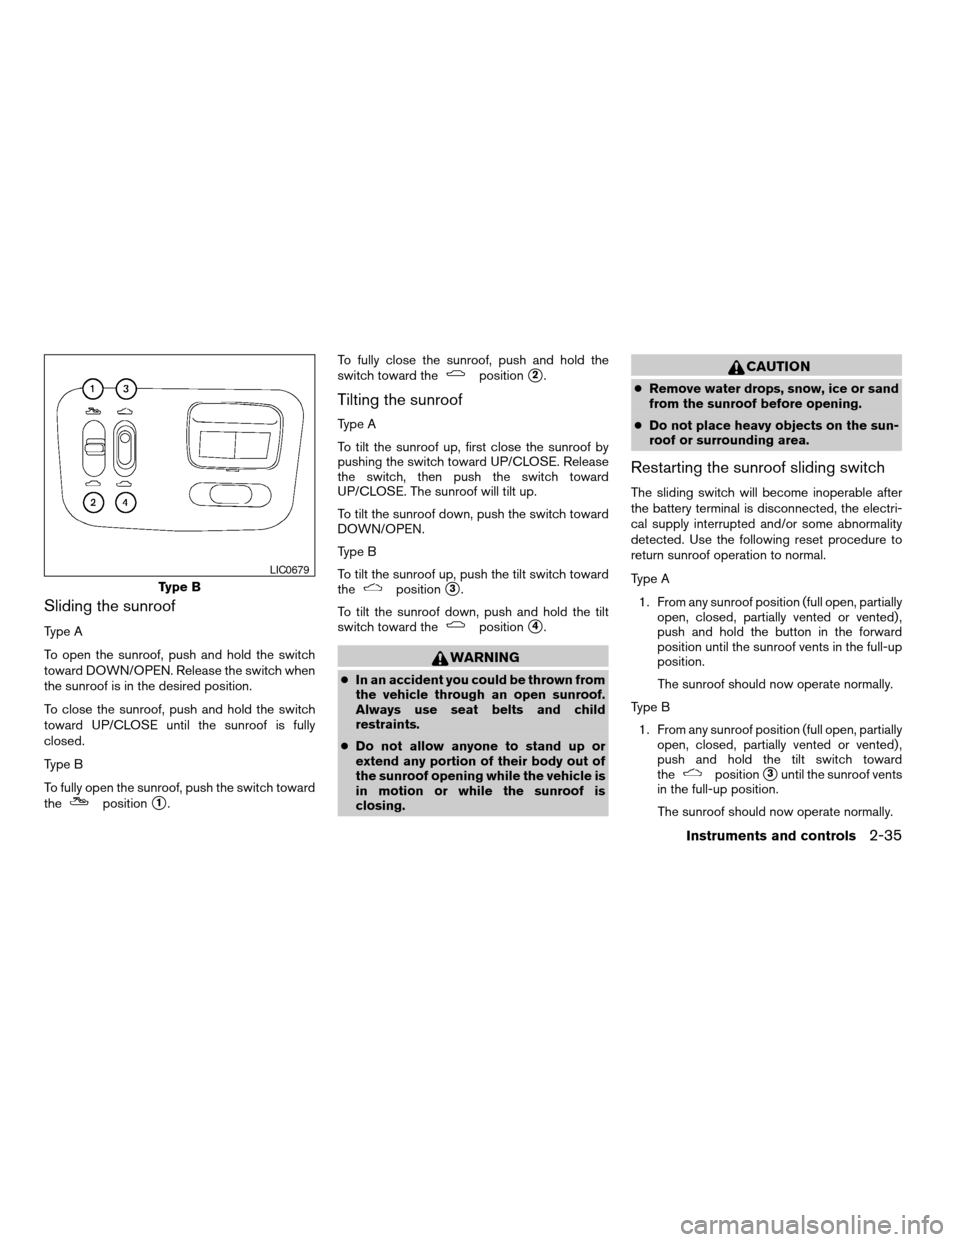
Sliding the sunroof
Type A
To open the sunroof, push and hold the switch
toward DOWN/OPEN. Release the switch when
the sunroof is in the desired position.
To close the sunroof, push and hold the switch
toward UP/CLOSE until the sunroof is fully
closed.
Type B
To fully open the sunroof, push the switch toward
the
positions1.To fully close the sunroof, push and hold the
switch toward the
positions2.
Tilting the sunroof
Type A
To tilt the sunroof up, first close the sunroof by
pushing the switch toward UP/CLOSE. Release
the switch, then push the switch toward
UP/CLOSE. The sunroof will tilt up.
To tilt the sunroof down, push the switch toward
DOWN/OPEN.
Type B
To tilt the sunroof up, push the tilt switch toward
the
positions3.
To tilt the sunroof down, push and hold the tilt
switch toward the
positions4.
WARNING
cIn an accident you could be thrown from
the vehicle through an open sunroof.
Always use seat belts and child
restraints.
cDo not allow anyone to stand up or
extend any portion of their body out of
the sunroof opening while the vehicle is
in motion or while the sunroof is
closing.
CAUTION
cRemove water drops, snow, ice or sand
from the sunroof before opening.
cDo not place heavy objects on the sun-
roof or surrounding area.
Restarting the sunroof sliding switch
The sliding switch will become inoperable after
the battery terminal is disconnected, the electri-
cal supply interrupted and/or some abnormality
detected. Use the following reset procedure to
return sunroof operation to normal.
Type A
1. From any sunroof position (full open, partially
open, closed, partially vented or vented) ,
push and hold the button in the forward
position until the sunroof vents in the full-up
position.
The sunroof should now operate normally.
Type B
1. From any sunroof position (full open, partially
open, closed, partially vented or vented) ,
push and hold the tilt switch toward
the
positions3until the sunroof vents
in the full-up position.
The sunroof should now operate normally.
Type B
LIC0679
Instruments and controls2-35
ZREVIEW COPY:Ð2004 Altima(l30)
Owners Manual(owners)ÐUSA English(nna)
10/10/03Ðtbrooks
X