Page 2197 of 3870
relay system may be defective. TROUBLESHOOTING HINTS
Improper amount of refrigerant Malfunction of the air thermo sensor Malfunction of the ambient air temperature sensor Malfunction of the A/C pressure sensor Malfunction of the A/C compressor clutch relay Malfunction of the A/C refrigerant temperature switch Malfunction of the air conditioning compressor clutch Malfunction of the A/C-ECU Malfunction of the PCM Damaged harness wires or connectors
DIAGNOSIS REQUIRED SPECIAL TOOLS:
MB991223: Test Harness Set MB991958: Scan Tool (MUT-III Sub Assembly)
MB991824: Vehicle Communication Interface (V.C.I.) MB991827: MUT-III USB Cable MB991910: MUT-III Main Harness A (Vehicles with CAN
communication system)
STEP 1. Check the defogger and outside/inside air selection damper
control motor operation.
Q: Do the defogger and outside/inside air selection damper control motor
work normally?
YES:
Go to Step 2.
NO:
Refer to
INSPECTION PROCEDURE 10 MALFUNCTION OF
THE A/C
-ECU POWER SUPPLY SYSTEM
.
2004 Mitsubishi Endeavor LS
2004 HVAC Heater Air Conditioning, Ventilation - Endeavor
Page 2239 of 3870
Fig. 170: Identifying A/C Pressure Sensor Connector
Courtesy of MITSUBISHI MOTOR SALES OF AMERICA.
3. Turn ON the engine and then turn ON the air conditioner switch.
4. At this time, check to see that the voltage of A/C pressure sensor terminal
No.2 reflects the specifications of the figure.
2004 Mitsubishi Endeavor LS
2004 HVAC Heater Air Conditioning, Ventilation - Endeavor
Page 2362 of 3870
Required Special Tools:
MB991658: Test Harness
1. Assemble a gauge manifold on the high pressure service valve.
2. Disconnect the A/C pressure sensor connector and connect special tool
MB991658 as shown in the illustration.
3. Turn ON the engine and then turn ON the air conditioner switch. Fig. 271: Identifying A/C Pressure Sensor Connector
Courtesy of MITSUBISHI MOTOR SALES OF AMERICA.
2004 Mitsubishi Endeavor LS
2004 HVAC Heater Air Conditioning, Ventilation - Endeavor
Page 2368 of 3870
Courtesy of MITSUBISHI MOTOR SALES OF AMERICA
.
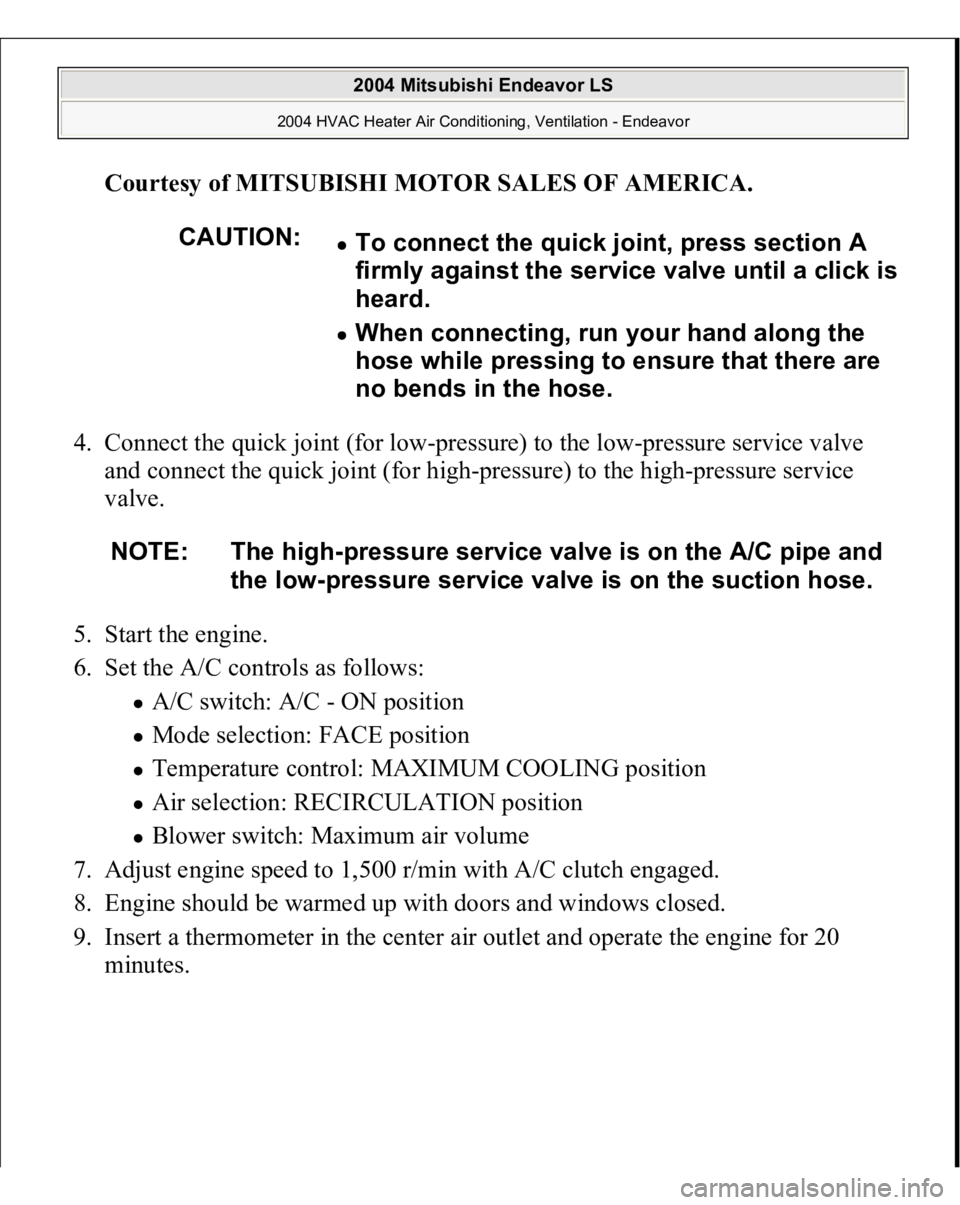
4. Connect the quick joint (for low-pressure) to the low-pressure service valve
and connect the quick joint (for high-pressure) to the high-pressure service
valve.
5. Start the engine.
6. Set the A/C controls as follows:
A/C switch: A/C - ON position Mode selection: FACE position Temperature control: MAXIMUM COOLING position Air selection: RECIRCULATION position Blower switch: Maximum air volume
7. Adjust engine speed to 1,500 r/min with A/C clutch engaged.
8. Engine should be warmed up with doors and windows closed.
9. Insert a thermometer in the center air outlet and operate the engine for 20
minutes.
CAUTION:
To connect the quick joint, press section A
firmly against the service valve until a click is
heard. When connecting, run your hand along the
hose while pressing to ensure that there are
no bends in the hose.
NOTE: The high-pressure service valve is on the A/C pipe and
the low-pressure service valve is on the suction hose.
2004 Mitsubishi Endeavor LS
2004 HVAC Heater Air Conditioning, Ventilation - Endeavor
Page 2372 of 3870
ADJUSTMENT 1. Select a quiet area for testing. Duplicate conditions as much as possible.
Switch the compressor on and off several times to clearly identify compressor
noise. To duplicate high ambient conditions (high head pressure), restrict air
flow through the condenser. Install a manifold gauge set to make sure
discharge pressure doesn't exceed 2,070 kPa (300.2 psi).
2. Tighten all compressor mounting bolts, clutch mounting bolt, and compressor
drive belt. Check to assure clutch coil is tight (no rotation or wobble).
3. Check refrigerant hoses for rubbing or interference that can cause unusual
noises.
4. Check refrigerant charge. (Refer to
CHARGING
and
DISCHARGING
).
5. Recheck compressor noise as in Step 1 .
6. If noise still exists, loosen compressor mounting bolts and retighten. Repeat
Step 1 .
7. If noise continues, replace compressor and repeat from Step 1 .
POWER RELAY CHECK FRONT BLOWER RELAY CONTINUITY CHECK
2004 Mitsubishi Endeavor LS
2004 HVAC Heater Air Conditioning, Ventilation - Endeavor
Page 2378 of 3870
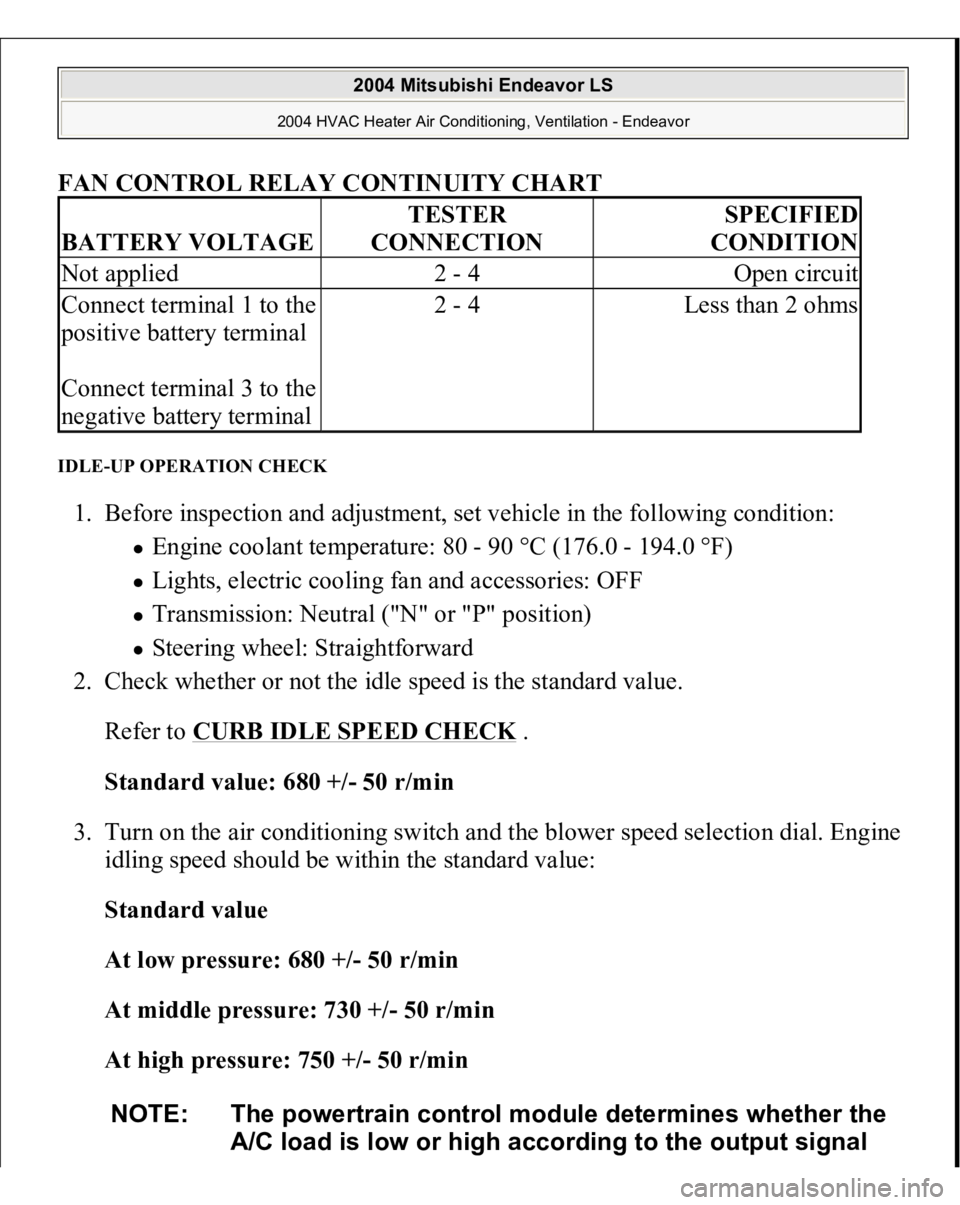
FAN CONTROL RELAY CONTINUITY CHART
IDLE-UP OPERATION CHECK 1. Before inspection and adjustment, set vehicle in the following condition:
Engine coolant temperature: 80 - 90 °C (176.0 - 194.0 °F) Lights, electric cooling fan and accessories: OFF Transmission: Neutral ("N" or "P" position) Steering wheel: Straightforward
2. Check whether or not the idle speed is the standard value.
Refer to
CURB IDLE SPEED CHECK
.
Standard value: 680 +/- 50 r/min
3. Turn on the air conditioning switch and the blower speed selection dial. Engine
idling speed should be within the standard value:
Standard value
At low pressure: 680 +/- 50 r/min
At middle pressure: 730 +/- 50 r/min
At high pressure: 750 +/- 50 r/min
BATTERY VOLTAGE
TESTER
CONNECTION
SPECIFIED
CONDITION
Not applied
2 - 4
Open circuit
Connect terminal 1 to the
positive battery terminal
Connect terminal 3 to the
negative battery terminal
2 - 4
Less than 2 ohms
NOTE: The powertrain control module determines whether the
A/C load is low or high according to the output signal
2004 Mitsubishi Endeavor LS
2004 HVAC Heater Air Conditioning, Ventilation - Endeavor
Page 2421 of 3870
When metering R-134a into the refrigeration system, keep the supply tank or cans
in an upright position. If the refrigerant container is on its side or upside down,
liquid refrigerant will enter the system and damage the compressor.
Refrigerant will tarnish bright metal and chrome surfaces, and in combination with
moisture can severely corrode all metal surfaces. OPERATION CONDENSER FAN AND RADIATOR FAN CONTROL
For the operation of each fan, refer to
SYMPTOM PROCEDURES
.
COMPRESSOR CONTROL WHEN OPERATING THE AIR CONDITIONING SWITCH
The air thermo sensor, which senses the temperature of the air flowing out of
the evaporator, deactivates the compressor at 3°C (37.4°F) or below. The dual pressure switch turns OFF when the refrigerant pressure becomes
excessively high or low, thus protecting the compressor circuit. When the air thermo sensor is activated, and the ignition switch, blower switch,
and air conditioning switch are ON, the A/C compressor clutch relay is
energized.
WHEN OPERATING THE MODE SELECTION DIAL
The air conditioning will work when the mode selection dial is set to the
"Defroster" or "Defroster/foot" position or the temperature control dial is set to
the "MAX A/C" position. In other dial positions, when the air conditioning
switch is turned on, the air conditioning will work.
A/C COMPRESSOR CLUTCH RELAY ON CONDITION
or it will be stained.
2004 Mitsubishi Endeavor LS
2004 HVAC Automatic Air Conditioning - Endeavor
Page 2860 of 3870
5. If it is not within the standard value, replace the oil pump.
6. Check whether or not the hydraulic pressure is the standard value when no-
load conditions are created by fully opening the shut-off valve of the pressure
gauge.
Standard value: 0.8 - 1.0 MPa (116 - 145 psi)
7. If it is not within the standard value, the probable cause is a malfunction of the
oil line or steering gear, so check these parts and repair as necessary.
8. Turn the steering wheel all the way to the left or right; then check the retention
hydraulic pressure.
Standard value: 9.3 - 9.8 MPa (1,349 - 1,421 psi)
9. If not the standard value, overhaul or replace the steering gear. Remeasure
fluid pressure.
10. Remove special tools MB991548, MB990662 and MB991549, and then tighten
the pressure tube flare nut to the specified torque.
Tightening torque: 15 +/- 3 N.m (11 +/- 2 ft-lb)
11. Bleed the system (Refer to POWER STEERING SYSTEM AIR
BLEEDING
).
POWER STEERING PRESSURE SWITCH CHECK Required Special Tools:
MB990662: Power Steering Oil Pressure Gauge MB991548: Power Steering Oil Pressure Gauge Adapter (Pump Side) MB991549: Power Steering Oil Pressure Gauge Adapter (Hose Side)
1. Disconnect the pressure hose from the oil pump, and then connect the special
tools MB991548, MB990662 and MB991549.
2. Bleed air, and then turn the steering wheel several times while the vehicle is
not movin
g so that the tem
perature of the fluid rises to a
pproximatel
y 50 - 60°
2004 Mitsubishi Endeavor LS
2004 STEERING Power Steering - Endeavor