Page 135 of 435
134 Controls in detailControl system
�Control systemThe control system is activated as soon as
the SmartKey in the starter switch is
turned to position1 or as soon as the
KEYLESS-GO start/stop button* is in
position1. The control system enables you
to:�
call up information about your vehicle
�
change vehicle settings
For example, you can use the control sys-
tem to find out when your vehicle is next
due for service, to set the language for
messages in the instrument cluster dis-
play, and much more.
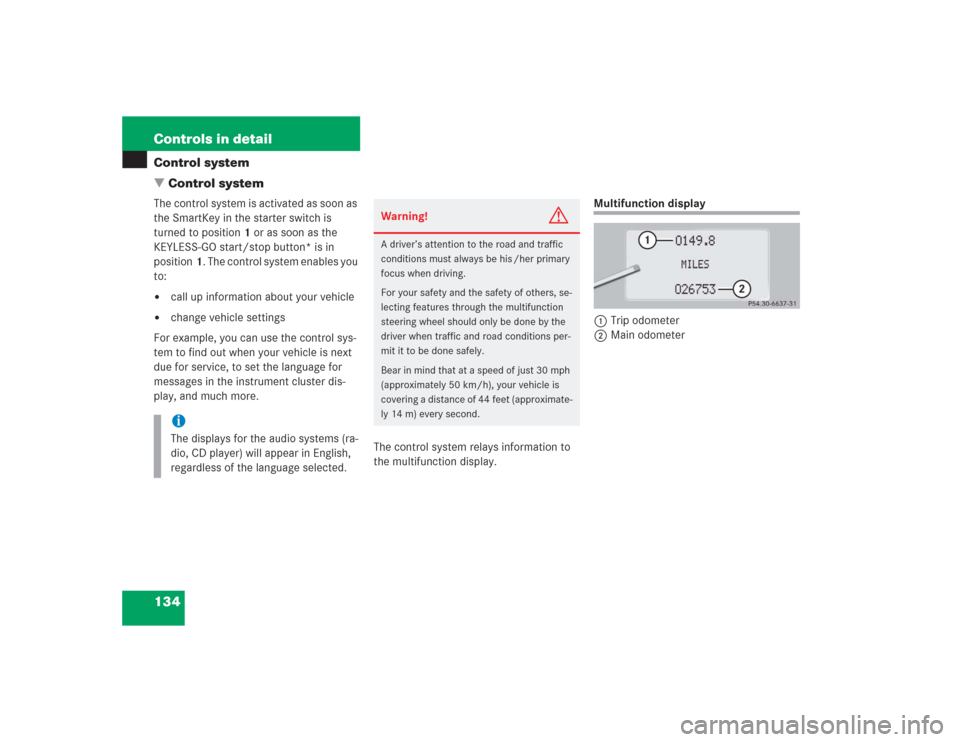
The control system relays information to
the multifunction display.
Multifunction display
1Trip odometer
2Main odometer
iThe displays for the audio systems (ra-
dio, CD player) will appear in English,
regardless of the language selected.
Warning!
G
A driver’s attention to the road and traffic
conditions must always be his /her primary
focus when driving.
For your safety and the safety of others, se-
lecting features through the multifunction
steering wheel should only be done by the
driver when traffic and road conditions per-
mit it to be done safely.
Bear in mind that at a speed of just 30 mph
(approximately 50 km/h), your vehicle is
covering a distance of 44 feet (approximate-
ly 14 m) every second.
Page 150 of 435
149 Controls in detail
Control system
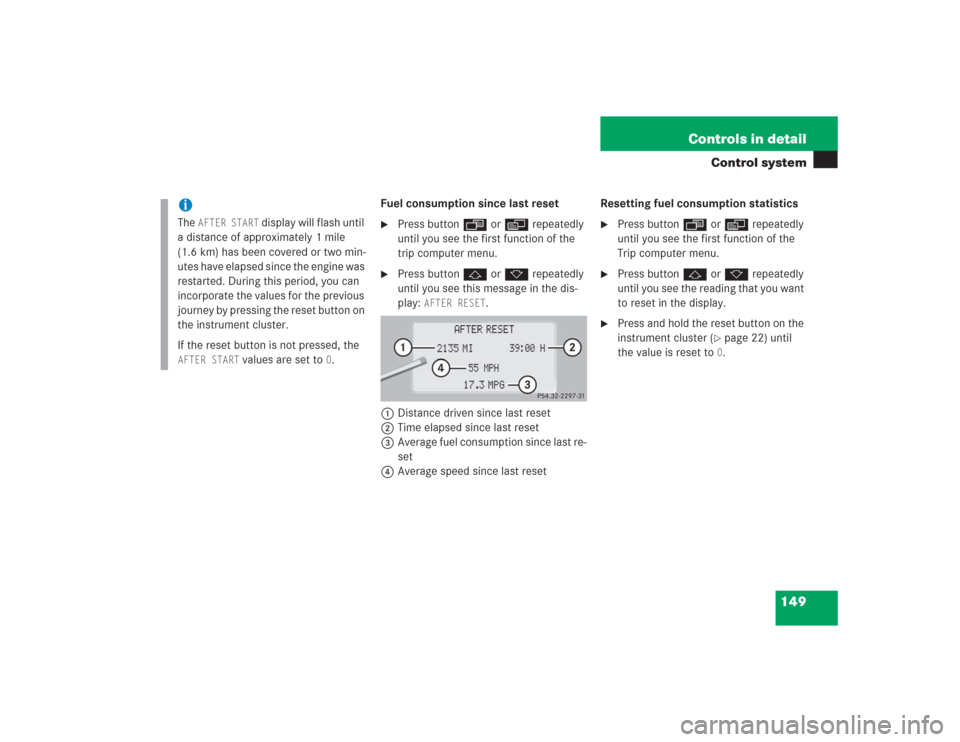
Fuel consumption since last reset�
Press buttonÿ orè repeatedly
until you see the first function of the
trip computer menu.
�
Press buttonj ork repeatedly
until you see this message in the dis-
play:
AFTER RESET
.
1Distance driven since last reset
2Time elapsed since last reset
3Average fuel consumption since last re-
set
4Average speed since last resetResetting fuel consumption statistics
�
Press buttonÿ orè repeatedly
until you see the first function of the
Trip computer menu.
�
Press buttonj ork repeatedly
until you see the reading that you want
to reset in the display.
�
Press and hold the reset button on the
instrument cluster (
�page 22) until
the value is reset to 0.
iThe
AFTER START
display will flash until
a distance of approximately 1 mile
(1.6 km) has been covered or two min-
utes have elapsed since the engine was
restarted. During this period, you can
incorporate the values for the previous
journey by pressing the reset button on
the instrument cluster.
If the reset button is not pressed, the
AFTER START
values are set to
0.
Page 152 of 435
151 Controls in detail
Control system
�
Press buttonk orj.
The stored messages will now be dis-
played in the order in which the mal-
functions have occurred. See the
“Practical hints” section for malfunc-
tion and warning messages
(�page 312).
Should any malfunctions occur while driv-
ing, the number of malfunctions will reap-
pear in the display when the SmartKey in
the starter switch is turned to position0 or
removed from the starter switch.
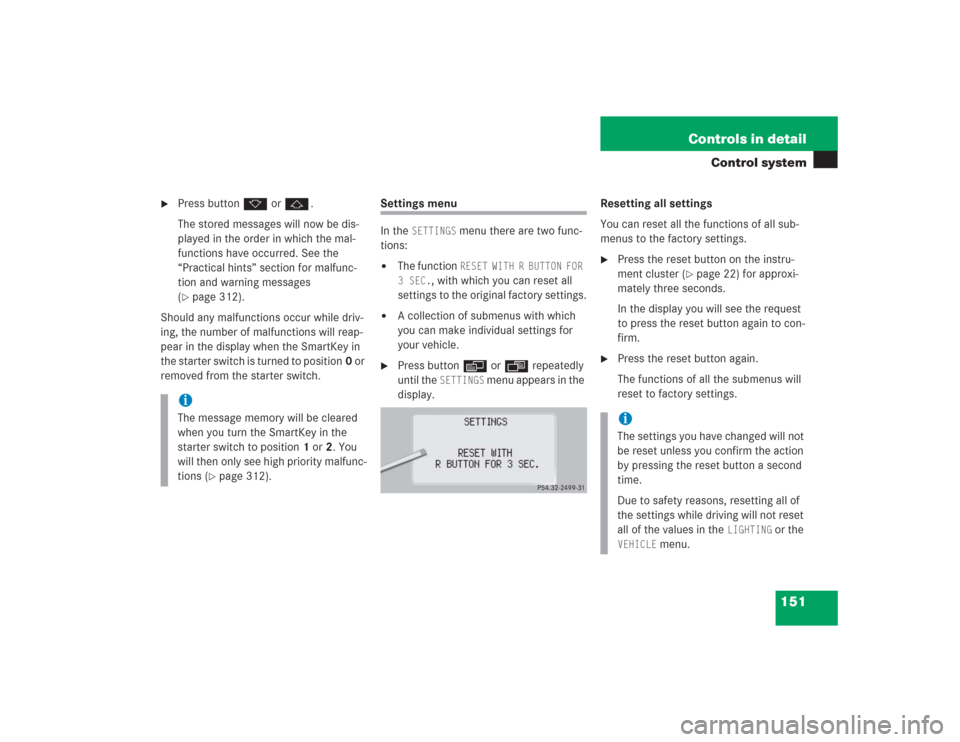
Settings menu
In the
SETTINGS
menu there are two func-
tions:
�
The function
RESET WITH R BUTTON FOR
3 SEC.
, with which you can reset all
settings to the original factory settings.
�
A collection of submenus with which
you can make individual settings for
your vehicle.
�
Press buttonè orÿ repeatedly
until the
SETTINGS
menu appears in the
display.Resetting all settings
You can reset all the functions of all sub-
menus to the factory settings.
�
Press the reset button on the instru-
ment cluster (
�page 22) for approxi-
mately three seconds.
In the display you will see the request
to press the reset button again to con-
firm.
�
Press the reset button again.
The functions of all the submenus will
reset to factory settings.
iThe message memory will be cleared
when you turn the SmartKey in the
starter switch to position1 or2. You
will then only see high priority malfunc-
tions (
�page 312).
iThe settings you have changed will not
be reset unless you confirm the action
by pressing the reset button a second
time.
Due to safety reasons, resetting all of
the settings while driving will not reset
all of the values in the
LIGHTING
or the
VEHICLE
menu.
Page 153 of 435
152 Controls in detailControl systemSubmenus in the Settings menu�
Press buttonk orj.
In the display you see the collection of
the submenus.
�
Press buttonçor æ.
The selection marker moves to the next
submenu.The submenus are arranged by hierarchy.
Scroll down with theç button, scroll up
with theæ button.
Move within the submenus with thek
orj button to the individual functions.
The settings themselves are made with
buttonæ orç.Resetting the functions of a submenu
For each submenu you can reset all the
functions to the factory settings.
�
Move to a function in the submenu.
�
Press the reset button on the instru-
ment cluster (
�page 22) for approxi-
mately three seconds.
In the display you will see the request
to press the reset button again to con-
firm.
�
Press the reset button again.
All functions of the submenu will reset
to factory settings.
Page 154 of 435
153 Controls in detail
Control system
The table below shows what settings can
be changed within the various menus. De-
tailed instructions on making individual
settings can be found on the following pag-
es.INSTRUMENT CLUSTER
LIGHTING
VEHICLE
CONVENIENCE
Select temperature display
mode
Set daytime running lamp mode
(USA only)
Set automatic locking
Set key-dependency
Select multifunction display
mode
Set locator lighting
Limiting opening height of trunk
lid*
Activate easy-entry/exit feature
Select language
Exterior lamps delayed shut-off
Set parking position for exterior
rear view mirror
Interior lighting delayed shut-off
Set fold-in function for exterior
rear view mirrorsAdjusting the drive-dynamic
seat (driver’s side)
Page 155 of 435
154 Controls in detailControl systemInstrument cluster submenu
Access the
INST. CLUS.
submenu via the
SETTINGS
menu. Use the
INST. CLUS.
sub-
menu to change the instrument cluster dis-
play settings. The following functions are
available:Selecting temperature display mode
�
Move the selection marker with
theæ orç button to the
INST.
CLUS.
submenu.
�
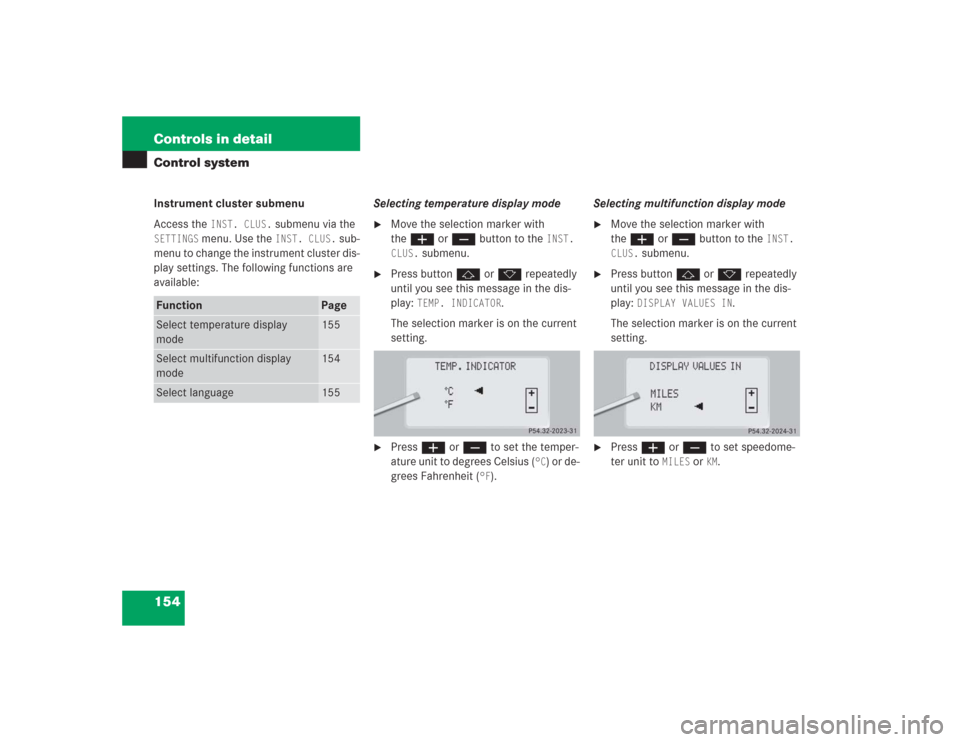
Press buttonj ork repeatedly
until you see this message in the dis-
play:
TEMP. INDICATOR
.
The selection marker is on the current
setting.
�
Pressæ orç to set the temper-
ature unit to degrees Celsius (
°C) or de-
grees Fahrenheit (
°F).Selecting multifunction display mode
�
Move the selection marker with
theæ orç button to the
INST.
CLUS.
submenu.
�
Press buttonj ork repeatedly
until you see this message in the dis-
play:
DISPLAY VALUES IN
.
The selection marker is on the current
setting.
�
Press æ or ç to set speedome-
ter unit to
MILES
or
KM.
Function
Page
Select temperature display
mode
155
Select multifunction display
mode
154
Select language
155
Page 209 of 435
208 Controls in detailDriving systemsDistronic displays in the speedometer
dialSet speedIf Distronic is activated, one or two seg-
ments come on around the set speed.
SegmentsIf Distronic detects a vehicle directly
ahead, the segments from the speed of the
vehicle ahead to the set speed come on.
If Distronic calculates that there is a dan-
ger of collision (
�page 214):
�
The red Distronic warning lampl in
the instrument cluster comes on.
�
An intermittent warning sounds.
�
Immediately brake the vehicle to avoid
a collision.
Under no circumstances should the
driver await the intermittent warning
sound before braking. See the follow-
ing warning note.
The intermittent warning sound ceases
and the red Distronic warning
lampl goes out when the neces-
sary distance to the vehicle ahead is
again established.
iThe vehicle speed displayed on the
speedometer can briefly vary from the
speed setting on the Distronic system.
Page 210 of 435
209 Controls in detail
Driving systems
Distronic menu in the control system
In the Distronic menu you see the current
settings for Distronic. What appears in the
display depends on whether Distronic and
the distance warning function are turned
on or off.�
Press buttonè orÿ repeatedly
until you see one of the following dis-
plays.
Warning!
G
An intermittent warning sounds and the
Distronic warning lampl in the instru-
ment cluster is illuminated if the Distronic
system calculates that the distance to the
vehicle ahead and your vehicle’s current
speed indicate that Distronic will not be ca-
pable of slowing the vehicle sufficiently to
maintain the preset following distance,
which creates a danger of a collision.
Immediately brake your vehicle to increase
the distance between your vehicle and the
vehicle in front of you. The warning sound is
intended as a final caution that you have not
interceded with your own braking inputs to
avoid a potentially dangerous situation. Do
not wait for the operation of the warning sig-
nal to intercede with your own braking, as
that will result in potentially dangerous
emergency braking which will not always re-
sult in an impact being avoided.
Tailgating increases the risk of an accident.
Warning!
G
Distronic brakes your vehicle with a maxi-
mum of 6.5 ft/s
2 (2 m/s
2). This corre-
sponds to about 20% of the maximum
deceleration ability of your vehicle.
Distronic brakes the vehicle in an effort to
restore the preset distance or to maintain
the speed. The brake pedal is automatically
applied as this happens which results in the
brake pedal moving.
Keep driver’s foot area clear at all times, in-
cluding the area under the brake pedal. Ob-
jects stored in this area may impair pedal
movement which could interfere with the
braking ability of the Distronic system.
Do not place your foot under the brake pedal
– your foot could become caught.