Page 160 of 435
159 Controls in detail
Control system
Vehicle submenu
Access the
VEHICLE
submenu via the
SET-
INGS
menu. Use the
VEHICLE
submenu to
make general vehicle settings. The follow-
ing functions are available:Setting automatic locking
Use this function to activate or deactivate
the automatic central locking. With the au-
tomatic central locking system activated,
the vehicle is centrally locked at vehicle
speeds of approximately 9 mph
(15 km/h).
�
Press buttonæ orç to move
the selection marker to the
VEHICLE
submenu.
�
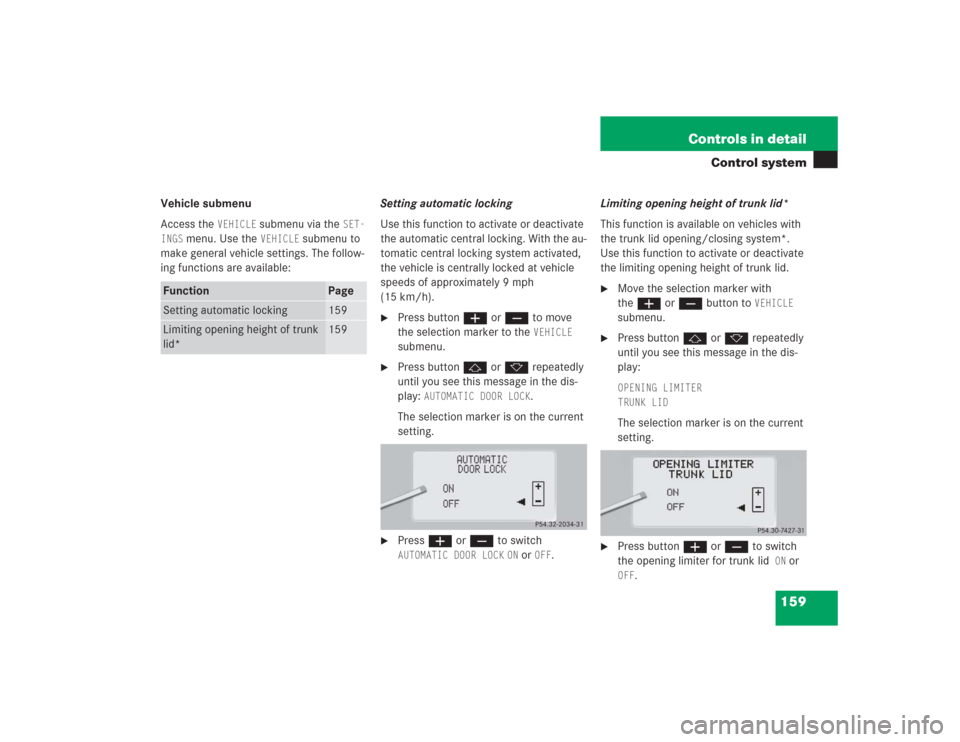
Press buttonj ork repeatedly
until you see this message in the dis-
play:
AUTOMATIC DOOR LOCK
.
The selection marker is on the current
setting.
�
Pressæ orç to switch AUTOMATIC DOOR LOCK
ON or
OFF
.Limiting opening height of trunk lid*
This function is available on vehicles with
the trunk lid opening/closing system*.
Use this function to activate or deactivate
the limiting opening height of trunk lid.
�
Move the selection marker with
theæ orç button to
VEHICLE
submenu.
�
Press buttonj ork repeatedly
until you see this message in the dis-
play:OPENING LIMITER
TRUNK LIDThe selection marker is on the current
setting.
�
Press buttonæ orç to switch
the opening limiter for trunk lid
ON
or
OFF
.
Function
Page
Setting automatic locking
159
Limiting opening height of trunk
lid*
159
Page 163 of 435
162 Controls in detailControl systemSetting parking position for exterior rear
view mirror
Use the
MIRROR SETTING WHEN PARKING
function to select whether the passen-
ger-side exterior rear view mirror should be
turned downward during parking maneu-
vers when reverse gearR is engaged. For
additional information, see “Activating ex-
terior rear view mirror parking position”
(
�page 175).
�
Move the selection marker to the CONVENIENCE
submenu using theæ
orç button.
�
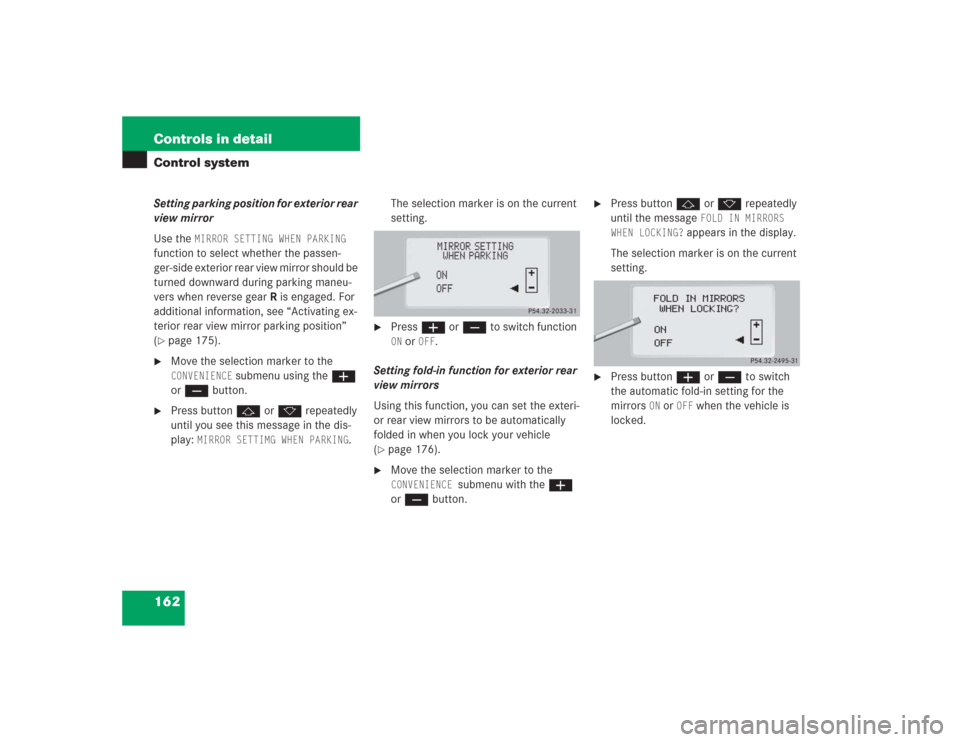
Press buttonj ork repeatedly
until you see this message in the dis-
play:
MIRROR SETTIMG WHEN PARKING
.The selection marker is on the current
setting.
�
Pressæ orç to switch function ON or
OFF
.
Setting fold-in function for exterior rear
view mirrors
Using this function, you can set the exteri-
or rear view mirrors to be automatically
folded in when you lock your vehicle
(
�page 176).
�
Move the selection marker to the CONVENIENCE
submenu with the æ
or ç button.
�
Press buttonj or k repeatedly
until the message
FOLD IN MIRRORS
WHEN LOCKING?
appears in the display.
The selection marker is on the current
setting.
�
Press buttonæ or ç to switch
the automatic fold-in setting for the
mirrors
ON or
OFF
when the vehicle is
locked.
Page 198 of 435
197 Controls in detail
Power windows
Stopping windows�
Press respective switch again.Opening and closing the windows with
the SmartKey
The sliding/pop-up roof (
�page 199) will
also be opened or closed when you oper-
ate the power windows with the SmartKey.
�
Aim transmitter eye at the driver’s door
handle.Opening (Summer opening feature)
If the weather is warm, you can ventilate
the vehicle before driving off by simulta-
neously:
�
opening the sliding/pop-up roof
�
opening the side windows
�
turning on the seat ventilation* for the
driver’s seat
To do so, follow the instructions below:
�
Press and hold button Πafter un-
locking the vehicle.
The windows and sliding / pop-up roof
begin to open after approximately one
second.
�
Release the Πbutton to stop proce-
dure.
Warning!
G
Driver's door only:
If within five seconds you again press the
switch past the resistance point and re-
lease, the automatic reversal will not func-
tion.
Warning!
G
Never operate the windows or
sliding/pop-up roof if there is the possibility
of anyone being harmed by the opening or
closing procedure.
In the event that the procedure causes po-
tential danger, the procedure can be imme-
diately halted by releasing the remote
control button. To reverse direction of
movement press Πfor opening or
‹for closing.
Page 202 of 435
201 Controls in detail
Sliding/pop-up roof
Opening and closing the
sliding/pop-up roof with the SmartKey
The power windows (
�page 195) will also
be opened or closed when you operate the
sliding/pop-up roof with the SmartKey.
�
Aim transmitter eye at the driver’s door
handle.Opening (Summer opening feature)
If the weather is warm, you can ventilate
the vehicle before driving off by simulta-
neously:
�
opening the sliding/pop-up roof
�
opening the side windows
�
turning on the seat ventilation* for the
driver’s seat
To do so, follow the instructions below:
�
Press and hold button Πafter un-
locking the vehicle.
The windows and sliding/pop-up roof
begin to open after approximately one
second.
�
Release the Πbutton to stop proce-
dure.Closing (Convenience feature)
�
Press and hold button ‹ after lock-
ing the vehicle.
The windows and sliding/pop-up roof
begin to close after approximately one
second.
�
Release the ‹ button to stop proce-
dure.
Make sure all the side windows and the
sliding/pop-up roof are properly closed
before leaving the vehicle.
Warning!
G
Never operate the windows or
sliding/pop-up roof if there is the possibility
of anyone being harmed by the opening or
closing procedure.
In the event that the procedure causes po-
tential danger, the procedure can be imme-
diately halted by releasing the remote
control button. To reverse direction of
movement, press Œ for opening or ‹
for closing.
Page 232 of 435
231 Controls in detail
Useful features
�Useful features
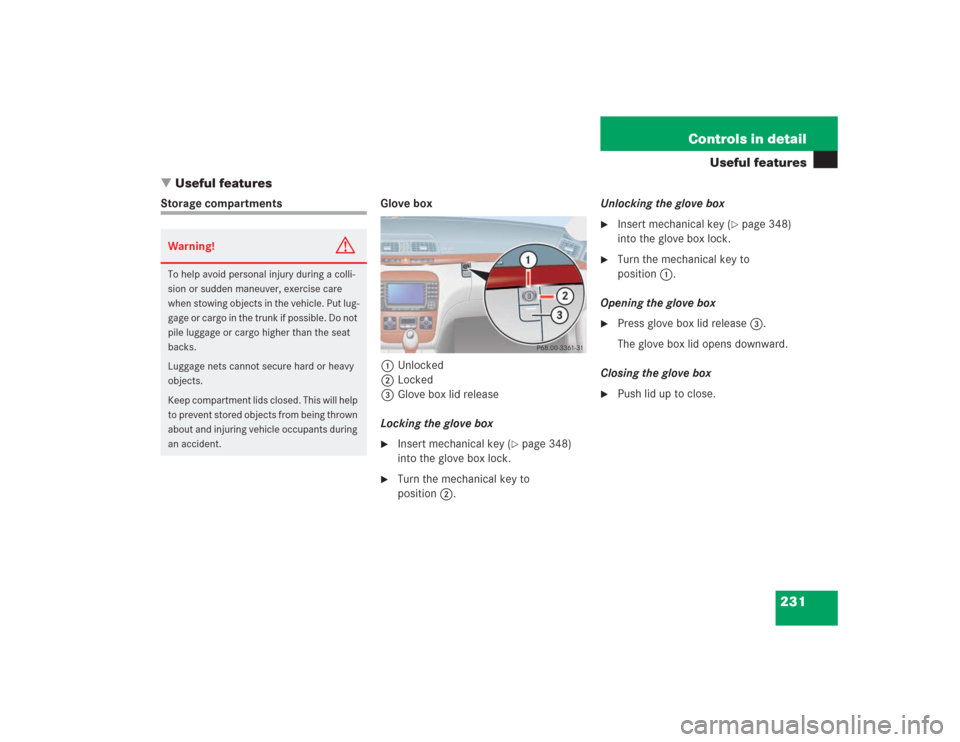
Storage compartments Glove box
1Unlocked
2Locked
3Glove box lid release
Locking the glove box
�
Insert mechanical key (
�page 348)
into the glove box lock.
�
Turn the mechanical key to
position2.Unlocking the glove box
�
Insert mechanical key (
�page 348)
into the glove box lock.
�
Turn the mechanical key to
position1.
Opening the glove box
�
Press glove box lid release3.
The glove box lid opens downward.
Closing the glove box
�
Push lid up to close.
Warning!
G
To help avoid personal injury during a colli-
sion or sudden maneuver, exercise care
when stowing objects in the vehicle. Put lug-
gage or cargo in the trunk if possible. Do not
pile luggage or cargo higher than the seat
backs.
Luggage nets cannot secure hard or heavy
objects.
Keep compartment lids closed. This will help
to prevent stored objects from being thrown
about and injuring vehicle occupants during
an accident.
Page 251 of 435
250 Controls in detailUseful featuresThe Response Center will then unlock your
vehicle with the remote door unlocking
feature.Stolen vehicle tracking services
In the event your vehicle was stolen:
�
Report the incident to the police.
The police will issue a numbered inci-
dent report.
�
Pass this number on to the
Mercedes-Benz Response Center along
with your password issued to you when
you subscribed to the service.
The Response Center will then attempt
to covertly contact the vehicle’s
Tele Aid system. Once the vehicle is lo-
cated, the Response Center will con-
tact the local law enforcement and you.
The vehicle’s location will only be pro-
vided to law enforcement.
Garage door opener
The built-in remote control is capable of
operating up to three separately controlled
devices, for example garage door openers,
gate openers, or other devices compatible
with HomeLink
® or some other systems.
You can program the signal transmitter
buttons.
iThe remote door unlock feature is avail-
able if the relevant cellular phone net-
work is available.
The SOS button will flash and the mes-
sage
EMERGENCY CALL –
CALL CONNECTED
will appear in the mul-
tifunction display to indicate receipt of
the door unlock command.
Once the vehicle is unlocked, a Re-
sponse Center specialist will attempt
to establish voice contact with the ve-
hicle occupants.
If the trunk lid button was pressed for
more than 20 seconds before door un-
lock authorization was received by the
Response Center, you must wait
15 minutes before pressing the trunk
lid button again.
Page 270 of 435
269 Operation
At the gas station
�At the gas station
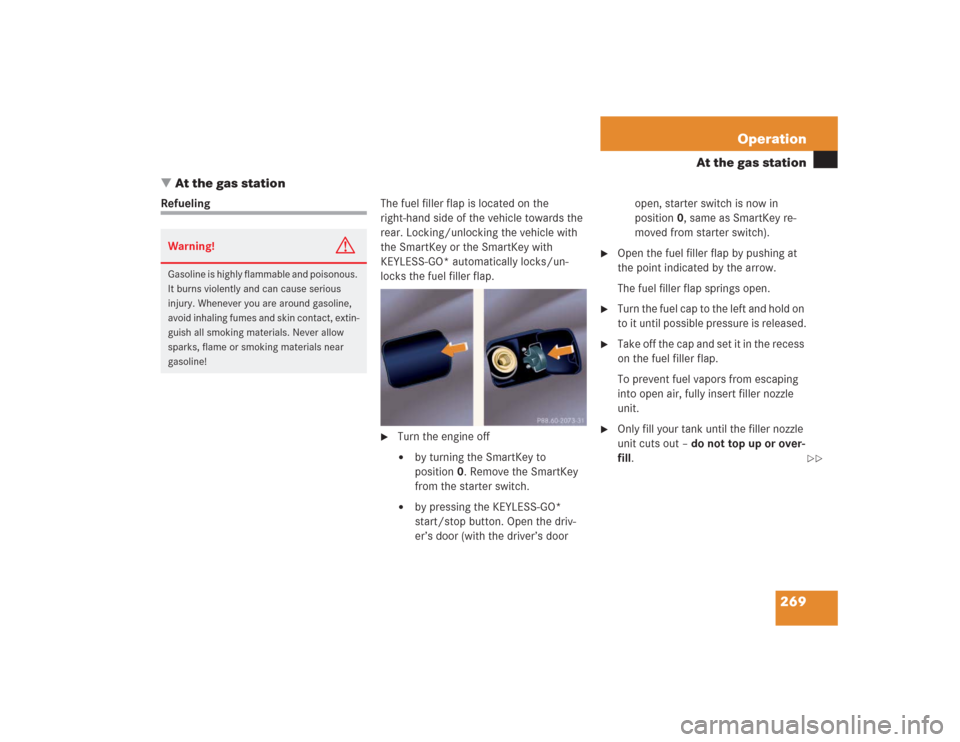
RefuelingThe fuel filler flap is located on the
right-hand side of the vehicle towards the
rear. Locking/unlocking the vehicle with
the SmartKey or the SmartKey with
KEYLESS-GO* automatically locks/un-
locks the fuel filler flap.
�
Turn the engine off �
by turning the SmartKey to
position0. Remove the SmartKey
from the starter switch.
�
by pressing the KEYLESS-GO*
start/stop button. Open the driv-
er’s door (with the driver’s door open, starter switch is now in
position0, same as SmartKey re-
moved from starter switch).
�
Open the fuel filler flap by pushing at
the point indicated by the arrow.
The fuel filler flap springs open.
�
Turn the fuel cap to the left and hold on
to it until possible pressure is released.
�
Take off the cap and set it in the recess
on the fuel filler flap.
To prevent fuel vapors from escaping
into open air, fully insert filler nozzle
unit.
�
Only fill your tank until the filler nozzle
unit cuts out – do not top up or over-
fill.
Warning!
G
Gasoline is highly flammable and poisonous.
It burns violently and can cause serious
injury. Whenever you are around gasoline,
avoid inhaling fumes and skin contact, extin-
guish all smoking materials. Never allow
sparks, flame or smoking materials near
gasoline!
��
Page 304 of 435
303 Practical hints
What to do if …?
Where will I find ...?
Unlocking/locking in an emergency
Opening/closing in an emergency
Replacing bulbs
Replacing wiper blades
Flat tire
Battery
Jump starting
Towing the vehicle
Fuses