Page 107 of 435

106 Controls in detailLocking and unlockingPower closing assist for doors and trunk lid
Power closing assist for doors�
Press the doors gently past the initial
engage position into the lock.
The doors close automatically.
Power closing assist for trunk lid
�
Press the trunk lid gently into its lock.
The trunk closes automatically.
Automatic central locking
The doors and the trunk automatically lock
when the ignition is switched on and the
wheels are turning at vehicle speeds of ap-
proximately 9 mph (15 km/h) or more.
You can open a locked door from the in-
side. Open door only when conditions are
safe to do so.For more information on towing the vehi-
cle, see “Towing the vehicle” (
�page 371).
You can deactivate the automatic locking
using the control system (
�page 159).
iIt is not necessary to slam the door or
trunk lid closed. A pneumatic pow-
er-assisted mechanism draws doors
and trunk lid closed quietly and auto-
matically once door and trunk lid has
been latched. When the pneumatic
power-assisted mechanism has
stopped, doors and/or trunk can be
re-opened.
Warning!
G
To prevent possible personal injury, always
keep hands and fingers away from the door
or trunk opening when closing a door or the
trunk lid. Be especially careful when small
children are around.
In case of danger, pull the inside or outside
door handle, or press the trunk lid lock.
To prevent personal injury, never actuate
the closing assist mechanism by tampering
with the door or trunk lid latch.
iThe doors unlock automatically after an
accident if the force of the impact ex-
ceeds a preset threshold.
The vehicle locks automatically when
the ignition is switched on and the
wheels are turning at vehicle speeds of
approximately 9 mph (15 km/h) or
more. You could therefore lock yourself
out when the vehicle�
is pushed or towed
�
is on a test stand
Page 108 of 435

107 Controls in detail
Locking and unlocking
Locking and unlocking from the inside
You can lock or unlock the doors and the
trunk from inside using the central locking
or unlocking switch. This can be useful, for
example, if you want to lock the vehicle be-
fore starting to drive.
The fuel filler flap will not be locked or un-
locked with the central locking or unlock-
ing switch, respectively.The switches are located in the center con-
sole.
Central locking/unlocking switches1Locking
2Unlocking
Locking�
Press central locking switch1.
If all door’s are closed, the vehicle
locks.
Unlocking
�
Press central unlocking switch2.
The vehicle unlocks.
Warning!
G
When leaving the vehicle, always remove the
SmartKey from the starter switch, take the
SmartKey with KEYLESS-GO* with you and
lock your vehicle. Do not leave children un-
attended in the vehicle, or with access to an
unlocked vehicle. Unsupervised use of vehi-
cle equipment may cause an accident
and/or serious personal injury.
iYou can open a locked door from the
inside. Open door only when conditions
are safe to do so.
If the vehicle was previously centrally
locked with the SmartKey or the
SmartKey with KEYLESS-GO* it will not
unlock using the central locking switch.
If the vehicle was previously locked
with the central locking switch:�
While in the global remote control
mode, the vehicle is unlocked com-
pletely when a door is opened from
the inside.
�
While in the selective remote con-
trol mode, only the door opened
from inside is unlocked.
Page 144 of 435

143 Controls in detail
Control system
Operational readiness of CD changer
If a CD changer has been installed in the
system, it can be operated from the
COMAND system key pad located in the
center dashboard. A loaded magazine
must be installed for CD playing.Loading/unloading the CD magazine
The CD changer is located behind the cov-
er on the left hand side in the trunk.
�
Remove the CD changer cover.
�
Slide the CD changer door to the right
and press the eject button 3.
�
The magazine is ejected.
1CD
2CD changer
3CD tray
4CD magazine
�
Remove the magazine and completely
pull out the CD tray.
�
Place the CD in the recess of the tray,
label side up.
�
Push the tray into the magazine in the
direction shown by the arrow.
�
Push the magazine into the CD changer
in the direction shown by the arrow and
close the CD changer door.
Warning!
G
The CD changer is a Class 1 laser product.
There is a danger of invisible laser radiation
if the cover is opened or damaged.
Do not remove the cover. The CD changer
does not contain any parts which can be ser-
viced by the user. For safety reasons, have
any service work which may be necessary
performed only by qualified personnel.
iCDs which have been inserted improp-
erly or are unreadable will not be
played.
Page 154 of 435
153 Controls in detail
Control system
The table below shows what settings can
be changed within the various menus. De-
tailed instructions on making individual
settings can be found on the following pag-
es.INSTRUMENT CLUSTER
LIGHTING
VEHICLE
CONVENIENCE
Select temperature display
mode
Set daytime running lamp mode
(USA only)
Set automatic locking
Set key-dependency
Select multifunction display
mode
Set locator lighting
Limiting opening height of trunk
lid*
Activate easy-entry/exit feature
Select language
Exterior lamps delayed shut-off
Set parking position for exterior
rear view mirror
Interior lighting delayed shut-off
Set fold-in function for exterior
rear view mirrorsAdjusting the drive-dynamic
seat (driver’s side)
Page 160 of 435

159 Controls in detail
Control system
Vehicle submenu
Access the
VEHICLE
submenu via the
SET-
INGS
menu. Use the
VEHICLE
submenu to
make general vehicle settings. The follow-
ing functions are available:Setting automatic locking
Use this function to activate or deactivate
the automatic central locking. With the au-
tomatic central locking system activated,
the vehicle is centrally locked at vehicle
speeds of approximately 9 mph
(15 km/h).
�
Press buttonæ orç to move
the selection marker to the
VEHICLE
submenu.
�
Press buttonj ork repeatedly
until you see this message in the dis-
play:
AUTOMATIC DOOR LOCK
.
The selection marker is on the current
setting.
�
Pressæ orç to switch AUTOMATIC DOOR LOCK
ON or
OFF
.Limiting opening height of trunk lid*
This function is available on vehicles with
the trunk lid opening/closing system*.
Use this function to activate or deactivate
the limiting opening height of trunk lid.
�
Move the selection marker with
theæ orç button to
VEHICLE
submenu.
�
Press buttonj ork repeatedly
until you see this message in the dis-
play:OPENING LIMITER
TRUNK LIDThe selection marker is on the current
setting.
�
Press buttonæ orç to switch
the opening limiter for trunk lid
ON
or
OFF
.
Function
Page
Setting automatic locking
159
Limiting opening height of trunk
lid*
159
Page 230 of 435
229 Controls in detail
Loading
�Loading
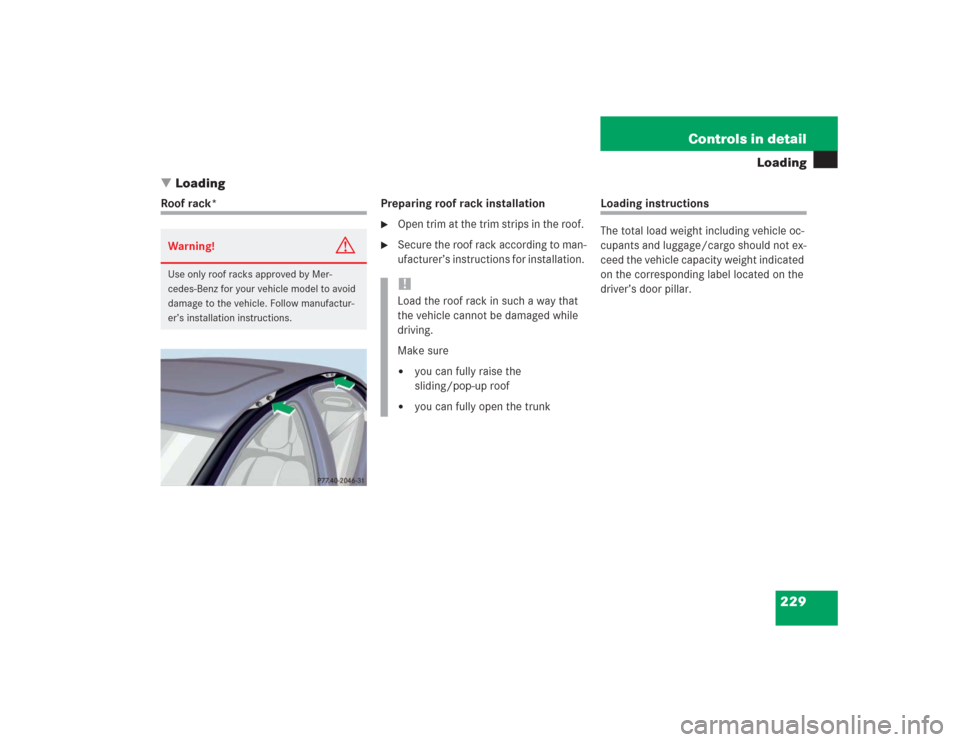
Roof rack* Preparing roof rack installation
�
Open trim at the trim strips in the roof.
�
Secure the roof rack according to man-
ufacturer’s instructions for installation.
Loading instructions
The total load weight including vehicle oc-
cupants and luggage/cargo should not ex-
ceed the vehicle capacity weight indicated
on the corresponding label located on the
driver’s door pillar.
Warning!
G
Use only roof racks approved by Mer-
cedes-Benz for your vehicle model to avoid
damage to the vehicle. Follow manufactur-
er’s installation instructions.
!Load the roof rack in such a way that
the vehicle cannot be damaged while
driving.
Make sure�
you can fully raise the
sliding/pop-up roof
�
you can fully open the trunk
Page 231 of 435
230 Controls in detailLoading
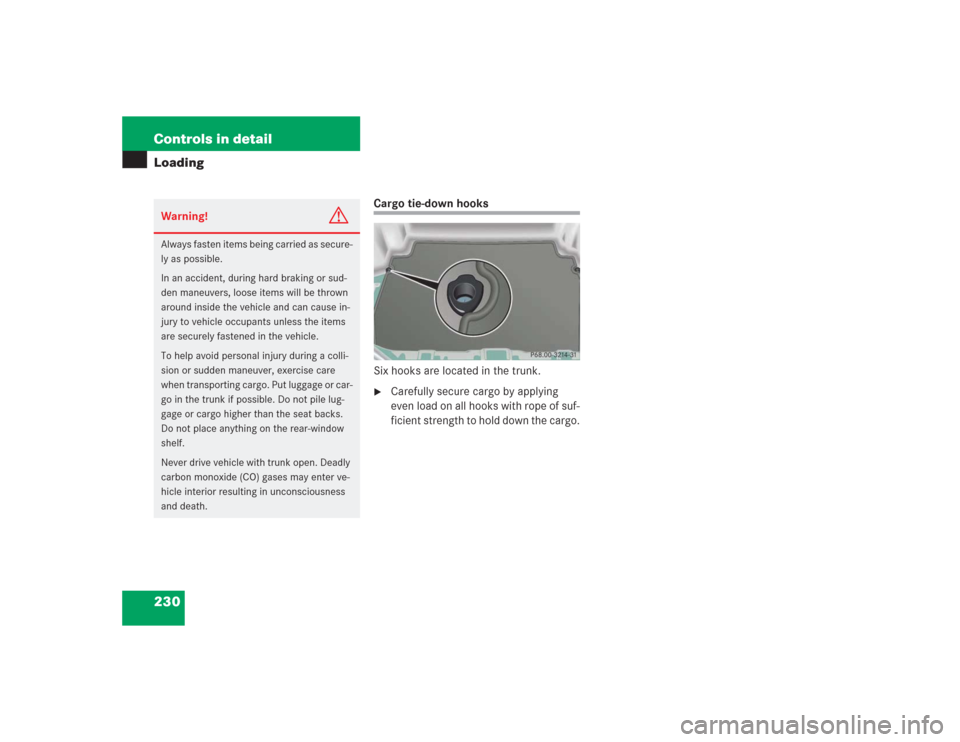
Cargo tie-down hooks
Six hooks are located in the trunk.�
Carefully secure cargo by applying
even load on all hooks with rope of suf-
ficient strength to hold down the cargo.
Warning!
G
Always fasten items being carried as secure-
ly as possible.
In an accident, during hard braking or sud-
den maneuvers, loose items will be thrown
around inside the vehicle and can cause in-
jury to vehicle occupants unless the items
are securely fastened in the vehicle.
To help avoid personal injury during a colli-
sion or sudden maneuver, exercise care
when transporting cargo. Put luggage or car-
go in the trunk if possible. Do not pile lug-
gage or cargo higher than the seat backs.
Do not place anything on the rear-window
shelf.
Never drive vehicle with trunk open. Deadly
carbon monoxide (CO) gases may enter ve-
hicle interior resulting in unconsciousness
and death.
Page 232 of 435
231 Controls in detail
Useful features
�Useful features
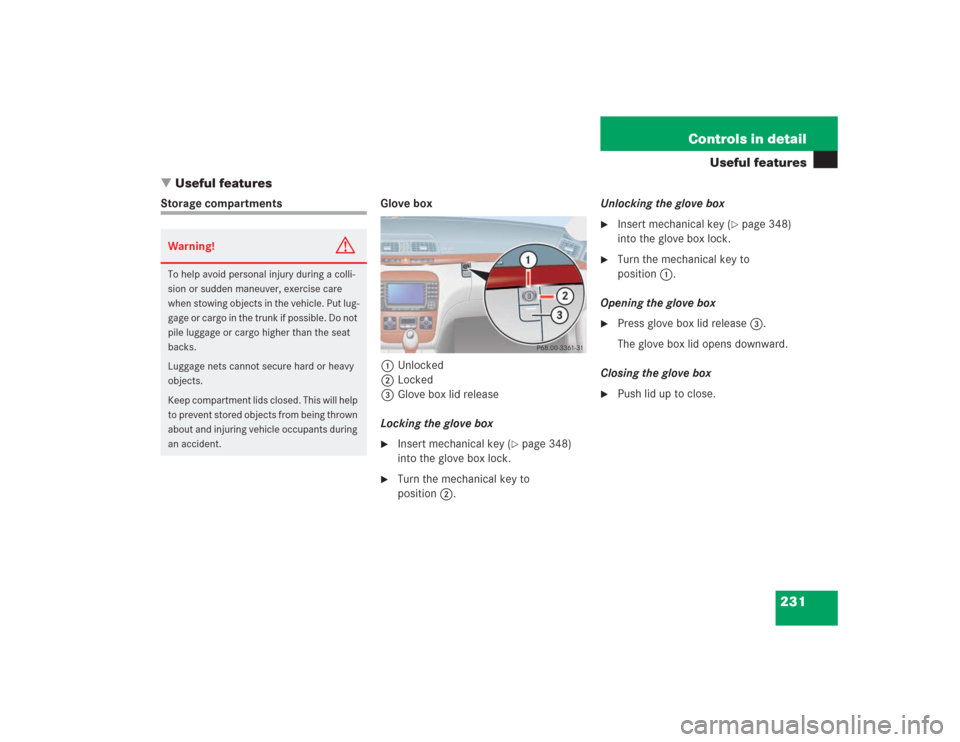
Storage compartments Glove box
1Unlocked
2Locked
3Glove box lid release
Locking the glove box
�
Insert mechanical key (
�page 348)
into the glove box lock.
�
Turn the mechanical key to
position2.Unlocking the glove box
�
Insert mechanical key (
�page 348)
into the glove box lock.
�
Turn the mechanical key to
position1.
Opening the glove box
�
Press glove box lid release3.
The glove box lid opens downward.
Closing the glove box
�
Push lid up to close.
Warning!
G
To help avoid personal injury during a colli-
sion or sudden maneuver, exercise care
when stowing objects in the vehicle. Put lug-
gage or cargo in the trunk if possible. Do not
pile luggage or cargo higher than the seat
backs.
Luggage nets cannot secure hard or heavy
objects.
Keep compartment lids closed. This will help
to prevent stored objects from being thrown
about and injuring vehicle occupants during
an accident.