Page 286 of 376
286 Practical hintsWhere will I find ...?Removing the spare wheel
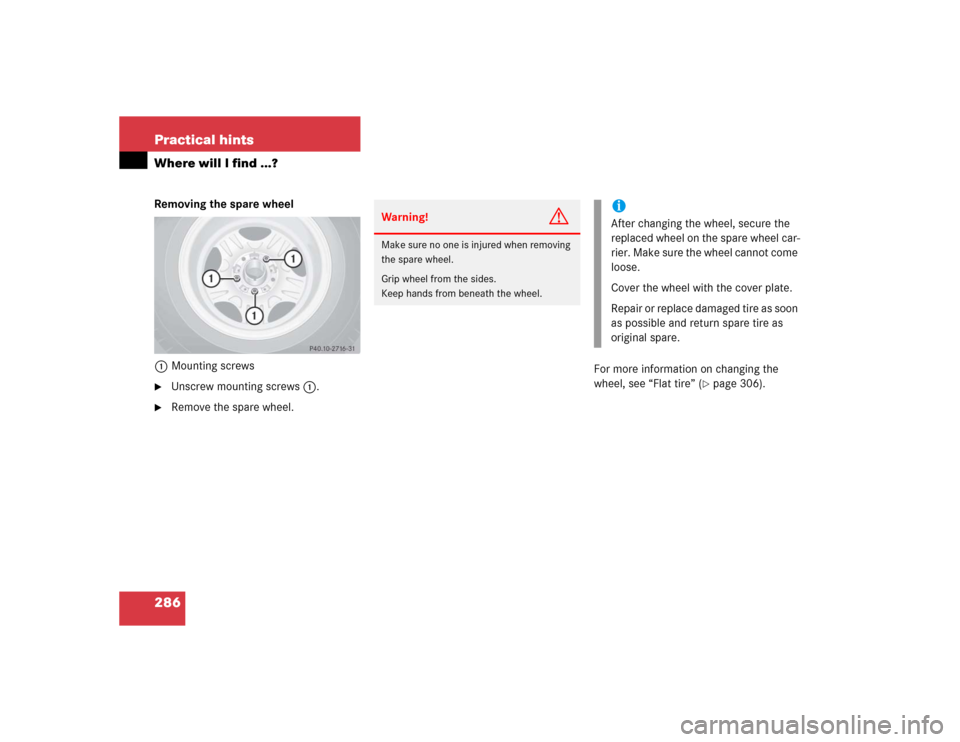
1Mounting screws�
Unscrew mounting screws1.
�
Remove the spare wheel.For more information on changing the
wheel, see “Flat tire” (
�page 306).
Warning!
G
Make sure no one is injured when removing
the spare wheel.
Grip wheel from the sides.
Keep hands from beneath the wheel.
iAfter changing the wheel, secure the
replaced wheel on the spare wheel car-
rier. Make sure the wheel cannot come
loose.
Cover the wheel with the cover plate.
Repair or replace damaged tire as soon
as possible and return spare tire as
original spare.
Page 306 of 376

306 Practical hintsFlat tire
�Flat tirePreparing the vehicle�
Park the vehicle as far as possible from
moving traffic on a hard surface.
�
Turn on the hazard warning flashers.
�
Engage the steering wheel lock in the
straight ahead position and set the
parking brake.
�
Move the gear selector lever toP.
�
Have any passenger exit the vehicle at
a safe distance from the roadway.
�
Remove the vehicle tool kit
(�page 283) and the jack
(�page 284).
�
Remove the spare wheel from the
spare wheel mounting bracket
(�page 285).Information on spare wheel
When you replace the vehicle’s tires, you
can use the spare wheel as a regular wheel
if:
�
it is not more than six years old
�
rim and tire are the same model as the
regular wheels
Warning!
G
For your safety, remove spare wheel from
the spare wheel mounting bracket before
undertaking any further steps.
Warning!
G
If the spare tire is more than six years old or
is not the same model as the regular tires,
have the spare tire replaced with a new tire
at the nearest Mercedes-Benz Light Truck
Center.
Never operate the vehicle with more than
one spare tire.
Warning!
G
G 55 AMG only
Vehicles with different tire dimensions on
the front and rear axle: rim and tire size of
spare wheel and normal wheel differ. Han-
dling will be adversely affected when the
spare wheel is used.
Do not exceed the maximum speed of
50 mph (80 km/h).
Page 307 of 376
.
Lifting the vehicle
�
Prevent the vehicle from rolling away
by blocking wheels with wheel chocks
(not includ")
307 Practical hints
Flat tire
Mounting the spare wheel�
Prepare the vehicle (
�page 306).
Lifting the vehicle
�
Prevent the vehicle from rolling away
by blocking wheels with wheel chocks
(not included) or other sizable objects.
When changing wheel on a level surface:
�
Place one chock in front of and one be-
hind the wheel that is diagonally oppo-
site to the wheel being changed.
When changing wheel on a hill:
�
Place chocks on the downhill side
blocking both wheels of the other axle.
Wheel wrench�
On wheel to be changed, loosen but do
not yet remove the wheel bolts (ap-
proximately one full turn with wrench).
Warning!
G
The jack is designed exclusively for jacking
up the vehicle under the axle housing. To
help avoid personal injury, use the jack only
to lift the vehicle during a wheel change.
Never get beneath the vehicle while it is sup-
ported by the jack. Keep hands and feet
away from the area under the lifted vehicle.
Always firmly set parking brake and block
wheels before raising vehicle with jack.
Do not disengage parking brake while the
vehicle is raised. Be certain that the jack is
always vertical (plumb line) when in use, es-
pecially on hills. Always try to use the jack
on level surface. Make sure the jack is posi-
tioned correctly under the axle housing. Al-
ways lower the vehicle onto sufficient
capacity jackstands before working under
the vehicle.
If the vehicle is not raised as described, it
could slip off the jack as a result of vibra-
tions (e.g. opening or closing a door or the
tailgate).
Page 310 of 376
.
The vehicle is resting fully on its own
weight.
�
R")
310 Practical hintsFlat tireLowering the vehicle�
Using the pump lever, open the lower-
ing screw on the jack approximately
one turn (
�page 308).
The vehicle is resting fully on its own
weight.
�
Remove the jack.
After use, disassemble pump handle
(�page 308) and store jack in the des-
ignated storage compartment
(�page 284).
1-5 Wheel bolts
�
Tighten the five wheel bolts evenly, fol-
lowing the diagonal sequence illustrat-
ed (1 to 5), until all bolts are tight.
Observe a tightening torque of 97 lb-ft
(130 Nm).
�
Press the jack piston in again and close
the lowering screw. Store the jack
(�page 284) and the other vehicle
tools (
�page 283).
�
After changing the wheel, secure the
damaged wheel on the spare wheel
mounting bracket (
�page 286). Make
sure the wheel cannot come loose.
�
Check the tire inflation pressure and
correct it if necessary.
A table with the tire pressure values for
your vehicle is located on the fuel filler
flap.
Warning!
G
Have the tightening torque checked after
changing a wheel as soon as possible. The
wheels could come loose if they are not
tightened to a torque of 97 lb-ft (130 Nm).
Page 323 of 376
323 Technical data
Spare parts service
Warranty coverage
Identification labels
Layout of poly-V-belt drive
Engine
Rims and tires
Electrical system
Main dimensions, vehicle weights and ratings
Fuels, coolants, lubricants, etc.
Consumer information
Page 330 of 376
330 Technical dataRims and tiresSpare wheels
G500
G55AMG
Rims (light alloy)
71/2 J x18 H2
81/2 J x18 H2
Wheel offset
1.69 in (43 mm)
1.89 in (48 mm)
All season tires (radial-ply tires)
265/60 R18 110V
265/60 R18 110V M+S
Page 356 of 376
 144
Emergency operations
Closing sliding/pop-up roof 292
Locking the vehicle 288
Opening sliding/pop-up roof 292
Remote door unlock 197
Unlocking the tai")
356 IndexEmergency operation (Limp Home
Mode) 144
Emergency operations
Closing sliding/pop-up roof 292
Locking the vehicle 288
Opening sliding/pop-up roof 292
Remote door unlock 197
Unlocking the tailgate 287
Unlocking the vehicle 287
Emergency tensioning device see ETD
Emission control 222
Emission control label 326
Ending
A call (telephone) 138
Engine
Compartment 227
Message in display 256
Starting with the key 44
Technical data 328
Turning off with the key 52
Engine cleaning 246Engine compartment 227
Hood 227
Engine malfunction indicator lamp 25,
256
Engine number 344
Engine oil 228, 334
Adding 231
Additives 335, 340
Checking level 228
Consumption 228
Display messages 272
Messages in display 229, 271
Oil dipstick 232
Viscosity 344
Engine oil level see Oil level
Enlarged cargo compartment 176
ESP 25, 74, 78, 344
Messages in display 263
Switching off 79
Switching on 81
Synchronizing 263
Warning lamp 257ETD 56, 65, 344
Safety guidelines 60
Exterior lamp switch 104
Exterior lamps
Delayed switch-off 131
Exterior rear view mirrors
Adjusting 38
Parking position for 135
F
Fahrenheit
Setting temperature units 127
Fastening the seat belts 40
Fine adjustment
Cruise control 171
First aid kit 283
Flat tire 306
Lowering the vehicle 310
Mounting the spare wheel 307
Spare wheel 285


71/2 J x18 H2
81/2 J x18 H2
Wheel offset
1.69 in (43 mm)
1.89 in (48 mm)
All season tires (radial-ply tires)
265/60 R18 110V")