Page 15 of 442
15 Introduction
Symbols
�Symbols
The following symbols are found in this
Operator’s Manual:
* Optional equipment is identified
with an asterisk. Since standard
equipment varies between models,
the descriptions and illustrations in
this manual may differ slightly from
the actual equipment of your vehi-
cle.
�
This symbol points to instructions for
you to follow.
�
A number of these symbols appearing
in succession indicates a multiple-step
procedure.
� Page This symbol tells you where to
look for further information on a
topic.��
This continuation symbol marks
an interrupted procedure which
will be continued on the next
page.
-> In the glossary of technical
terms, this symbol is used to in-
dicate cross-references to term
definitions.
DISPLAY
Words appearing in the multi-
function display are printed in
the type shown here.
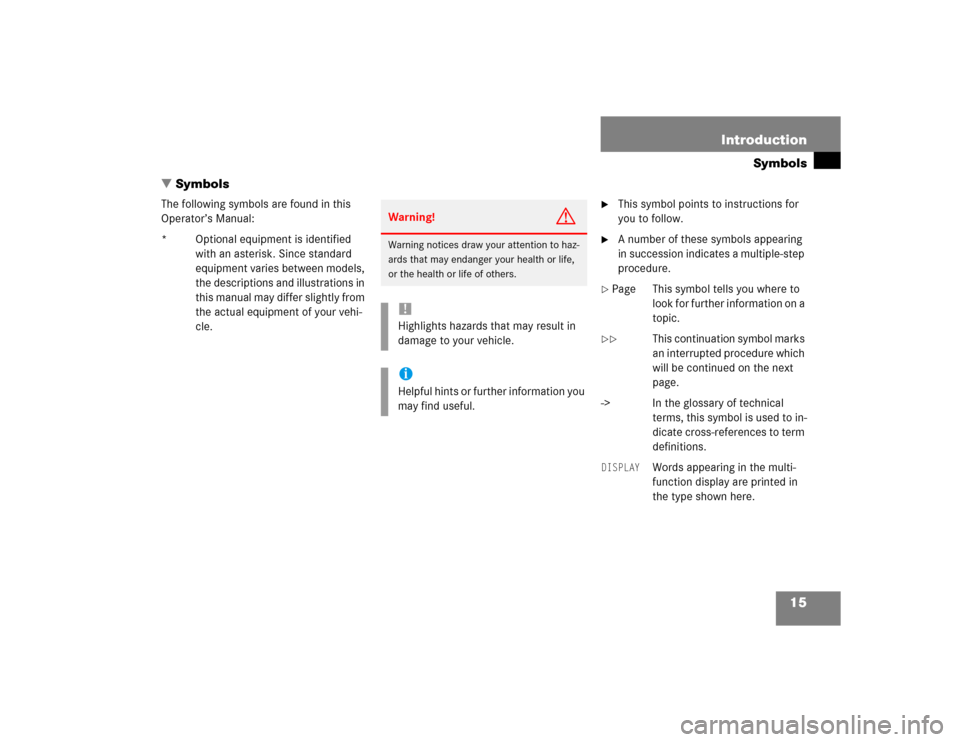
Warning!
G
Warning notices draw your attention to haz-
ards that may endanger your health or life,
or the health or life of others.!Highlights hazards that may result in
damage to your vehicle.iHelpful hints or further information you
may find useful.
Page 33 of 442

33 Getting started
Unlocking
1KEYLESS-GO start/stop button
Before you press the KEYLESS-GO
start/stop button, the vehicle’s on-board
electronics have status 0 (as with Smart-
Key removed).The SmartKey with KEYLESS-GO must be
located in the vehicle.
�
Make sure the gear selector lever is set
toP.
�
Do not depress the brake pedal.
Position 1
�
Press the KEYLESS-GO start/stop but-
ton once.
This supplies power to some electrical
consumers, such as seat adjustment.Ignition (or position 2)
�
Press the KEYLESS-GO start/stop but-
ton twice.
This supplies power to all electrical
consumers. All the lights in the instru-
ment cluster come on.
More information can be found in the
“Controls in detail” section (
�page 91).
For information on starting the engine us-
ing the KEYLESS-GO start/stop button,
see “Starting with KEYLESS-GO”
(
�page 44).
iIf you now press the KEYLESS-GO
start/stop button�
once again, the ignition (position2)
is switched on.
�
twice, the power supply is again
switched off.
iIf you now press the KEYLESS-GO
start/stop button once, the power sup-
ply is again switched off.
Page 47 of 442
47 Getting started
Driving
Switching on headlampsExterior lamp switch1Off
2Low beam headlamps on�
Turn the switch toB.
More information can be found in the
“Controls in detail” section (
�page 119).
Turn signals and high beam
The combination switch is located on the
left of the steering column.Combination switch1Turn signal, right
2Turn signal, left�
Press the combination switch up1 or
down2.
The corresponding turn signal indicator
lamp L or K flashes in the in-
strument cluster.High beam
�
Push the combination switch forward.
The high beam headlights are switched
on.
The high beam symbolA in the
tachometer comes on.
More information can be found in the
“Controls in detail” section (
�page 123).
iTo signal minor directional changes,
move combination switch to point of
resistance only and release. The turn
signal flashes three times.
Page 48 of 442
48 Getting startedDrivingWindshield wipers
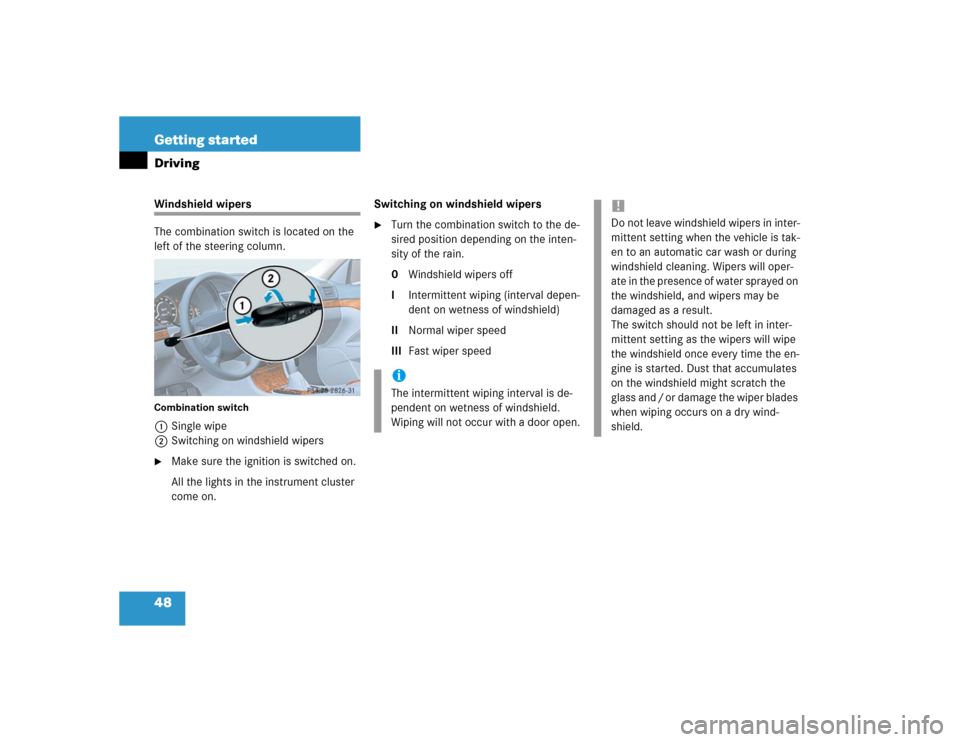
The combination switch is located on the
left of the steering column.Combination switch1Single wipe
2Switching on windshield wipers�
Make sure the ignition is switched on.
All the lights in the instrument cluster
come on.Switching on windshield wipers
�
Turn the combination switch to the de-
sired position depending on the inten-
sity of the rain.
0Windshield wipers off
IIntermittent wiping (interval depen-
dent on wetness of windshield)
IINormal wiper speed
IIIFast wiper speediThe intermittent wiping interval is de-
pendent on wetness of windshield.
Wiping will not occur with a door open.
!Do not leave windshield wipers in inter-
mittent setting when the vehicle is tak-
en to an automatic car wash or during
windshield cleaning. Wipers will oper-
ate in the presence of water sprayed on
the windshield, and wipers may be
damaged as a result.
The switch should not be left in inter-
mittent setting as the wipers will wipe
the windshield once every time the en-
gine is started. Dust that accumulates
on the windshield might scratch the
glass and / or damage the wiper blades
when wiping occurs on a dry wind-
shield.
Page 54 of 442
54 Getting startedParking and locking�
Press the seat belt release button
(�page 41).
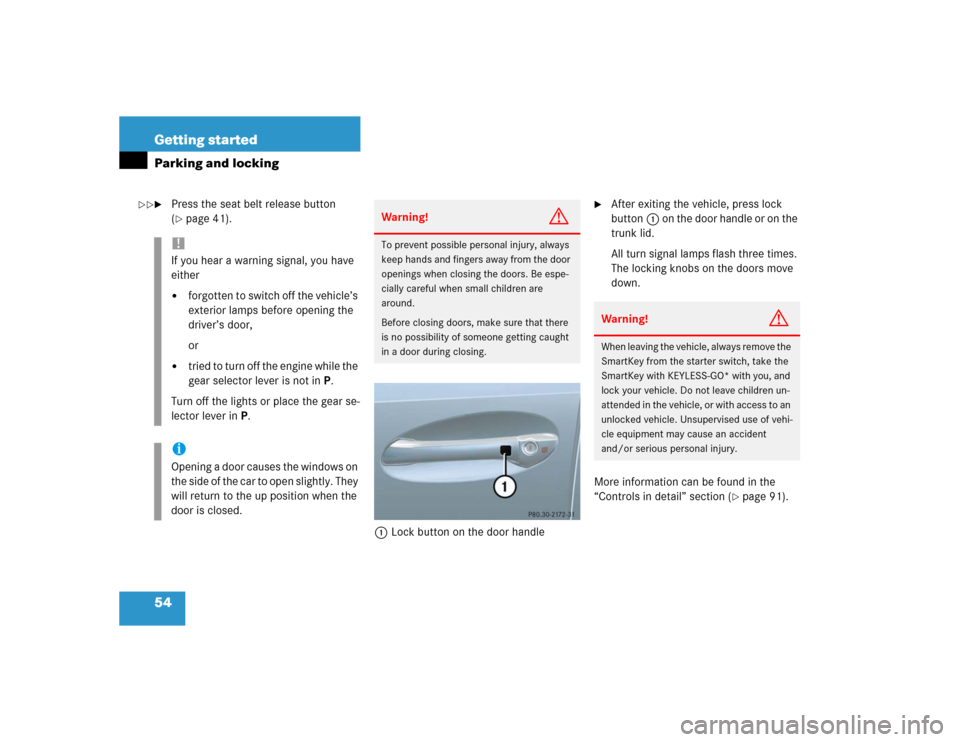
1Lock button on the door handle
�
After exiting the vehicle, press lock
button1 on the door handle or on the
trunk lid.
All turn signal lamps flash three times.
The locking knobs on the doors move
down.
More information can be found in the
“Controls in detail” section (
�page 91).
!If you hear a warning signal, you have
either�
forgotten to switch off the vehicle’s
exterior lamps before opening the
driver’s door,
or
�
tried to turn off the engine while the
gear selector lever is not inP.
Turn off the lights or place the gear se-
lector lever inP.
iOpening a door causes the windows on
the side of the car to open slightly. They
will return to the up position when the
door is closed.
Warning!
G
To prevent possible personal injury, always
keep hands and fingers away from the door
openings when closing the doors. Be espe-
cially careful when small children are
around.
Before closing doors, make sure that there
is no possibility of someone getting caught
in a door during closing.
Warning!
G
When leaving the vehicle, always remove the
SmartKey from the starter switch, take the
SmartKey with KEYLESS-GO* with you, and
lock your vehicle. Do not leave children un-
attended in the vehicle, or with access to an
unlocked vehicle. Unsupervised use of vehi-
cle equipment may cause an accident
and/or serious personal injury.
��
Page 110 of 442
110 Controls in detailSeatsRear seat head restraints
Folding head restraints back with
switch in the center console
The rear seat head restraints can be folded
backward for increased visibility.
1Head restraint release switch
�
Make sure the ignition is switched on.
All the lights in the instrument cluster
come on.
�
Press the symbol-side on rocker
switch1to release the head re-
straints.
The head restraints will fold backward.Placing head restraints upright
�
Pull the head restraint forward until it
locks into position.
!The rear seat head restraints cannot be
adjusted.
Warning!
G
For safety reasons, always drive with the
rear head restraints in the upright position
when the rear seats are occupied.
Keep the area around head restraints clear
of articles (e.g. clothing) to not obstruct the
folding operation of the head restraints.
!Make sure the head restraints engage
when placing them upright. Otherwise
their protective function cannot be as-
sured.
Page 111 of 442
111 Controls in detailSeats
Removing and installing rear seat head
restraints
For removing and installing rear seat head
restraints, see “Expanding the cargo ar-
ea*” (
�page 239)
Multicontour seat*
The multicontour seat has a movable seat
cushion and inflatable air cushions built
into the backrest to provide additional lum-
bar and side support.
The seat cushion movement, backrest
cushion height and curvature can be con-
tinuously varied with switches on the right
side of the seat after turning the SmartKey
in the starter switch to position2 or press-
ing the KEYLESS-GO* start/stop button
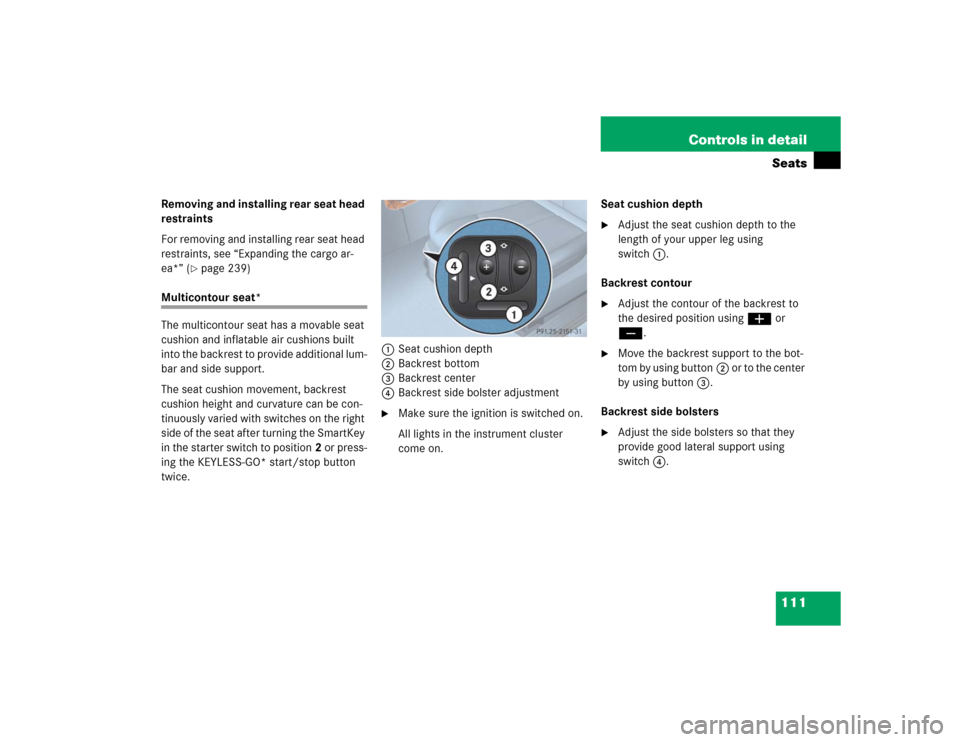
twice.1Seat cushion depth
2Backrest bottom
3Backrest center
4Backrest side bolster adjustment
�
Make sure the ignition is switched on.
All lights in the instrument cluster
come on.Seat cushion depth
�
Adjust the seat cushion depth to the
length of your upper leg using
switch1.
Backrest contour
�
Adjust the contour of the backrest to
the desired position using æ or
ç.
�
Move the backrest support to the bot-
tom by using button2 or to the center
by using button3.
Backrest side bolsters
�
Adjust the side bolsters so that they
provide good lateral support using
switch4.
Page 113 of 442
113 Controls in detailSeats
Massage function (PULSE)
The massage function can help prevent
muscle tension during long drives.�
Press button6.
The indicator lamp in button2 comes
on. The air cushions in the lumbar area
pulsate.
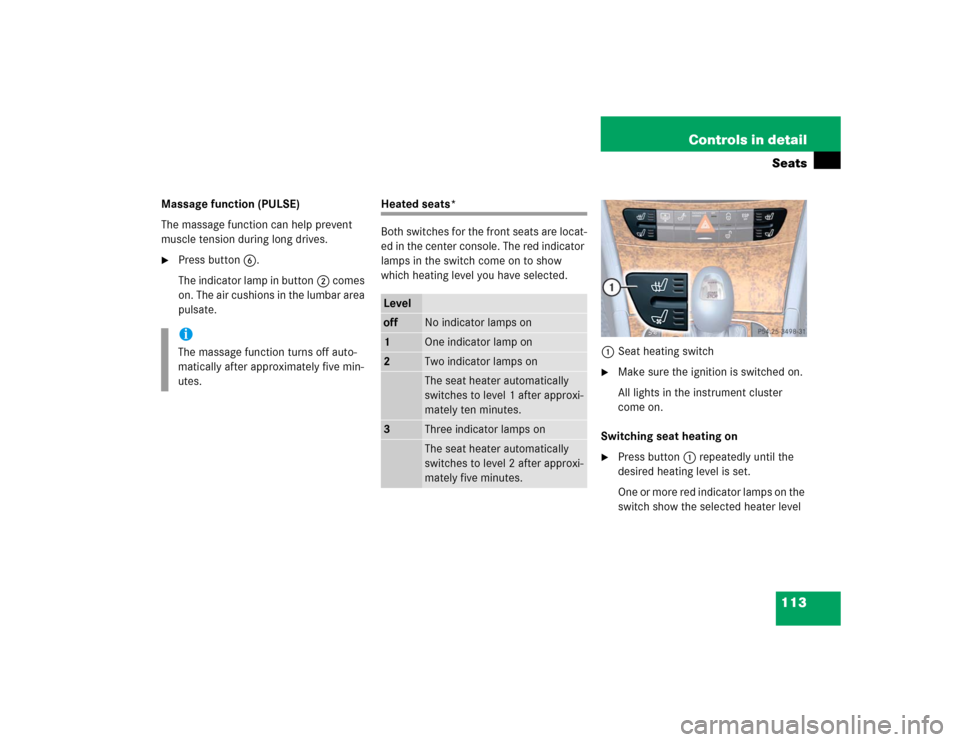
Heated seats*
Both switches for the front seats are locat-
ed in the center console. The red indicator
lamps in the switch come on to show
which heating level you have selected.
1Seat heating switch
�
Make sure the ignition is switched on.
All lights in the instrument cluster
come on.
Switching seat heating on
�
Press button1 repeatedly until the
desired heating level is set.
One or more red indicator lamps on the
switch show the selected heater level
iThe massage function turns off auto-
matically after approximately five min-
utes.
Leveloff
No indicator lamps on
1
One indicator lamp on
2
Two indicator lamps onThe seat heater automatically
switches to level 1 after approxi-
mately ten minutes.
3
Three indicator lamps onThe seat heater automatically
switches to level 2 after approxi-
mately five minutes.