Page 26 of 442
26 At a glanceCenter consoleLower part
Item
Page
1
Ashtray
246
2
KEYLESS-GO* start/stop
button
33
3
Selector lever for automat-
ic transmission
43,
161
4
Parking assist (Parktronic
system)* deactivation
switch
229
5
Adaptive damping system
(ADS)* switch
226
Item
Page
6
Vehicle level control
switch*
227
7
Thumbwheel for setting
distance for Distronic*
221
8
Distance warning func-
tion* on/off switch
222
9
Program mode selector for
automatic transmission
164
Page 36 of 442

36 Getting startedAdjustingSeat cushion tilt�
Press the switch up or down in the di-
rection of arrow3 until your upper
legs are lightly supported.
Backrest tilt
�
Press the switch forward or backward
in the direction of arrow5 until your
arms are slightly angled when holding
the steering wheel.
Seat height
�
Press the switch up or down in the di-
rection of arrow2.Head restraint height
�
Press the switch up or down in the di-
rection of arrow5.Head restraint tilt
Manually adjust the angle of the head re-
straint.
�
Push or pull on the lower edge of the
head restraint cushion.
More information on seats can be found in
the “Controls in detail” section
(
�page 108).
Warning!
G
For your protection, drive only with properly
positioned head restraints.
Adjust head restraint so that the center of
the head restraint supports the back of the
head at eye level. This will reduce the poten-
tial for injury to the head and neck in the
event of an accident or similar situation.
Do not drive the vehicle without the seat
head restraints. Head restraints are intend-
ed to help reduce injuries during an acci-
dent.
Page 89 of 442

89 Controls in detail
Locking and unlocking
Factory setting
Global unlocking�
Press buttonŒ.
All turn signal lamps flash once. The
locking knobs in the doors move up.
The vehicle will lock again automatically
within approximately 40 seconds of un-
locking if:
�
neither door nor trunk is opened
�
the SmartKey is not inserted in the
starter switch
�
the central locking switch is not acti-
vated
Global locking
�
Press button‹.
All turn signal lamps flash three times.
The locking knobs in the doors move
down.Selective setting
If you frequently travel alone, you may wish
to reprogram the SmartKey so that
pressingŒ only unlocks the driver’s
door and the fuel filler flap.
�
Press and hold buttonsŒ and‹
simultaneously for about five seconds
until battery check lamp5 flashes
twice.
The SmartKey will then function as fol-
lows:
Unlocking driver’s door and fuel filler
flap�
Press buttonΠonce.
Global unlocking
�
Press buttonΠtwice.
Global locking
�
Press button‹.
Warning!
G
When leaving the vehicle, always remove the
SmartKey from the starter switch, take the
SmartKey with KEYLESS-GO* with you and
lock the vehicle. Do not leave children unat-
tended in the vehicle, or with access to an
unlocked vehicle. It is possible for children
to open a looked door from the inside, which
could result in an accident or serious injury.!To prevent possible malfunction, avoid
exposing the SmartKey to high levels of
electromagnetic radiation.iYou can also open and close the power
windows (
�page 197) and
sliding / pop-up roof* (
�page 201) or
panorama sliding / pop-up roof*
(
�page 208) using the SmartKey.
Page 92 of 442

92 Controls in detailLocking and unlockingSmartKey 1‹ Lock button
2Š Unlock button for the trunk lid
3Mechanical key locking tab
4ΠUnlock button
5Battery check lamp
6Â Panic button (
�page 73)
For more information on using the
SmartKey buttons, see “SmartKey”
(
�page 88).Important notes on using KEYLESS-GO
�
You can also use the SmartKey with
KEYLESS-GO like a normal SmartKey
(�page 88).
�
You can combine KEYLESS-GO func-
tions with normal SmartKey functions
(e.g. unlocking with KEYLESS-GO and
locking with the remote control).
�
Always carry the SmartKey with
KEYLESS-GO with you.
�
Never store the SmartKey with
KEYLESS-GO together with:�
Electronic items such as a cellular
phone or another SmartKey with
KEYLESS-GO
�
Metallic objects such as coins or
metal foil
Doing so could impair the function of
the KEYLESS-GO system.
Warning!
G
When leaving the vehicle, always remove the
SmartKey from the starter switch, take the
SmartKey with KEYLESS-GO* with you and
lock the vehicle. Do not leave children unat-
tended in the vehicle, or with access to an
unlocked vehicle. Unsupervised use of vehi-
cle equipment may cause serious personal
injury.!To prevent possible malfunction, avoid
exposing the SmartKey with
KEYLESS-GO to high levels of electro-
magnetic radiation.iYou can also open and close the power
windows (
�page 197) and
sliding / pop-up roof* (
�page 201) or
panorama sliding / pop-up roof*
(
�page 208) using the SmartKey.
Page 109 of 442

109 Controls in detailSeats
Removing and installing front seat head restraints
Information on head restraint adjustment
can be found in the “Getting started” sec-
tion (
�page 36).
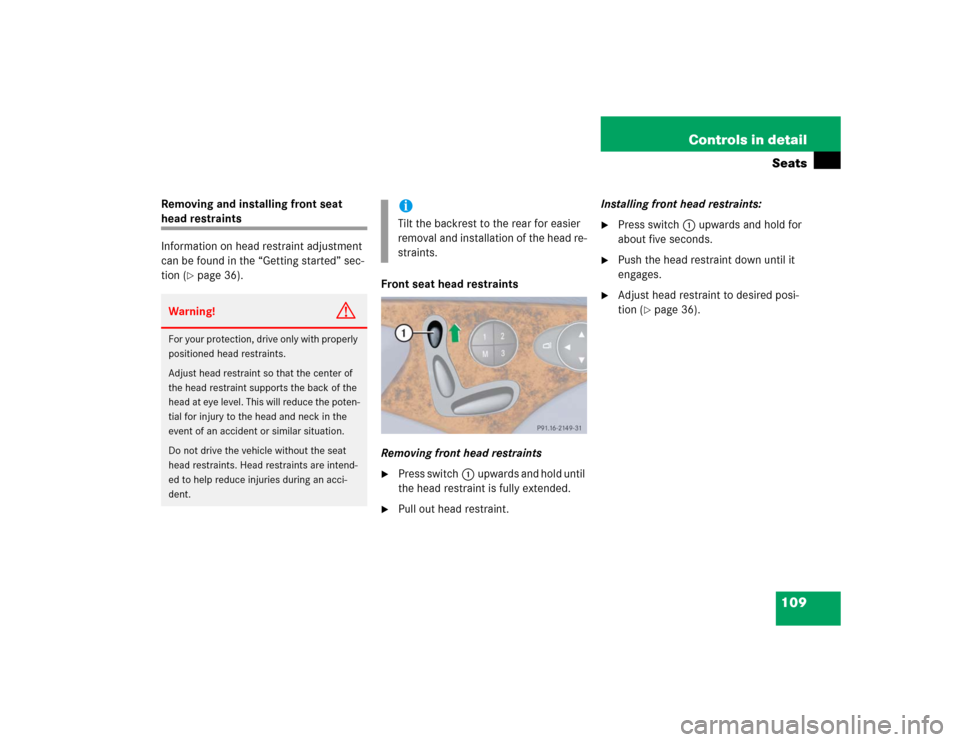
Front seat head restraints
Removing front head restraints
�
Press switch1upwards and hold until
the head restraint is fully extended.
�
Pull out head restraint.Installing front head restraints:
�
Press switch1upwards and hold for
about five seconds.
�
Push the head restraint down until it
engages.
�
Adjust head restraint to desired posi-
tion (
�page 36).
Warning!
G
For your protection, drive only with properly
positioned head restraints.
Adjust head restraint so that the center of
the head restraint supports the back of the
head at eye level. This will reduce the poten-
tial for injury to the head and neck in the
event of an accident or similar situation.
Do not drive the vehicle without the seat
head restraints. Head restraints are intend-
ed to help reduce injuries during an acci-
dent.
iTilt the backrest to the rear for easier
removal and installation of the head re-
straints.
Page 113 of 442

113 Controls in detailSeats
Massage function (PULSE)
The massage function can help prevent
muscle tension during long drives.�
Press button6.
The indicator lamp in button2 comes
on. The air cushions in the lumbar area
pulsate.
Heated seats*
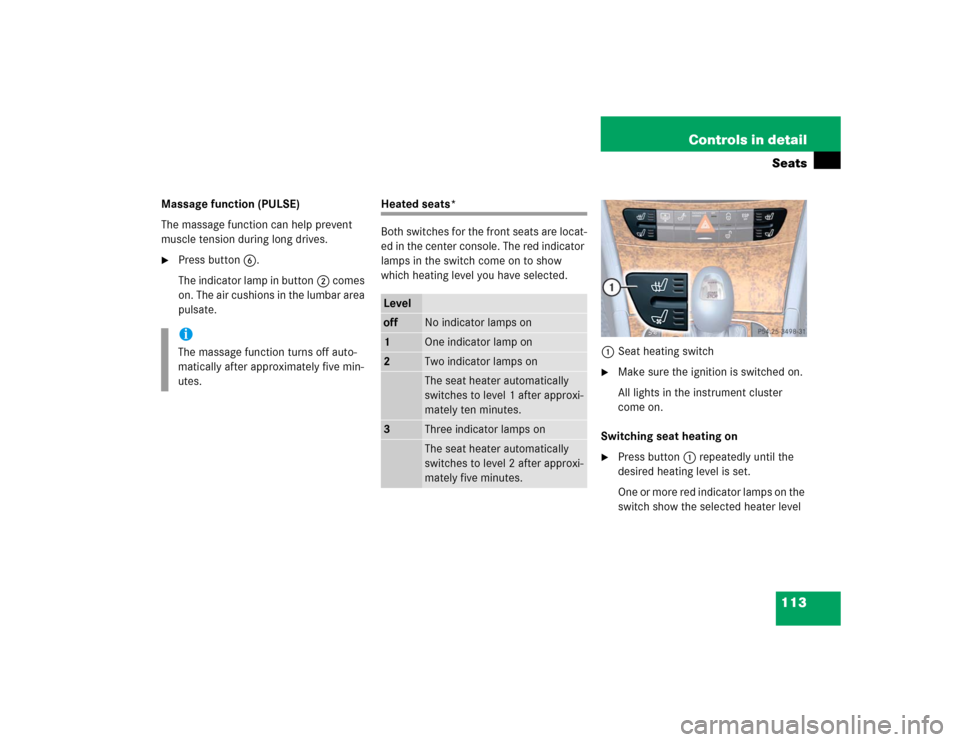
Both switches for the front seats are locat-
ed in the center console. The red indicator
lamps in the switch come on to show
which heating level you have selected.
1Seat heating switch
�
Make sure the ignition is switched on.
All lights in the instrument cluster
come on.
Switching seat heating on
�
Press button1 repeatedly until the
desired heating level is set.
One or more red indicator lamps on the
switch show the selected heater level
iThe massage function turns off auto-
matically after approximately five min-
utes.
Leveloff
No indicator lamps on
1
One indicator lamp on
2
Two indicator lamps onThe seat heater automatically
switches to level 1 after approxi-
mately ten minutes.
3
Three indicator lamps onThe seat heater automatically
switches to level 2 after approxi-
mately five minutes.
Page 114 of 442

114 Controls in detailSeatsSwitching seat heating off�
Press button1 repeatedly until all in-
dicator lamps go out.
Seat ventilation*
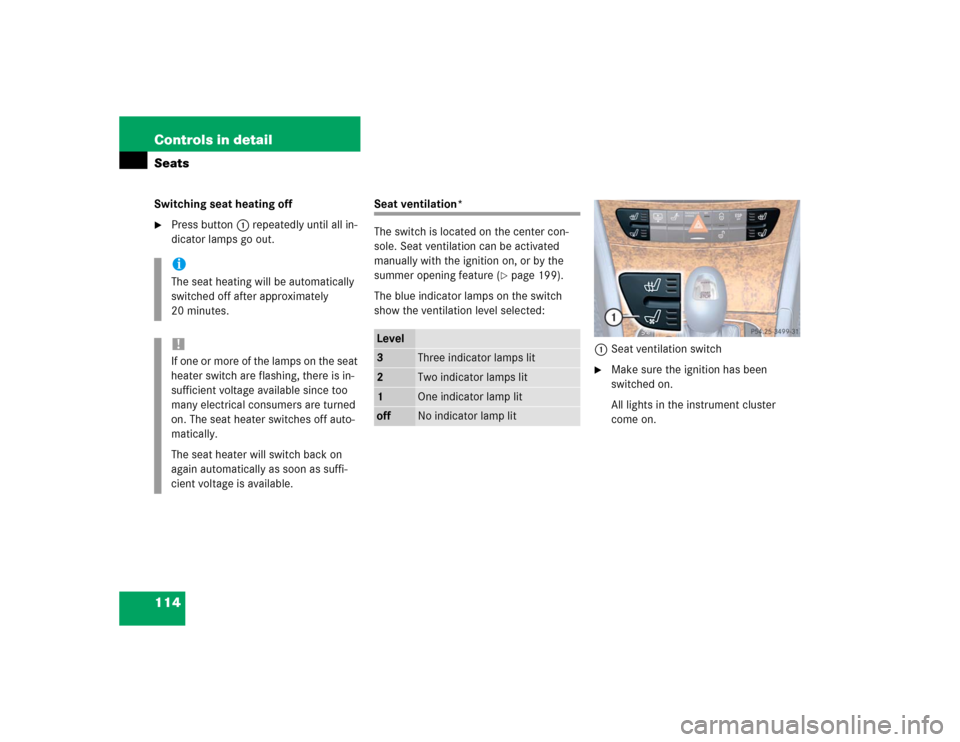
The switch is located on the center con-
sole. Seat ventilation can be activated
manually with the ignition on, or by the
summer opening feature (
�page 199).
The blue indicator lamps on the switch
show the ventilation level selected:
1Seat ventilation switch
�
Make sure the ignition has been
switched on.
All lights in the instrument cluster
come on.
iThe seat heating will be automatically
switched off after approximately
20 minutes.!If one or more of the lamps on the seat
heater switch are flashing, there is in-
sufficient voltage available since too
many electrical consumers are turned
on. The seat heater switches off auto-
matically.
The seat heater will switch back on
again automatically as soon as suffi-
cient voltage is available.
Level3
Three indicator lamps lit
2
Two indicator lamps lit
1
One indicator lamp lit
off
No indicator lamp lit
Page 115 of 442
115 Controls in detailSeats
Switching seat ventilation on�
Press button1 repeatedly until the
desired ventilation level is set.
Switching seat ventilation off
�
Press button1 repeatedly until all in-
dicator lamps go out.iThe seat ventilation is automatically set
to the highest level if activated via sum-
mer opening feature (
�page 199).
!If one or all of the lamps flash on the
seat ventilation switch, there is insuffi-
cient voltage due to too many electrical
consumers being switched on. The seat
ventilation switches off automatically.
The seat ventilation will switch back on
again automatically as soon as suffi-
cient voltage is available.