Page 36 of 442

36 Getting startedAdjustingSeat cushion tilt�
Press the switch up or down in the di-
rection of arrow3 until your upper
legs are lightly supported.
Backrest tilt
�
Press the switch forward or backward
in the direction of arrow5 until your
arms are slightly angled when holding
the steering wheel.
Seat height
�
Press the switch up or down in the di-
rection of arrow2.Head restraint height
�
Press the switch up or down in the di-
rection of arrow5.Head restraint tilt
Manually adjust the angle of the head re-
straint.
�
Push or pull on the lower edge of the
head restraint cushion.
More information on seats can be found in
the “Controls in detail” section
(
�page 108).
Warning!
G
For your protection, drive only with properly
positioned head restraints.
Adjust head restraint so that the center of
the head restraint supports the back of the
head at eye level. This will reduce the poten-
tial for injury to the head and neck in the
event of an accident or similar situation.
Do not drive the vehicle without the seat
head restraints. Head restraints are intend-
ed to help reduce injuries during an acci-
dent.
Page 37 of 442
.
1Adjusting steering column, in or out
2Ad")
37 Getting started
Adjusting
Steering wheel Steering wheel adjustment
The stalk for steering wheel adjustment is
located on the steering column (lower left).
1Adjusting steering column, in or out
2Adjusting steering column, up or down
�
Turn the SmartKey in the starter switch
to position1 or2.
or
�
Press the KEYLESS GO* start/stop
button once or twice.
or
�
Open the driver’s door.Adjusting steering column in or out
�
Move stalk forward or back in the direc-
tion of arrow1 until a comfortable
steering wheel position is reached with
your arms slightly bent at the elbow.
Adjusting steering column up or down
�
Move stalk up or down in the direction
of arrow2.
Make sure your legs can move freely
and that all the displays (incl. malfunc-
tion and indicator lamps) on the instru-
ment cluster are clearly visible.
For more information, see “Heated steer-
ing wheel*”(
�page 248).
Warning!
G
Do not adjust the steering wheel while driv-
ing. Adjusting the steering wheel while driv-
ing could cause the driver to lose control of
the vehicle.
When leaving the vehicle, always remove the
SmartKey from the starter switch, take the
SmartKey with KEYLESS-GO* with you and
lock your vehicle.
The steering wheel adjustment feature can
also be operated with the driver’s door
open. Do not leave children unattended in
the vehicle, or with access to an unlocked
vehicle. Unsupervised use of vehicle equip-
ment may cause an accident and/or serious
personal injury.
iThe memory function (
�page 116) lets
you store the setting for the seat posi-
tion together with the setting for the
steering wheel and the exterior rear
view mirrors.
Page 39 of 442
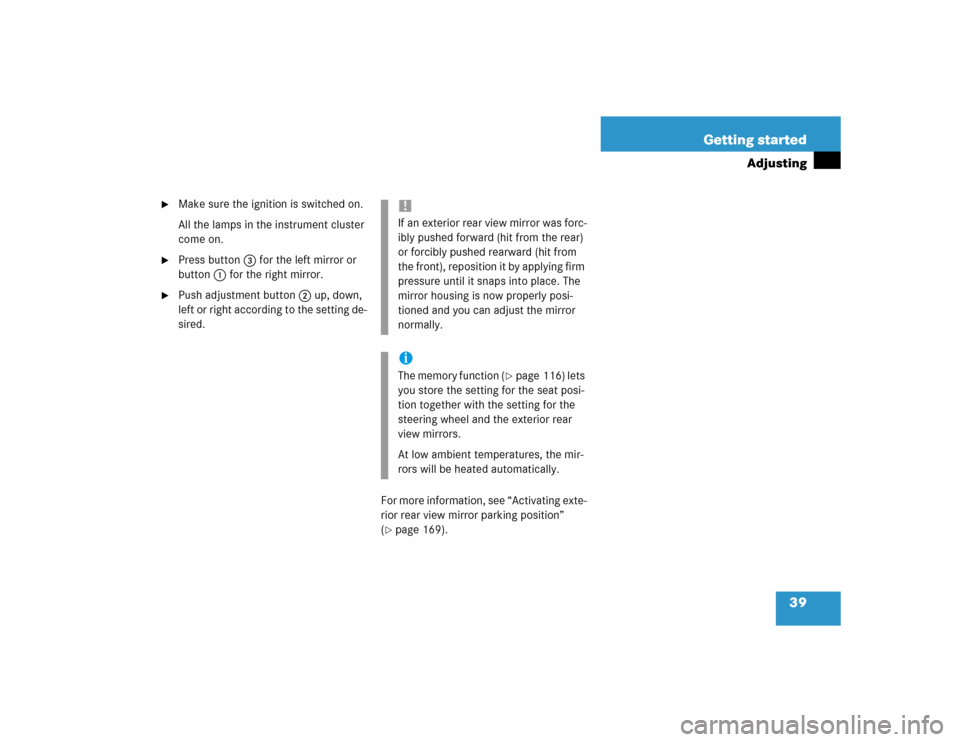
39 Getting started
Adjusting
�
Make sure the ignition is switched on.
All the lamps in the instrument cluster
come on.
�
Press button3 for the left mirror or
button1 for the right mirror.
�
Push adjustment button2 up, down,
left or right according to the setting de-
sired.
For more information, see “Activating exte-
rior rear view mirror parking position”
(
�page 169).!If an exterior rear view mirror was forc-
ibly pushed forward (hit from the rear)
or forcibly pushed rearward (hit from
the front), reposition it by applying firm
pressure until it snaps into place. The
mirror housing is now properly posi-
tioned and you can adjust the mirror
normally.iThe memory function (
�page 116) lets
you store the setting for the seat posi-
tion together with the setting for the
steering wheel and the exterior rear
view mirrors.
At low ambient temperatures, the mir-
rors will be heated automatically.
Page 41 of 442

41 Getting started
Driving
BabySmart
TM is a trademark of Siemens Automotive
Corp.
1Retractor
2Latch plate
3Buckle
4Release button
According to accident statistics, children
are safer when properly restrained in the
rear seating positions than in the front seat-
ing positions. Infants and small children
must ride in back seats and be seated in an
appropriate infant or child restraint system,
which is properly secured with the vehicle's
seat belt and top tether strap, or secured via
lower anchors and top tether strap, fully in
accordance with the child seat manufactur-
er’s instructions.
A child’s risk of serious or fatal injuries is
significantly increased if the child restraints
are not properly secured in the vehicle and
the child is not properly secured in the child
restraint.Warning!
G
Never let more people ride in the vehicle
than there are seat belts available. Be sure
everyone riding in the vehicle is correctly re-
strained with a separate seat belt.
Warning!
G
Never ride in a moving vehicle with the seat
backrest reclined. Sitting in an excessively
reclined position can be dangerous. You
could slide under the seat belt in a collision.
If you slide under it, the belt would apply
force at the abdomen or neck. That could
cause serious or even fatal injuries. The seat
backrest and seat belt provide the best re-
straint when the wearer is in an upright po-
sition and the belt is properly positioned on
the body.Warning!
G
Read and observe the additional warning no-
tices printed in the “Safety and security”
section (
�page 62).
Page 42 of 442

42 Getting startedDriving�
Pull the seat belt smoothly from the
seat belt outlet.
�
Place the belt over your shoulder.
�
Push latch plate2 into buckle3 until
it clicks.
�
If necessary, tighten the lap portion to
a snug fit by pulling shoulder portion
up.
Belt outlet height adjustment
1Release button
�
Press release button1 and move the
seat belt height adjuster upward or
downward.Proper use of seat belts
�
Do not twist the belt when fastening.
�
Adjust seat belt so that the shoulder
portion is located as close as possible
to the middle of the shoulder (it should
not touch the neck or pass under the
arm).
�
Position the lap belt as low as possible
on your hips (over hip joint) and not
across the abdomen.
�
Place the seat backrest in a nearly up-
right position.
�
Never use a seat belt for more than one
person at a time.
�
Do not fasten a seat belt around a per-
son and another object at the same
time.
�
Check your seat belt during travel to
ensure that it is properly positioned.
�
Ensure that the seat belt is always fit-
ted snugly. You should avoid wearing
bulky clothing, such as winter coats,
when traveling in the vehicle.
Page 43 of 442

43 Getting started
Driving
Starting the engine Automatic transmission
Gearshift pattern for automatic
transmissionPPark position with gear selector lever
lock
RReverse gear
NNeutral
DDrive position
More information can be found in the
“Controls in detail” section (
�page 160).
Warning!
G
Do not pass belts over sharp edges. They
could tear.
Do not allow the belt to get caught in the
door or in the seat adjustment mechanism.
This could damage the belt.
Never attempt to make modifications to
seat belts. This could impair the effective-
ness of the belts.
Damaged seat belts or belts that were highly
stressed in an accident must be replaced.
Contact an authorized Mercedes-Benz Cen-
ter.
Warning!
G
Inhalation of exhaust gas is hazardous to
your health. All exhaust gas contains carbon
monoxide, and inhaling it can cause uncon-
sciousness and lead to death.
Do not run the engine in confined areas
(such as a garage) which are not properly
ventilated. If you think that exhaust gas
fumes are entering the vehicle while driving,
have the cause determined and corrected
immediately. If you must drive under these
conditions, drive only with at least one win-
dow fully open.
Page 44 of 442

44 Getting startedDrivingStarting with the SmartKey�
Make sure the gear selector lever is set
to P.
�
Do not depress the accelerator.
�
Turn the SmartKey in the starter switch
to position3 and hold until the engine
starts (
�page 31).
�
Depress the brake pedal.
The selector lever lock is released.
For information on turning off the engine
with the SmartKey, see “Turning off en-
gine” (
�page 52).Starting with KEYLESS-GO*
You can start your vehicle without the
SmartKey in the starter switch using the
KEYLESS-GO start/stop button on the
gear selector lever.
The SmartKey with KEYLESS-GO must be
located in the vehicle.
1KEYLESS-GO start/stop button
�
Make sure the gear selector lever is set
toP.
�
Depress the brake pedal during the
starting procedure. Do not depress ac-
celerator.
The selector lever lock is released.
�
Press KEYLESS-GO start/stop
button1 once.
The engine starts automatically if the
SmartKey with KEYLESS-GO is in the
vehicle.
For information on turning off the engine
with KEYLESS-GO, see “Turning off with
KEYLESS-GO*” (
�page 53).
iYou can also use the “touch-start”
function. Turn the SmartKey to
position3 and release it again immedi-
ately. The engine then starts automati-
cally.
Page 45 of 442

45 Getting started
Driving
Starting difficulties
If the engine does not start as described,
carry out the following steps:�
If you are starting the engine with the
SmartKey, turn SmartKey in starter
switch to position0 and repeat starting
procedure.
�
If you are starting the engine with
KEYLESS-GO: Close any doors that
may be open to allow for better detec-
tion of the SmartKey with
KEYLESS-GO.
Or:
Start the engine with the SmartKey as
radio signals from another source may
be interfering with the SmartKey with
KEYLESS-GO.
�
Repeat the starting procedure
(�page 43). Remember that extended
starting attempts can drain the battery.
�
Get a jump start (
�page 378).If the engine does not start after several
starting attempts, there could be a mal-
function in the engine electronics or in the
fuel supply system.
�
Notify an authorized Mercedes-Benz
Center.
Parking brake
1Parking brake pedal
2Parking brake release handle
�
Release the parking brake by pulling on
handle2.
The warning lamp ; (USA only) or
3 (Canada only) in the clock goes
out.Warning!
G
When leaving the vehicle, always remove the
SmartKey from the starter switch, take the
SmartKey with KEYLESS-GO* with you and
lock the vehicle. Do not leave children unat-
tended in the vehicle, or with access to an
unlocked vehicle. Children could release the
parking brake, which could result in an acci-
dent and/or serious injury.