Page 227 of 442

227 Controls in detail
Driving systems
Vehicle level control
Your vehicle automatically adjusts its ride
height to�
reduce fuel consumption
�
increase vehicle safety
The following vehicle chassis ride heights
can be selected:
�
Normal
�
RaisedThe vehicle chassis ride height is raised or
lowered according to the selected level
setting and to the vehicle speed:
�
At a speed above approximately above
68 mph (110 km / h) and the sporty
suspension style selected
(�page 226), ride height is reduced
automatically by up to approximately
0.6in (15mm).
�
With decreasing speed, the ride height
is again raised to the “Normal” level.Select the “Raised” level only when re-
quired by current driving conditions. Oth-
erwise
�
fuel consumption may increase
�
handling may be impaired
iThese height adjustments are so small
that you may not notice any change.
Warning!
G
To help avoid personal injury, keep hands
and feet away from wheel housing area, and
stay away from under the vehicle when low-
ering the vehicle chassis.
Page 228 of 442

228 Controls in detailDriving systemsThe following vehicle level settings can be
selected when the vehicle is stationary and
the engine is running:
The button is located in the lower section
of the center console.
1Vehicle level control button
2Indicator lamp
�
Briefly press button1 to change from
“Normal” level to “Raised” level. When
vehicle is at “Raised” level, pressing
the switch will return the vehicle to
“Normal” level.
Vehicle level when
stationary
Use for
Ride height increase
over normal
Automatic lowering
Indicator lamp (
�page 228)
Normal
Normal operation
None
Max. approx. 0.6 in
(15 mm)
Lamp off
Raised
Driving with snow
chains or very rough
road surface conditions
Approximately 0.8 in
(20 mm)
Max. approx. 1.4 in
(35 mm)
Lamp on
iAt a speed of approximately above
75 mph (120 km / h) or if the speed
amounts to between 50 mph
(80 km / h) and 75 mph (120 km / h)
for approximately five minutes, the set-
ting “Raised” is canceled. The message Level selec. canceled
appears in the
multifunction display.
If you do not drive in this speed range,
the “Raised” level remains stored even
if the SmartKey is removed from the
starter switch.
Page 229 of 442

The Parktronic system is an electronic aid
designed to assist the driver during park-
ing maneuvers. It visually and audibly")
229 Controls in detail
Driving systems
Parktronic system* (Parking assist)
The Parktronic system is an electronic aid
designed to assist the driver during park-
ing maneuvers. It visually and audibly indi-
cates the relative distance between the
vehicle and an obstacle.
The Parktronic system is automatically ac-
tivated when you switch on the ignition
and release the parking brake. The
Parktronic system deactivates at speeds
over 11 mph (18 km / h). At lower speeds
the Parktronic system turns on again.The Parktronic system monitors the sur-
roundings of your vehicle with six sensors
in the front bumper and four sensors in the
rear bumper.
1Sensors in the front bumperWarning!
G
The Parktronic system is a supplemental
system. It is not intended to, nor does it re-
place, the need for extreme care. The re-
sponsibility during parking and other critical
maneuvers always rests with the driver.
Special attention must be paid to objects
with smooth surfaces or low silhouettes
(e.g. trailer couplings, painted posts, or road
curbs). Such objects may not be detected by
the system and can damage the vehicle.
The operational function of the Parktronic
system can be affected by dirty sensors, es-
pecially at times of snow and ice. See
“Cleaning the Parktronic system sensors”
(�page 305).
Interference caused by other ultrasonic sig-
nals (e.g. working jackhammers or the air
brakes of trucks) can cause the system to
send erratic indications, and should be tak-
en into consideration.
Warning!
G
Make sure that no persons or animals are in
the area in which you are maneuvering. You
could otherwise injure them.
Page 237 of 442
237 Controls in detail
Loading
�
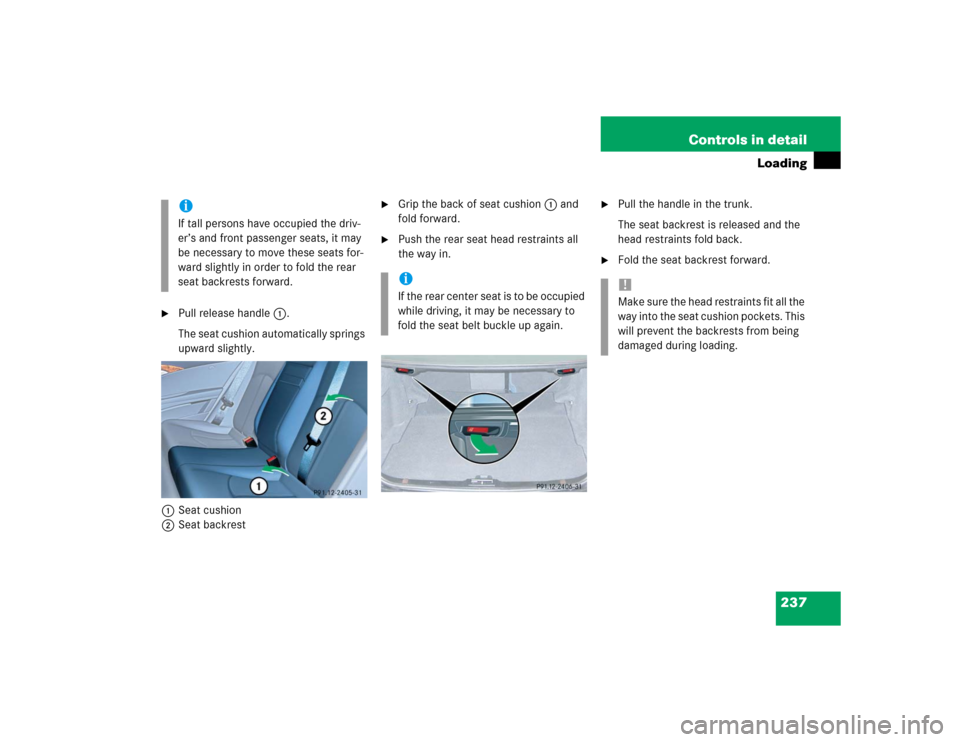
Pull release handle1.
The seat cushion automatically springs
upward slightly.
1Seat cushion
2Seat backrest
�
Grip the back of seat cushion1 and
fold forward.
�
Push the rear seat head restraints all
the way in.
�
Pull the handle in the trunk.
The seat backrest is released and the
head restraints fold back.
�
Fold the seat backrest forward.
iIf tall persons have occupied the driv-
er’s and front passenger seats, it may
be necessary to move these seats for-
ward slightly in order to fold the rear
seat backrests forward.
iI f t h e r e a r c e n t e r s e a t i s t o b e o c c u p i e d
while driving, it may be necessary to
fold the seat belt buckle up again.
!Make sure the head restraints fit all the
way into the seat cushion pockets. This
will prevent the backrests from being
damaged during loading.
Page 243 of 442
243 Controls in detail
Useful features
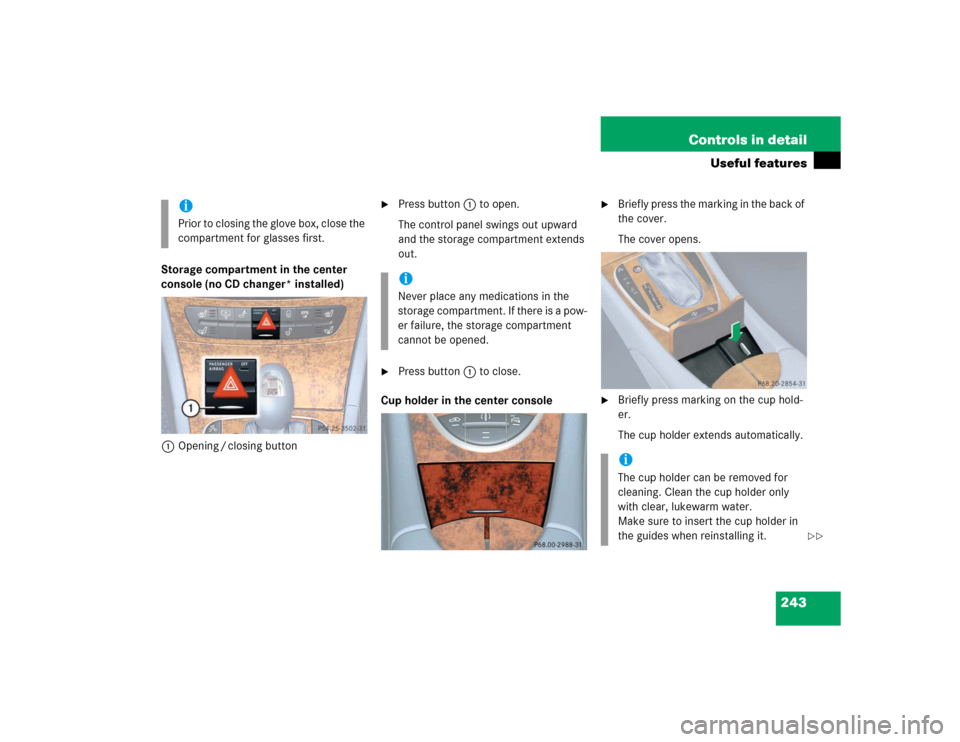
Storage compartment in the center
console (no CD changer* installed)
1Opening / closing button
�
Press button1 to open.
The control panel swings out upward
and the storage compartment extends
out.
�
Press button1 to close.
Cup holder in the center console
�
Briefly press the marking in the back of
the cover.
The cover opens.
�
Briefly press marking on the cup hold-
er.
The cup holder extends automatically.
iPrior to closing the glove box, close the
compartment for glasses first.
iNever place any medications in the
storage compartment. If there is a pow-
er failure, the storage compartment
cannot be opened.
iThe cup holder can be removed for
cleaning. Clean the cup holder only
with clear, lukewarm water.
Make sure to insert the cup holder in
the guides when reinstalling it.
��
Page 245 of 442
245 Controls in detail
Useful features
�
To open air vent slide the lever up.
�
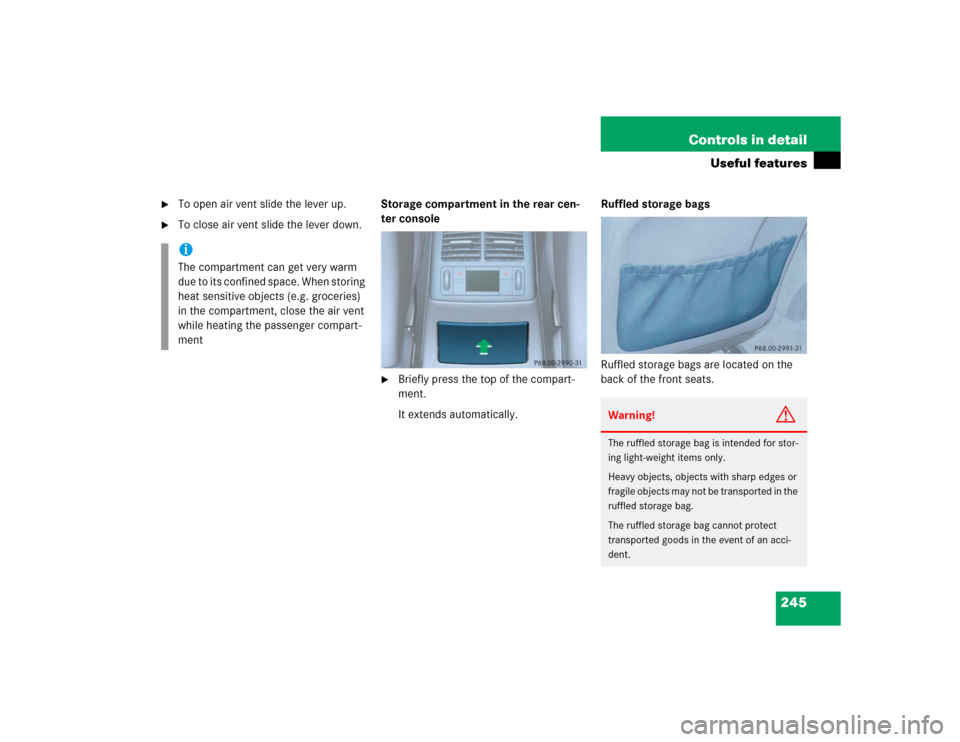
To close air vent slide the lever down.Storage compartment in the rear cen-
ter console
�
Briefly press the top of the compart-
ment.
It extends automatically.Ruffled storage bags
Ruffled storage bags are located on the
back of the front seats.
iThe compartment can get very warm
due to its confined space. When storing
heat sensitive objects (e.g. groceries)
in the compartment, close the air vent
while heating the passenger compart-
ment
Warning!
G
The ruffled storage bag is intended for stor-
ing light-weight items only.
Heavy objects, objects with sharp edges or
fragile objects may not be transported in the
ruffled storage bag.
The ruffled storage bag cannot protect
transported goods in the event of an acci-
dent.
Page 246 of 442
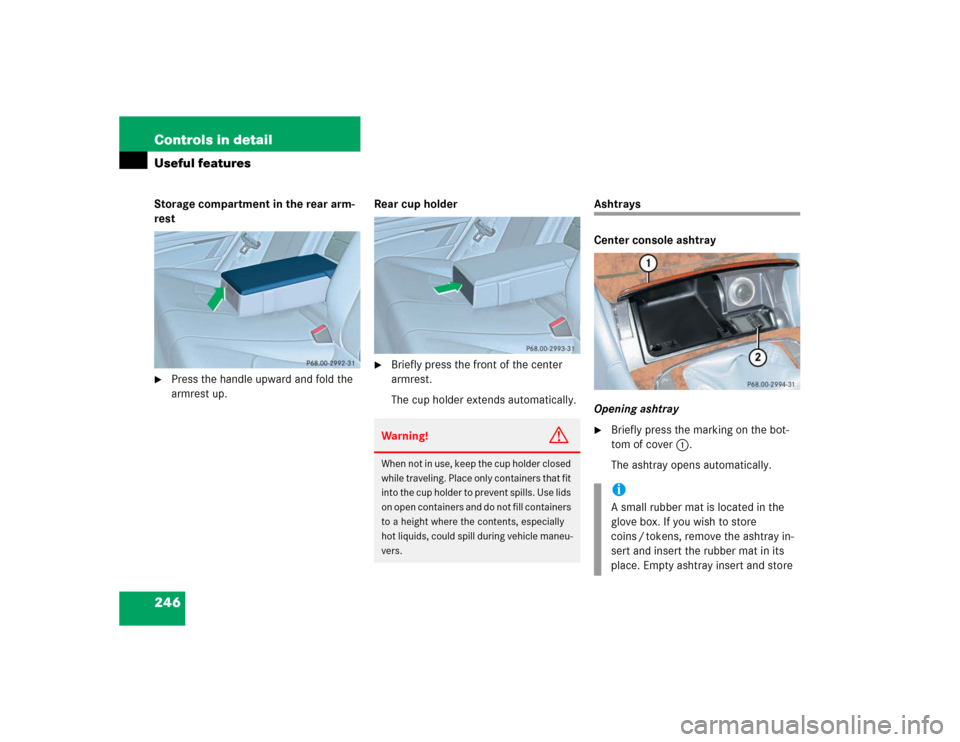
246 Controls in detailUseful featuresStorage compartment in the rear arm-
rest�
Press the handle upward and fold the
armrest up.Rear cup holder
�
Briefly press the front of the center
armrest.
The cup holder extends automatically.
Ashtrays
Center console ashtray
Opening ashtray�
Briefly press the marking on the bot-
tom of cover1.
The ashtray opens automatically.
Warning!
G
When not in use, keep the cup holder closed
while traveling. Place only containers that fit
into the cup holder to prevent spills. Use lids
on open containers and do not fill containers
to a height where the contents, especially
hot liquids, could spill during vehicle maneu-
vers.
iA small rubber mat is located in the
glove box. If you wish to store
coins / tokens, remove the ashtray in-
sert and insert the rubber mat in its
place. Empty ashtray insert and store
Page 247 of 442

247 Controls in detail
Useful features
Removing ashtray insert
�
Secure vehicle from movement by set-
ting the parking brake. Move the gear
selector lever to positionN.
Now you have more room to take out
the insert.
�
Push sliding button2 to the right and
hold.
�
Grip and remove insert from ashtray
frame.
Reinstalling ashtray insert
�
Install insert by pushing it back into
frame until it engages again.
Rear seat ashtrayOpening rear seat ashtray
�
Briefly press the top of the ashtray.
The ashtray opens.
Cigarette lighter
The cigarette lighter is located in the cen-
ter console compartment in front of the
armrest (
�page 26).
1Cigarette lighter
�
Turn ignition on.
�
Push in cigarette lighter1.
The lighter will pop out automatically
when hot. it in a convenient location in the vehi-
cle.
Warning!
G
Only use rubber mat in conjunction with
storing coins / tokens. Always remove rub-
ber mat and / or all other contents and rein-
sert ashtray insert before placing hot
cigarettes or other hot smoking materials in
this compartment.Warning!
G
Remove front ashtray only with vehicle
standing still. Set the parking brake to se-
cure vehicle from movement. Move gear se-
lector lever to positionN. With gear selector
lever in positionN, turn off the engine.