Page 240 of 442

240 Controls in detailLoadingLoading instructions
The total load weight including vehicle oc-
cupants and luggage / cargo should not ex-
ceed the vehicle capacity weight indicated
on the certification tag which can be found
on the left door pillar.The handling characteristics of a fully load-
ed vehicle depend greatly on the load dis-
tribution. It is therefore recommended to
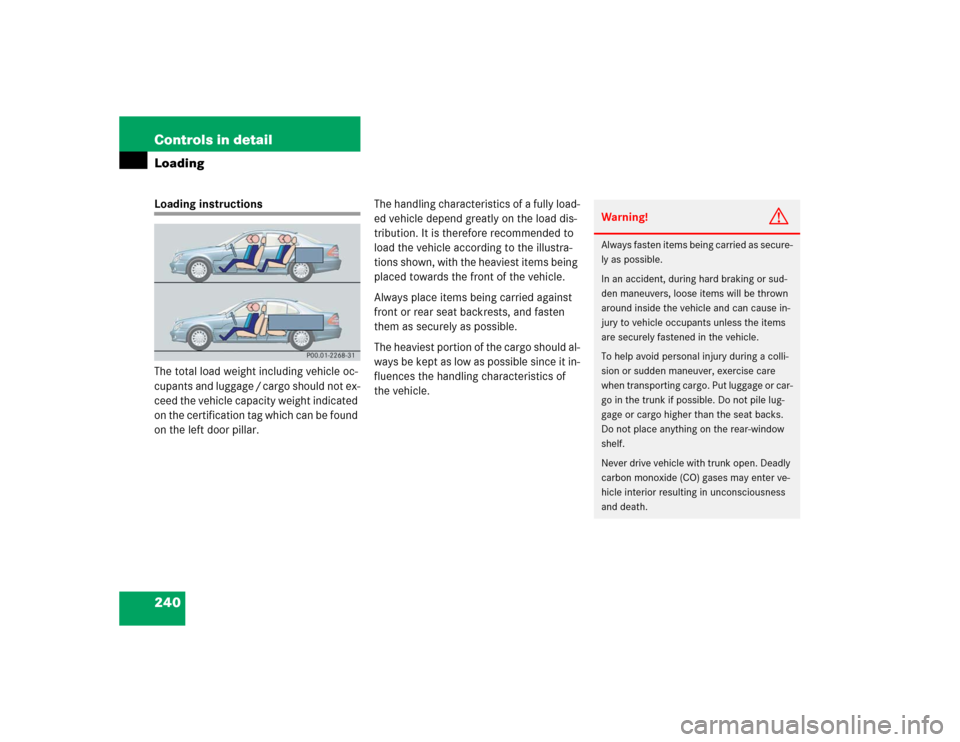
load the vehicle according to the illustra-
tions shown, with the heaviest items being
placed towards the front of the vehicle.
Always place items being carried against
front or rear seat backrests, and fasten
them as securely as possible.
The heaviest portion of the cargo should al-
ways be kept as low as possible since it in-
fluences the handling characteristics of
the vehicle.
Warning!
G
Always fasten items being carried as secure-
ly as possible.
In an accident, during hard braking or sud-
den maneuvers, loose items will be thrown
around inside the vehicle and can cause in-
jury to vehicle occupants unless the items
are securely fastened in the vehicle.
To help avoid personal injury during a colli-
sion or sudden maneuver, exercise care
when transporting cargo. Put luggage or car-
go in the trunk if possible. Do not pile lug-
gage or cargo higher than the seat backs.
Do not place anything on the rear-window
shelf.
Never drive vehicle with trunk open. Deadly
carbon monoxide (CO) gases may enter ve-
hicle interior resulting in unconsciousness
and death.
Page 278 of 442

278 OperationAt the gas station
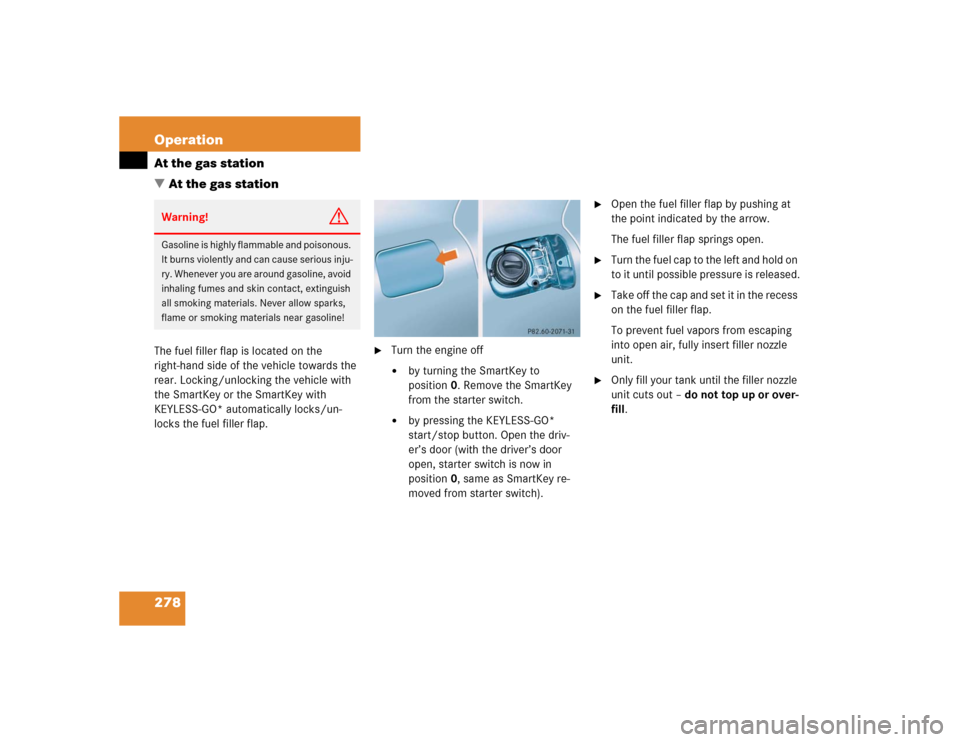
�At the gas stationThe fuel filler flap is located on the
right-hand side of the vehicle towards the
rear. Locking/unlocking the vehicle with
the SmartKey or the SmartKey with
KEYLESS-GO* automatically locks/un-
locks the fuel filler flap.
�
Turn the engine off �
by turning the SmartKey to
position0. Remove the SmartKey
from the starter switch.
�
by pressing the KEYLESS-GO*
start/stop button. Open the driv-
er’s door (with the driver’s door
open, starter switch is now in
position0, same as SmartKey re-
moved from starter switch).
�
Open the fuel filler flap by pushing at
the point indicated by the arrow.
The fuel filler flap springs open.
�
Turn the fuel cap to the left and hold on
to it until possible pressure is released.
�
Take off the cap and set it in the recess
on the fuel filler flap.
To prevent fuel vapors from escaping
into open air, fully insert filler nozzle
unit.
�
Only fill your tank until the filler nozzle
unit cuts out – do not top up or over-
fill.
Warning!
G
Gasoline is highly flammable and poisonous.
It burns violently and can cause serious inju-
ry. Whenever you are around gasoline, avoid
inhaling fumes and skin contact, extinguish
all smoking materials. Never allow sparks,
flame or smoking materials near gasoline!
Page 279 of 442

279 Operation
At the gas station
�
Replace the fuel cap by turning it to the
right.
You will hear when the fuel cap is tight-
ened.
�
Close the fuel filler flap.
Check regularly and before a long trip
1Windshield washer and headlamp
cleaning system*
For more information on refilling the
reservoir (
�page 288).
2Brake fluid
More information on brake fluid can be
found in the “Technical data” section
(
�page 403).
3Coolant level
More information on the coolant level
(�page 285).
Warning!
G
Overfilling of the fuel tank may create pres-
sure in the system which could cause a gas
discharge. This could cause the gas to spray
back out when removing the fuel pump noz-
zle, which could cause personal injury.
iUse only premium unleaded gasoline
with a minimum Posted Octane Rating
of 91 (average of 96 RON / 86 MON).
Information on gasoline quality can
normally be found on the fuel pump.
More information on gasoline can be
found in the Factory Approved Service
Products Pamphlet.iLeaving the engine running and the fuel
cap open can cause the ? lamp to
illuminate.
Page 291 of 442

291 Operation
Tires and wheels
Tire pressure changes by approximately
1.5 psi (0.1 bar) per 18°F (10°C) of air
temperature change. Keep this in mind
when checking tire pressure where the
temperature is different from the outside
temperature.
Tire temperature and tire pressure are also
increased while driving, depending on the
driving speed and the tire load.
Check the spare tire periodically for condi-
tion and inflation. Spare tires will age and
become worn over time even if never used,
and thus should be inspected and replaced
when necessary.Checking tire pressure electronically*
The tire inflation pressure monitor only
functions on wheels that are equipped with
the proper electronic sensors. It monitors
the tire inflation pressure, as selected by
the driver, in all four tires. A warning is is-
sued to alert you to a decrease in pressure
in one or more of the tires.
Tire pressure inquiries are made using the
multifunction display (
�page 129).The
present inflation pressures are displayed
only after a few minutes’ travel time.You can select the unit of measure used for
the tire inflation pressure by changing the
setting in the control system (
�page 143).
�
Switch on ignition.
�
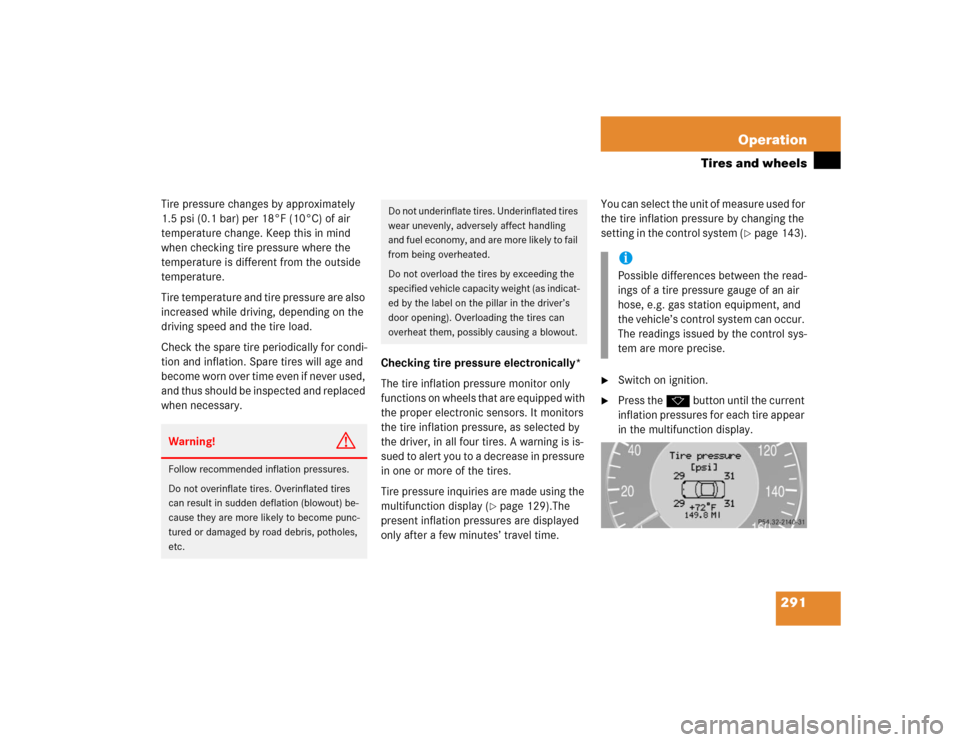
Press the k button until the current
inflation pressures for each tire appear
in the multifunction display.
Warning!
G
Follow recommended inflation pressures.
Do not overinflate tires. Overinflated tires
can result in sudden deflation (blowout) be-
cause they are more likely to become punc-
tured or damaged by road debris, potholes,
etc.
Do not underinflate tires. Underinflated tires
wear unevenly, adversely affect handling
and fuel economy, and are more likely to fail
from being overheated.
Do not overload the tires by exceeding the
specified vehicle capacity weight (as indicat-
ed by the label on the pillar in the driver’s
door opening). Overloading the tires can
overheat them, possibly causing a blowout.
iPossible differences between the read-
ings of a tire pressure gauge of an air
hose, e.g. gas station equipment, and
the vehicle’s control system can occur.
The readings issued by the control sys-
tem are more precise.