Page 107 of 440
107 Controls in detailSeats
�Seats
Information on seat adjustment can be
found in the “Getting started” section
(�page 34).
Easy-entry/exit feature
With the easy-entry/exit feature activated,
the steering wheel tilts upwards and the
driver’s seat moves to the rear.
This allows easier entry into and exit from
the vehicle when the driver’s door is
opened. However, the engine must be
turned off.
When the SmartKey is inserted in the start-
er switch or you have pressed the
KEYLESS-GO* start/stop button once and
the driver’s door is closed, the steering
wheel and the driver’s seat return to their
last set positions.You can activate the following functions:
�
Steering column:
Only the steering column is adjusted.
�
Steering column and seat:
Both the steering column and the seat
are adjusted.
The easy-entry/exit feature can be
switched on or off in the convenience sub-
menu of the control system (
�page 150).
Warning!
G
You must ensure that no one can become
trapped or injured by the moving steering
wheel and driver’s seat when the
easy-entry / exit feature is activated, the
driver’s door is being opened, and the en-
gine is turned off or the SmartKey removed
from the starter switch. Do not leave chil-
dren unattended in the vehicle, or with ac-
cess to an unlocked vehicle. Children could
open the driver's door and unintentionally
activate the easy-entry/exit feature, which
could result in an accident and/or serious
personal injury.
iTo cancel seat /steering wheel move-
ment, do one of the following:�
Press seat adjustment switch
(�page 34).
�
Move the steering column stalk
(�page 38).
�
Press the memory button
(�page 116)
Page 129 of 440

129 Controls in detail
Control system
�Control system
The control system is activated as soon as
the SmartKey in the starter switch is
turned to position1 or as soon as the
KEYLESS-GO* start/stop button is in
position1. The control system enables you
to�
call up information about your vehicle
�
change vehicle settings
For example, you can use the control sys-
tem to find out when your vehicle is next
due for service, to set the language for
messages in the instrument cluster dis-
play, and much more.
The control system relays information to
the multifunction display.
Multifunction display
1Outside temperature
2Trip odometer
3Automatic transmission program mode
4Main odometer
5Current gear selector lever position
iThe displays for the audio systems (ra-
dio, CD player, cassette player) will ap-
pear in English, regardless of the
language selected.
Warning!
G
A driver’s attention to the road and traffic
must always be his /her primary focus when
driving.
For your safety and the safety of others, se-
lecting features through the multifunction
steering wheel should only be done by the
driver when traffic and road conditions per-
mit it to be done safely.
Bear in mind that at a speed of just 30 mph
(approximately 50 km/h), your vehicle is
covering a distance of 44 feet (approximate-
ly 13.5 m) every second.
Page 147 of 440
147 Controls in detail
Control system
Setting night security illumination
(Exterior lamps delayed shut-off)
Use the
Headlamps delayed shut-off
function to set whether and for how long
you would like the exterior lamps to illumi-
nate during darkness after all doors are
closed. When the delayed shut-off feature
is activated and the exterior lamp switch is
in position U, the following lamps will
remain lit after you remove the SmartKey
from the starter switch:
�
Parking lamps
�
Tail lamps
�
License plate lamps
�
Front fog lampsTo activate night security illumination:
�
Select delayed shut-off period,
see (
�page 147).
�
Turn the exterior lamp switch to posi-
tion U.
To select delayed shut-off period:
�
Move the selection marker with
theæ orç button to the
Light-
ing
submenu.
�
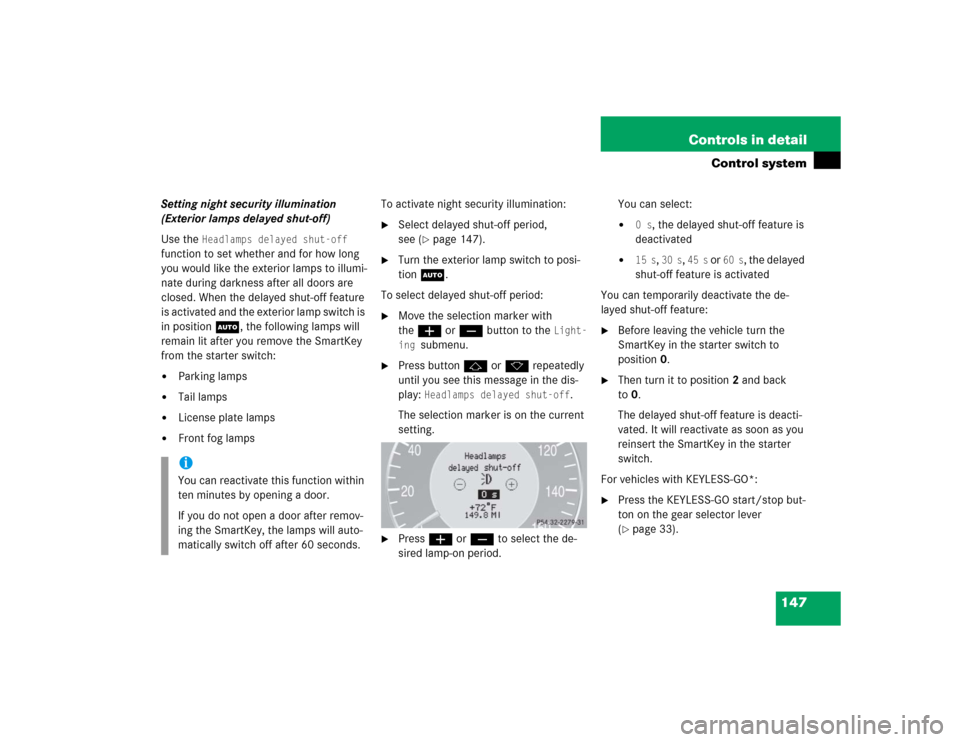
Press buttonj ork repeatedly
until you see this message in the dis-
play:
Headlamps delayed shut-off
.
The selection marker is on the current
setting.
�
Pressæ orç to select the de-
sired lamp-on period.You can select:
�
0 s
, the delayed shut-off feature is
deactivated
�
15 s
, 30 s
, 45 s
or
60 s
, the delayed
shut-off feature is activated
You can temporarily deactivate the de-
layed shut-off feature:
�
Before leaving the vehicle turn the
SmartKey in the starter switch to
position0.
�
Then turn it to position2 and back
to0.
The delayed shut-off feature is deacti-
vated. It will reactivate as soon as you
reinsert the SmartKey in the starter
switch.
For vehicles with KEYLESS-GO*:
�
Press the KEYLESS-GO start/stop but-
ton on the gear selector lever
(�page 33).
iYou can reactivate this function within
ten minutes by opening a door.
If you do not open a door after remov-
ing the SmartKey, the lamps will auto-
matically switch off after 60 seconds.
Page 150 of 440
150 Controls in detailControl systemActivating easy-entry/exit feature
Use this function to activate and deacti-
vate the easy-entry/exit feature. When the
feature is activated, the steering wheel and
driver’s seat will move back to facilitate ex-
iting when you�
remove the SmartKey from the starter
switch
�
open the driver’s door
However, the engine must be turned off.After entering the vehicle, the steering
wheel and seat will move into the position
stored in memory when
�
the driver’s door is closed.
�
you put the SmartKey in the starter
switch or press the KEYLESS-GO*
start/stop button.
�
press the appropriate stored position
button on the memory switch
(�page 116).
Warning!
G
You must make sure no one can become
trapped or injured by the moving steering
wheel and the driver’s seat when the
easy-entry/exit feature is in operation and
the driver’s door is being opened or the
SmartKey is removed from the starter
switch.
Do not leave children unattended in the ve-
hicle, or with access to an unlocked vehicle.
Children could open the driver’s door and
unintentionally activate the easy-entry/exit
feature, which could result in an accident
and/or serious personal injury.
iTo cancel seat/steering wheel move-
ment, do one of the following:�
Press seat adjustment switch
(�page 35)
�
Move the steering column stalk
(�page 38)
�
Press the memory switch
(�page 116)
Page 165 of 440
165 Controls in detail
Automatic transmission
Downshifting�
Briefly press the gear selector lever to
the left in theD-direction
(�page 158).
or
�
Press button2 on the left side of the
steering wheel (
�page 161).
The transmission shifts to the next
lower gear.
Upshifting
�
Briefly press the gear selector lever to
the right in theD+direction
(�page 158).
or
�
Press button3 on the right side of the
steering wheel (
�page 161).
The transmission shifts to the next
higher gear.
Deactivating manual shift program
�
Press the program mode selector
switch repeatedly until
S or
C appears
in the right multifunction display field.
or
�
Restart the engine.
The transmission will go into the last
shift program mode selected (SorC).
Program modeM is not stored.Emergency operation (Limp Home
Mode)
If vehicle acceleration worsens or the
transmission no longer shifts, the trans-
mission is most likely operating in limp
home (emergency operation) mode. In this
mode, only second gear and reverse gear
can be activated.�
Stop the vehicle.
�
Move gear selector lever toP.
�
Turn off the engine.
�
Wait at least ten seconds before
restarting.
�
Restart the engine.
�
Move gear selector lever to positionD
(for second gear) orR.
�
Have the transmission checked at an
authorized Mercedes-Benz Center as
soon as possible.
Warning!
G
On slippery road surfaces, never downshift
in order to obtain braking action. This could
result in drive wheel slip and reduced
vehicle control. Your vehicle’s ABS will not
prevent this type of loss of control.
iThe last selected automatic program
mode (S orC) is switched on when the
engine is restarted in the automatic
program mode.
Page 170 of 440
170 Controls in detailGood visibilityRear window sunshade*
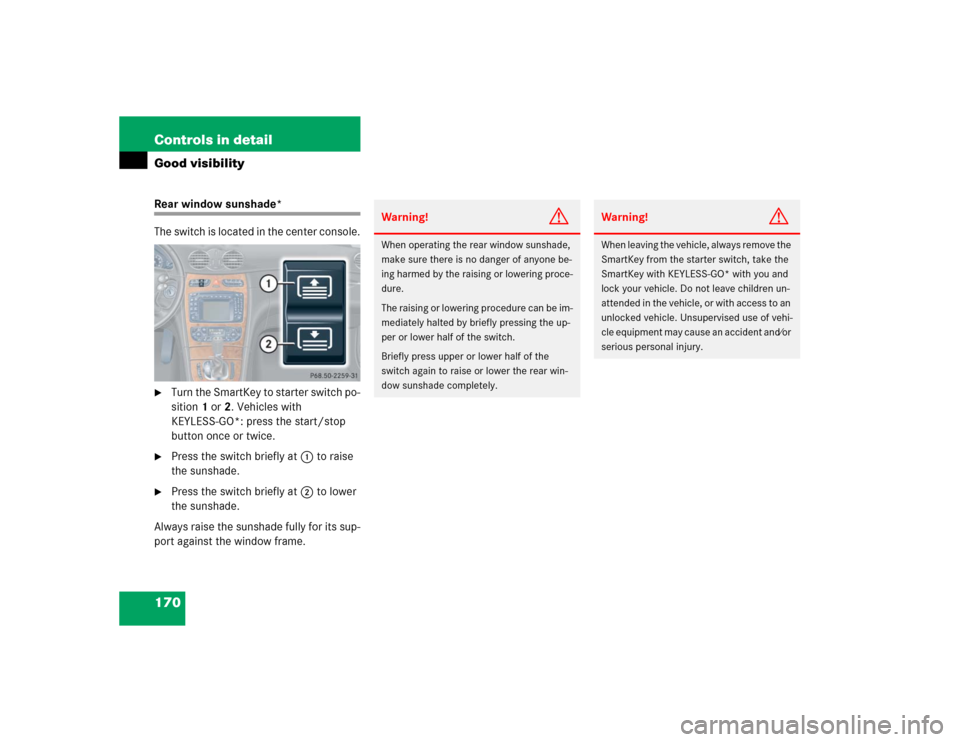
The switch is located in the center console.�
Turn the SmartKey to starter switch po-
sition 1 or 2. Vehicles with
KEYLESS-GO*: press the start/stop
button once or twice.
�
Press the switch briefly at 1 to raise
the sunshade.
�
Press the switch briefly at 2 to lower
the sunshade.
Always raise the sunshade fully for its sup-
port against the window frame.
Warning!
G
When operating the rear window sunshade,
make sure there is no danger of anyone be-
ing harmed by the raising or lowering proce-
dure.
The raising or lowering procedure can be im-
mediately halted by briefly pressing the up-
per or lower half of the switch.
Briefly press upper or lower half of the
switch again to raise or lower the rear win-
dow sunshade completely.
Warning!
G
When leaving the vehicle, always remove the
SmartKey from the starter switch, take the
SmartKey with KEYLESS-GO* with you and
lock your vehicle. Do not leave children un-
attended in the vehicle, or with access to an
unlocked vehicle. Unsupervised use of vehi-
cle equipment may cause an accident and⁄or
serious personal injury.
Page 197 of 440
197 Controls in detail
Audio system
Cassette eject�
Press eject button3.
The display folds down and the cas-
sette is ejected. The system will switch
back to radio mode automatically.
�
Fold display panel back up and press
gently on the display panel frame to
lock it.Track search
Track search forward
�
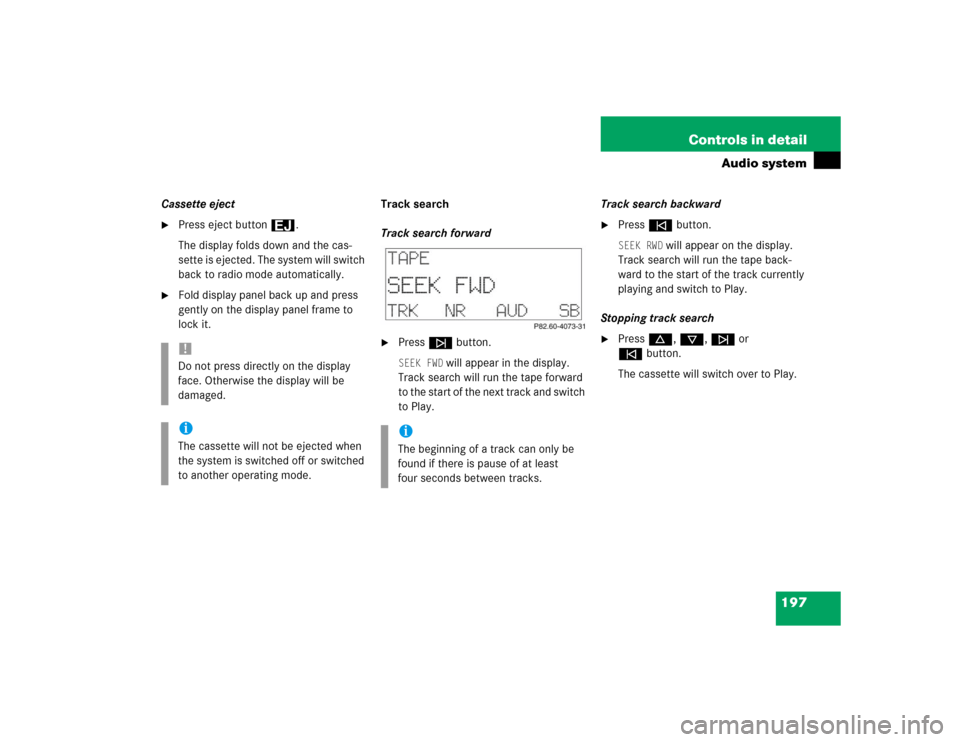
Pressf button.SEEK FWD
will appear in the display.
Track search will run the tape forward
to the start of the next track and switch
to Play.Track search backward
�
Presse button.SEEK RWD
will appear on the display.
Track search will run the tape back-
ward to the start of the track currently
playing and switch to Play.
Stopping track search
�
Pressd, c, f or
ebutton.
The cassette will switch over to Play.
!Do not press directly on the display
face. Otherwise the display will be
damaged.iThe cassette will not be ejected when
the system is switched off or switched
to another operating mode.
iThe beginning of a track can only be
found if there is pause of at least
four seconds between tracks.
Page 198 of 440
198 Controls in detailAudio systemScanning�
Starting scan�
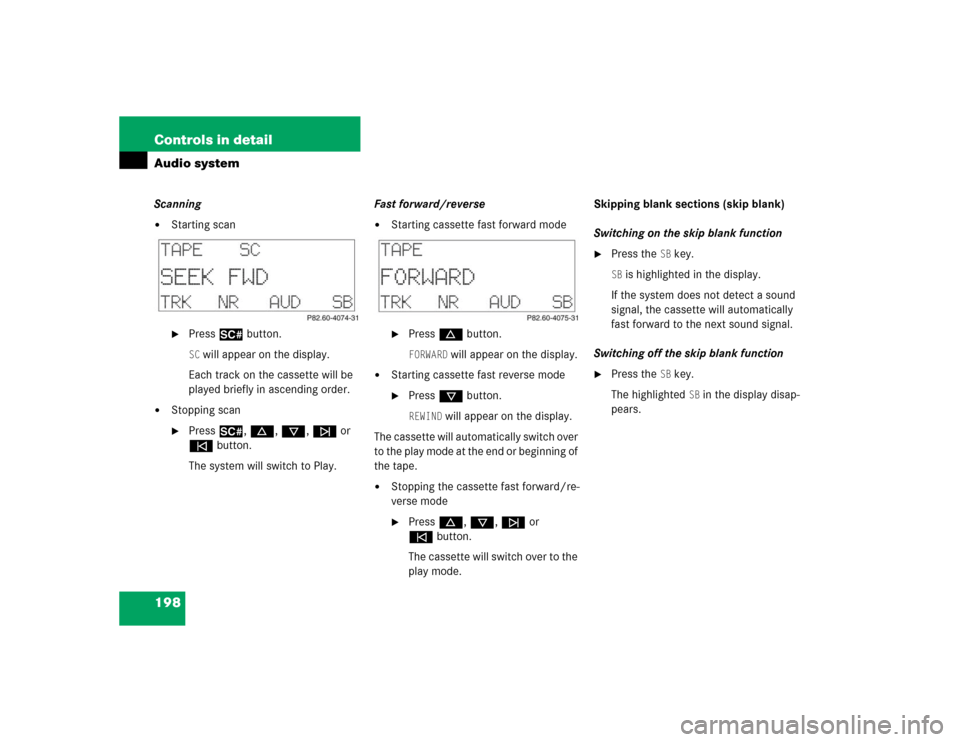
Press2 button.SC will appear on the display.
Each track on the cassette will be
played briefly in ascending order.
�
Stopping scan�
Press2, d, c, f or
ebutton.
The system will switch to Play.Fast forward/reverse
�
Starting cassette fast forward mode�
Pressd button.FORWARD
will appear on the display.
�
Starting cassette fast reverse mode�
Pressc button.REWIND
will appear on the display.
The cassette will automatically switch over
to the play mode at the end or beginning of
the tape.
�
Stopping the cassette fast forward/re-
verse mode�
Pressd, c, f or
ebutton.
The cassette will switch over to the
play mode.Skipping blank sections (skip blank)
Switching on the skip blank function
�
Press the
SB key.
SB is highlighted in the display.
If the system does not detect a sound
signal, the cassette will automatically
fast forward to the next sound signal.
Switching off the skip blank function
�
Press the
SB key.
The highlighted
SB in the display disap-
pears.