Page 109 of 464
.
Easy-entry/exit feature
With the easy-entry/exit feature activated,
t")
109 Controls in detailSeats
�Seats
Information on seat adjustment can be
found in the “Getting started” section
(�page 34).
Easy-entry/exit feature
With the easy-entry/exit feature activated,
the steering wheel tilts upwards and the
driver’s seat moves to the rear.
This allows easier entry into and exit from
the vehicle when the driver’s door is
opened. However, the engine must be
turned off.
When the SmartKey is inserted in the start-
er switch or you have pressed the
KEYLESS-GO* start/stop button once and
the driver’s door is closed, the steering
wheel and the driver’s seat return to their
last set positions.You can activate the following functions:
�
Steering column:
Only the steering column is adjusted.
�
Steering column and seat:
Both the steering column and the seat
are adjusted.
The easy-entry/exit feature can be
switched on or off in the convenience sub-
menu of the control system (
�page 150).
Warning!
G
You must ensure that no one can become
trapped or injured by the moving steering
wheel and driver’s seat when the
easy-entry / exit feature is activated, the
driver’s door is being opened, and the en-
gine is turned off or the SmartKey removed
from the starter switch. Do not leave chil-
dren unattended in the vehicle, or with ac-
cess to an unlocked vehicle. Children could
open the driver's door and unintentionally
activate the easy-entry/exit feature, which
could result in an accident and/or serious
personal injury.
iTo cancel seat /steering wheel move-
ment, do one of the following:�
Press seat adjustment switch
(�page 35).
�
Move the steering column stalk
(�page 38).
�
Press the memory button
(�page 116)
ProCarManuals.com
Page 110 of 464
.
Front seat head")
110 Controls in detailSeatsRemoving and installing front seat head restraints
Information on head restraint adjustment
can be found in the “Getting started” sec-
tion (
�page 36).
Front seat head restraints
Removing front head restraints
�
Press switch1 upwards and hold until
the head restraint is fully extended.
�
Pull out head restraint.Installing front head restraints:
�
Press switch1 upwards and hold for
about five seconds.
�
Push the head restraint down until it
engages.
�
Adjust head restraint to desired posi-
tion (
�page 36).
Warning!
G
For your protection, drive only with properly
positioned head restraints.
Adjust head restraint so that the center of
the head restraint supports the back of the
head at eye level. This will reduce the poten-
tial for injury to the head and neck in the
event of an accident or similar situation.
Do not drive the vehicle without the seat
head restraints. Head restraints are intend-
ed to help reduce injuries during an acci-
dent.
iTilt the seat backrest to the rear for
easier removal and installation of the
head restraints.
ProCarManuals.com
Page 111 of 464
111 Controls in detailSeats
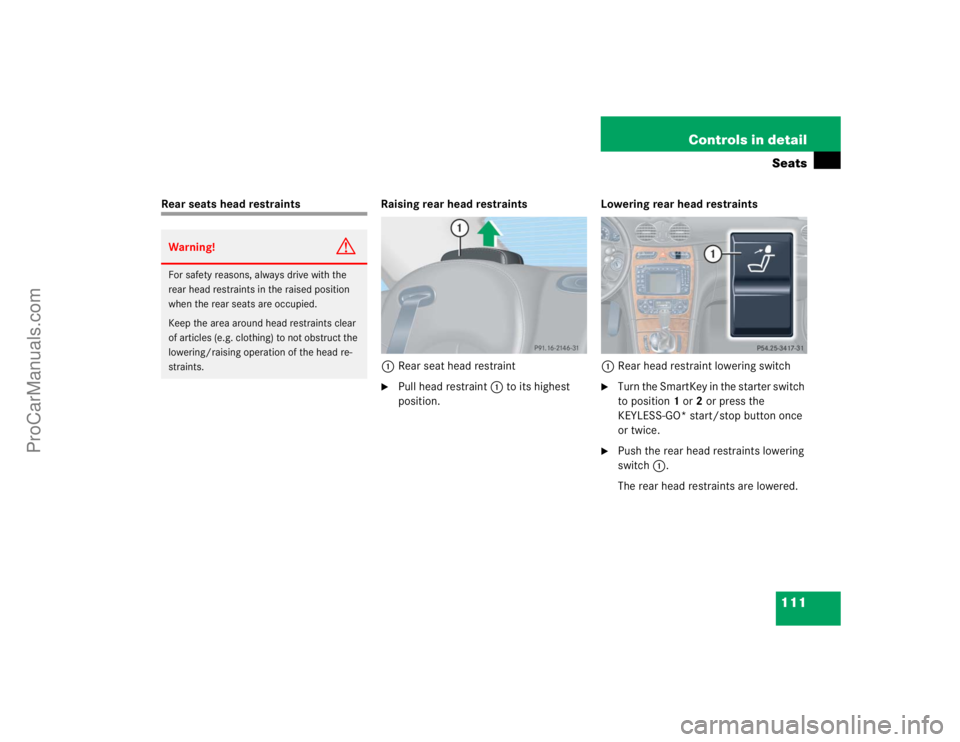
Rear seats head restraints Raising rear head restraints
1Rear seat head restraint
�
Pull head restraint1 to its highest
position.Lowering rear head restraints
1Rear head restraint lowering switch
�
Turn the SmartKey in the starter switch
to position1or2 or press the
KEYLESS-GO* start/stop button once
or twice.
�
Push the rear head restraints lowering
switch1.
The rear head restraints are lowered.
Warning!
G
For safety reasons, always drive with the
rear head restraints in the raised position
when the rear seats are occupied.
Keep the area around head restraints clear
of articles (e.g. clothing) to not obstruct the
lowering/raising operation of the head re-
straints.
ProCarManuals.com
Page 116 of 464

116 Controls in detailMemory function
�Memory function
The memory button and stored position
switch are located on the door.
You can store up to three different settings
per SmartKey or SmartKey with
KEYLESS-GO*.
The following settings are saved for each
stored position:�
Driver’s seat, backrest and restraint
position
�
Settings for multicontour seat*
�
Steering wheel position
�
Driver’s side exterior rear view mirror
position
�
Passenger side exterior rear view mir-
ror position
These key-dependent memory settings
can be deactivated if desired
(
�page 151).1Memory button
2Stored position button
�
Make sure the ignition is switched on
or the relevant door is open and the
SmartKey is inserted in the starter
switch.
!Prior to operating the vehicle, the driv-
er should check and adjust the seat
height, seat position fore and aft, and
seat backrest angle if necessary, to en-
sure adequate control, reach and com-
fort. The head restraint should also be
adjusted for proper height. See also the
section on airbags (
�page 59) for
proper seat positioning.
In addition, adjust the steering wheel to
ensure adequate control, reach, opera-
tion and comfort. Both the inside and
outside rear view mirrors should be ad-
justed for adequate rear vision.
Fasten seat belts. Infants and small
children should be seated in a properly
secured restraint system that complies
with U.S. Federal Motor Vehicle Safety
Standards 213 and 225 and Canadian
Motor Vehicle Safety Standards 213
and 210.2.
Warning!
G
Do not activate the memory function while
driving. Activating the memory function
while driving could cause the driver to lose
control of the vehicle.
ProCarManuals.com
Page 117 of 464
117 Controls in detail
Memory function
Storing positions into memory�
Adjust the seats, steering wheel and
rear view mirrors to the desired posi-
tion (
�page 34).
�
Turn button2 to selected memory po-
sition.
�
Press memory button1.
�
Release memory button and push
button2 within three seconds.
All the settings are stored at the select-
ed position.
Recalling positions from memory�
Turn button2 to s ele c ted me m ory p o-
sition.
�
Press and hold button2 until the seat,
steering wheel and rear view mirrors
have fully moved to the stored posi-
tions.iReleasing the button immediately
stops movement to the stored posi-
tions.
Warning!
G
Do not operate the power seats using the
memory button if the seat backrest is in an
excessively reclined position. Doing so
could cause damage to front or rear seats.
First move the seat backrest to an upright
position.
ProCarManuals.com
Page 120 of 464

120 Controls in detailLighting
Manual headlamp mode
The low beam headlamps and parking
lamps can be switched on and off with the
exterior lamp switch. For exterior lamp
switch, see “Exterior lamp switch”
(�page 119).
Automatic headlamp mode
The parking lamps, low beam headlamps
and license plate lamps switch on and off
automatically depending on the brightness
of the ambient light.
�
Turn the exterior lamp switch toU.
iIf you remove the SmartKey and open
the driver’s door while the parking
lamps or low beam headlamps are
switched on,�
a warning sounds
�
$ appears in the multifunction
display
�
the message
Turn off lamps!
ap-
pears in the multifunction display
iWith the daytime running lamp mode
activated and the engine running, the
low beam headlamps cannot be
switched off manually.
Warning!
G
If the exterior lamp switch is set toU,�
the headlamps may switch off unexpect-
edly when the system senses bright am-
bient light, for example light from
oncoming traffic.
�
the headlamps will not be automatically
switched on under foggy conditions.
To minimize risk to you and to others, acti-
vate headlamps by turning exterior lamp
switch to B when driving or when traffic
and / or ambient lighting conditions require
you to do so.
In low ambient lighting conditions, only
switch from position U to B with the
vehicle at a standstill. Switching from U
to B will briefly switch off the head-
lamps. Doing so while driving in low ambient
lighting conditions may result in an acci-
dent.
The automatic headlamp feature is only an
aid to the driver. The driver is responsible for
the operation of the vehicle's lights at all
times.
ProCarManuals.com
Page 122 of 464

122 Controls in detailLightingSwitching on fog lamps
Switching on front fog lamps
�
Make sure the low beam headlamps
are switched on.
�
Pull out exterior lamp switch to first
stop.
The green indicator lamp‡ beside
the lamp switch comes on.Switching on rear fog lamp
�
Make sure the low beam headlamps
are switched on.
�
Pull out exterior lamp switch to second
stop.
The yellow indicator lamp† beside
the lamp switch comes on.
Warning!
G
In low ambient lighting or foggy conditions,
only switch from position U to B with
the vehicle at a standstill. Switching from
U to B will briefly switch off the head-
lamps. Doing so while driving in low ambient
lighting conditions may result in an acci-
dent.iFog lamps will operate with the parking
lamps and/or the low beam headlamps
on. Fog lamps should only be used in
conjunction with low beam headlamps.
Consult your State or Province Motor
Vehicle Regulations regarding permis-
sible lamp operation.
iThe front fog lamps and rear fog lamp
cannot be switched on manually with
exterior lamp switch in positionU.
To activate the fog lamps, turn exterior
lamp switch to positionB and pull
the exterior lamp switch to first or sec-
ond stop (
�page 122).
ProCarManuals.com
Page 123 of 464
123 Controls in detail
Lighting
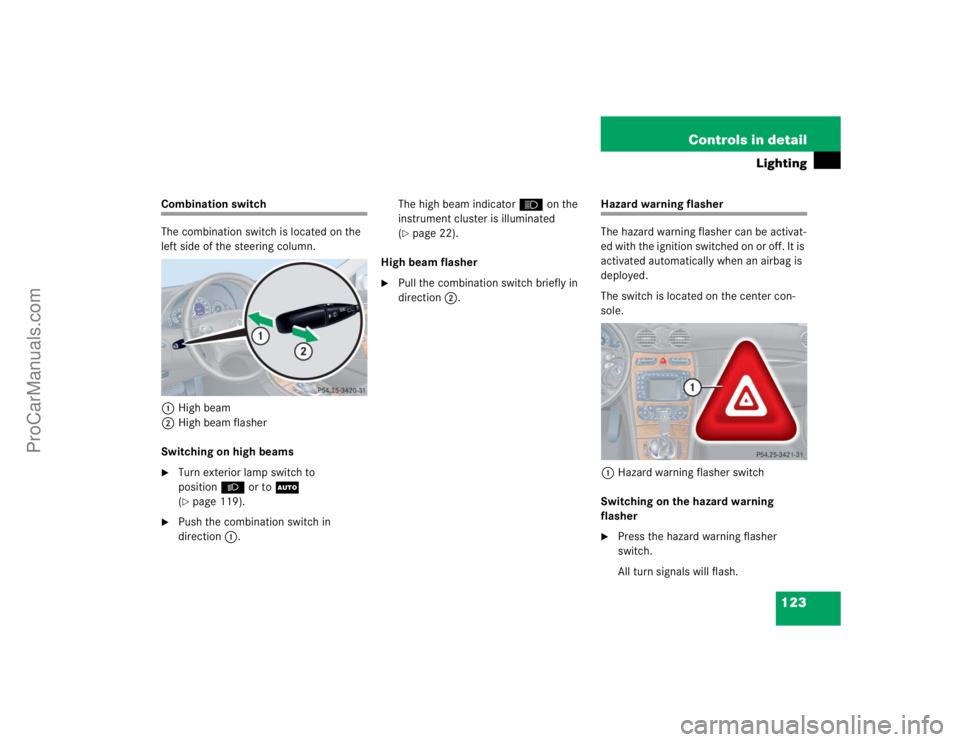
Combination switch
The combination switch is located on the
left side of the steering column.
1High beam
2High beam flasher
Switching on high beams�
Turn exterior lamp switch to
positionB or toU
(�page 119).
�
Push the combination switch in
direction1.The high beam indicator A on the
instrument cluster is illuminated
(
�page 22).
High beam flasher
�
Pull the combination switch briefly in
direction2.
Hazard warning flasher
The hazard warning flasher can be activat-
ed with the ignition switched on or off. It is
activated automatically when an airbag is
deployed.
The switch is located on the center con-
sole.
1Hazard warning flasher switch
Switching on the hazard warning
flasher�
Press the hazard warning flasher
switch.
All turn signals will flash.
ProCarManuals.com