Page 144 of 400

144 Controls in detailAutomatic transmission*Gear ranges
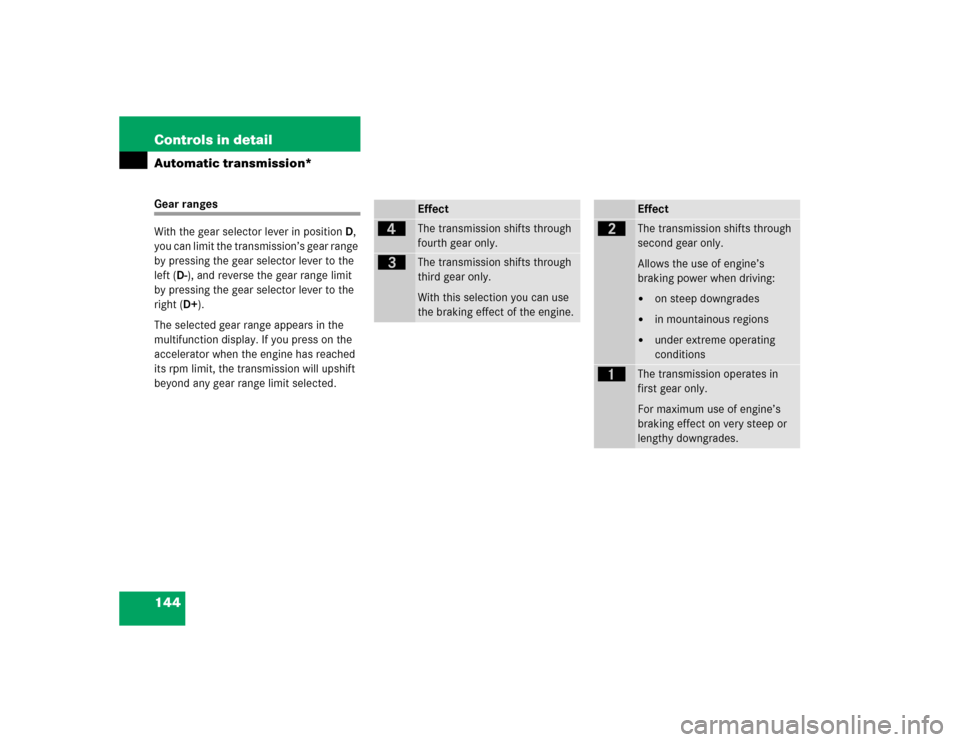
With the gear selector lever in positionD,
you can limit the transmission’s gear range
by pressing the gear selector lever to the
left (D-), and reverse the gear range limit
by pressing the gear selector lever to the
right (D+).
The selected gear range appears in the
multifunction display. If you press on the
accelerator when the engine has reached
its rpm limit, the transmission will upshift
beyond any gear range limit selected.
Effect
é
The transmission shifts through
fourth gear only.
è
The transmission shifts through
third gear only.
With this selection you can use
the braking effect of the engine.
Effect
ç
The transmission shifts through
second gear only.
Allows the use of engine’s
braking power when driving:�
on steep downgrades
�
in mountainous regions
�
under extreme operating
conditions
æ
The transmission operates in
first gear only.
For maximum use of engine’s
braking effect on very steep or
lengthy downgrades.
Page 147 of 400

147 Controls in detail
Automatic transmission*
�
Press program mode selector
switch1 repeatedly until the letter of
the desired shift program appears in
the multifunction display (
�page 113).
SelectCfor comfort driving:
�
The vehicle starts out in second
gear (both forward and reverse) for
gentler starts. This does not apply if
full throttle is applied or gear
range1 is selected.
�
Traction and driving stability are
improved on icy roads.
�
Upshifts occur earlier even when
you give more gas. The engine then
operates at lower rpms and the
wheels are less likely to spin.
�
The power transmission ratio for
gear selector lever positionR
changes depending on the program
mode selected (SorC).
Accelerator position
Your driving style influences the
transmission’s shifting behavior:
Less throttle Earlier upshifting
More throttle Later upshifting
Kickdown
Use kickdown when you want maximum
acceleration.�
Press the accelerator past the point of
resistance.
The transmission shifts into a lower
gear.
�
Ease on the accelerator when you have
reached the desired speed.
The transmission shifts up again.Emergency operation (Limp Home
Mode)
If vehicle acceleration worsens or the
transmission no longer shifts, the trans-
mission is most likely operating in limp
home (emergency operation) mode. In this
mode only second gear and reverse gear
can be activated.�
Stop the vehicle.
�
Move gear selector lever toP.
�
Turn off the engine.
�
Wait at least ten seconds before
restarting.
�
Restart the engine.
�
Move gear selector lever to positionD
(for second gear) orR.
�
Have the transmission checked at an
authorized Mercedes-Benz Center as
soon as possible.
Page 163 of 400

163 Controls in detail
Automatic climate control*
Automatic climate control panel
Item
1
Thumbwheel for air volume control
for left center air vent
2
Left center air vent, adjustable
3
Thumbwheel for adding outside air
4
Right center air vent, adjustable
5
Thumbwheel for air volume control
for right center air vent
6
Thumbwheel for air volume control
for side air vent
7
Side air vent, adjustable
8
Side defroster vent, fixed
9
Automatic climate control paneliFor draft-free ventilation, move the
sliders for the center air vents2, 4
and7 to the middle position.
Item
1
Temperature control, left, raising
2
Left-side air distribution control
(automatic or manual mode)
3
Activated charcoal filter
4
Display
5
Right-side air distribution control
(automatic or manual mode)
6
Temperature control, right, raising
7
Temperature control, right,
lowering
8
Rear window defroster
9
AC cooling on/off (AC
OFF
)
Residual heat/ventilation
a
Air volume control
b
Automatic climate control on/off
(complete system)
c
Air recirculation
d
Defrosting
e
Temperature control, left, lowering
Page 166 of 400

166 Controls in detailAutomatic climate control*Adjusting air distribution
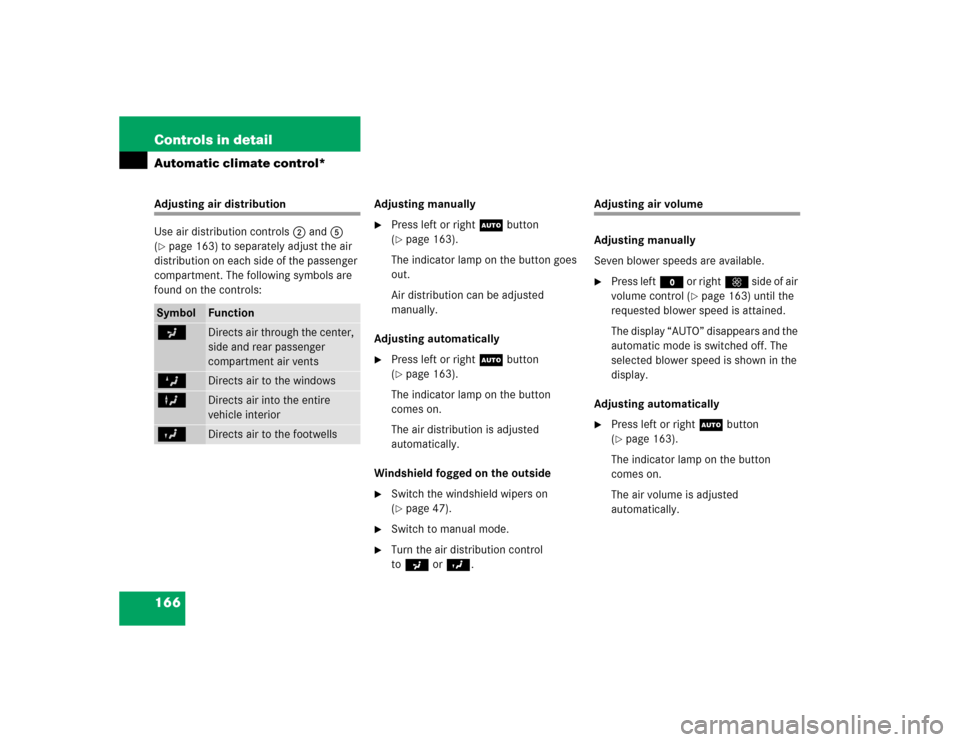
Use air distribution controls2 and5
(�page 163) to separately adjust the air
distribution on each side of the passenger
compartment. The following symbols are
found on the controls:Adjusting manually
�
Press left or rightU button
(�page 163).
The indicator lamp on the button goes
out.
Air distribution can be adjusted
manually.
Adjusting automatically
�
Press left or rightU button
(�page 163).
The indicator lamp on the button
comes on.
The air distribution is adjusted
automatically.
Windshield fogged on the outside
�
Switch the windshield wipers on
(�page 47).
�
Switch to manual mode.
�
Turn the air distribution control
toa orY.
Adjusting air volume
Adjusting manually
Seven blower speeds are available.�
Press leftM or rightQ s i d e o f a i r
volume control (
�page 163) until the
requested blower speed is attained.
The display “AUTO” disappears and the
automatic mode is switched off. The
selected blower speed is shown in the
display.
Adjusting automatically
�
Press left or rightU button
(�page 163).
The indicator lamp on the button
comes on.
The air volume is adjusted
automatically.
Symbol
Function
a
Directs air through the center,
side and rear passenger
compartment air vents
Z
Directs air to the windows
X
Directs air into the entire
vehicle interior
Y
Directs air to the footwells
Page 167 of 400

167 Controls in detail
Automatic climate control*
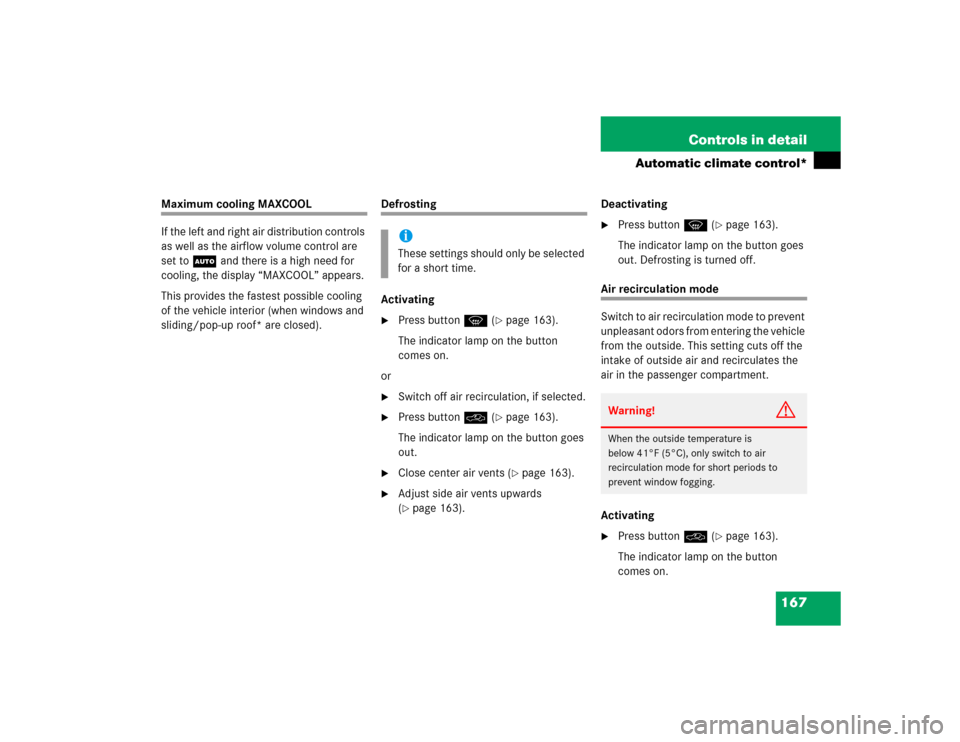
Maximum cooling MAXCOOL
If the left and right air distribution controls
as well as the airflow volume control are
set toU and there is a high need for
cooling, the display “MAXCOOL” appears.
This provides the fastest possible cooling
of the vehicle interior (when windows and
sliding/pop-up roof* are closed).
Defrosting
Activating�
Press buttonP (
�page 163).
The indicator lamp on the button
comes on.
or
�
Switch off air recirculation, if selected.
�
Press buttonO (
�page 163).
The indicator lamp on the button goes
out.
�
Close center air vents (
�page 163).
�
Adjust side air vents upwards
(�page 163).Deactivating
�
Press buttonP (
�page 163).
The indicator lamp on the button goes
out. Defrosting is turned off.
Air recirculation mode
Switch to air recirculation mode to prevent
unpleasant odors from entering the vehicle
from the outside. This setting cuts off the
intake of outside air and recirculates the
air in the passenger compartment.
Activating�
Press buttonO (
�page 163).
The indicator lamp on the button
comes on.
iThese settings should only be selected
for a short time.
Warning!
G
When the outside temperature is
below 41°F (5°C), only switch to air
recirculation mode for short periods to
prevent window fogging.
Page 174 of 400
174 Controls in detailAudio systemOperating and display elements
Page 175 of 400
175 Controls in detail
Audio system
Item
Page
1
CD mode selector
189
2
Manual tuning
(radio)
179
Fast forward/reverse
(cassette, CD)
188,
192
Speed dialing memory
(telephone*)
197
3
Radio mode selector
179
4
Display panelCassette compartment
behind display panel
Item
Page
5
Alpha-numeric keypadBand selection,
station buttons (radio)
179
CD selection (CD)
191
Telephone number entry,
retrieving speed dialing
memory (telephone)
194
6
Scanning (radio, cassette,
CD)
181,
188,
192
7
Function button
180
8
Light-emitting diode
Item
Page
9
Function keys
a
Cassette eject
187
b
Cassette mode selector
186
c
Telephone* mode selector
193
d
Seek tuning (radio)
180
Track search (cassette,
CD)
187,
192
Speed dialing memory
(telephone)
197
e
On/off
176
Volume
176
Page 176 of 400

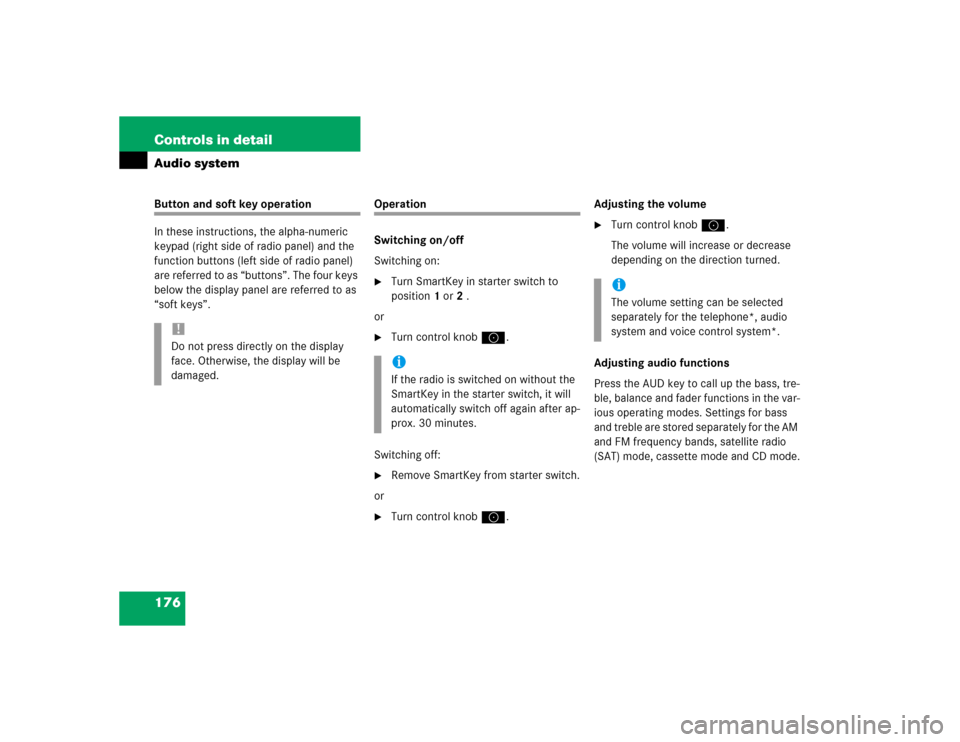
176 Controls in detailAudio systemButton and soft key operation
In these instructions, the alpha-numeric
keypad (right side of radio panel) and the
function buttons (left side of radio panel)
are referred to as “buttons”. The four keys
below the display panel are referred to as
“soft keys”.
Operation
Switching on/off
Switching on:�
Turn SmartKey in starter switch to
position1 or2 .
or
�
Turn control knoba.
Switching off:
�
Remove SmartKey from starter switch.
or
�
Turn control knoba.Adjusting the volume
�
Turn control knoba.
The volume will increase or decrease
depending on the direction turned.
Adjusting audio functions
Press the AUD key to call up the bass, tre-
ble, balance and fader functions in the var-
ious operating modes. Settings for bass
and treble are stored separately for the AM
and FM frequency bands, satellite radio
(SAT) mode, cassette mode and CD mode.
!Do not press directly on the display
face. Otherwise, the display will be
damaged.
iIf the radio is switched on without the
SmartKey in the starter switch, it will
automatically switch off again after ap-
prox. 30 minutes.
iThe volume setting can be selected
separately for the telephone*, audio
system and voice control system*.