Page 119 of 400

119 Controls in detail
Control system
Operate the cassette player�
Turn on the radio and select the
cassette player (
�page 182).
Vehicles with COMAND*:
Refer to separate operating
instructions.
�
Press buttonè orÿ repeatedly
until the settings for the cassette
currently being played are shown in the
display.
1Current side
�
Press buttonj to fast forward to
the next track.
�
Press buttonk to rewind the
cassette to the beginning of the current
track.
NAVI* menu
The
NAVI
menu contains the functions
needed to operate your navigation system.
�
Press buttonè orÿ repeatedly
until you see the message
NAVI
in the
display.
�
If the navigation system is switched off,
the message
NAVI OFF
is shown in the
display.
�
If the navigation system is on, the
message
NAVI ACTIVE
is shown in the
display.
Please refer to the COMAND* manual for
instructions on how to activate the route
guidance system*.
iTo select the reverse side of the tape,
press button below track number on
the audio system display, or enter
request on the COMAND* system
located in the center dashboard.
Page 123 of 400
123 Controls in detail
Control system
The table below shows what settings can
be changed within the various menus.
Detailed instructions on making individual
settings can be found on the following
pages.INSTRUMENT CLUSTER
LIGHTING
VEHICLE
CONVENIENCE
Set time (hours)
Set daytime running lamp mode
(USA only)
Set station selection mode
(radio)
Activate easy-entry/exit feature
Set time (minutes)
Set locator lighting
Set automatic locking
Set key-dependency
Select time display mode
Exterior lamps delayed shut-off
Set parking position for exterior
rear view mirror
Select temperature display
mode
Interior lighting delayed shut-off
Select speedometer display
modeSelect languageSelect display (speed display or
outside temperature)
Page 131 of 400
131 Controls in detail
Control system
Vehicle submenu
Access the
VEHICLE
submenu via the
SETTINGS
menu. Use the
VEHICLE
submenu
to make general vehicle settings. The
following functions are available:
Setting station selection mode
Use the
PRESS BUTTON IN AUDIO MODE
function to select the manual or memory
station selection mode for the radio
(�page 117).
�
Move the selection marker with
theæ orç button to the VEHICLE
submenu.
�
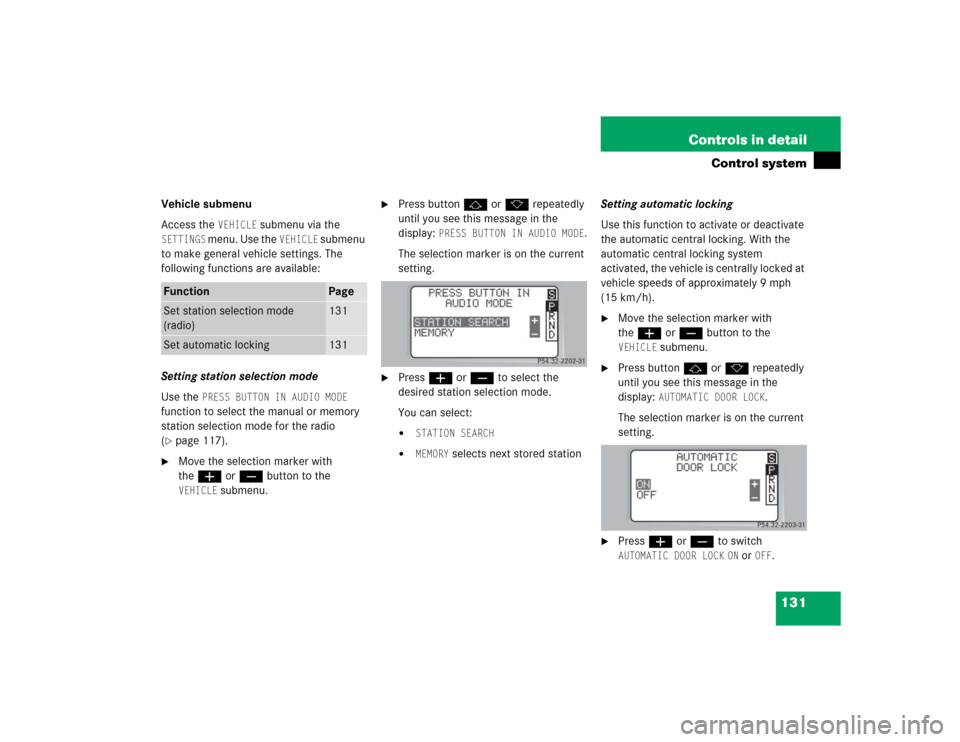
Press buttonj ork repeatedly
until you see this message in the
display:
PRESS BUTTON IN AUDIO MODE
.
The selection marker is on the current
setting.
�
Pressæ orç to select the
desired station selection mode.
You can select:�
STATION SEARCH
�
MEMORY
selects next stored stationSetting automatic locking
Use this function to activate or deactivate
the automatic central locking. With the
automatic central locking system
activated, the vehicle is centrally locked at
vehicle speeds of approximately 9 mph
(15 km/h).
�
Move the selection marker with
theæ orç button to the VEHICLE
submenu.
�
Press buttonj ork repeatedly
until you see this message in the
display:
AUTOMATIC DOOR LOCK
.
The selection marker is on the current
setting.
�
Pressæ orç to switch AUTOMATIC DOOR LOCK
ON or
OFF
.
Function
Page
Set station selection mode
(radio)
131
Set automatic locking
131
Page 136 of 400
136 Controls in detailControl systemCall up range (distance to empty)�
Press buttonÿ orè repeatedly
until you see the first function of the
Trip computer menu.
�
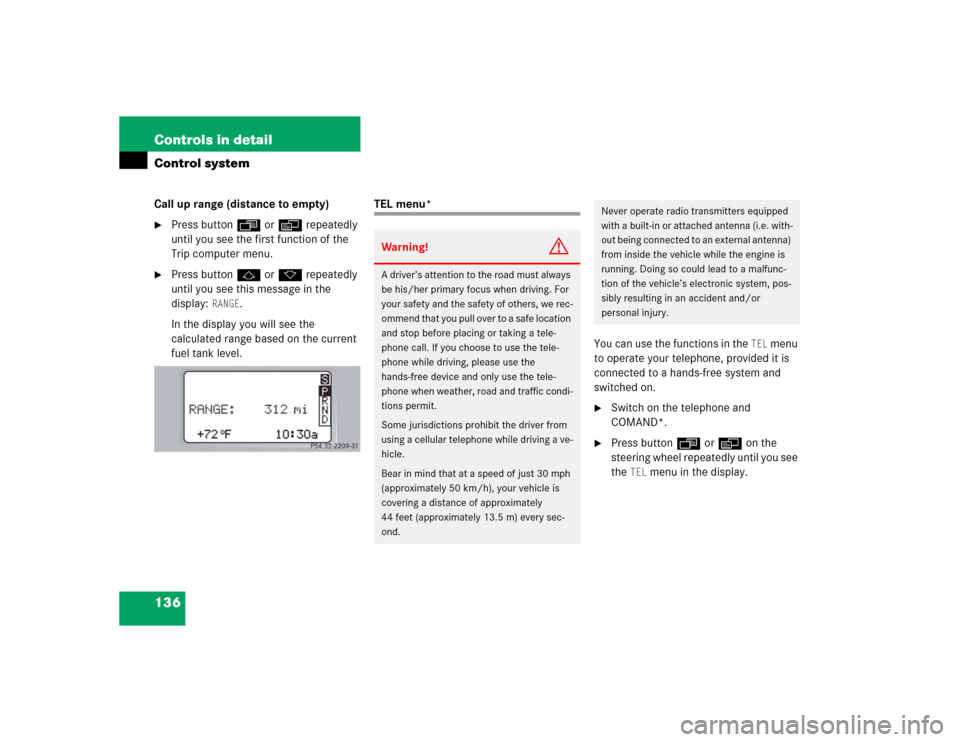
Press buttonj ork repeatedly
until you see this message in the
display:
RANGE
.
In the display you will see the
calculated range based on the current
fuel tank level.
TEL menu*
You can use the functions in the
TEL
menu
to operate your telephone, provided it is
connected to a hands-free system and
switched on.
�
Switch on the telephone and
COMAND*.
�
Press buttonÿ orè on the
steering wheel repeatedly until you see
the
TEL
menu in the display.
Warning!
G
A driver’s attention to the road must always
be his/her primary focus when driving. For
your safety and the safety of others, we rec-
ommend that you pull over to a safe location
and stop before placing or taking a tele-
phone call. If you choose to use the tele-
phone while driving, please use the
hands-free device and only use the tele-
phone when weather, road and traffic condi-
tions permit.
Some jurisdictions prohibit the driver from
using a cellular telephone while driving a ve-
hicle.
Bear in mind that at a speed of just 30 mph
(approximately 50 km/h), your vehicle is
covering a distance of approximately
44 feet (approximately 13.5 m) every sec-
ond.
Never operate radio transmitters equipped
with a built-in or attached antenna (i.e. with-
out being connected to an external antenna)
from inside the vehicle while the engine is
running. Doing so could lead to a malfunc-
tion of the vehicle’s electronic system, pos-
sibly resulting in an accident and/or
personal injury.
Page 169 of 400
169 Controls in detail
Audio system
�Audio system
Audio and telephone, operation
These instructions are intended to help
you become familiar with your
Mercedes-Benz audio system. They con-
tain useful tips and a detailed description
of the user functions.
Operating safety
Warning!
G
In order to avoid distraction which could
lead to an accident, the driver should enter
system settings with the vehicle at a stand-
still and operate the system only when road
and traffic conditions permit. Always pay full
attention to traffic conditions first before
operating system controls while driving.
Bear in mind that at a speed of just 30 mph
(approximately 50 km/h), your car is cover-
ing a distance of 50 feet (approximately
14 m) every second.
Warning!
G
Any alterations made to electronic compo-
nents can cause malfunctions.
The radio, amplifier, CD changer*, satellite
radio*, telephone* and voice control sys-
tem* are interconnected. When one of the
components is not operational or has not
been removed/replaced properly, the func-
tion of other components may be impaired.
This condition might seriously impair the
operating safety of your vehicle.
We recommend that you have any service
work on electronic components carried out
by an authorized Mercedes-Benz Center.
Page 171 of 400
171 Controls in detail
Audio system
Item
Page
1
CD mode selector
185
2
Manual tuning
(radio)
175
Fast forward/reverse
(cassette, CD)
184,
188
Speed dialing memory
(telephone*)
193
3
Radio mode selector
175
4
Display panelCassette compartment
behind display panel
Item
Page
5
Alpha-numeric keypadBand selection,
station buttons (radio)
175
CD selection (CD)
187
Telephone number entry,
retrieving speed dialing
memory (telephone)
190
6
Scanning (radio, cassette,
CD)
177,
184,
188
7
Function button
176
8
Light-emitting diode
Item
Page
9
Function keys
a
Cassette eject
183
b
Cassette mode selector
182
c
Telephone* mode selector
189
d
Seek tuning (radio)
176
Track search (cassette,
CD)
183,
188
Speed dialing memory
(telephone)
193
e
On/off
172
Volume
172
Page 172 of 400
172 Controls in detailAudio systemButton and soft key operation
In these instructions, the alpha-numeric
keypad (right side of radio panel) and the
function buttons (left side of radio panel)
are referred to as “buttons”. The four keys
below the display panel are referred to as
“soft keys”.
Operation
Switching on/off
Switching on:�
Turn SmartKey in starter switch to
position1 or2 .
or
�
Turn control knoba.
Switching off:
�
Remove SmartKey from starter switch.
or
�
Turn control knoba.Adjusting the volume
�
Turn control knoba.
The volume will increase or decrease
depending on the direction turned.
Adjusting audio functions
Press the AUD key to call up the bass, tre-
ble, balance and fader functions in the var-
ious operating modes. Settings for bass
and treble are stored separately for the AM
and FM frequency bands, satellite radio
(SAT) mode, cassette mode and CD mode.
!Do not press directly on the display
face. Otherwise, the display will be
damaged.
iIf the radio is switched on without the
SmartKey in the starter switch, it will
automatically switch off again after ap-
prox. 30 minutes.
iThe volume setting can be selected
separately for the telephone*, audio
system and voice control system*.
Page 175 of 400
175 Controls in detail
Audio system
You can select from among the
following settings:�
DRV
: The tone level is set to the
Driver position; sound is directed
toward the passengers.
�
SP: The tone level is set for Speech,
optimizing the sound for the spoken
word.
�
AMB
: The tone level is set for
Ambience, producing a
three-dimensional sound.
�
OFF
: The audio system sound
selection is turned off.
Telephone* muting
If a telephone has been installed in the
vehicle, the radio will switch to telephone
mode when a call is incoming. The current
audio source is muted.
Radio operation
Selecting radio mode�
Pressb button.
�
You can now receive radio stations
over the analog FM, AM or WB station
frequencies or you can receive chan-
nels digitally via satellite radio (SAT)*.
Analog station frequencies
Selecting the band
You can select from among FM, AM or WB
frequency bands.
Weather band (
�page 178).
�
Press FM, AM or WB key repeatedly un-
til desired band has been selected.
The FM, AM and WB frequency bands
are called up one after the other.
The frequency band currently selected
appears in the upper left-hand corner
of the display.
Selecting a station
The following options are available for
selecting a station:
�
Direct frequency band input
(�page 176)
�
Manual tuning (
�page 176)
�
Automatic seek tuning (
�page 176)
�
Scan tuning (
�page 177)
�
Preset buttons (
�page 177)
�
Automatic station memory (Autostore)
(�page 177)
iFM frequency band:
FM 87.7......107.9 MHz
AM frequency band:
MW (medium wave) 530......1710 KHz