Page 8 of 315
Your vehicle at a glance
2
2
1 23456789
EXTERIOR OVERVIEW
1. Headlights
2. Turn signal light
3. Engine hood
4. Wiper
5. Sunroof (if equipped)
6. Window
7. Outside rearview mirror
8. Door
1LDN0001
Page 9 of 315
23
1 23456789
Your vehicle at a glance
1. Rear door child safety lock
2. Fuel filler lid
3. Rear window
4. Trunk (if equipped)
5. Spare tire
6. Outside rearview mirror
7. Tail lights
8. Door handle (driver)
9. Door handle (passenger)
10. Antenna (if equipped)1LDN0002
Page 12 of 315
1 23456789Keys / 3-2 Remote keyless entry / 3-4
Immobilizer system / 3-7
Door locks / 3-8
Window / 3-13 Seat / 3-16Safety belts / 3-30
Airbags-supplemental restraint system / 3-56
Trunk / 3-75Hood / 3-78
Fuel filler lid / 3-80
Mirrors / 3-82
Interior lights / 3-86
Storage compartment / 3-88
Interior features / 3-91
Sunroof / 3-96Luggage net / 3-99Antenna / 3-100
Knowing your vehicle
Page 96 of 315

385
1 23456789
Knowing your vehicle
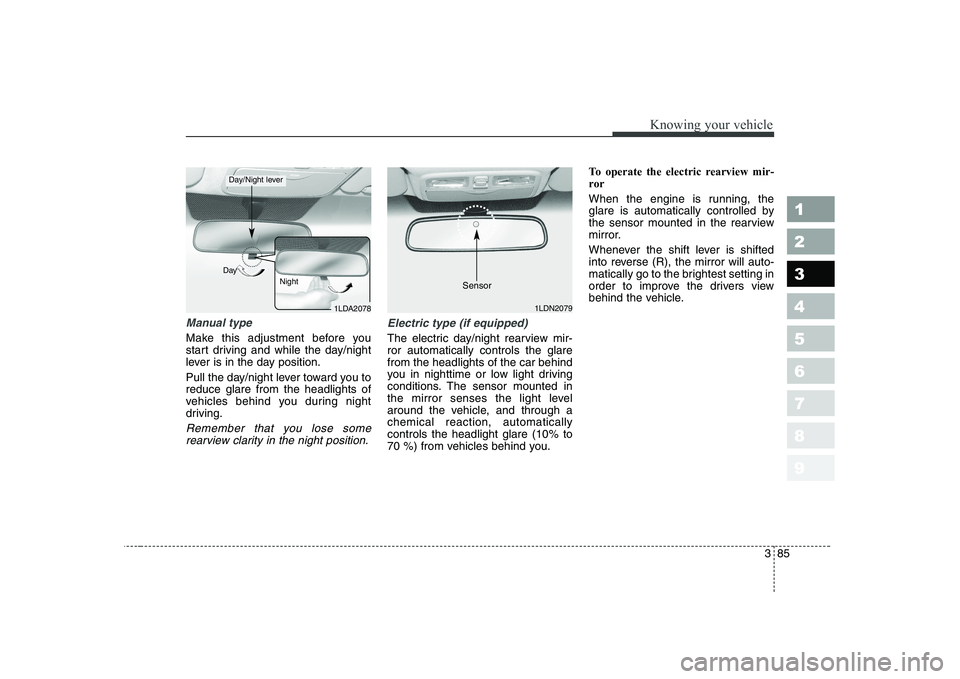
Manual type
Make this adjustment before you
start driving and while the day/night
lever is in the day position.
Pull the day/night lever toward you to reduce glare from the headlights of
vehicles behind you during night
driving.
Remember that you lose somerearview clarity in the night position.
Electric type (if equipped)
The electric day/night rearview mir- ror automatically controls the glarefrom the headlights of the car behind
you in nighttime or low light driving
conditions. The sensor mounted in
the mirror senses the light level
around the vehicle, and through achemical reaction, automaticallycontrols the headlight glare (10% to
70 %) from vehicles behind you. To operate the electric rearview mir-
ror
When the engine is running, the
glare is automatically controlled by
the sensor mounted in the rearview
mirror.
Whenever the shift lever is shifted
into reverse (R), the mirror will auto-
matically go to the brightest setting in
order to improve the drivers view
behind the vehicle.
1LDA2078
Day
Night
Day/Night lever
1LDN2079
Sensor
Page 97 of 315
Knowing your vehicle
86
3
1 23456789
Map light
Front (if equipped)
The lights are turned ON or OFF by
pressing the corresponding switch. Dome light (if equipped) ➀
OFF - The light stays off even
when a door is open.
➁ DOOR - The light turns on or off
when a door is opened or closed.
Interior light goes out
slowly if the door isclosed.
When a door is unlocked by the transmitter, interi-
or light stays on for 30seconds as long as thedoor is not opened. ➂
ON - The light turns on and stays
on even when the doors areall closed.
INTERIOR LIGHTS
1LDA2111
1LDA2112
1LDA2113
Page 114 of 315

Driving your vehicle
2
4
1 23456789
Illuminated ignition switch (if equipped)
Whenever a door is opened, the igni-
tion switch will be illuminated for your
convenience, provided the ignition
switch is not in the ON position. The
light will go off approximately 10 sec-onds after closing the door or when
the ignition switch is turned on. Ignition switch and anti-theft
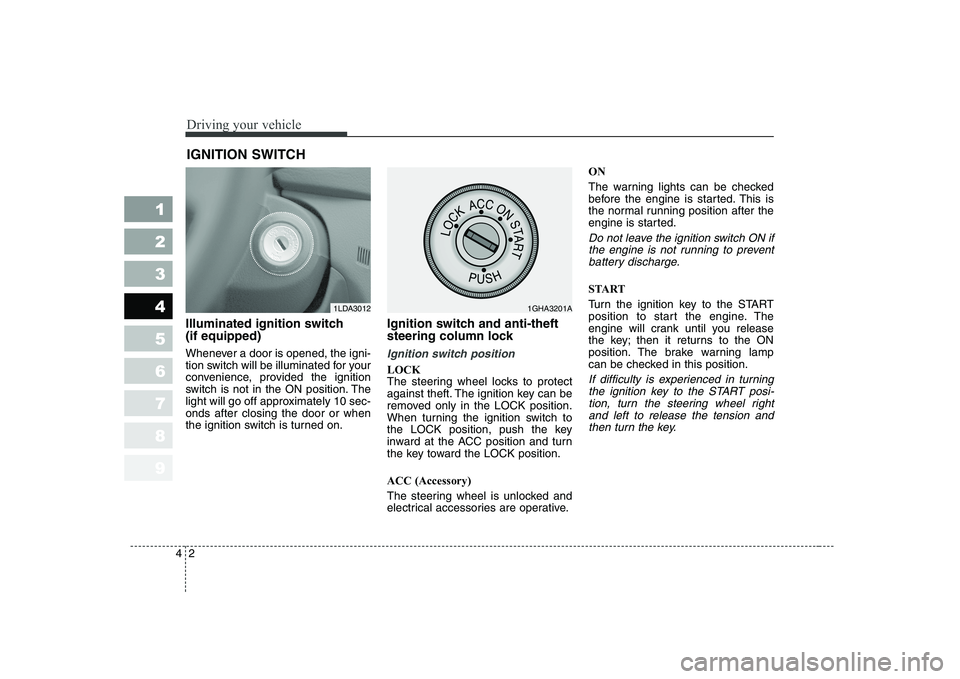
steering column lock
Ignition switch position
LOCK
The steering wheel locks to protect
against theft. The ignition key can be
removed only in the LOCK position.
When turning the ignition switch to
the LOCK position, push the key
inward at the ACC position and turn
the key toward the LOCK position. ACC (Accessory)
The steering wheel is unlocked and
electrical accessories are operative.ON
The warning lights can be checked
before the engine is started. This is
the normal running position after the
engine is started.
Do not leave the ignition switch ON if
the engine is not running to preventbattery discharge.
START
Turn the ignition key to the START
position to start the engine. The
engine will crank until you release
the key; then it returns to the ON
position. The brake warning lamp
can be checked in this position.
If difficulty is experienced in turning the ignition key to the START posi-tion, turn the steering wheel rightand left to release the tension and then turn the key.
IGNITION SWITCH
1LDA30121GHA3201A
Page 135 of 315
423
1 23456789
Driving your vehicle
Tilt steering (if equipped)
A tilt steering wheel allows you to
adjust the steering wheel before you
drive.You can also raise it to the
highest level to give your legs more
room when you exit and enter the
vehicle.
The steering wheel should be posi-
tioned so that it is comfortable for
you to drive, while permitting you to
see the instrument panel warning
lights and gauges.To change the steering wheel angle,
pull down (
➀) the lock release lever,
adjust the steering wheel to thedesired angle ( ➁), then pull up the
lock-release lever to lock the steering
wheel in place.
Be sure to adjust the steering wheel
to the desired position before driving.WARNING
Never adjust the angle of steering wheel while driving.
You may lose your steering
control and cause severe per-
sonal injury or accidents.
After adjusting, push the steering wheel both up and
down to be certain it is lockedin position.
1LDN2076
Page 145 of 315
433
1 23456789
Driving your vehicle
INSTRUMENT CLUSTER
1. Tachometer
2. Turn signal indicators
3. Speedometer4. Engine temperature gauge
5. Warning and indicator lights
6. Odometer / Tripmeter
7. Tripmeter mode/reset button8. Shift position indicator
(Automatic transaxle only)
9. Fuel gauge
10. Trip computer (if equipped)
1LDE2090/1LDE2090A/1LDE2090B/1LDE2090C
■■ Gasoline (Type A)
■
■ Gasoline (Type B) ■
■
Diesel (Type A)
■
■ Diesel (Type B)
➀➁➁
➂
➃
➄➄➅
➉➇
➆
➈
➀➁➁
➂
➃
➄➄➅
➉➇
➆
➈
➀➁➁
➂
➃
➄➄➅
➉➇
➆
➈
➀➁➁
➂
➃
➄➄➅
➉➇
➆
➈