Page 3219 of 3371

TF-94
TROUBLE DIAGNOSES FOR SYMPTOMS
Revision: August 20072004 QX56
Symptom 9. 4WD System Does Not Operate (The Vehicle Cannot Be Put Into
4WD Mode-Hydraulic System Failure)
EDS0018M
1. CHECK INPUT SIGNAL
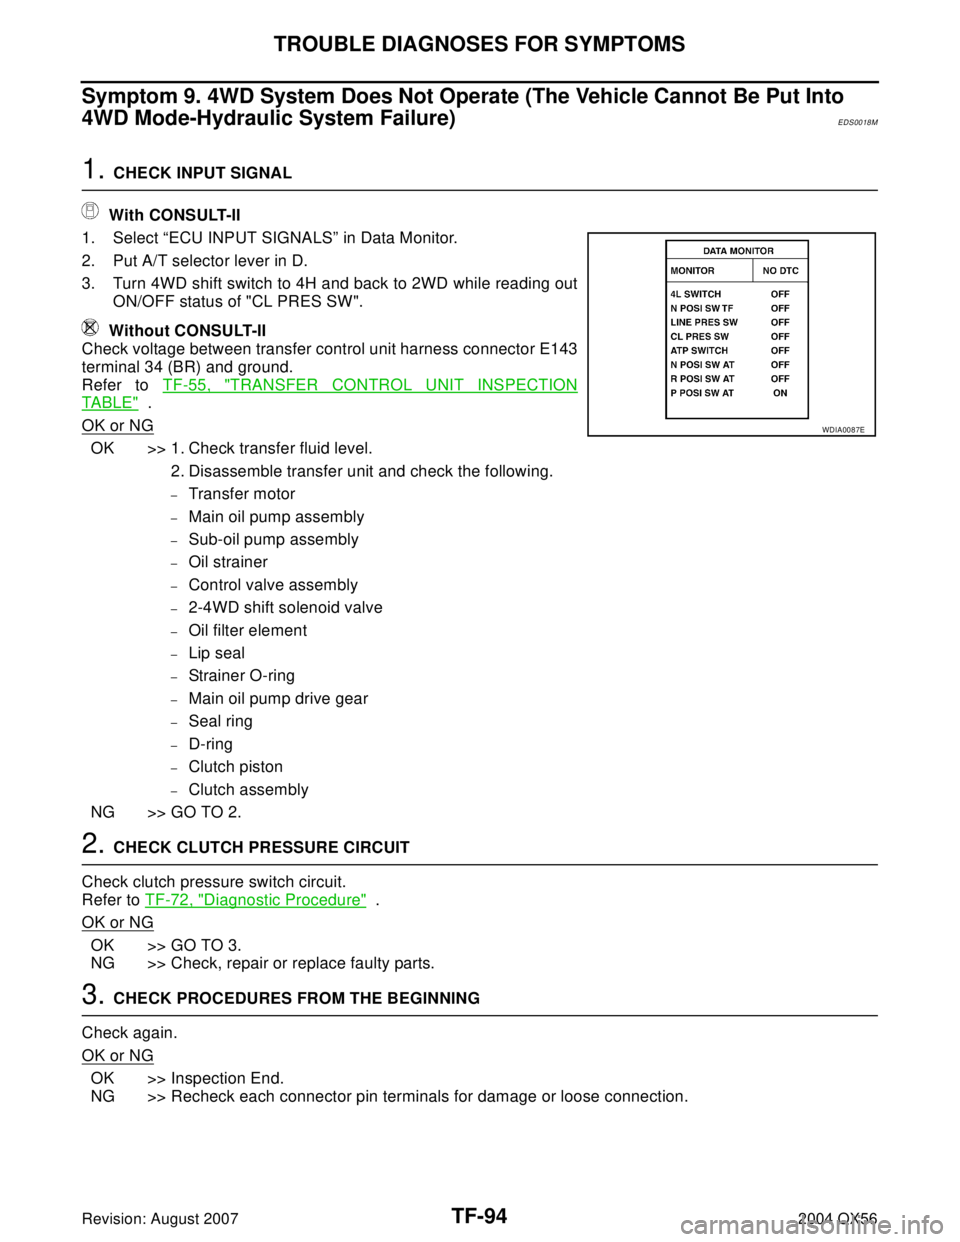
With CONSULT-II
1. Select “ECU INPUT SIGNALS” in Data Monitor.
2. Put A/T selector lever in D.
3. Turn 4WD shift switch to 4H and back to 2WD while reading out
ON/OFF status of "CL PRES SW".
Without CONSULT-II
Check voltage between transfer control unit harness connector E143
terminal 34 (BR) and ground.
Refer to TF-55, "
TRANSFER CONTROL UNIT INSPECTION
TABLE" .
OK or NG
OK >> 1. Check transfer fluid level.
2. Disassemble transfer unit and check the following.
–Transfer motor
–Main oil pump assembly
–Sub-oil pump assembly
–Oil strainer
–Control valve assembly
–2-4WD shift solenoid valve
–Oil filter element
–Lip seal
–Strainer O-ring
–Main oil pump drive gear
–Seal ring
–D-ring
–Clutch piston
–Clutch assembly
NG >> GO TO 2.
2. CHECK CLUTCH PRESSURE CIRCUIT
Check clutch pressure switch circuit.
Refer to TF-72, "
Diagnostic Procedure" .
OK or NG
OK >> GO TO 3.
NG >> Check, repair or replace faulty parts.
3. CHECK PROCEDURES FROM THE BEGINNING
Check again.
OK or NG
OK >> Inspection End.
NG >> Recheck each connector pin terminals for damage or loose connection.
WDIA0087E
Page 3232 of 3371
TRANSFER OIL FILTER
TF-107
C
E
F
G
H
I
J
K
L
MA
B
TF
Revision: August 20072004 QX56
TRANSFER OIL FILTERPFP:00000
Removal and InstallationEDS0031A
REMOVAL
1. Remove the oil filter bolts and oil filter.
CAUTION:
�Do not damage center case and oil filter.
�Loosen bolts and detach oil filter evenly.
2. Remove the O-rings (1) from the oil filter (2).
3. Remove the oil filter stud from the oil filter.
4. Remove the O-ring from the oil filter stud.
INSTALLATION
1. Apply ATF to the O-ring, and install it on the oil filter stud.
CAUTION:
Do not reuse O-ring.
2. Install the oil filter stud to the oil filter.
SMT875C
WDIA0285E
SDIA2784E
SDIA2784E
Page 3233 of 3371
TF-108
TRANSFER OIL FILTER
Revision: August 20072004 QX56
3. Apply ATF to the two new O-rings (1), and install them on the oil
filter (2).
CAUTION:
Do not reuse O-rings.
4. Install the oil filter to the transfer assembly. Tighten the bolts to
the specified torque. Refer to TF-110, "
Transfer Components" .
CAUTION:
�Do not damage oil filter.
�Attach oil filter and tighten bolts evenly.
5. Check the transfer fluid. Refer to MA-24, "
Checking Transfer
Fluid" .
6. Start the engine for one minute. Then stop the engine and
recheck the transfer fluid.
WDIA0285E
SDIA2136E
Page 3236 of 3371
OVERHAUL
TF-111
C
E
F
G
H
I
J
K
L
MA
B
TF
Revision: August 20072004 QX56
46. Snap ring 47. Retaining pin 48. L-H fork
49. 2-4 fork 50. Shift fork spring 51. Fork guide
52. Retainer pin 53. Shift rod
1. Dust cover 2. Oil seal 3. Rear case
4. Air breather 5. Seal ring 6. Main oil pump cover
7. Inner gear 8. Outer gear 9. Main oil pump housing
10. D-ring 11. D-ring 12. Clutch piston
13. Thrust needle bearing race 14. Oil strainer 15. O-ring
16. Snap ring 17. Control valve assembly 18. Lip seal (7 pieces)
19. Washer 20. Filler plug 21. Filler stud
22. O-ring 23. Oil filter 24. ATP switch
25 Neutral-4LO switch 26. Oil pressure check plug 27. Harness bracket
28. Stem bleeder 29. Harness bracket 30. Center case
31. Mainshaft rear bearing 32. C-ring 33. Washer holder
34. Snap ring 35. Sub oil pump housing 36. Outer gear
37. Inner gear 38. Sub oil pump cover 39. O-ring
40. Transfer motor 41. Connector bracket
SDIA2091E
Page 3249 of 3371
TF-124
CENTER CASE
Revision: August 20072004 QX56
OIL FILTER
1. Remove bolts for oil filter.
2. Remove the oil filter using suitable tool as shown.
3. Remove the O-rings (1) from the oil filter (2).
4. Remove the filter stud from oil filter.
5. Remove O-ring from the filter stud.
SDIA2136E
SDIA2137E
WDIA0285E
PDIA0184E
Page 3265 of 3371
TF-140
CENTER CASE
Revision: August 20072004 QX56
CENTER CASEPFP:33105
AssemblyEDS00194
OIL FILTER
1. Apply ATF to the two new O-rings (1), and install them on the oil
filter (2).
NOTE:
Do not reuse O-rings.
2. Apply ATF or petroleum jelly to the new O-ring, and install them
on filter stud.
NOTE:
Do not reuse O-rings.
3. Install filter stud to oil filter.
4. Install oil filter to center case and tighten bolts to specifications.
CAUTION:
Do not knock oil filter with a tool such as a hammer.
SUB OIL PUMP
1. Install outer gear and inner gear in to sub oil pump housing, and
measure side clearance. Refer to TF-133, "
SUB-OIL PUMP" .
2. Align dowel pin hole and mounting bolt hole of sub oil pump
assembly with center case. Install sub oil pump cover then
tighten bolts.
WDIA0285E
PDIA0184E
Oil filter bolts : 7.9 N·m (0.81 kg-m, 70 in-lb)
SDIA2135E
Sub oil pump bolts : 7.9 N·m (0.81 kg-m, 70 in-lb)
SDIA2328E