Page 3806 of 4449
ENGINE MAINTENANCE (VQ35DE ENGINE)
MA-19
C
D
E
F
G
H
I
J
K
MA
B
MA
Revision: 2004 November 2004 FX35/FX45
INSTALLATION
1. Remove foreign materials adhering to oil filter installation surface.
2. Apply engine oil to the oil seal contact surface of new oil filter.
3. Screw oil filter manually until it touches the installation surface,
then tighten it by 2/3 turn. Or tighten to specification.
INSPECTION AFTER INSTALLATION
1. Start engine, and check there is no leak of engine oil.
2. Stop engine and wait for 10 minutes.
3. Check engine oil level and add engine oil. Refer to MA-17, "
Changing Engine Oil" .
Changing Spark Plugs (Platinum-Tipped Type)ALS000GN
REMOVAL
1. Remove engine cover with power tool. Refer to EM-19, "INTAKE MANIFOLD COLLECTOR" .
2. Remove ignition coil. Refer to EM-42, "
IGNITION COIL" .
3. Remove spark plug with spark plug wrench (commercial service
tool).
SBIA0455E
SMA010
Oil filter:
: 17.7 N·m (1.8 kg-m, 13 ft-lb)
SMA229B
SEM294A
Page 3807 of 4449

Revision: 2004 November 2004 FX35/FX45
INSPECTION AFTER REMOVAL
Use standard type spark plug for normal condition.
The hot type spark plug is suitable when fou")
MA-20
ENGINE MAINTENANCE (VQ35DE ENGINE)
Revision: 2004 November 2004 FX35/FX45
INSPECTION AFTER REMOVAL
Use standard type spark plug for normal condition.
The hot type spark plug is suitable when fouling occurs with the standard type spark plug under conditions
such as:
�Frequent engine starts
�Low ambient temperatures
The cold type spark plug is suitable when spark knock occurs with the standard type spark plug under condi-
tions such as:
�Extended highway driving
�Frequent high engine revolution
CAUTION:
�Do not drop or shock spark plug.
�Do not use a wire brush for cleaning.
�If plug tip is covered with carbon, spark plug cleaner may
be used.
�Checking and adjusting plug gap is not required between
change intervals.
INSTALLATION
Install in the reverse order of removal.
Checking EVAP Vapor LinesALS000GO
1. Visually inspect EVAP vapor lines for improper attachment and for cracks, damage, loose connections,
chafing and deterioration.
2. Inspect fuel tank filler cap vacuum relief valve for clogging, sticking, etc.
Refer to EC-643, "
EVAPORATIVE EMISSION SYSTEM" .
MakeNGK
Standard typePLFR5A-11
Hot typePLFR4A-11
Cold typePLFR6A-11
Gap (Nominal) : 1.1 mm (0.043 in)
Cleaner air pressure:
Less than 588 kPa (6 kg/cm
2 , 85 psi)
Cleaning time:
Less than 20 seconds
SMA773C
SMA806CA
: 24.5 N·m (2.5 kg-m, 18 ft-lb)
Page 3808 of 4449

MA-21
C
D
E
F
G
H
I
J
K
MA
B
MA
Revision: 2004 November 2004 FX35/FX45
ENGINE MAINTENANCE (VK45DE ENGINE)PFP:10001
Checking Drive BeltsALS000GP
WARNING:
Be sure to p")
ENGINE MAINTENANCE (VK45DE ENGINE)
MA-21
C
D
E
F
G
H
I
J
K
MA
B
MA
Revision: 2004 November 2004 FX35/FX45
ENGINE MAINTENANCE (VK45DE ENGINE)PFP:10001
Checking Drive BeltsALS000GP
WARNING:
Be sure to perform when the engine is stopped.
�Remove air duct (inlet) when inspecting drive belt for alternator, water pump and A/C compressor.
�Remove undercover (with power tool) when inspecting power steering oil pump belt.
�Make sure that indicator (single line notch) of each automatic tensioner is within the allowable working
range (between three line notches).
NOTE:
�Check the auto tensioner indication when the engine is cold.
�When the new drive belt is installed, the range should be A.
�The indicator notch is located on the moving side of the tensioner for alternator, water pump and A/C
compressor belt, while it is found on the fixed side for power steering oil pump belt.
�Visually check entire belt for wear, damage or cracks.
�If the indicator is out of allowable working range or belt is damaged, replace the belt.
Tension AdjustmentALS000GQ
Belt tensioning is not necessary, as it is automatically adjusted by auto tensioner.
Changing Engine CoolantALS000H6
WARNING:
�To avoid being scalded, do not change engine coolant when engine is hot.
�Wrap a thick cloth around radiator cap and carefully remove radiator cap. First, turn radiator cap a
quarter of a turn to release built-up pressure. Then turn radiator cap all the way.
PBIC1541E
Page 3809 of 4449

Revision: 2004 November 2004 FX35/FX45
DRAINING ENGINE COOLANT
1. Remove engine front undercover with power tool.
2. Open radiator drain plug at the bottom of")
MA-22
ENGINE MAINTENANCE (VK45DE ENGINE)
Revision: 2004 November 2004 FX35/FX45
DRAINING ENGINE COOLANT
1. Remove engine front undercover with power tool.
2. Open radiator drain plug at the bottom of radiator, and then
remove radiator cap.
�Be careful not to allow engine coolant to contact drive
belts.
When draining all of engine coolant in the system, open water drain plugs on engine cylinder
block. Refer to EM-241, "
DISASSEMBLY" .
3. Check drained engine coolant for contaminants such as rust, corrosion or discoloration.
If contaminated, flush the engine cooling system. Refer to MA-23, "
FLUSHING COOLING SYSTEM" .
4. Remove reservoir tank, drain engine coolant and clean reservoir tank before installing.
REFILLING ENGINE COOLANT
1. Install reservoir tank, and radiator drain plug.
CAUTION:
Be sure to clean radiator drain plug and install with new O-ring.
If cylinder block water drain plugs are removed, close and tighten them. Refer to EM-244, "
ASSEM-
BLY" .
2. Remove air relief plug on heater hose.
3. Fill thermostat housing and reservoir tank to specified level.
�Refill engine coolant up to filler neck of thermostat housing.
�Pour engine coolant through engine coolant filler neck slowly of less than 2 (2-1/8 US qt, 1-3/4
Imp qt) a minute to allow air in system to escape.
�Use Genuine NISSAN Long Life Antifreeze/Coolant or equivalent mixed with water (distilled or
demineralized). Refer to MA-12, "
RECOMMENDED FLUIDS AND LUBRICANTS" .
SBIA0444E
Radiator drain plug:
: 1.19 N·m (0.12 kg-m, 11 in-lb)
PBIC1530E
Engine coolant capacity
(With reservoir tank at “MAX” level):
Approx. 10.0 (10-5/8 US qt, 8-3/4 Imp qt)
Page 3811 of 4449

Revision: 2004 November 2004 FX35/FX45
Checking Fuel LinesALS000GS
Inspect fuel lines and tank for improper attachment, leaks, cracks,
damage, loose connection")
MA-24
ENGINE MAINTENANCE (VK45DE ENGINE)
Revision: 2004 November 2004 FX35/FX45
Checking Fuel LinesALS000GS
Inspect fuel lines and tank for improper attachment, leaks, cracks,
damage, loose connections, chafing or deterioration. If necessary,
repair or replace damaged parts.
Changing Air Cleaner FilterALS000GT
VISCOUS PAPER TYPE
The viscous paper type filter does not need cleaning between replacement intervals. Refer to MA-7,
"PERIODIC MAINTENANCE" .
1. Remove air duct (inlet), air cleaner case and mass air flow sensor assembly. Refer to EM-172, "
AIR
CLEANER AND AIR DUCT" .
2. Remove air cleaner filter from air cleaner case.
Changing Engine OilALS000H7
WARNING:
�Be careful not to burn yourself, as engine oil may be hot.
�Prolonged and repeated contact with used engine oil may
cause skin cancer; try to avoid direct skin contact with
used engine oil. If skin contact is made, wash thoroughly
with soap or hand cleaner as soon as possible.
1. Remove front engine undercover with power tool.
2. Warm up engine, put vehicle horizontally and check for oil leak-
age from engine components. Refer to LU-25, "
ENGINE OIL
LEAKAGE" .
3. Stop engine and wait for 15 minutes.
4. Loosen oil filler cap, and then remove drain plug.
5. Drain engine oil.
6. Install drain plug with new washer. Refer to EM-181, "
OIL PAN AND OIL STRAINER" .
CAUTION:
Be sure to clean drain plug and install with new washer.
7. Refill with new engine oil.
Engine oil specification and viscosity:
Refer to MA-12, "
RECOMMENDED FLUIDS AND LUBRICANTS" .
Engine oil capacity (Approximate):
Unit: (US qt, Imp qt)
CAUTION:
�The refill capacity depends on the engine oil temperature and drain time. Use these specifica-
tions for reference only.
�Always use oil level gauge to determine the proper amount of engine oil in the engine.
8. Warm up engine and check area around drain plug and oil filter for oil leakage.
SMA803A
Oil pan drain plug:
: 34.3 N·m (3.5 kg-m, 25 ft-lb)
PBIC0993E
Drain and refillWith oil filter change 6.4 (6-3/4, 5-5/8)
without oil filter change 5.8 (6-1/8, 5-1/8)
Dry engine (engine overhaul) 7.2 (7-5/8, 6-3/8)
Page 3812 of 4449

MA-25
C
D
E
F
G
H
I
J
K
MA
B
MA
Revision: 2004 November 2004 FX35/FX45
9. Stop engine and wait for 15 minutes.
10. Check the engine oil level.
Changing Oil FilterALS")
ENGINE MAINTENANCE (VK45DE ENGINE)
MA-25
C
D
E
F
G
H
I
J
K
MA
B
MA
Revision: 2004 November 2004 FX35/FX45
9. Stop engine and wait for 15 minutes.
10. Check the engine oil level.
Changing Oil FilterALS000GV
REMOVAL
1. Remove front engine undercover with power tool.
2. Using the oil filter wrench (SST), remove the oil filter.
CAUTION:
�Oil filter is provided with relief valve.
Use Genuine Nissan Oil Filter or equivalent.
�Be careful not to get burned when engine and engine oil
may be hot.
�When removing, prepare a shop cloth to absorb any
engine oil leakage or spillage.
�Do not allow engine oil to adhere to drive belts.
�Completely wipe off any engine oil that adhere to engine
and vehicle.
INSTALLATION
1. Remove foreign materials adhering to oil filter installation surface.
2. Apply engine oil to the oil seal circumference of the new oil filter.
3. Screw oil filter manually until it touches the installation surface,
then tighten it by 2/3 turn. Or tighten to specification.
INSPECTION AFTER INSTALLATION
1. After warming up engine, check for engine oil leakage.
2. Stop engine and wait for 15 minutes.
3. Check the engine oil level and add engine oil. Refer to MA-24, "
Changing Engine Oil" .
PBIC0801E
PBIC1525E
SMA010
Oil filter:
:17.7 N·m (1.8 kg-m, 13 ft-lb)
SMA229B
Page 3813 of 4449

Revision: 2004 November 2004 FX35/FX45
Changing Spark Plugs (Platinum-Tipped Type)ALS000GW
REMOVAL
1. Remove engine cover with power tool. Refer to EM-168, \"EN")
MA-26
ENGINE MAINTENANCE (VK45DE ENGINE)
Revision: 2004 November 2004 FX35/FX45
Changing Spark Plugs (Platinum-Tipped Type)ALS000GW
REMOVAL
1. Remove engine cover with power tool. Refer to EM-168, "ENGINE ROOM COVER" .
2. Remove ignition coil. Refer to EM-185, "
IGNITION COIL" .
3. Remove spark plug with spark plug wrench (commercial service
tool).
INSPECTION AFTER REMOVAL
Use standard type spark plug for normal condition.
Hot type spark plug is suitable when fouling occurs with standard type spark plug under conditions such as:
�Frequent engine starts
�Low ambient temperatures
Cold type spark plug is suitable when spark plug knock occurs with standard type spark plug under conditions
such as:
�Extended highway driving
�Frequent high engine revolution
CAUTION:
�Do not drop or shock spark plug.
�Do not use wire brush for cleaning.
�If plug tip is covered with carbon, spark plug cleaner may
be used.
SEM294A
MakeNGK
Standard typePLFR5A-11
Hot typePLFR4A-11
Cold typePLFR6A-11
Gap (Nominal) : 1.1 mm (0.043 in)
Cleaner air pressure:
Less than 588 kPa (6 kg/cm
2 , 85 psi)
Cleaning time:
Less than 20 seconds
SMA773C
Page 3814 of 4449
ENGINE MAINTENANCE (VK45DE ENGINE)
MA-27
C
D
E
F
G
H
I
J
K
MA
B
MA
Revision: 2004 November 2004 FX35/FX45
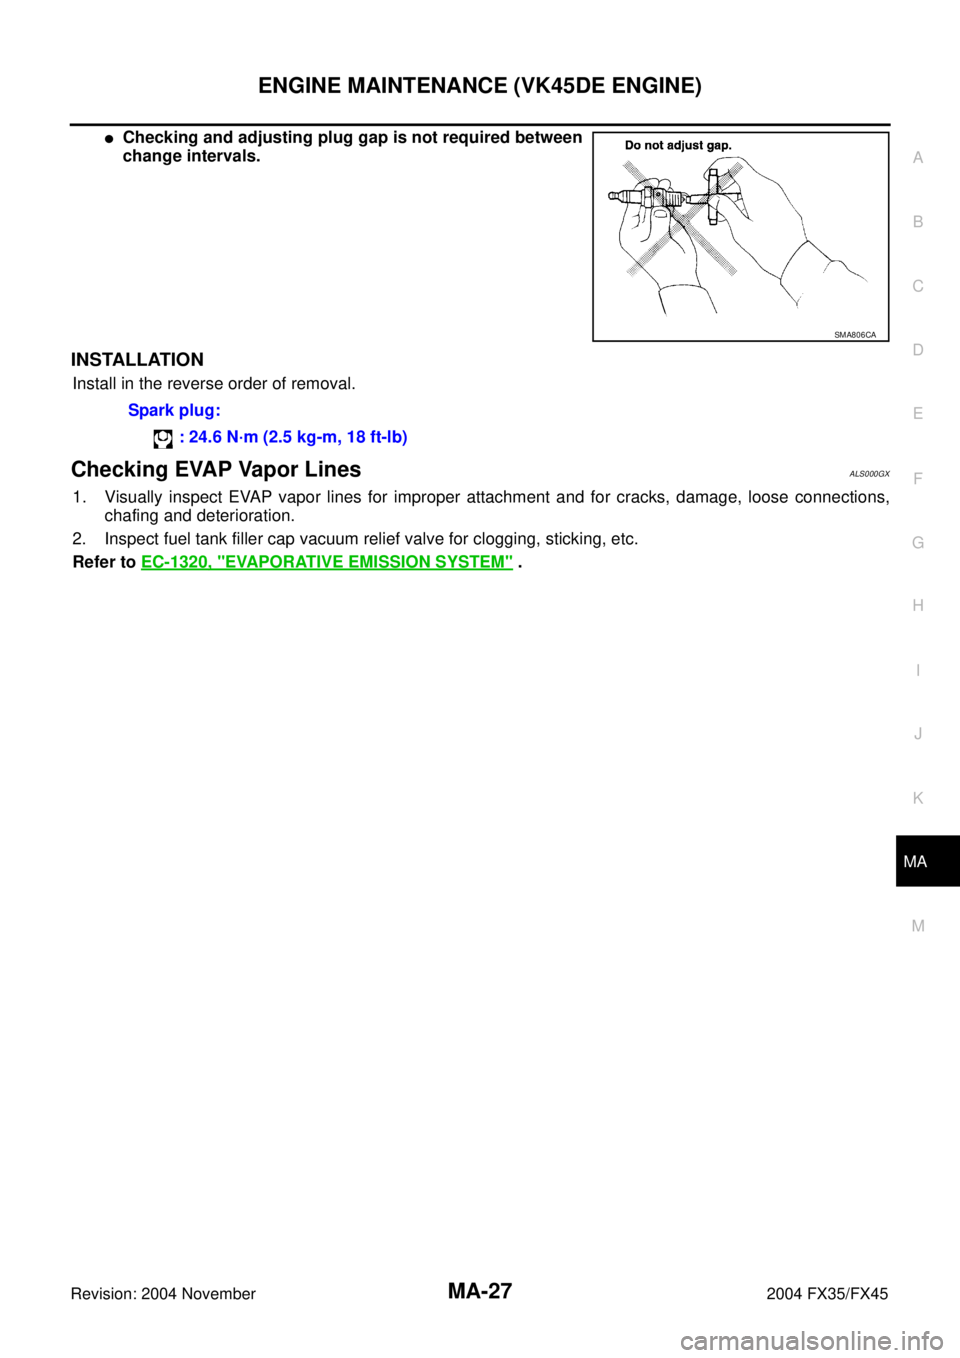
�Checking and adjusting plug gap is not required between
change intervals.
INSTALLATION
Install in the reverse order of removal.
Checking EVAP Vapor LinesALS000GX
1. Visually inspect EVAP vapor lines for improper attachment and for cracks, damage, loose connections,
chafing and deterioration.
2. Inspect fuel tank filler cap vacuum relief valve for clogging, sticking, etc.
Refer to EC-1320, "
EVAPORATIVE EMISSION SYSTEM" .
SMA806CA
Spark plug:
: 24.6 N·m (2.5 kg-m, 18 ft-lb)

MA-19
C
D
E
F
G
H
I
J
K
MA
B
MA
Revision: 2004 November 2004 FX35/FX45
INSTALLATION
1. Remove foreign materials adhering to oil filter installation surface.
2. Apply")