Page 39 of 301
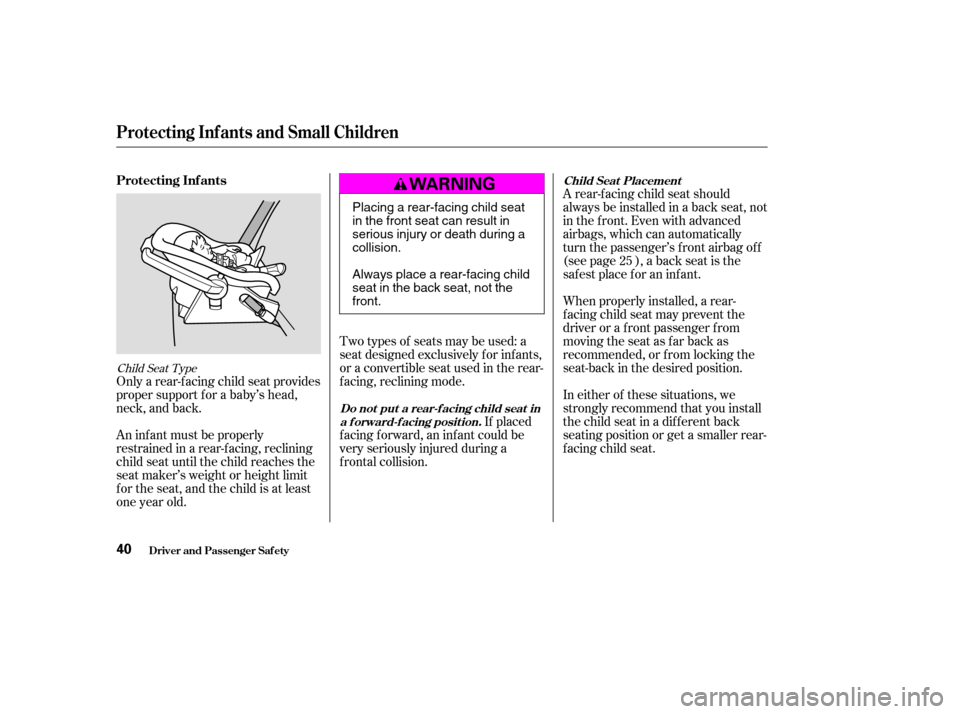
Two types of seats may be used: a
seat designed exclusively f or inf ants,
or a convertible seat used in the rear-
f acing, reclining mode.If placed
f acing f orward, an inf ant could be
very seriously injured during a
f rontal collision.
An inf ant must be properly
restrained in a rear-f acing, reclining
child seat until the child reaches the
seat maker’s weight or height limit
f or the seat, and the child is at least
one year old.
Only a rear-f acing child seat provides
proper support f or a baby’s head,
neck, and back. A rear-f acing child seat should
always be installed in a back seat, not
in the front. Even with advanced
airbags, which can automatically
turn the passenger’s f ront airbag of f
(see page ), a back seat is the
saf est place f or an inf ant.
When properly installed, a rear-
f acing child seat may prevent the
driver or a f ront passenger f rom
moving the seat as far back as
recommended, or f rom locking the
seat-back in the desired position.
In either of these situations, we
strongly recommend that you install
the child seat in a dif f erent back
seating position or get a smaller rear-
f acing child seat.
25
Child Seat Type
Do not put a rear-f acing child seat ina f orward-f acing position. Child Seat Placement
Protecting Inf ants and Small Children
Protecting Inf ants
Driver and Passenger Saf ety40
Placing a rear-facing child seat
in the front seat can result in
serious injury or death during acollision.
Always place a rear-facing child
seat in the back seat, not thefront.
�����—�����—�����y�
�
�����������y���
�(�������
���y���������y
Page 41 of 301
We also recommend that a small
child stay in the child seat as long as
possible, until the child reaches the
weight or height limit f or the seat.We strongly recommend placing a
forward-facing child seat in a back
seat,notthefront.Evenwith
advanced airbags, which can
automatically turn the passenger’s
front airbag off (see page ), a
back seat is the safest place for a
small child.
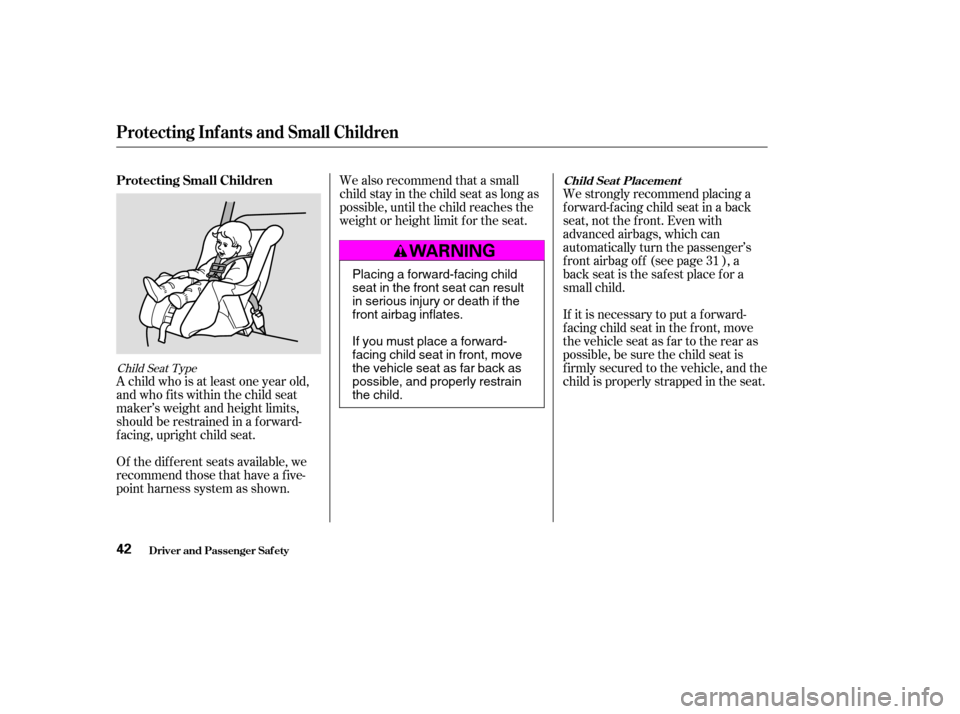
Of the different seats available, we
recommend those that have a f ive-
point harness system as shown.
A child who is at least one year old,
and who fits within the child seat
maker’s weight and height limits,
should be restrained in a f orward-
f acing, upright child seat. If it is necessary to put a f orward-
f acing child seat in the f ront, move
the vehicle seat as far to the rear as
possible, be sure the child seat is
f irmly secured to the vehicle, and the
child is properly strapped in the seat.31
Child Seat Type
Driver and Passenger Saf ety
Child Seat Placement
Protecting Inf ants and Small Children
Protecting Small Children
42
Placing a forward-facing child
seat in the front seat can result
in serious injury or death if the
front airbag inflates.
Ifyoumustplaceaforward-
facing child seat in front, move
the vehicle seat as far back as
possible, and properly restrain
the child.
�����—�����—�����y�
�
����
��
���y���
�(�������
���y���������y
Page 44 of 301

Af ter installing a child
seat, push and pull the seat
f orward and f rom side to side to
verif y that it is secure.
A child seat secured with a seat belt
should be installed as f irmly as
possible. However, it does not need
to be ‘‘rock solid’’. Some side-to-side
movement can be expected and
should not reduce the child seat’s
ef f ectiveness.
Af ter selecting a proper child seat,
and a good place to install the seat,
there are three main steps in
installing the seat:
All child seats must be
secured to the vehicle with the lap
part of a lap/shoulder belt or with
the LATCH (Lower Anchors and
Tethers f or Children) system. A
child whose seat is not properly
secured to the vehicle can be
endangered in a crash. If the child seat is not secure, try
installing it in a dif f erent seating
position, or use a dif f erent style of
child seat that can be f irmly secured. Make sure the child is properly
strappedinthechildseat
according to the child seat maker’s
instructions. A child who is not
properly secured in a child seat
can be seriously injured in a crash.
The f ollowing pages provide
guidelines on how to properly install
a child seat. A f orward-f acing child
seat is used in all examples, but the
instructions are the same f or rear-
f acing child seat.
Make sure t he child seat is f irmly secured.
Properly secure t he child seat t o the vehicle. Secure the child in the child seat.
2.
1. 3.
Installing a Child Seat
Driver and Passenger Saf ety45
�����—�����—�����y�
�
����
������y���
�(�������
���y���������y
Page 45 of 301
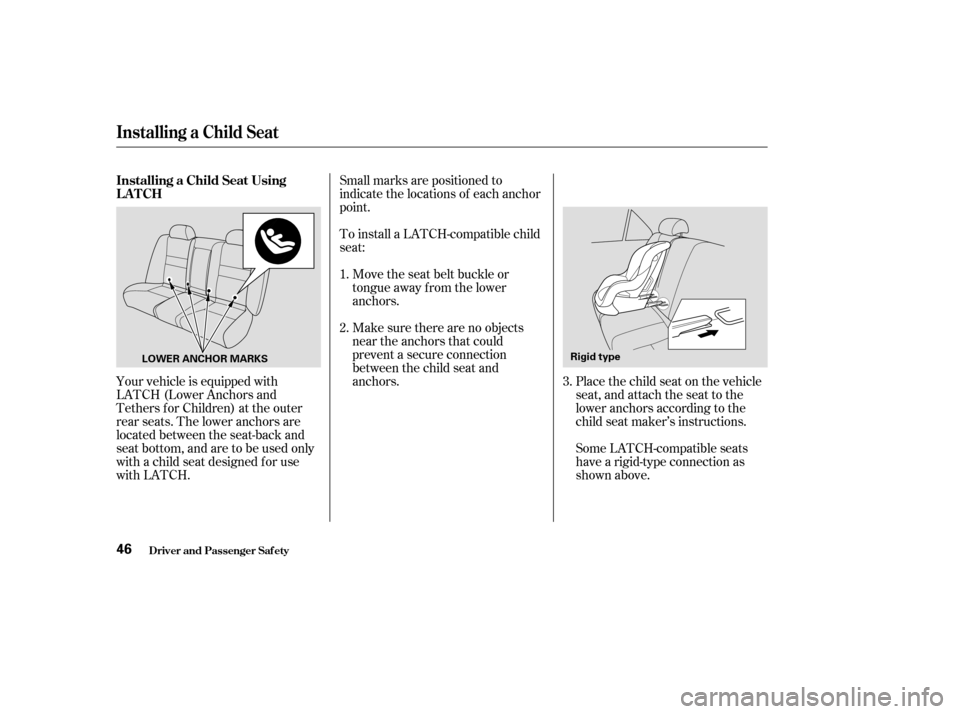
Your vehicle is equipped with
LATCH (Lower Anchors and
Tethers for Children) at the outer
rear seats. The lower anchors are
located between the seat-back and
seat bottom, and are to be used only
with a child seat designed f or use
with LATCH.Place the child seat on the vehicle
seat, and attach the seat to the
lower anchors according to the
child seat maker’s instructions.
Some LATCH-compatible seats
have a rigid-type connection as
shown above.
To install a LATCH-compatible child
seat:
Move the seat belt buckle or
tongue away f rom the lower
anchors.
Make sure there are no objects
near the anchors that could
prevent a secure connection
between the child seat and
anchors.
Small marks are positioned to
indicate the locations of each anchor
point. 1. 2.
3.
Installing a Child Seat Using
LATCH
Installing a Child Seat
Driver and Passenger Saf ety46
Rigid type
LOWERANCHORMARKS
�����—�����—�����y�
�
����
������y���
�(�������
���y���������y
Page 52 of 301

Booster seats can be high-back or
low-back. Whichever style you select,
make sure the booster meets f ederal
saf ety standards (see page ) and
that you f ollow the booster seat
maker’s instructions.
If a child who uses a booster must
ride in f ront, move the vehicle seat
as far to the rear as possible, and be
sure the child is wearing the seat
belt properly.
A child may continue using a booster
seat until the tops of the ears are
even with the top of the seat-back. A
child of this height should be tall
enough to use the lap/shoulder belt
without a booster.The National Highway Traffic Safety
Administration and Transport
Canada recommend that all children
ages 12 and under be properly
restrained in the back seat.
Even with advanced front airbags,
the back seat is the saf est place f or a
child of any age or size.
If the passenger’s f ront airbag
inf lates in a moderate to severe
f rontal collision, it can cause serious
injuries to a child who is
unrestrained, improperly restrained,
sitting too close to the airbag, or out
of position.
The side airbag also poses risks. If
any part of a larger child’s body is in
the path of a deploying side airbag,
the child could receive possibly
serious injuries.
44
CONT INUED
Protecting L arger Children
Driver and Passenger Saf ety
When Can a Larger Child Sit in Front
53
�����—�����—�����y�
�
�����������y���
�(�������
���y���������y
Page 91 of 301

�µ
See pages f or important saf ety
inf ormation and warnings about how toproperly position seats and seat-backs.
On EX-V6 model On all EX and EX-V6 models
12 13
On all V6 models, and the 4-cylinder EX
model with leather interior
Moving the long horizontal switch
adjusts the seat bottom in several
directions. The seat bottom adjusts
in the direction you move the switch.
The short vertical switch adjusts the
seat back angle. Raises or lowers the
seat.
Adjusts the seat-back
angle f orward or
backward.
Moves the f ront of the
seat up or down and
the rear of the seat up
or down.
Moves the seat
f orward and backward.
The passenger’s seat also has power
adjustable controls. To change the lumbar support, move
the lever on the right side of the
seat-back forward or backward.
Keep moving the lever f orward or
backward until you f ind a suitable
position.
The controls f or the adjustable
driver’s power seat are on the
outside edge of the seat bottom. You
can adjust the power seat with the
ignition switch in any position. Make
all seat adjustments bef ore you start
driving.
Driver’s L umbar Support
Power Seat A djustment
Seats
Inst rument s and Cont rols92
�����—�����—�����y�
�
�����������y���
�(�������
���y���������y
Page 94 of 301
Theyaremosteffectivewhenyou
adjust them so the back of the
occupant’s head rests against the
center of the restraint.
The f ront and rear head restraints
adjust f or height. You need both
hands to adjust the restraint. Do not
attempt to adjust it while driving. To
raise it, pull upward. To lower the
restraint, push the release button
sideways and push the restraint
down.The back of the rear seat folds down,
giving you direct access to the trunk.
The seat-back can be released f rom
inside the vehicle or inside the trunk.When storing cargo, you can move
therearcentershoulderbeltoutof
the way by removing the belt f rom
the guide.
To fold down the seat-back from
inside the vehicle, insert the master
keyinthelockontherearshelf.
Turn the key clockwise, pull down
the top of the seat-back, then release
the key.
Folding Rear Seat
Seats
Inst rument s and Cont rols95
MASTER KEY
GUIDE
�����—�����—�����y�
�
�������
���y���
�(�������
���y���������y
Page 95 of 301
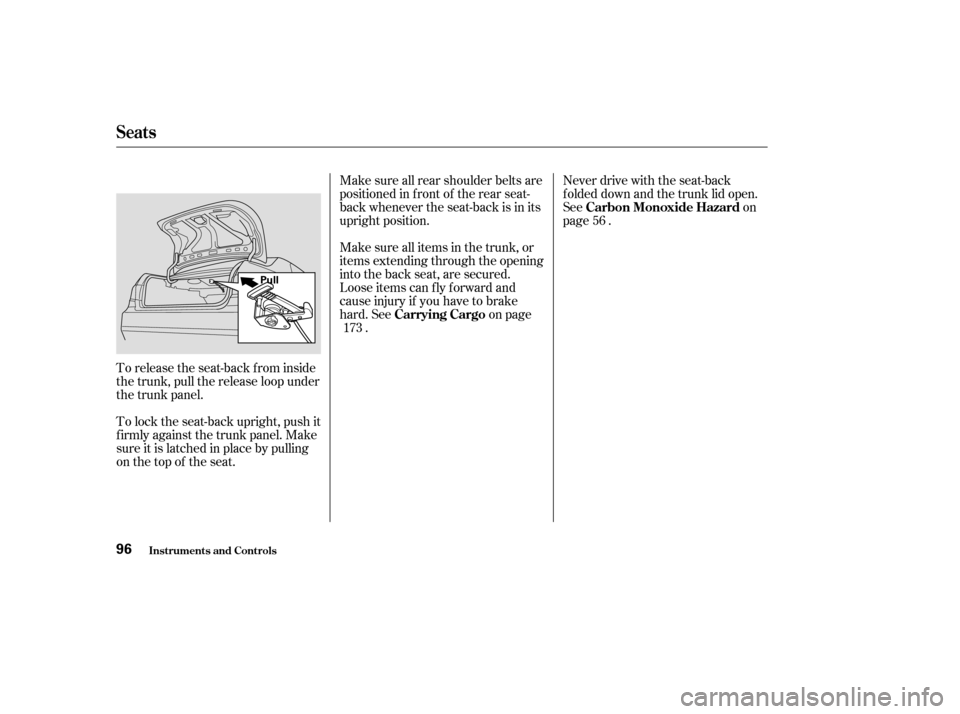
To release the seat-back from inside
the trunk, pull the release loop under
the trunk panel.
To lock the seat-back upright, push it
f irmly against the trunk panel. Make
sure it is latched in place by pulling
on the top of the seat.Make sure all rear shoulder belts are
positioned in f ront of the rear seat-
back whenever the seat-back is in its
upright position.
Make sure all items in the trunk, or
items extending through the opening
into the back seat, are secured.
Looseitemscanflyforwardand
cause injury if you have to brake
hard. See on page
. Never drive with the seat-back
f olded down and the trunk lid open.
See on
page .
56
173 Carrying Cargo Carbon Monoxide Hazard
Seats
Inst rument s and Cont rols96
Pull
�����—�����—�����y�
�
�����������y���
�(�������
���y���������y