2004 GMC YUKON DENALI Ac hot
[x] Cancel search: Ac hotPage 239 of 468

6 RDM (Random):Press this button to hear the tracks
in random, rather than sequential, order. RDM ALL
will appear on the radio display, which will randomly play
all of the loaded CDs. Press and hold this button until
you hear a beep and the radio will display RDM
ONE, which will randomly play the tracks on the current
CD. Press this button again to turn off random play,
RDM OFF will appear on the radio display.
qSEEKr:Press the right or the left SEEK arrow to
go to the next or to the previous track on the CD.
qSCANr:Press and hold either SCAN arrow for
more than two seconds until SCAN appears on the
display and you hear a beep. The radio will go to the
next track, play for 10 seconds, then go on to the
next track. Press either SCAN arrow again to stop
scanning.
BAND:Press BAND to listen to the radio when a CD is
playing.
TAPE DISC:Press this button if you have a CD loaded
in the changer and the radio is turned on, to play a
CD. Press this button to switch between playing a tape
and the CD changer if all are loaded.
CD Changer Errors
CHK CD (Check):If this message appears on the
display, it could be for one of the following reasons:
·It is very hot. When the temperature returns to
normal, the CD should play.
·You are driving on a very rough road. When the
road becomes smooth, the CD should play.
·The CD is dirty, scratched, wet, or upside down.
·The air is very humid. If so, wait about an hour and
try again.
·There may have been a problem while burning
the CD.
·The label may be caught in the CD player.
·The CD player is very hot.
If the CD is not playing correctly, for any other reason,
try a known good CD.
If any error occurs repeatedly or if an error cannot be
corrected, contact your dealer. If your radio displays an
error message, write it down and provide it to your
dealer when reporting the problem.
3-95
Page 280 of 468
·Keep your vehicle in good shape. Check all ¯uid
levels and also the brakes, tires, cooling system
and transmission. These parts can work hard
on mountain roads.
·Know how to go down hills. The most important
thing to know is this: let your engine do some of
the slowing down. Shift to a lower gear when you go
down a steep or long hill.
{CAUTION:
If you do not shift down, your brakes could get
so hot that they would not work well. You
would then have poor braking or even none
going down a hill. You could crash. Shift down
to let your engine assist your brakes on a
steep downhill slope.
{CAUTION:
Coasting downhill in NEUTRAL (N) or with the
ignition off is dangerous. Your brakes will have
to do all the work of slowing down. They could
get so hot that they would not work well. You
would then have poor braking or even none
going down a hill. You could crash. Always
have your engine running and your vehicle in
gear when you go downhill.
·Know how to go uphill. You may want to shift down
to a lower gear. The lower gears help cool your
engine and transmission, and you can climb the hill
better.
·Stay in your own lane when driving on two-lane
roads in hills or mountains. Do not swing wide
or cut across the center of the road. Drive at speeds
that let you stay in your own lane.
·As you go over the top of a hill, be alert. There
could be something in your lane, like a stalled car or
an accident.
4-36
Page 304 of 468
Driving On Grades
Reduce speed and shift to a lower gearbeforeyou start
down a long or steep downgrade. If you don't shift
down, you might have to use your brakes so much that
they would get hot and no longer work well.
You can tow in DRIVE (D). You may want to shift the
transmission to THIRD (3) or, if necessary, a lower gear
selection if the transmission shifts too often (e.g.,
under heavy loads and/or hilly conditions).
You may also want to activate the tow/haul mode if the
transmission shifts too often. See ªTow/Haul Modeº
under
Towing a Trailer on page 4-51.
When towing at high altitude on steep uphill grades,
consider the following: Engine coolant will boil at a lower
temperature than at normal altitudes. If you turn your
engine off immediately after towing at high altitude
on steep uphill grades, your vehicle may show signs
similar to engine overheating. To avoid this, let the
engine run while parked (preferably on level ground)
with the automatic transmission in PARK (P) for a
few minutes before turning the engine off. If you do get
the overheat warning, see
Engine Overheating on
page 5-25.
Parking on Hills
{CAUTION:
You really should not park your vehicle, with a
trailer attached, on a hill. If something goes
wrong, your rig could start to move. People
can be injured, and both your vehicle and the
trailer can be damaged.
But if you ever have to park your rig on a hill, here's
how to do it:
1. Apply your regular brakes, but don't shift into
PARK (P) yet.
2. Have someone place chocks under the trailer
wheels.
3. When the wheel chocks are in place, release the
regular brakes until the chocks absorb the load.
4. Reapply the regular brakes. Then apply your
parking brake and shift into PARK (P).
5. Release the regular brakes.
4-60
Page 316 of 468
To remove the fuel cap, turn it slowly to the left
(counterclockwise). It will require more effort to turn the
fuel cap on the last turn as you loosen it.
{CAUTION:
If you spill fuel and then something ignites it,
you could be badly burned. Fuel can spray out
on you if you open the fuel cap too quickly.
This spray can happen if your tank is nearly
full, and is more likely in hot weather. Open
the fuel cap slowly and wait for any ªhissº
noise to stop. Then unscrew the cap all
the way.Be careful not to spill fuel. Don't top off or over®ll your
tank and wait a few seconds after you've ®nished
pumping before you remove the nozzle. Clean any
spilled fuel from painted surfaces as soon as possible.
See
Cleaning the Outside of Your Vehicle on
page 5-96.
When you put the fuel cap back on, turn it to the right
(clockwise) until you hear a clicking sound. It will require
more effort to turn the fuel cap on the last turn as you
tighten it. Make sure you fully install the cap. The
diagnostic system can determine if the fuel cap has
been left off or improperly installed. this would allow fuel
to evaporate into the atmosphere. See
Malfunction
Indicator Lamp on page 3-40.
5-8
Page 318 of 468
Checking Things Under
the Hood
{CAUTION:
Things that burn can get on hot engine parts
and start a ®re. These include liquids like fuel,
oil, coolant, brake ¯uid, windshield washer and
other ¯uids, and plastic or rubber. You or
others could be burned. Be careful not to drop
or spill things that will burn onto a hot engine.
Hood Release
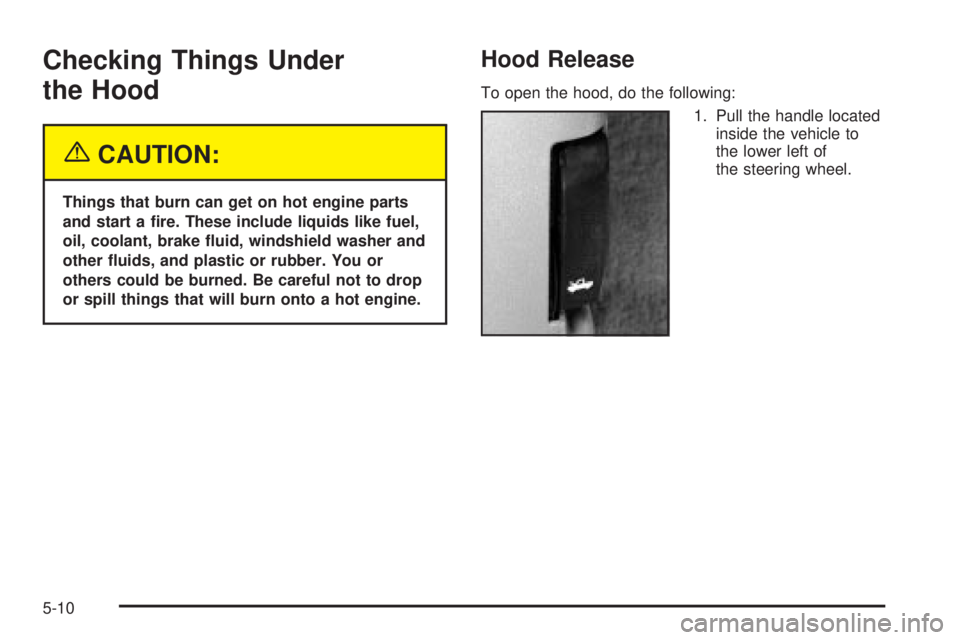
To open the hood, do the following:
1. Pull the handle located
inside the vehicle to
the lower left of
the steering wheel.
5-10
Page 328 of 468
Automatic Transmission Fluid
When to Check and Change
A good time to check your automatic transmission ¯uid
level is when the engine oil is changed.
Change both the ¯uid and ®lter every 50,000 miles
(83 000 km) if the vehicle's GVWR is over 8,600 or if
the vehicle is mainly driven under one or more of these
conditions:
·In heavy city traffic where the outside temperature
regularly reaches 90ÉF (32ÉC) or higher.
·In hilly or mountainous terrain.
·When doing frequent trailer towing.
·Uses such as found in taxi, police or delivery
service.
If your vehicle's GVWR is not over 8,600 and you do
not use your vehicle under any of these conditions,
change the ¯uid and ®lter every 100,000 miles
(166 000 km).
See
Scheduled Maintenance on page 6-4.
How to Check
Because this operation can be a little difficult, you may
choose to have this done at the dealership service
department.
If you do it yourself, be sure to follow all the instructions
here, or you could get a false reading on the dipstick.
Notice:Too much or too little ¯uid can damage
your transmission. Too much can mean that some
of the ¯uid could come out and fall on hot engine
part or exhaust system parts, starting a ®re.
Too little ¯uid could cause the transmission to
overheat. Be sure to get an accurate reading if you
check your transmission ¯uid.
Wait at least 30 minutes before checking the
transmission ¯uid level if you have been driving:
·When outside temperatures are above 90ÉF (32ÉC).
·At high speed for quite a while.
·In heavy traffic ± especially in hot weather.
·While pulling a trailer.
To get the right reading, the ¯uid should be at
normal operating temperature, which is 180ÉF to 200ÉF
(82ÉC to 93ÉC).
5-20
Page 329 of 468
Get the vehicle warmed up by driving about 15 miles
(24 km) when outside temperatures are above 50ÉF
(10ÉC). If it's colder than 50ÉF (10ÉC), drive the vehicle
in THIRD (3) until the engine temperature gage
moves and then remains steady for 10 minutes.
A cold ¯uid check can be made after the vehicle has
been sitting for eight hours or more with the engine off,
but this is used only as a reference. Let the engine
run at idle for ®ve minutes if outside temperatures are
50ÉF (10ÉC) or more. If it's colder than 50ÉF (10ÉC), you
may have to idle the engine longer. Should the ¯uid
level be low during this cold check, you
mustcheck the
¯uid hot before adding ¯uid. Checking the ¯uid hot
will give you a more accurate reading of the ¯uid level.
Checking the Fluid Level
Prepare your vehicle as follows:
·Park your vehicle on a level place. Keep the engine
running.
·With the parking brake applied, place the shift lever
in PARK (P).
·With your foot on the brake pedal, move the shift
lever through each gear range, pausing for about
three seconds in each range. Then, position the shift
lever in PARK (P).
·Let the engine run at idle for three minutes or more.
Then, without shutting off the engine, follow
these steps:
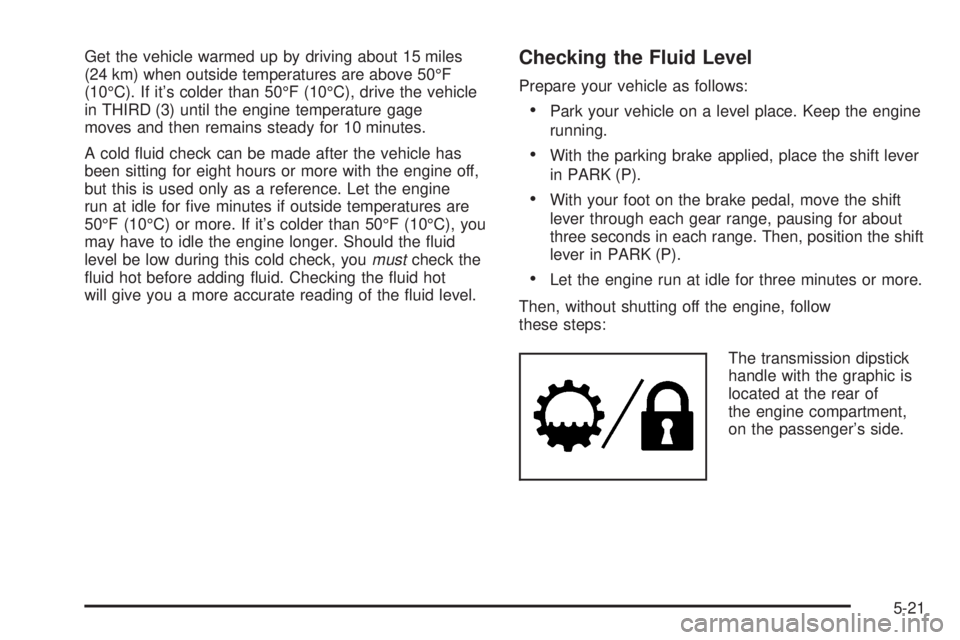
The transmission dipstick
handle with the graphic is
located at the rear of
the engine compartment,
on the passenger's side.
5-21
Page 330 of 468
SeeEngine Compartment Overview on page 5-12for
more information on location.
1. Flip the handle up and then pull out the dipstick
and wipe it with a clean rag or paper towel.
2. Push it back in all the way, wait three seconds and
then pull it back out again.
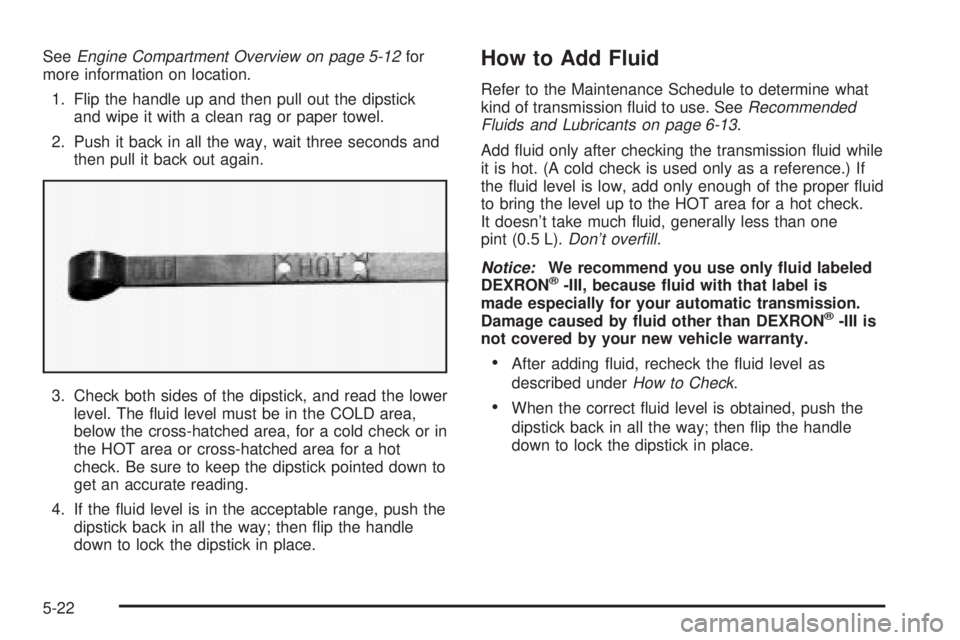
3. Check both sides of the dipstick, and read the lower
level. The ¯uid level must be in the COLD area,
below the cross-hatched area, for a cold check or in
the HOT area or cross-hatched area for a hot
check. Be sure to keep the dipstick pointed down to
get an accurate reading.
4. If the ¯uid level is in the acceptable range, push the
dipstick back in all the way; then ¯ip the handle
down to lock the dipstick in place.How to Add Fluid
Refer to the Maintenance Schedule to determine what
kind of transmission ¯uid to use. SeeRecommended
Fluids and Lubricants on page 6-13.
Add ¯uid only after checking the transmission ¯uid while
it is hot. (A cold check is used only as a reference.) If
the ¯uid level is low, add only enough of the proper ¯uid
to bring the level up to the HOT area for a hot check.
It doesn't take much ¯uid, generally less than one
pint (0.5 L).
Don't over®ll.
Notice:
We recommend you use only ¯uid labeled
DEXRONž-III, because ¯uid with that label is
made especially for your automatic transmission.
Damage caused by ¯uid other than DEXRON
ž-III is
not covered by your new vehicle warranty.
·After adding ¯uid, recheck the ¯uid level as
described under
How to Check.
·When the correct ¯uid level is obtained, push the
dipstick back in all the way; then ¯ip the handle
down to lock the dipstick in place.
5-22