2004 GMC SIERRA tow
[x] Cancel search: towPage 235 of 588

{CAUTION:
Your brake system may not be working
properly if the SERVICE BRAKE BOOSTER
message is displayed.
If the brake system warning light is also on, you
should have the vehicle towed for service. See
ªBrake System Warning Lightº in the Index.
If the brake system warning light isn't on, you
still have brakes, but the supplemental brake
assist system may not operate properly. In the
event of a vacuum loss, you may not have
vacuum power assist for braking. The brake
pedal will be harder to push and it will take
longer to stop. If you continue to drive with this
message displayed it can lead to a crash. Have
the brake system serviced as soon as possible.
SERVICE 4 WHEEL STEER
If a problem occurs with the 4 wheel steer system, this
message will appear on the DIC. If this message
appears, stop as soon as possible, and turn off the
vehicle. Restart the vehicle and check for the message
on the DIC display. If the message is still displayed,
or appears again when you being driving, the four wheel
steer system needs service.
SERVICE 4WD
If a problem occurs with the four wheel drive system,
this message will appear on the DIC. If this message
appears, stop as soon as possible and turn off the
vehicle. Restart the vehicle and check for the message
on the DIC display. If the message is still displayed,
or appears again when you begin driving, the four wheel
drive system needs service.
SERVICE RIDE CONTROL
If a problem occurs with the suspension system, this
message will appear on the DIC. If this message
appears, stop and turn off the vehicle. Restart the
vehicle and check for the message on the DIC display.
If the message is still displayed, or appears again
when you begin driving, the air suspension system
needs service.
3-71
Page 236 of 588

TIGHTEN FUEL CAP
If the vehicle's fuel cap is not tightened properly thsi
message may appear along with the check engine light
on the instrument panel. See
Malfunction Indicator
Lamp on page 3-49. Fully reinstall the fuel cap.
SeeFilling Your Tank on page 5-7. The diagnostic
system can determine if the fuel cap has been left off or
improperly installed. A loose or missing fuel cap will
allow fuel to evaporate into the atmosphere. A few
driving trips with the cap properly installed should turn
the light and message off.
TRACTION ACTIVE
When the traction control system had detected that any
of the vehicle's wheels are slipping, the traction
control system will activate and this message will appear
on the DIC. For more information see ªTraction Assistº
in the Index.
TRANSMISSION HOT
If the transmission ¯uid temperature becomes high, the
message center will display this message.
When the transmission enters the protection mode, you
may notice a change in the transmission shifting
patterns. When the transmission ¯uid temperature
returns to normal, the display will turn off and the
transmission shifting patterns will return to normal.
Notice:If you drive your vehicle while the
transmission ¯uid is overheating and the
transmission temperature warning is displayed on
the instrument panel cluster and/or DIC, you
can damage the transmission. This could lead to
costly repairs that would not be covered by
your warranty. Do not drive your vehicle with
overheated transmission ¯uid or while transmission
temperature warning is displayed.
The following situations can cause the transmission to
operate at higher temperatures:
·Towing a trailer
·Hot outside air temperatures
·Hauling a large or heavy load
·Low transmission ¯uid level
·High transmission ¯uid level
·Restricted air ¯ow to the radiator and the auxiliary
transmission oil cooler.
A temporary solution to hotter transmission operating
temperatures may be to let the transmission cool down.
If the transmission is operated at higher temperatures
on a frequent basis, see
Scheduled Maintenance
on page 6-4for the proper transmission maintenance
intervals.
3-72
Page 240 of 588
To adjust both tone controls and both speaker controls
to the middle position, end out of audio by waiting
for the display to change to the time display. Then press
and hold AUDIO for more than two seconds until you
hear a beep. CEN will appear on the display.
Adjusting the Speakers (Balance/Fade)
AUDIO:To adjust the balance between the right
and the left speakers, press and release AUDIO until
BAL appears on the display. Then press and hold the up
or the down arrow to move the sound toward the right
or the left speakers.
To adjust the fade between the front and the rear
speakers, press and release AUDIO until FAD appears
on the display. Then press and hold the up or the
down arrow to move the sound toward the front or the
rear speakers.
To adjust balance or fade to the middle position, select
BAL or FAD. Then press and hold AUDIO for more
than two seconds until you hear a beep. L and a zero
or F and a zero will appear on the display.To adjust both tone controls and both speaker controls
to the middle position, end out of audio by waiting
for the display to change to the time display. Then press
and hold AUDIO for more than two seconds until you
hear a beep. CEN will appear on the display.
Fade may not be available if you have a regular cab
model.Radio Messages
CAL (Calibrated):Your audio system has been
calibrated for your vehicle from the factory. If CAL
appears on the display it means that your radio has not
been con®gured properly for your vehicle and must
be returned to the dealer for service.
LOC (Locked):This message is displayed when the
Theftlock
žsystem has locked up. Your vehicle must be
returned to the dealer for service.
3-76
Page 244 of 588
AUTO EQ (Automatic Equalization):Press this button
to select customized equalization settings designed
for country/western, jazz, talk, pop, rock, and classical.
Selecting CUSTOM or changing bass or treble,
returns the EQ to the manual bass and treble settings.
The radio will save separate AUTO EQ settings for
each preset and source.
If you radio is equipped with the Bose audio system,
your equalization settings are either CUSTOM or TALK.
Adjusting the Speakers (Balance/Fade)
AUDIO:To adjust the balance to the right and the
left speakers, push and release the AUDIO knob until
BAL appears on the display. Turn the knob to move the
sound toward the right or the left speakers.
To adjust the fade to the front and the rear speakers,
push and release the AUDIO knob until FADE appears
on the display. Turn the knob to move the sound
toward the front or the rear speakers.
To adjust the balance and fade to the middle position,
push the AUDIO knob then push it again and hold it until
the radio produces one beep. The balance and fade
will be adjusted to the middle position and the display
will show the speaker balance.To adjust all tone and speaker controls to the middle
position, push and hold the AUDIO knob when no tone
or speaker control is displayed. ALL will appear on
the display, you will hear a beep and the display level
will be adjusted to the middle position.
Finding a Program Type (PTY) Station
(RDS and XMŸ)
To select and ®nd a desired PTY perform the following:
1. Turn the P-TYPE knob to activate program type
select mode. TYPE and a PTY will appear on the
display.
2. Turn the P-TYPE knob to select a PTY.
3. Once the desired PTY is displayed, press the
SEEK TYPE button or one of the SEEK arrows
to take you to the PTY's ®rst station.
4. If you want to go to another station within that PTY
and the PTY is displayed, press the SEEK TYPE
button once. If the PTY is not displayed, press
the SEEK TYPE button twice to display the PTY and
then to go to another station.
5. Press the P-TYPE knob to exit program type
select mode.
If PTY times out and is no longer on the display, go
back to Step 1.
3-80
Page 255 of 588
Setting the Tone (Bass/Treble)
AUDIO:Push and release the AUDIO knob until BASS
or TREB appears on the display. Turn the knob to
increase or to decrease. The display will show the bass
or treble level. If a station is weak or noisy, you may
want to decrease the treble.
To adjust the bass and treble to the middle position,
push and hold the AUDIO knob. The radio will produce
one beep and adjust the display level to the middle
position.
To adjust all tone and speaker controls to the middle
position, push and hold the AUDIO knob when no tone
or speaker control is displayed. ALL will appear on
the display, you will hear a beep and the display level
will be adjusted to the middle position.
AUTO EQ (Automatic Equalization):Press this button
to select customized equalization settings designed
for country/western, jazz, talk, pop, rock, and classical.
Selecting CUSTOM or changing bass or treble,
returns the EQ to the manual bass and treble settings.
The radio will save separate AUTO EQ settings for
each preset and source.
If you radio is equipped with the Bose audio system,
your equalization settings are either CUSTOM or TALK.
Adjusting the Speakers (Balance/Fade)
AUDIO:To adjust the balance between the right
and the left speakers, push and release the AUDIO
knob until BAL appears on the display. Turn the knob to
move the sound toward the right or the left speakers.
To adjust the fade between the front and the rear
speakers, push and release the AUDIO knob until FADE
appears on the display. Turn the knob to move the
sound toward the front or the rear speakers.
To adjust the balance and fade to the middle position,
push the AUDIO knob then push it again and hold it until
the radio produces one beep. The balance and fade
will be adjusted to the middle position and the display
will show the speaker balance.
To adjust all tone and speaker controls to the middle
position, push and hold the AUDIO knob when no tone
or speaker control is displayed. ALL will appear on
the display, you will hear a beep and the display level
will be adjusted to the middle position.
3-91
Page 269 of 588
The radio will save separate AUTO EQ settings for each
preset and source.
If you radio is equipped with the Bose audio system,
your equalization settings are either CUSTOM or TALK.
Adjusting the Speakers (Balance/Fade)
AUDIO:To adjust the balance between the right
and the left speakers, push the AUDIO knob until BAL
appears on the display. Turn the knob to move the
sound toward the right or the left speakers.
To adjust the fade between the front and rear speakers,
push and hold the AUDIO knob until FAD appears on
the display. Turn the knob to move the sound toward the
front or the rear speakers.
To adjust the balance and the fade to the middle
position, select balance or fade and push and hold the
AUDIO knob. The radio will produce one beep and
adjust the display level to the middle position.
To adjust all tone and speaker controls to the middle
position, push and hold the AUDIO knob when no tone
or speaker controls are displayed. CENTERED will
appear on the display and you will hear a beep.
Finding a Program Type (PTY) Station
(RDS and XMŸ)
To select and ®nd a desired PTY perform the following:
1. Press the P-TYPE button to activate program
type select mode. P-TYPE and the last selected
PTY will appear on the display.
2. Turn the P-TYPE knob to select a PTY.
3. Once the desired PTY is displayed, press either
SEEK arrow to select the PTY and take you to
the PTY's ®rst station.
4. If you want to go to another station within that PTY
and the PTY is displayed, press either SEEK arrow
once. If the PTY is not displayed, press either
SEEK arrow twice to display the PTY and then to
go to another station.
5. Press the P-TYPE button to exit program type
select mode.
If PTY times out and is no longer on the display, go
back to Step 1.
If both P-TYPE and TRAF are on, the radio will search
for stations with the selected PTY and traffic
announcements.
3-105
Page 289 of 588

Problem Recommended Action
After stopping the player, I
push Play but sometimes
the DVD starts where I
left off and sometimes at
the beginning.If the stop button was
pressed one time, the
DVD player will resume
playing where the DVD
was stopped. If the stop
button was pressed two
times the DVD player will
begin to play from the
beginning of the DVD.
The auxiliary source is
running but there is no
picture or sound.Check that the DVD
player is in the auxiliary
source mode.
Check the auxiliary input
connections at both
devices.
My disc is stuck in the
player. The Load/Eject
button does not work.Turn the DVD power off,
then on and press the
Load/Eject button on the
DVD player.
Do not attempt to forcibly
remove the disc from the
DVD player. This could
permanently damage the
disc and DVD player.Problem Recommended Action
Sometimes the wireless
headphone audio cuts out
or buzzes.Check for obstructions,
low batteries, reception
range, and interference
from cellular telephone
towers or by using your
cellular telephone in the
vehicle.
Check that the
headphones are facing
the front of the vehicle.
I lost the remote and/or
the headphones.See your dealer for
assistance.
The DVD is playing, but
there is no picture or
sound.Check that the DVD
player is in DVD mode.
The audio/video skips or
jumps.The DVD or CD could be
dirty, scratched, or
damaged.
What is the best way to
clean the video screen?Wipe the video screen
with a damp, soft cloth.
The audio from the radio
for the Radio with
Six-Disc CD and XMŸ
has taken over the audio
from the DVD or CD
when using the wired
headphones.The RSE is working
correctly.
Use the wireless
headphones or have the
front seat passengers
listen to another audio
source.
3-125
Page 297 of 588
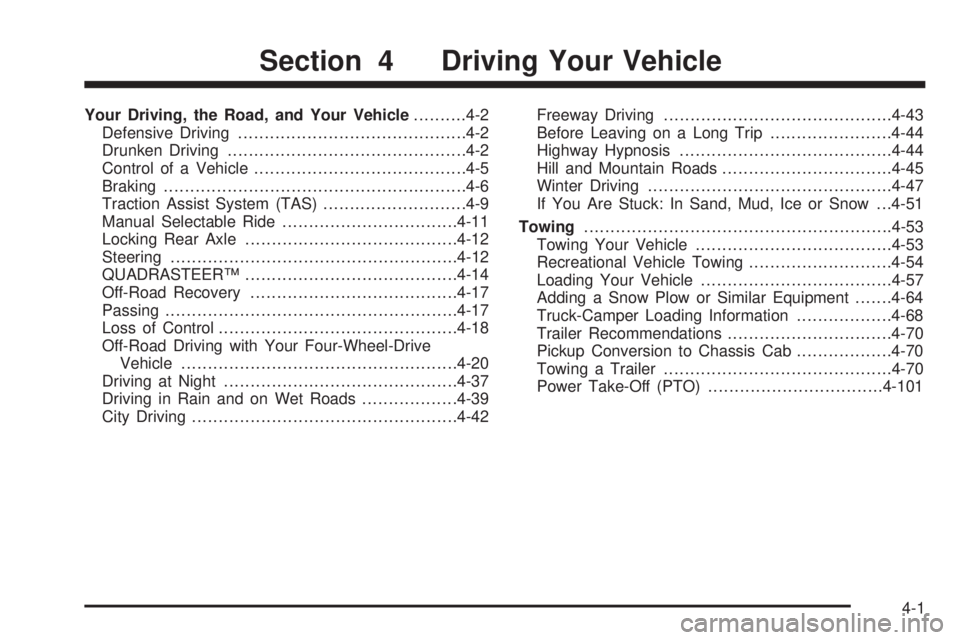
Your Driving, the Road, and Your Vehicle..........4-2
Defensive Driving...........................................4-2
Drunken Driving.............................................4-2
Control of a Vehicle........................................4-5
Braking.........................................................4-6
Traction Assist System (TAS)...........................4-9
Manual Selectable Ride.................................4-11
Locking Rear Axle........................................4-12
Steering......................................................4-12
QUADRASTEERŸ........................................4-14
Off-Road Recovery.......................................4-17
Passing.......................................................4-17
Loss of Control.............................................4-18
Off-Road Driving with Your Four-Wheel-Drive
Vehicle....................................................4-20
Driving at Night............................................4-37
Driving in Rain and on Wet Roads..................4-39
City Driving..................................................4-42Freeway Driving...........................................4-43
Before Leaving on a Long Trip.......................4-44
Highway Hypnosis........................................4-44
Hill and Mountain Roads................................4-45
Winter Driving..............................................4-47
If You Are Stuck: In Sand, Mud, Ice or Snow . . .4-51
Towing..........................................................4-53
Towing Your Vehicle.....................................4-53
Recreational Vehicle Towing...........................4-54
Loading Your Vehicle....................................4-57
Adding a Snow Plow or Similar Equipment.......4-64
Truck-Camper Loading Information..................4-68
Trailer Recommendations...............................4-70
Pickup Conversion to Chassis Cab..................4-70
Towing a Trailer...........................................4-70
Power Take-Off (PTO).................................4-101
Section 4 Driving Your Vehicle
4-1