2004 GMC SIERRA instrument cluster
[x] Cancel search: instrument clusterPage 59 of 588
{CAUTION:
If the air bag readiness light in the instrument
panel cluster ever comes on when you have
turned off the air bag, it means that something
may be wrong with the air bag system. The
right front passenger's air bag could in¯ate
even though the switch is off. If this ever
happens, have the vehicle serviced promptly.
Until you have the vehicle serviced, do not let
anyone whom the national government has
identi®ed as a member of a passenger air bag
risk group sit in the right front passenger's
position (for example, do not secure a
rear-facing child restraint in the right front
passenger's seat). See²Air Bag Off Switch²in
the Index.1. Your vehicle has a right front passenger's frontal air
bag. See
Air Bag Off Switch on page 1-76andPassenger Sensing System on page 1-81. If your
child restraint is forward-facing, move the seat as far
back as it will go before securing the restraint in
this seat. See
Manual Seats on page 1-3orPower
Seats on page 1-4. If you need to use a rear-facing
child restraint in this seat, make sure the air bag
is off once the child restraint has been installed.
When the passenger sensing system or the air bag
off switch has turned off the right front passenger's
frontal air bag, the off indicator in the passenger
air bag status indicator should light and stay lit when
you turn the ignition to RUN or START. See
Passenger Air Bag Status Indicator on page 3-40.
2. Find the LATCH anchorages where the bottom of
the seatback meets the back of the cushion.
3. Put the child restraint on the seat.
4. Attach and tighten the LATCH attachments on the
child restraint to the LATCH anchorages in the
vehicle. The child restraint instructions will show
you how.
5. If the child restraint is forward-facing, attach and
tighten the top tether to the top tether anchorage.
The child restraint instructions will show you
how. Also see
Top Strap on page 1-43.
1-53
Page 72 of 588
A rear seat is a safer place to secure a forward facing
child restraint. SeeWhere to Put the Restraint on
page 1-42. If you need to secure a forward-facing child
restraint in the right front seat position, move the
seat as far back as it will go before securing a
forward-facing child restraint. See
Manual Seats on
page 1-3orPower Seats on page 1-4.
{CAUTION:
If the air bag readiness light in the instrument
panel cluster ever comes on when you have
turned off the air bag, it means that something
may be wrong with the air bag system. The
right front passenger's air bag could in¯ate
even though the switch is off. If this ever
happens, have the vehicle serviced promptly.
Until you have the vehicle serviced, do not let
anyone whom the national government has
identi®ed as a member of a passenger air bag
risk group sit in the right front passenger's
position (for example, do not secure a
rear-facing child restraint in the right front
passenger's seat). See²Air Bag Off Switch²in
the Index.If your child restraint is equipped with the LATCH
system, see
Lower Anchorages and Top Tethers for
Children (LATCH System) on page 1-48. SeeTop Strap
on page 1-43if your child restraint has one.
If your child restraint does not have the LATCH system,
you will be using the lap-shoulder belt to secure the
child restraint in this position. Be sure to follow the
instructions that came with the child restraint. Secure
the child in the child restraint when and as the
instructions say.
1. Your vehicle has a right front passenger's frontal air
bag. See
Air Bag Off Switch on page 1-76andPassenger Sensing System on page 1-81. If your
child restraint is forward-facing, move the seat as far
back as it will go before securing the restraint in
this seat. See
Manual Seats on page 1-3orPower
Seats on page 1-4. If you need to use a rear-facing
child restraint in this seat, make sure the air bag
is off once the child restraint has been installed.
When the passenger sensing system or the air bag
off switch has turned off the right front passenger's
frontal air bag, the off indicator in the passenger
air bag status indicator should light and stay lit when
you turn the ignition to RUN or START. See
Passenger Air Bag Status Indicator on page 3-40.
2. Put the child restraint on the seat.
1-66
Page 77 of 588
{CAUTION:
Air bags in¯ate with great force, faster than the
blink of an eye. If you're too close to an
in¯ating air bag, as you would be if you were
leaning forward, it could seriously injure you.
Safety belts help keep you in position before
and during a crash. Always wear your safety
belt, even with air bags. The driver should sit
as far back as possible while still maintaining
control of the vehicle.
{CAUTION:
Anyone who is up against, or very close to,
any air bag when it in¯ates can be seriously
injured or killed. Air bags plus lap-shoulder
belts offer the best protection for adults, but
CAUTION: (Continued)
CAUTION: (Continued)
not for young children and infants. Neither the
vehicle's safety belt system nor its air bag
system is designed for them. Young children
and infants need the protection that a child
restraint system can provide. Always secure
children properly in your vehicle. To read how,
see
Older Children on page 1-33andInfants
and Young Children on page 1-35
.
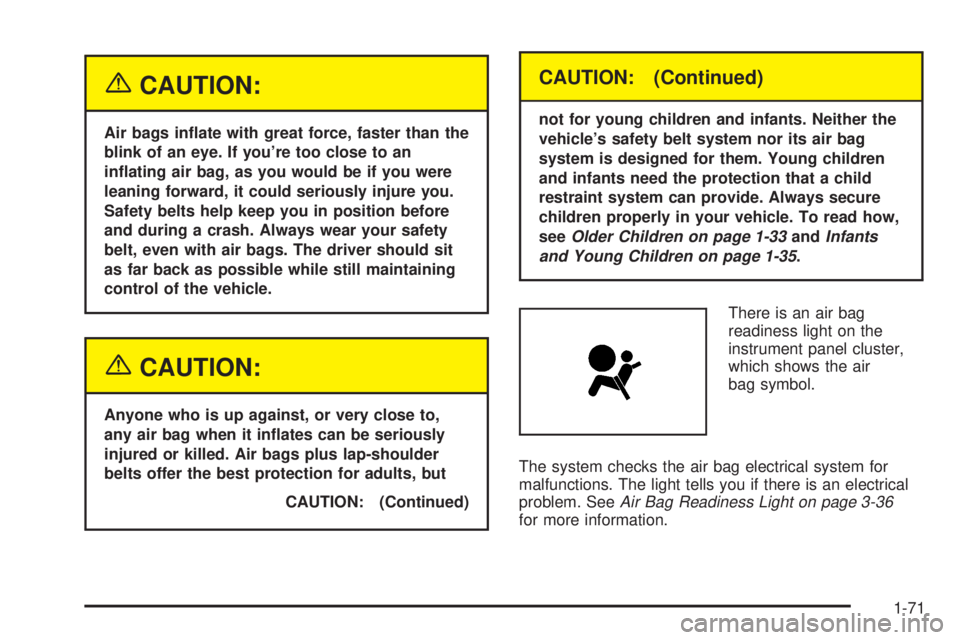
There is an air bag
readiness light on the
instrument panel cluster,
which shows the air
bag symbol.
The system checks the air bag electrical system for
malfunctions. The light tells you if there is an electrical
problem. See
Air Bag Readiness Light on page 3-36for more information.
1-71
Page 91 of 588
{CAUTION:
If the air bag readiness light in the instrument
panel cluster ever comes on and stays on, it
means that something may be wrong with the
air bag system. If this ever happens, have the
CAUTION: (Continued)
CAUTION: (Continued)
vehicle serviced promptly, because an
adult-size person sitting in the right front
passenger's seat may not have the protection
of the frontal air bag. See ªAir Bag Readiness
Lightº in the Index for more on this, including
important safety information.
Aftermarket equipment, such as seat covers, can affect
how well the passenger sensing system operates.
You may want to consider not using seat covers or other
aftermarket equipment if your vehicle has the passenger
sensing system. See
Adding Equipment to Your Air
Bag-Equipped Vehicle on page 1-86for more
information about modi®cations that can affect how the
system operates.
{CAUTION:
Stowing of articles under the passenger's seat
or between the passenger's seat cushion and
seatback may interfere with the proper
operation of the passenger sensing system.
1-85
Page 120 of 588
How long should you keep the coolant heater plugged
in? The answer depends on the outside temperature, the
kind of oil you have, and some other things. Instead
of trying to list everything here, we ask that you contact
your dealer in the area where you'll be parking your
vehicle. The dealer can give you the best advice for that
particular area.
Automatic Transmission Operation
If your vehicle is equipped with an automatic
transmission, it features an electronic shift position
indicator within the instrument panel cluster. This display
must be powered anytime the shift lever is capable of
being moved out of PARK (P). See
Fuses and
Circuit Breakers on page 5-126.
There are several different positions for your shift lever.
PARK (P):This position locks your rear wheels. It's
the best position to use when you start your engine
because your vehicle can't move easily. If your vehicle
is equipped with the Allison
žTransmission, use
PARK (P) for stationary operation of the Power Takeoff
(PTO), if equipped.
{CAUTION:
It is dangerous to get out of your vehicle if the
shift lever is not fully in PARK (P) with the
parking brake ®rmly set. Your vehicle can roll.
Do not leave your vehicle when the engine is
running unless you have to. If you have left the
engine running, the vehicle can move
suddenly. You or others could be injured. To
be sure your vehicle will not move, even when
you are on fairly level ground, always set your
parking brake and move the shift lever to
PARK (P). See
Shifting Into Park (P) on
page 2-49
. If you are pulling a trailer, see
Towing a Trailer on page 4-70.
2-26
Page 133 of 588
Shifting In or Out of 4LO
Notice:Shifting the transfer case into 4LO while
moving at speeds faster than 3 mph (5 km/h)
may cause premature wear to the transfer case, and
may cause the gears to grind. To avoid causing
premature wear, and grinding the gears, do not shift
the transfer case into 4LO while the vehicle is
moving faster than 3 mph (5 km/h).
Shifts into 4LO can be made with the vehicle at a stop,
or while slowly rolling about 1 to 3 mph (2 to 5 km/h).
·Shift the automatic transmission into NEUTRAL
(N), or with a manual transmission, press the
clutch pedal, or shift into NEUTRAL (N).
·Shift the transfer case shift lever in one continuous
motion into the 4LO position.
·When in 4LO do not drive faster than 45 mph.
This will reduce wear and extend the life of
your transfer case.
Shifting In or Out of NEUTRAL
1. With the vehicle running and the engine at an idle
set the parking brake.
2. Place the transmission into NEUTRAL (N).
Shift the transfer case in one continuous motion into or
out of the NEUTRAL (N) position.
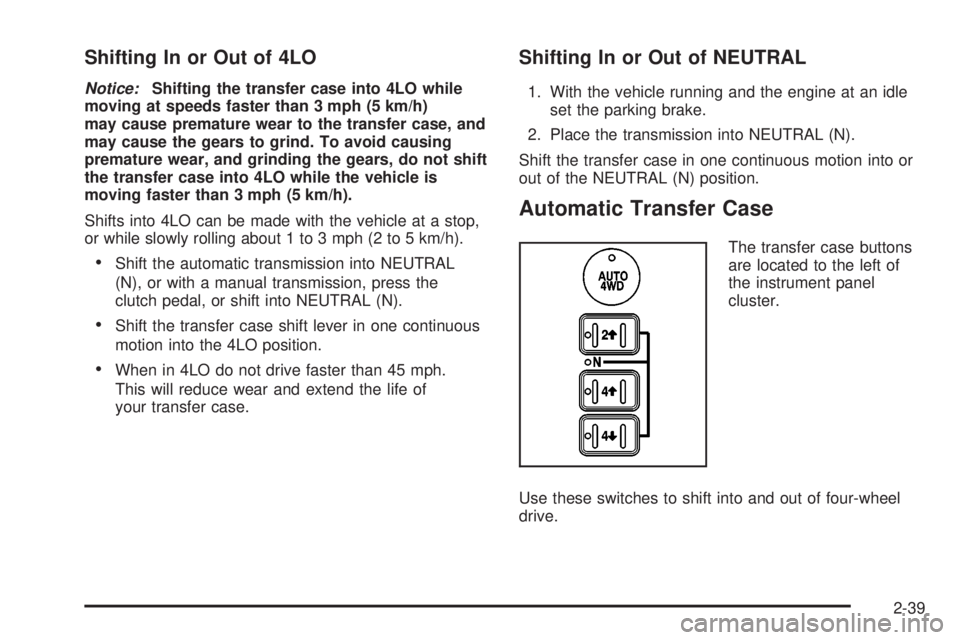
Automatic Transfer Case
The transfer case buttons
are located to the left of
the instrument panel
cluster.
Use these switches to shift into and out of four-wheel
drive.
2-39
Page 138 of 588
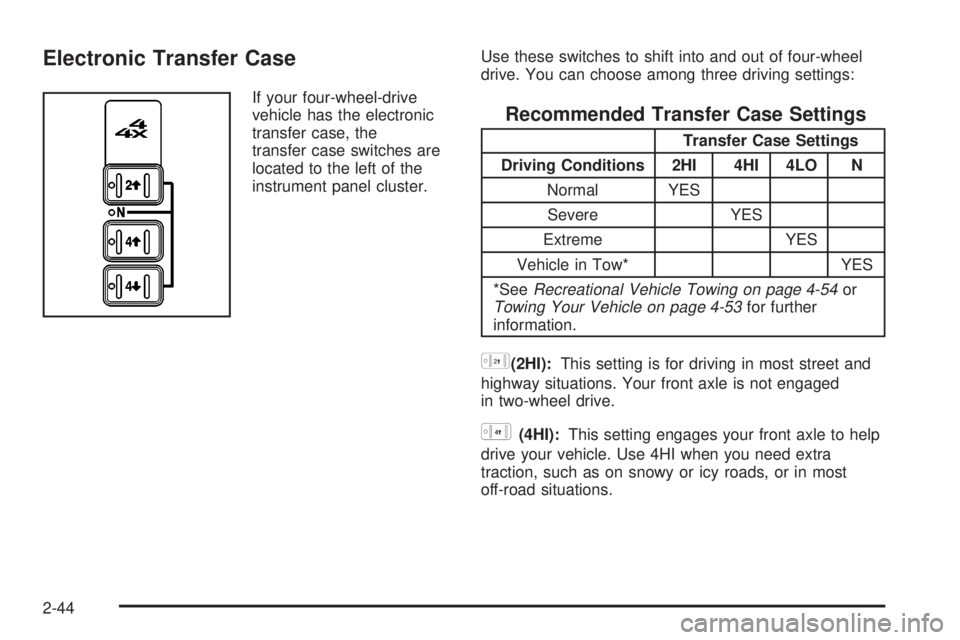
Electronic Transfer Case
If your four-wheel-drive
vehicle has the electronic
transfer case, the
transfer case switches are
located to the left of the
instrument panel cluster.Use these switches to shift into and out of four-wheel
drive. You can choose among three driving settings:
Recommended Transfer Case Settings
Transfer Case Settings
Driving Conditions 2HI 4HI 4LO N
Normal YES
Severe YES
Extreme YES
Vehicle in Tow* YES
*See
Recreational Vehicle Towing on page 4-54orTowing Your Vehicle on page 4-53for further
information.
h(2HI):This setting is for driving in most street and
highway situations. Your front axle is not engaged
in two-wheel drive.
G(4HI):This setting engages your front axle to help
drive your vehicle. Use 4HI when you need extra
traction, such as on snowy or icy roads, or in most
off-road situations.
2-44
Page 165 of 588

Instrument Panel Overview...............................3-4
Hazard Warning Flashers................................3-6
Other Warning Devices...................................3-6
Horn.............................................................3-7
Tilt Wheel.....................................................3-7
Turn Signal/Multifunction Lever.........................3-7
Exterior Lamps.............................................3-14
Interior Lamps..............................................3-19
Accessory Power Outlets...............................3-20
Ashtrays and Cigarette Lighter........................3-21
Climate Controls............................................3-21
Climate Control System.................................3-21
Dual Climate Control System..........................3-22
Dual Automatic Climate Control System...........3-26
Warning Lights, Gages and Indicators.............3-33
Warning Lights, Gages, and Indicators.............3-33
Instrument Panel Cluster................................3-34
Speedometer and Odometer...........................3-35
Tachometer.................................................3-35
Safety Belt Reminder Light.............................3-36
Air Bag Readiness Light................................3-36Air Bag Off Light..........................................3-37
Passenger Air Bag Status Indicator.................3-40
Battery Warning Light....................................3-42
Voltmeter Gage............................................3-42
Up-Shift Light...............................................3-43
Brake System Warning Light..........................3-43
Anti-Lock Brake System Warning Light.............3-45
Traction Off Light..........................................3-45
Engine Coolant Temperature Gage..................3-46
Transmission Temperature Gage.....................3-47
Malfunction Indicator Lamp.............................3-49
Oil Pressure Gage........................................3-52
Cruise Control Light......................................3-53
Four-Wheel-Drive Light..................................3-53
Tow/Haul Mode Light....................................3-53
Overdrive Disable.........................................3-53
Fuel Gage...................................................3-54
Low Fuel Warning Light.................................3-54
Driver Information Center (DIC).......................3-55
DIC Operation and Displays...........................3-55
DIC Warnings and Messages.........................3-66
Section 3 Instrument Panel
3-1