Page 43 of 240

6. Install the bulb socket into the lamp assembly by rotating it clockwise.
7. Install the lamp assembly on the vehicle with three nut and washer
assemblies ensuring the washers on the nuts are flush with the body to
prevent water from entering the trunk.
8. Carefully push the carpet back in to place and install the plastic cover
inside the trunk with five push pins and two plastic mushroom nuts.
Wagon
The tail lamp/turn lamp
bulbs/brake/backup are located in
the same portion of the tail lamp
assembly, one just below the other.
Follow the same steps to replace
either bulb:
1. Make sure headlamp switch is in
OFF position and open the liftgate
to expose the lamp assemblies.
2. Remove the two bolts from the
tail lamp assembly.
3. Carefully pull the lamp assembly
from the tailgate.
4. Twist the bulb socket
counterclockwise and remove from
lamp assembly.
5. Pull the bulb straight out of the
socket and push in the new bulb.
6. Install bulb socket in lamp assembly by turning clockwise.
7. Carefully install the tail lamp assembly on tailgate and secure with two
bolts.
2004 Taurus(tau)
Owners Guide (post-2002-fmt)
USA English(fus)
Lights
43
Page 46 of 240
Never adjust the steering wheel when the vehicle is moving.
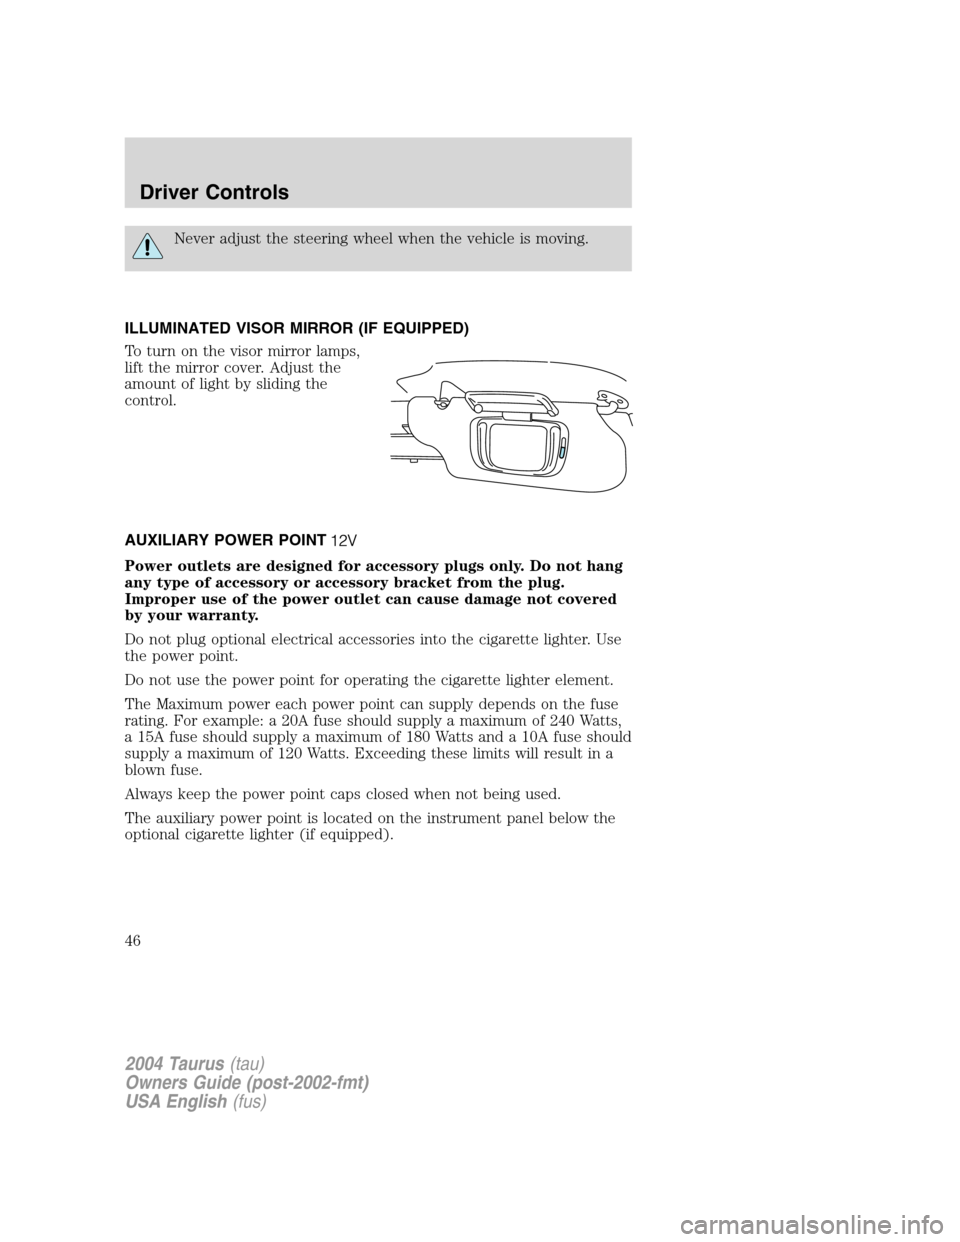
ILLUMINATED VISOR MIRROR (IF EQUIPPED)
To turn on the visor mirror lamps,
lift the mirror cover. Adjust the
amount of light by sliding the
control.
AUXILIARY POWER POINT
Power outlets are designed for accessory plugs only. Do not hang
any type of accessory or accessory bracket from the plug.
Improper use of the power outlet can cause damage not covered
by your warranty.
Do not plug optional electrical accessories into the cigarette lighter. Use
the power point.
Do not use the power point for operating the cigarette lighter element.
The Maximum power each power point can supply depends on the fuse
rating. For example: a 20A fuse should supply a maximum of 240 Watts,
a 15A fuse should supply a maximum of 180 Watts and a 10A fuse should
supply a maximum of 120 Watts. Exceeding these limits will result in a
blown fuse.
Always keep the power point caps closed when not being used.
The auxiliary power point is located on the instrument panel below the
optional cigarette lighter (if equipped).
2004 Taurus(tau)
Owners Guide (post-2002-fmt)
USA English(fus)
Driver Controls
46
Page 48 of 240
change from the normal, clear state to the darkened, non-glare state
when bright light (glare) reaches the mirror from behind the vehicle at
night.
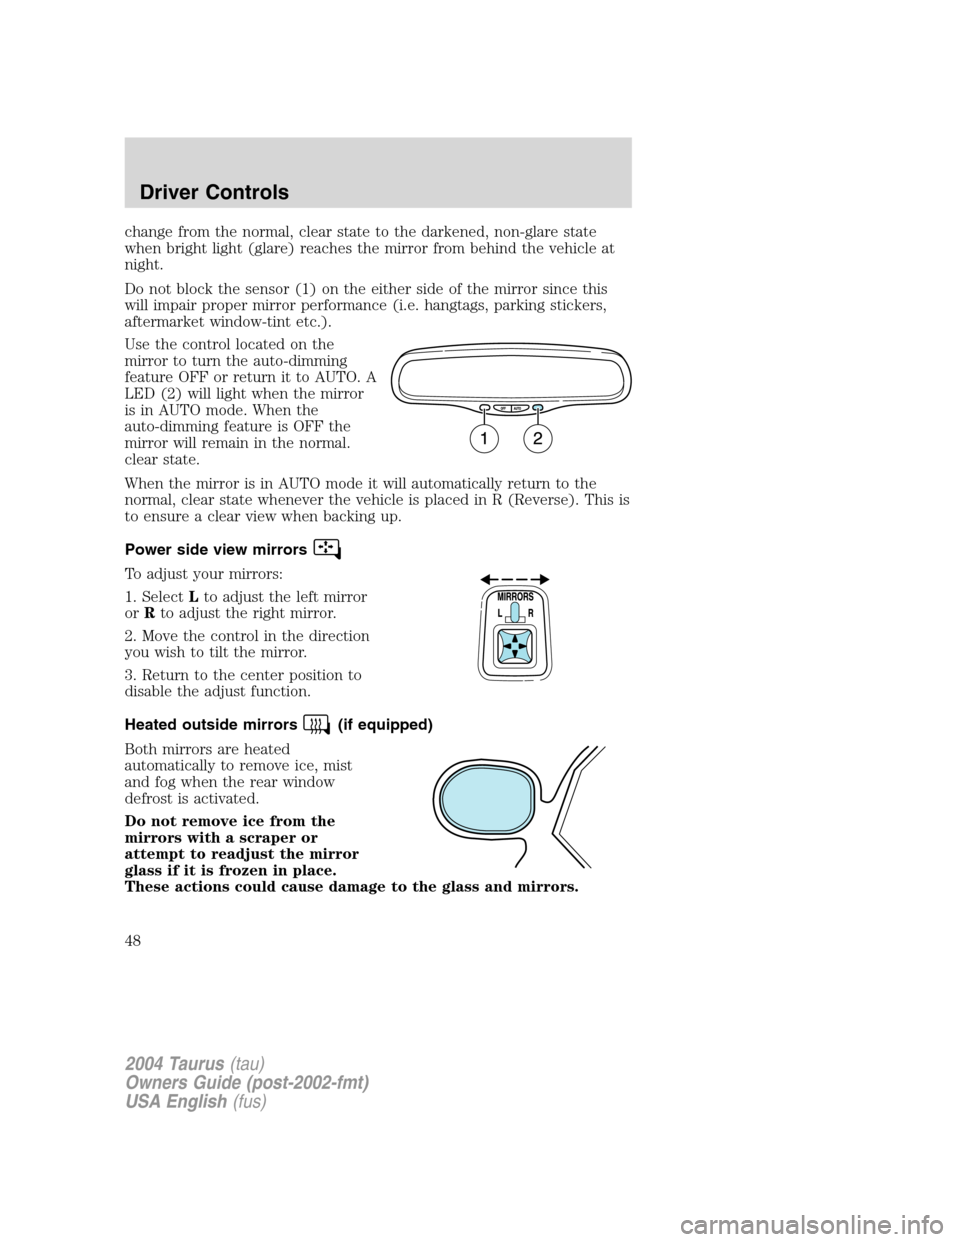
Do not block the sensor (1) on the either side of the mirror since this
will impair proper mirror performance (i.e. hangtags, parking stickers,
aftermarket window-tint etc.).
Use the control located on the
mirror to turn the auto-dimming
feature OFF or return it to AUTO. A
LED (2) will light when the mirror
is in AUTO mode. When the
auto-dimming feature is OFF the
mirror will remain in the normal.
clear state.
When the mirror is in AUTO mode it will automatically return to the
normal, clear state whenever the vehicle is placed in R (Reverse). This is
to ensure a clear view when backing up.
Power side view mirrors
To adjust your mirrors:
1. SelectLto adjust the left mirror
orRto adjust the right mirror.
2. Move the control in the direction
you wish to tilt the mirror.
3. Return to the center position to
disable the adjust function.
Heated outside mirrors
(if equipped)
Both mirrors are heated
automatically to remove ice, mist
and fog when the rear window
defrost is activated.
Do not remove ice from the
mirrors with a scraper or
attempt to readjust the mirror
glass if it is frozen in place.
These actions could cause damage to the glass and mirrors.
2004 Taurus(tau)
Owners Guide (post-2002-fmt)
USA English(fus)
Driver Controls
48
Page 50 of 240
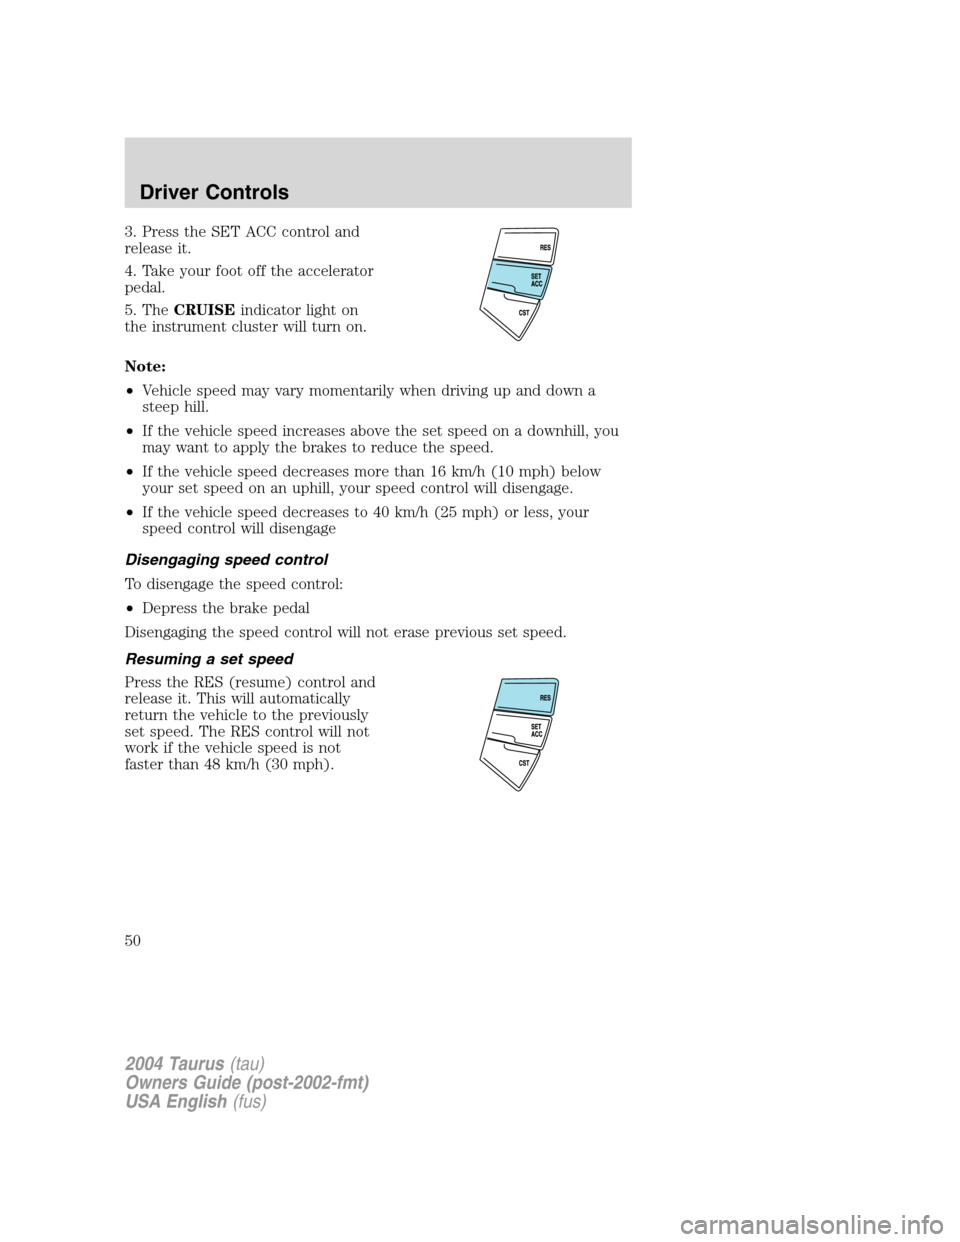
3. Press the SET ACC control and
release it.
4. Take your foot off the accelerator
pedal.
5. TheCRUISEindicator light on
the instrument cluster will turn on.
Note:
•Vehicle speed may vary momentarily when driving up and down a
steep hill.
•If the vehicle speed increases above the set speed on a downhill, you
may want to apply the brakes to reduce the speed.
•If the vehicle speed decreases more than 16 km/h (10 mph) below
your set speed on an uphill, your speed control will disengage.
•If the vehicle speed decreases to 40 km/h (25 mph) or less, your
speed control will disengage
Disengaging speed control
To disengage the speed control:
•Depress the brake pedal
Disengaging the speed control will not erase previous set speed.
Resuming a set speed
Press the RES (resume) control and
release it. This will automatically
return the vehicle to the previously
set speed. The RES control will not
work if the vehicle speed is not
faster than 48 km/h (30 mph).
2004 Taurus(tau)
Owners Guide (post-2002-fmt)
USA English(fus)
Driver Controls
50
Page 56 of 240
Compass display (if equipped)
The compass reading may be affected when you drive near large
buildings, bridges, power lines and powerful broadcast antenna. Magnetic
or metallic objects placed in, on or near the vehicle may also affect
compass accuracy.
Usually, when something affects the compass readings, the compass will
correct itself after a few days of operating your vehicle in normal
conditions. If the compass still appears to be inaccurate, a manual
calibration may be necessary. Refer toCompass zone/calibration
adjustment.
Most geographic areas (zones) have a magnetic north compass point that
varies slightly from the northerly direction on maps. This variation is four
degrees between adjacent zones and will become noticeable as the
vehicle crosses multiple zones. A correct zone setting will eliminate this
error. Refer toCompass zone/calibration adjustment.
Compass zone/calibration adjustment
Perform this adjustment in an open area free from steel structures and
high voltage lines.
For optimum calibration, turn off all electrical accessories (heater/air
conditioning, wipers, etc.) and make sure all vehicle doors are shut.
1. Turn ignition to the ON position.
2. Start the engine.
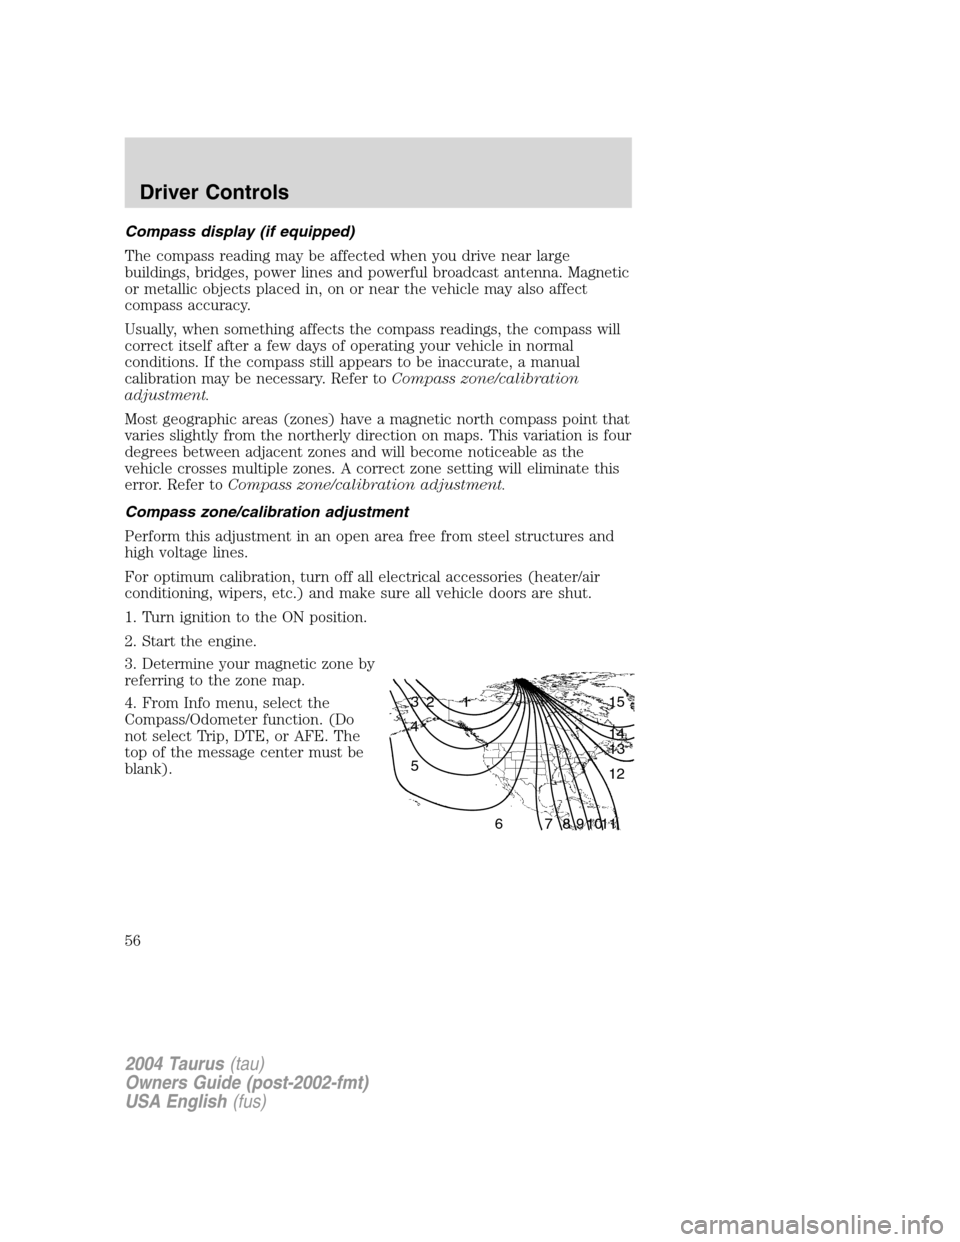
3. Determine your magnetic zone by
referring to the zone map.
4. From Info menu, select the
Compass/Odometer function. (Do
not select Trip, DTE, or AFE. The
top of the message center must be
blank).
1 2 3
4
5
6 7 8 9 101112 13 14 15
2004 Taurus(tau)
Owners Guide (post-2002-fmt)
USA English(fus)
Driver Controls
56
Page 64 of 240
The liftgate and liftgate window should be closed before driving your
vehicle. If not, possible damage may occur to the liftgate lift cylinders
and attaching hardware.
CARGO AREA FEATURES
Storage compartment (Wagon)
Your vehicle comes equipped with a storage compartment in the floor of
the cargo area. An additional compartment is in the rear trim panel on
the right. Always put the load you are carrying as far forward as possible.
Cargo net (if equipped) (Wagon)
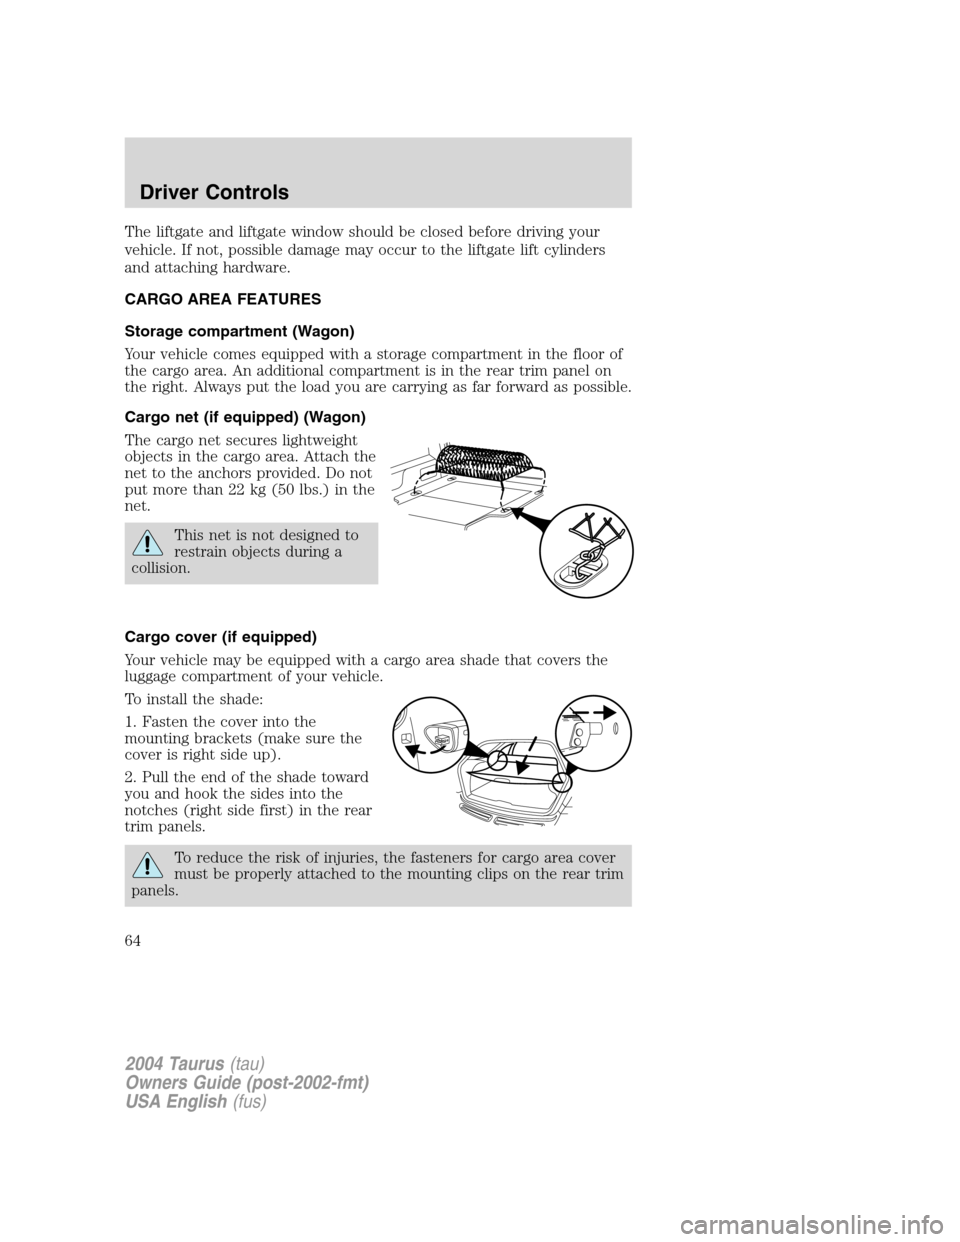
The cargo net secures lightweight
objects in the cargo area. Attach the
net to the anchors provided. Do not
put more than 22 kg (50 lbs.) in the
net.
This net is not designed to
restrain objects during a
collision.
Cargo cover (if equipped)
Your vehicle may be equipped with a cargo area shade that covers the
luggage compartment of your vehicle.
To install the shade:
1. Fasten the cover into the
mounting brackets (make sure the
cover is right side up).
2. Pull the end of the shade toward
you and hook the sides into the
notches (right side first) in the rear
trim panels.
To reduce the risk of injuries, the fasteners for cargo area cover
must be properly attached to the mounting clips on the rear trim
panels.
2004 Taurus(tau)
Owners Guide (post-2002-fmt)
USA English(fus)
Driver Controls
64
Page 66 of 240
The cover may cause injury in a sudden stop or accident if it is
not securely installed.
Cargo utility hooks (Sedan)
The utility hooks located inside the trunk can be used to attach a cargo
net to secure lightweight objects or hang small items on. Do not hang
more than 12 kg (20 lbs) on the hooks.
The hooks are not designed to restrain objects during a collision.
LUGGAGE RACK (IF EQUIPPED)
The rear cross-bar can be adjusted to fit the item being carried. The
front cross-bar does not move. Do not load more than 44 kg (100 lbs.)
on the luggage rack.
To adjust cross-bar position:
1. Loosen the thumbwheel at both
ends of the cross-bar.
2. Slide the cross-bar to the desired
location.
3. Tighten the thumbwheel at both
ends of the cross-bar.
Use adjustable tie down loops to secure the load.
2004 Taurus(tau)
Owners Guide (post-2002-fmt)
USA English(fus)
Driver Controls
66
Page 69 of 240
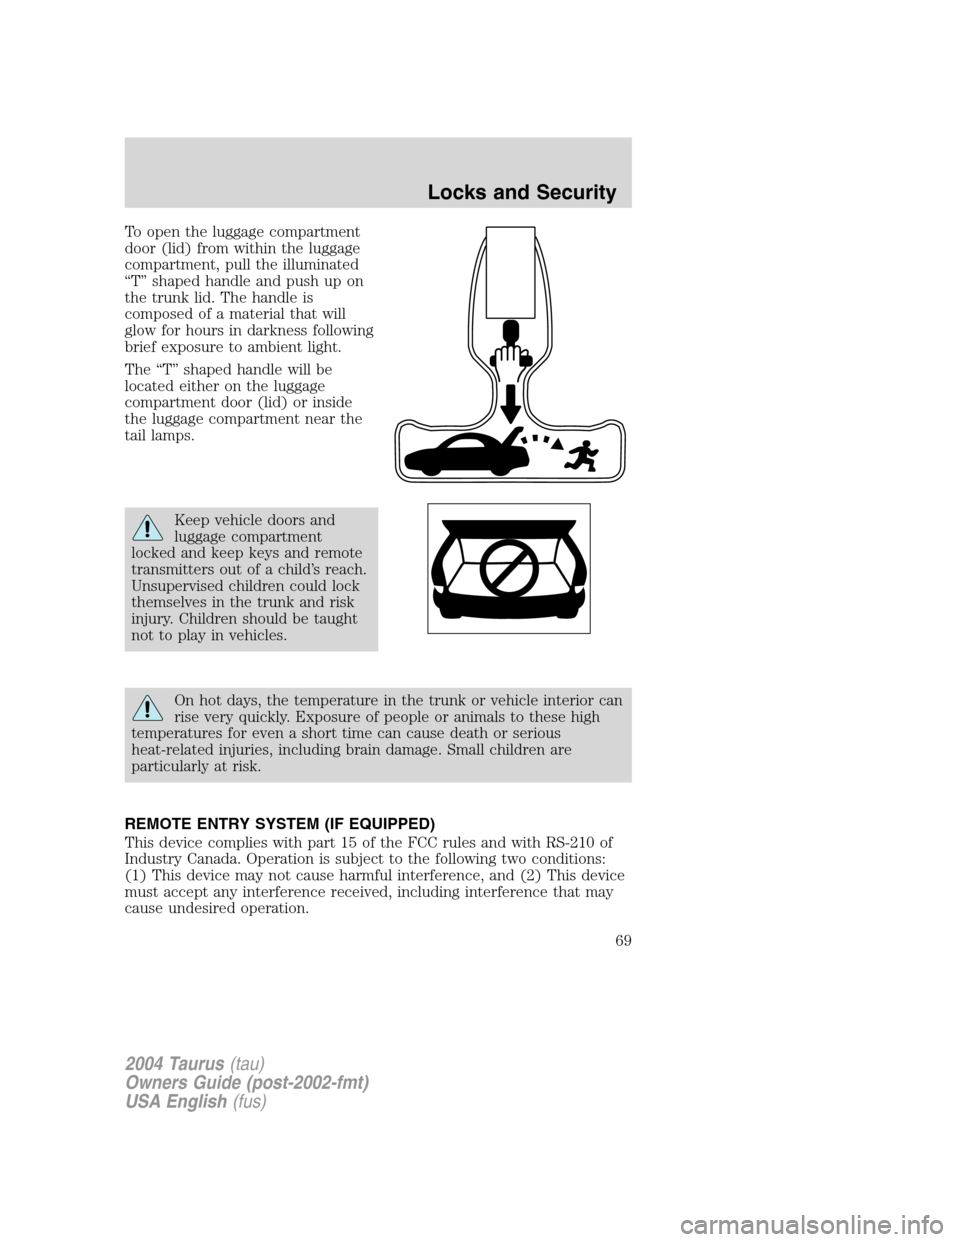
To open the luggage compartment
door (lid) from within the luggage
compartment, pull the illuminated
“T”shaped handle and push up on
the trunk lid. The handle is
composed of a material that will
glow for hours in darkness following
brief exposure to ambient light.
The“T”shaped handle will be
located either on the luggage
compartment door (lid) or inside
the luggage compartment near the
tail lamps.
Keep vehicle doors and
luggage compartment
locked and keep keys and remote
transmitters out of a child’s reach.
Unsupervised children could lock
themselves in the trunk and risk
injury. Children should be taught
not to play in vehicles.
On hot days, the temperature in the trunk or vehicle interior can
rise very quickly. Exposure of people or animals to these high
temperatures for even a short time can cause death or serious
heat-related injuries, including brain damage. Small children are
particularly at risk.
REMOTE ENTRY SYSTEM (IF EQUIPPED)
This device complies with part 15 of the FCC rules and with RS-210 of
Industry Canada. Operation is subject to the following two conditions:
(1) This device may not cause harmful interference, and (2) This device
must accept any interference received, including interference that may
cause undesired operation.
2004 Taurus(tau)
Owners Guide (post-2002-fmt)
USA English(fus)
Locks and Security
69