2004 FORD F150 transmission
[x] Cancel search: transmissionPage 2 of 280
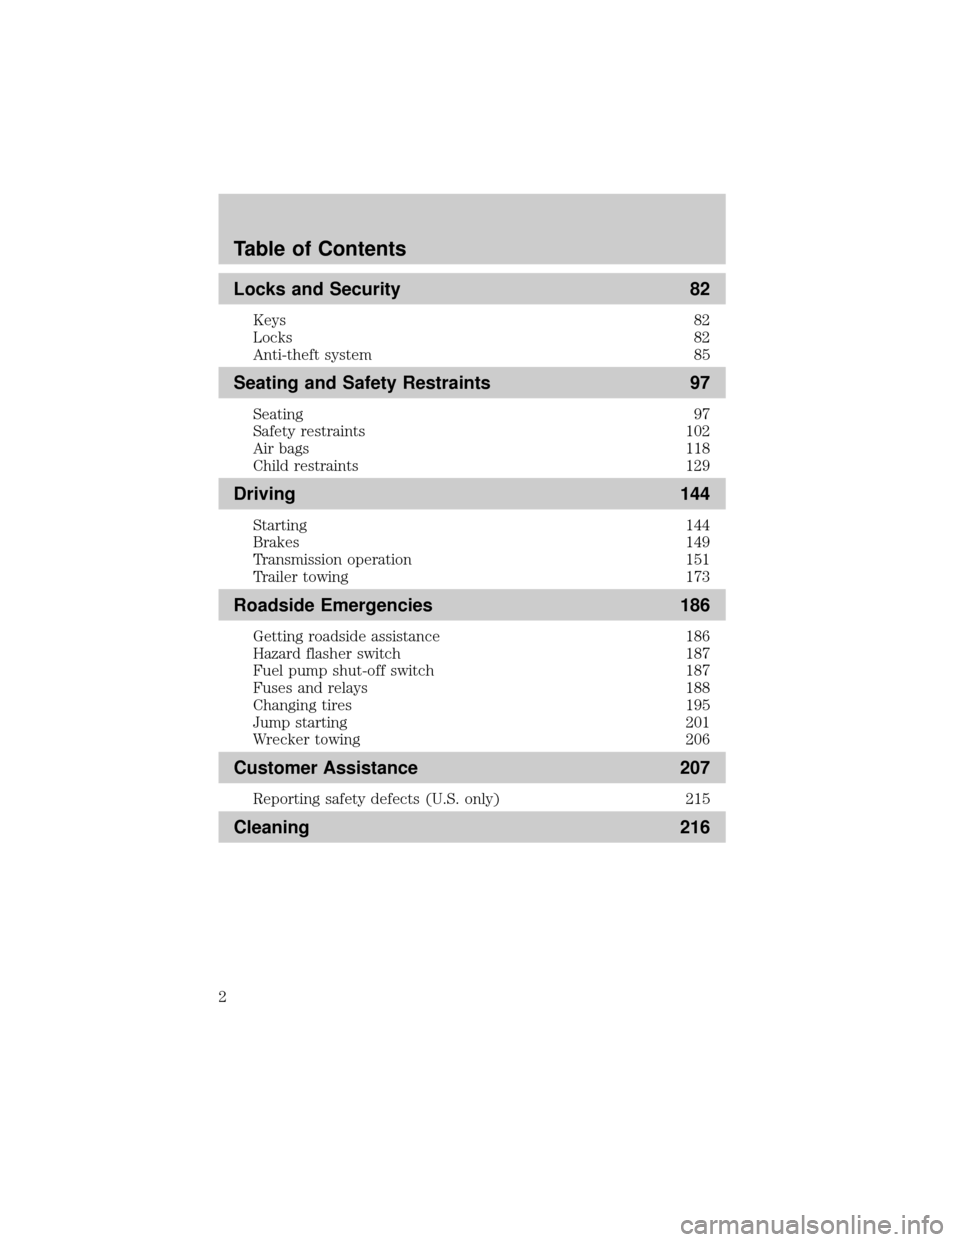
Locks and Security 82
Keys 82
Locks 82
Anti-theft system 85
Seating and Safety Restraints 97
Seating 97
Safety restraints 102
Air bags 118
Child restraints 129
Driving 144
Starting 144
Brakes 149
Transmission operation 151
Trailer towing 173
Roadside Emergencies 186
Getting roadside assistance 186
Hazard flasher switch 187
Fuel pump shut-off switch 187
Fuses and relays 188
Changing tires 195
Jump starting 201
Wrecker towing 206
Customer Assistance 207
Reporting safety defects (U.S. only) 215
Cleaning 216
Table of Contents
2
Page 13 of 280

Charging system:Illuminates when
the battery is not charging properly.
Door ajar:Illuminates when the
ignition is in the ON position and
any door is open.
Overdrive off (if equipped):Illuminates when the overdrive function
of the transmission has been turned off, refer to theDrivingchapter.
²With Mini Message Center
²With Full Message Center
If the light flashes steadily or does
not illuminate, have the transmission
serviced soon, or damage may occur.
Four wheel drive low:Illuminates
when four-wheel drive low is
engaged.
Four wheel drive high:Illuminates
when four-wheel drive high is
engaged.
Speed control:Illuminates when
the speed control is activated. Turns
off when the speed control system
is deactivated.
Turn signal:Illuminates when the
left or right turn signal or the
hazard lights are turned on. If the
indicators stay on or flash faster, check for a burned out bulb.
High beams:Illuminates when the
high beam headlamps are turned on.
O/D
OFF
4x4
LOW
4x4 HI
Instrument Cluster
13
Page 14 of 280

MINI MESSAGE CENTER WARNING DISPLAYS (IF EQUIPPED)
Door ajar:Displays when the
ignition is in the ON position and
any door is open.
Low fuel:Displays when the fuel
level in the fuel tank is at or near
empty (refer toFuel gaugein this
chapter).
Check fuel cap:Displays when the
fuel cap may not be properly
installed. Continued driving with
this display on may cause the
Service engine soon warning light to
come on. Refer toFuel filler capunder theFuel Information sectionin
theMaintenance and Specificationschapter.
Check gauge:Displays when any of
the following conditions has
occurred:
²The engine coolant temperature
is high.
²The engine oil pressure is low.
²The fuel gauge is at or near empty.
Trans Fault:Displays when a
transmission problem has been
detected and shifting may be
restricted. If the light remains on,
have the system serviced
immediately.
Key-in-ignition warning chime:Sounds when the key is left in the
ignition in the OFF/LOCK or ACC position and the driver's door is
opened.
Headlamps on warning chime:Sounds when the headlamps or parking
lamps are on, the ignition is off (the key is not in the ignition) and the
driver's door is opened.
Instrument Cluster
14
Page 67 of 280
also recommended that a new battery be placed in the hand-held
transmitter of the device being programmed to HomeLinktfor quicker
training and accurate transmission of the radio-frequency signal.
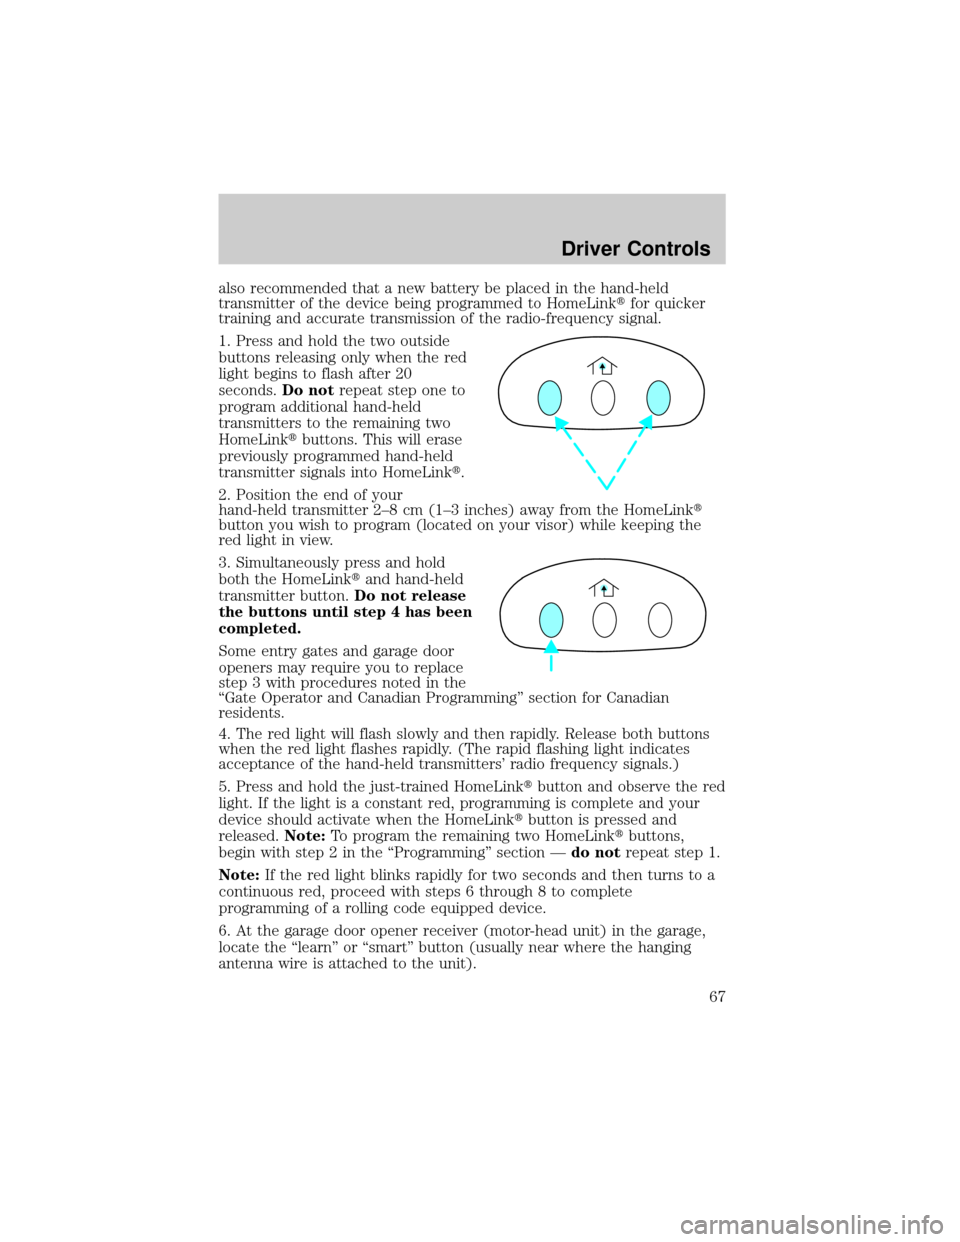
1. Press and hold the two outside
buttons releasing only when the red
light begins to flash after 20
seconds.Do notrepeat step one to
program additional hand-held
transmitters to the remaining two
HomeLinktbuttons. This will erase
previously programmed hand-held
transmitter signals into HomeLinkt.
2. Position the end of your
hand-held transmitter 2±8 cm (1±3 inches) away from the HomeLinkt
button you wish to program (located on your visor) while keeping the
red light in view.
3. Simultaneously press and hold
both the HomeLinktand hand-held
transmitter button.Do not release
the buttons until step 4 has been
completed.
Some entry gates and garage door
openers may require you to replace
step 3 with procedures noted in the
ªGate Operator and Canadian Programmingº section for Canadian
residents.
4. The red light will flash slowly and then rapidly. Release both buttons
when the red light flashes rapidly. (The rapid flashing light indicates
acceptance of the hand-held transmitters' radio frequency signals.)
5. Press and hold the just-trained HomeLinktbutton and observe the red
light. If the light is a constant red, programming is complete and your
device should activate when the HomeLinktbutton is pressed and
released.Note:To program the remaining two HomeLinktbuttons,
begin with step 2 in the ªProgrammingº section Ðdo notrepeat step 1.
Note:If the red light blinks rapidly for two seconds and then turns to a
continuous red, proceed with steps 6 through 8 to complete
programming of a rolling code equipped device.
6. At the garage door opener receiver (motor-head unit) in the garage,
locate the ªlearnº or ªsmartº button (usually near where the hanging
antenna wire is attached to the unit).
Driver Controls
67
Page 100 of 280

Press the control to move the seat
forward, backward, up or down.
Memory seats/adjustable pedals (if equipped)
This system allows automatic
positioning of the driver seat and
adjustable pedals to two
programmable positions.
The memory seat control is located
on the driver's seat.
²To program position one, move
the driver seat, and adjustable
pedals to the desired position.
Press the SET control. The SET
control indicator light will briefly illuminate. While the light is
illuminated, press control 1.
²To program position two, repeat the previous procedure using control
2.
A position can only be recalled when the transmission gearshift is in
Park. A memory position may be programmed at any time.
Heated seats (if equipped)
To operate the heated seats, do the following:
²Push control located on the
instrument panel to set at high
heat.
²Push control again to set at low heat.
²Push again to deactivate.
The indicator light on the control will illuminate when activated.
The system automatically shuts off after 10 minutes.
Seating and Safety Restraints
100
Page 114 of 280
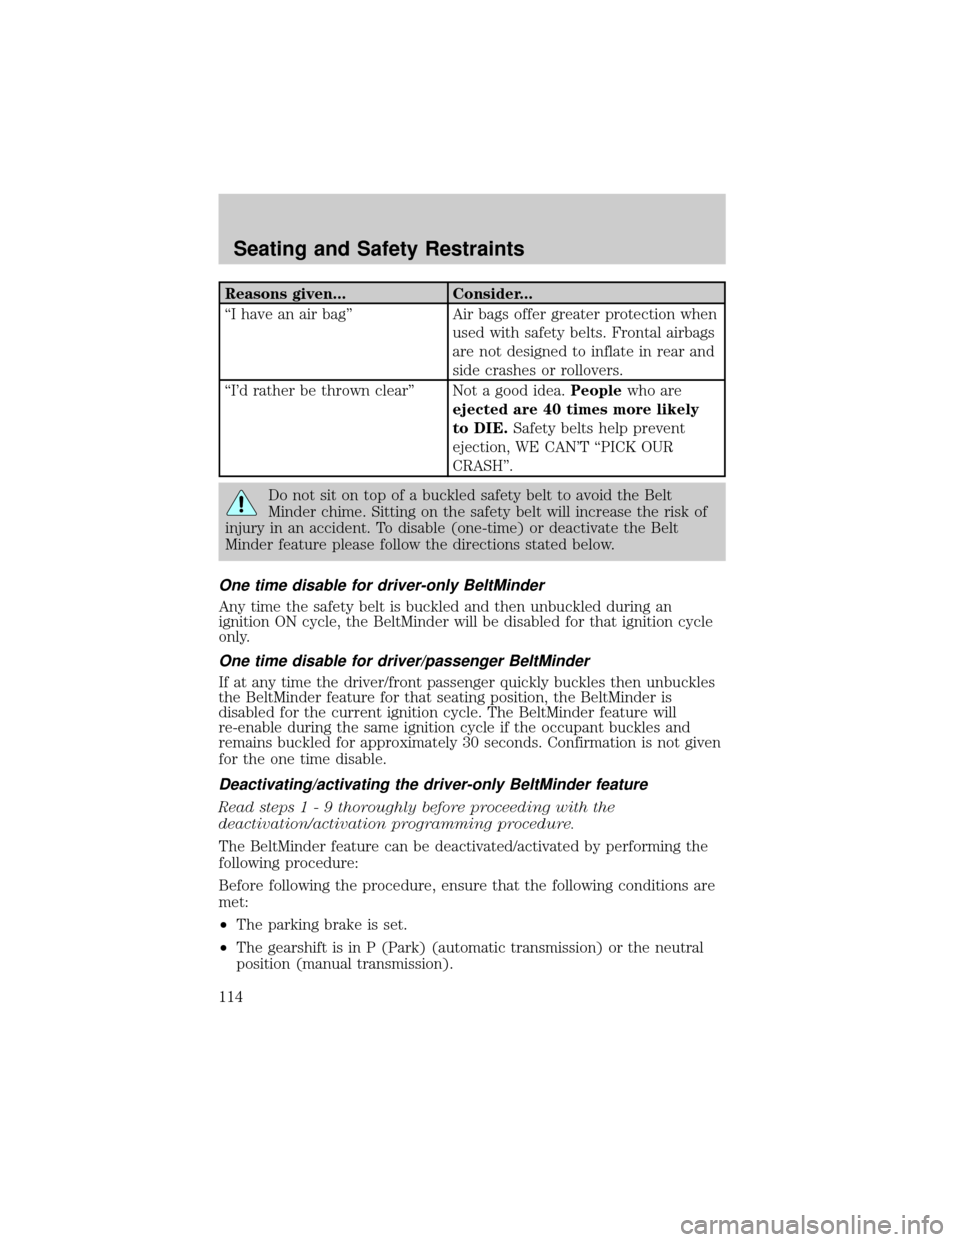
Reasons given... Consider...
ªI have an air bagº Air bags offer greater protection when
used with safety belts. Frontal airbags
are not designed to inflate in rear and
side crashes or rollovers.
ªI'd rather be thrown clearº Not a good idea.Peoplewho are
ejected are 40 times more likely
to DIE.Safety belts help prevent
ejection, WE CAN'T ªPICK OUR
CRASHº.
Do not sit on top of a buckled safety belt to avoid the Belt
Minder chime. Sitting on the safety belt will increase the risk of
injury in an accident. To disable (one-time) or deactivate the Belt
Minder feature please follow the directions stated below.
One time disable for driver-only BeltMinder
Any time the safety belt is buckled and then unbuckled during an
ignition ON cycle, the BeltMinder will be disabled for that ignition cycle
only.
One time disable for driver/passenger BeltMinder
If at any time the driver/front passenger quickly buckles then unbuckles
the BeltMinder feature for that seating position, the BeltMinder is
disabled for the current ignition cycle. The BeltMinder feature will
re-enable during the same ignition cycle if the occupant buckles and
remains buckled for approximately 30 seconds. Confirmation is not given
for the one time disable.
Deactivating/activating the driver-only BeltMinder feature
Read steps1-9thoroughly before proceeding with the
deactivation/activation programming procedure.
The BeltMinder feature can be deactivated/activated by performing the
following procedure:
Before following the procedure, ensure that the following conditions are
met:
²The parking brake is set.
²The gearshift is in P (Park) (automatic transmission) or the neutral
position (manual transmission).
Seating and Safety Restraints
114
Page 116 of 280
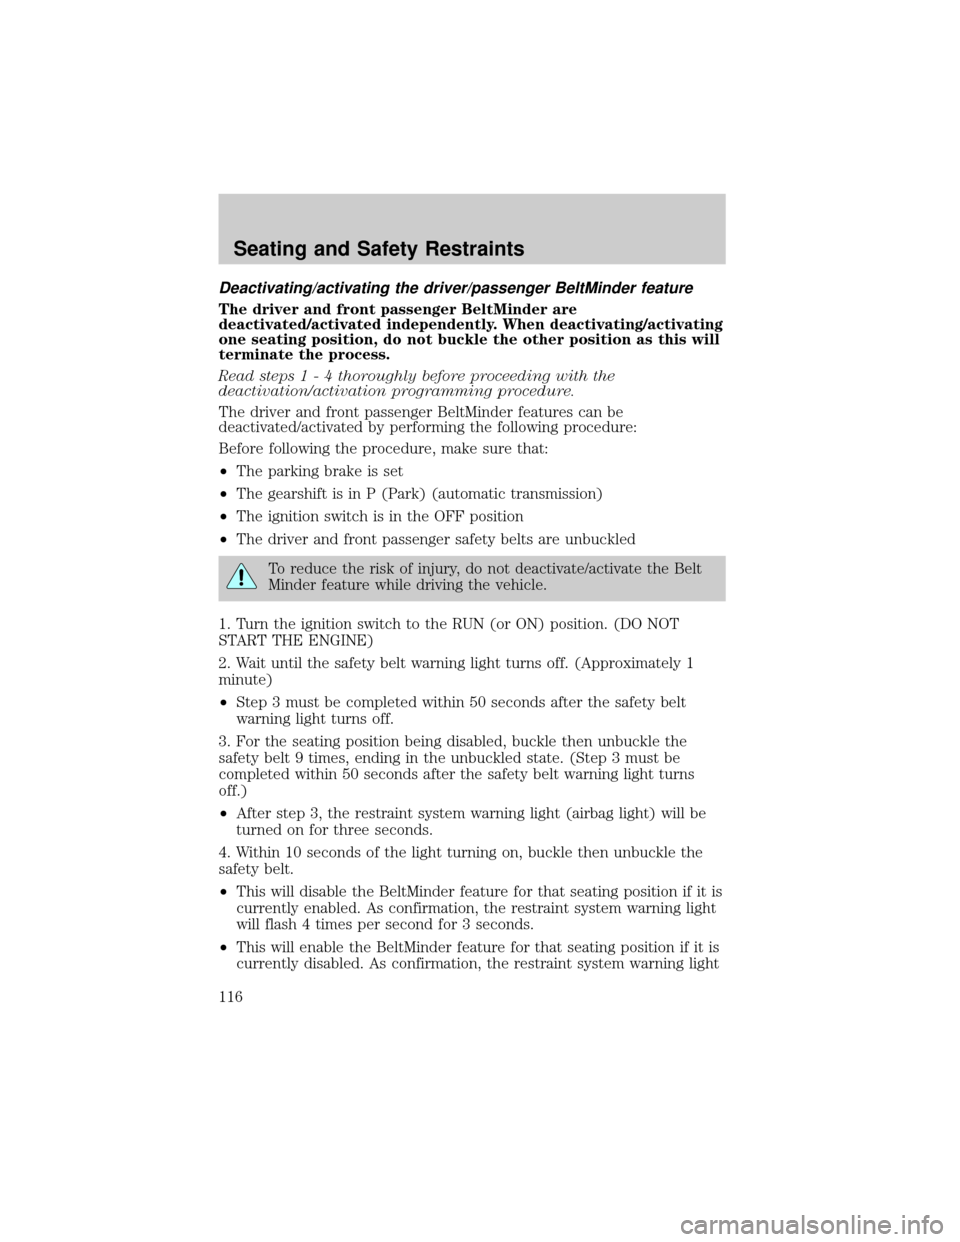
Deactivating/activating the driver/passenger BeltMinder feature
The driver and front passenger BeltMinder are
deactivated/activated independently. When deactivating/activating
one seating position, do not buckle the other position as this will
terminate the process.
Read steps1-4thoroughly before proceeding with the
deactivation/activation programming procedure.
The driver and front passenger BeltMinder features can be
deactivated/activated by performing the following procedure:
Before following the procedure, make sure that:
²The parking brake is set
²The gearshift is in P (Park) (automatic transmission)
²The ignition switch is in the OFF position
²The driver and front passenger safety belts are unbuckled
To reduce the risk of injury, do not deactivate/activate the Belt
Minder feature while driving the vehicle.
1. Turn the ignition switch to the RUN (or ON) position. (DO NOT
START THE ENGINE)
2. Wait until the safety belt warning light turns off. (Approximately 1
minute)
²Step 3 must be completed within 50 seconds after the safety belt
warning light turns off.
3. For the seating position being disabled, buckle then unbuckle the
safety belt 9 times, ending in the unbuckled state. (Step 3 must be
completed within 50 seconds after the safety belt warning light turns
off.)
²After step 3, the restraint system warning light (airbag light) will be
turned on for three seconds.
4. Within 10 seconds of the light turning on, buckle then unbuckle the
safety belt.
²This will disable the BeltMinder feature for that seating position if it is
currently enabled. As confirmation, the restraint system warning light
will flash 4 times per second for 3 seconds.
²This will enable the BeltMinder feature for that seating position if it is
currently disabled. As confirmation, the restraint system warning light
Seating and Safety Restraints
116
Page 144 of 280
STARTING
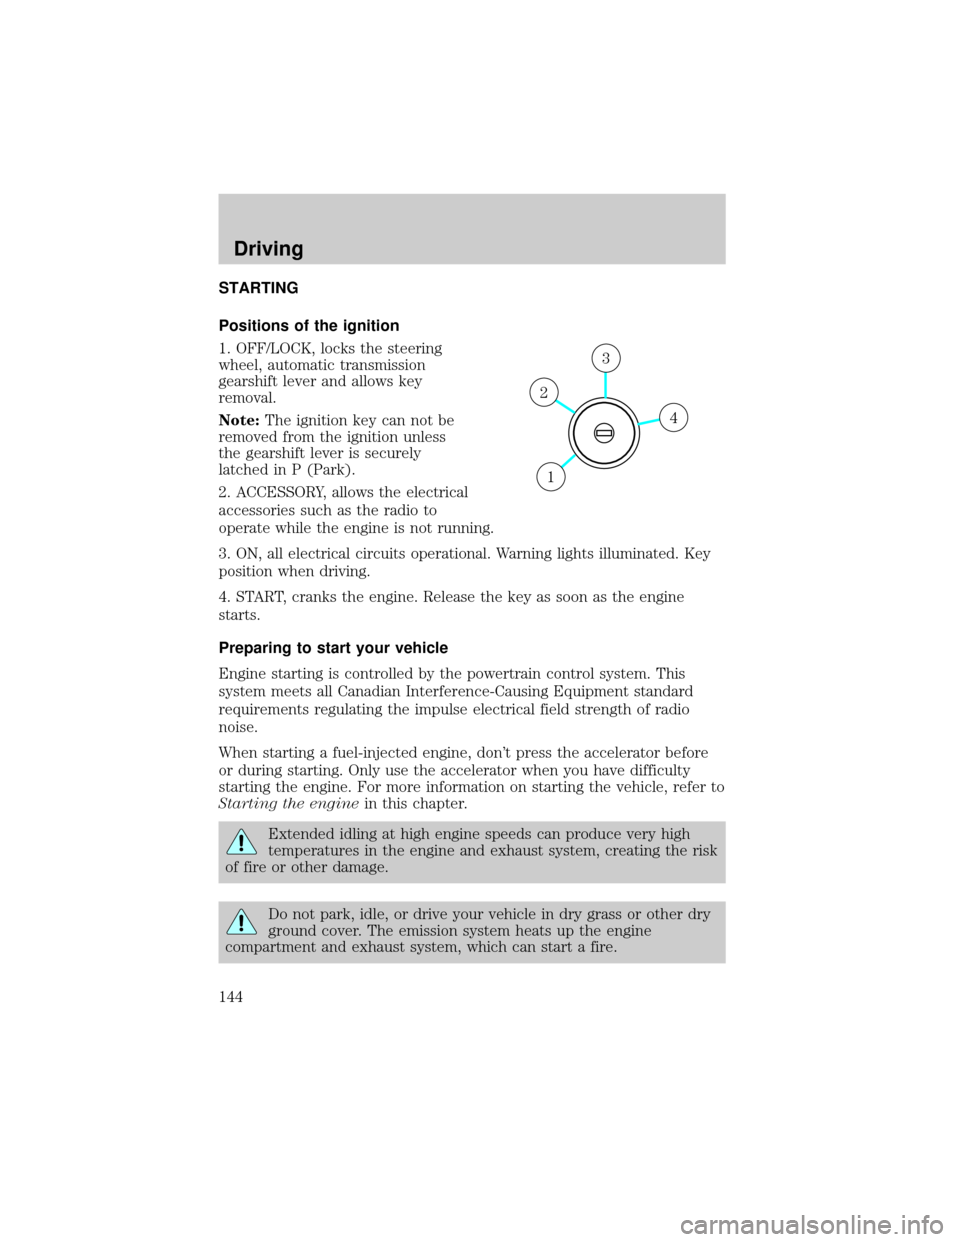
Positions of the ignition
1. OFF/LOCK, locks the steering
wheel, automatic transmission
gearshift lever and allows key
removal.
Note:The ignition key can not be
removed from the ignition unless
the gearshift lever is securely
latched in P (Park).
2. ACCESSORY, allows the electrical
accessories such as the radio to
operate while the engine is not running.
3. ON, all electrical circuits operational. Warning lights illuminated. Key
position when driving.
4. START, cranks the engine. Release the key as soon as the engine
starts.
Preparing to start your vehicle
Engine starting is controlled by the powertrain control system. This
system meets all Canadian Interference-Causing Equipment standard
requirements regulating the impulse electrical field strength of radio
noise.
When starting a fuel-injected engine, don't press the accelerator before
or during starting. Only use the accelerator when you have difficulty
starting the engine. For more information on starting the vehicle, refer to
Starting the enginein this chapter.
Extended idling at high engine speeds can produce very high
temperatures in the engine and exhaust system, creating the risk
of fire or other damage.
Do not park, idle, or drive your vehicle in dry grass or other dry
ground cover. The emission system heats up the engine
compartment and exhaust system, which can start a fire.
4
3
2
1
Driving
Driving
144