2004 FORD F150 radio
[x] Cancel search: radioPage 68 of 280

7. Press and release the ªlearnº or ªsmartº button. (The name and color
of the button may vary by manufacturer.)
Note:There are 30 seconds in which to initiate step eight.
8. Return to the vehicle and firmly press, hold for two seconds and
release the HomeLinktbutton. Repeat the press/hold/release sequence
again, and, depending on the brand of the garage door opener (or other
rolling code equipped device), repeat this sequence a third time to
complete the programming.
HomeLinktshould now activate your rolling code equipped device. To
program additional HomeLinktbuttons begin with step 2 in the
ªProgrammingº section. For questions or comments, please contact
HomeLink atwww.homelink.comor1±800±355±3515.
Gate Operator & Canadian Programming
During programming, your
hand-held transmitter may
automatically stop transmitting Ð
not allowing enough time for
HomeLinktto accept the signal
from the hand-held transmitter.
After completing steps 1 and 2
outlined in theªProgrammingº
section, replace step 3 with the following:
Note:If programming a garage door opener or gate operator, it is
advised to unplug the device during the ªcyclingº process to prevent
overheating.
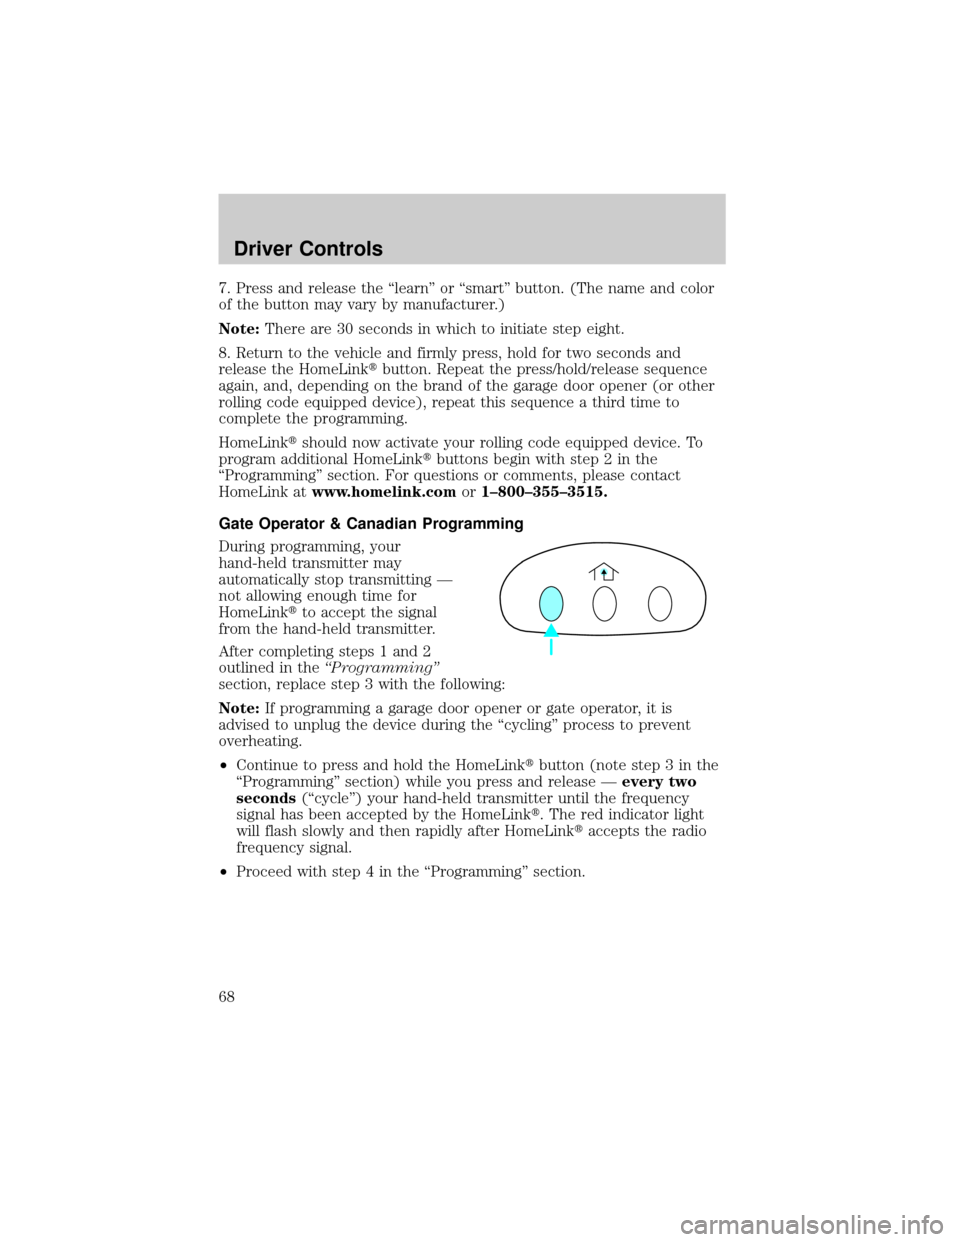
²Continue to press and hold the HomeLinktbutton (note step 3 in the
ªProgrammingº section) while you press and release Ðevery two
seconds(ªcycleº) your hand-held transmitter until the frequency
signal has been accepted by the HomeLinkt. The red indicator light
will flash slowly and then rapidly after HomeLinktaccepts the radio
frequency signal.
²Proceed with step 4 in the ªProgrammingº section.
Driver Controls
68
Page 87 of 280

Activating the memory feature
To activate this feature:
1. Position the seat and adjustable pedals to the positions you desire.
2. Press the SET control on the
driver's door panel.
3. Within 5 five seconds, press one
control on the remote transmitter
and then press the 1 or 2 control on
the driver's door panel to which you
would like to associate with Driver 1
or Driver 2 positions.
4. Repeat this procedure for another
remote transmitter if desired.
Deactivating the memory feature
To deactivate this feature:
1. Press the SET control on the driver's door panel.
2. Within 5 five seconds, press any control on the remote transmitter
which you would like to deactivate and then press the SET control on
the driver's door panel.
3. Repeat this procedure for another remote transmitter if desired.
Replacing the battery
The remote entry transmitter uses one coin type three-volt lithium
battery CR2032 or equivalent. The typical operating range for your
remote entry transmitter is approximately 10 meters (33 feet). A
decrease in the operating range could be caused by:
²weather conditions,
²nearby radio towers,
²structures around the vehicle and
²other vehicles parked next to the vehicle.
SE T
12
Locks and Security
87
Page 128 of 280

that the front passenger frontal air bag is off. When the front passenger
seat is not occupied (empty seat) or in the event that the front passenger
frontal air bag is enabled (may inflate), the indicator light will be unlit.
The indicator light is located in the center stack of the instrument panel
just above the radio.
The front passenger sensing system is designed to turn off the front
passenger's frontal air bag when a rear facing infant seat, a
forward-facing child restraint, or a booster seat is detected. If the child
restraint has been installed and the indicator is not lit, then turn the
vehicle off, remove the child restraint from the vehicle and reinstall the
restraint following the child restraint manufacturer's directions.
The front passenger sensing system is designed to enable (may inflate)
the right front passenger's frontal air bag anytime the system senses that
a person of adult size is sitting properly in the front passenger seat,
unless the air bag on/off switch (if equipped) is turned to the Off
position. When the passenger sensing system has allowed the air bag to
be enabled, the indicator will be unlit and stay unlit to remind you that
the air bag is enabled (may inflate).
If a person of adult-size is sitting in the front passenger's seat, but the
ªpassenger air bag offº or ªpass air bag offº indicator is lit, it could be
that the person isn't sitting properly in the seat , or that the air bag
on/off switch (if equipped) is in the Off position. If this happens, turn
the vehicle off and ask the person to place the seatback in the full
upright position, then sit upright in the seat, centered on the seat
cushion, with the person's legs comfortably extended. Restart the vehicle
and have the person remain in this position for about two minutes. This
will allow the system to detect that person and then enable the
passenger's air bag. If the indicator lamp remains lit even after this, then
the occupant should be advised to ride in the back seat.
After all occupants have adjusted their seats and put on seat belts, it's
very important that they continue to sit upright, with their back against
the seatback, with their feet comfortably extended on the floor while the
vehicle is still in motion. Sitting improperly can increase the chance of
injury in a crash event. For example, if an occupant slouches, lies down,
turns sideways, sits forward, leans forward or sideways, or puts one or
both feet up, the chance of injury during a crash is greatly increased.
Sitting improperly out of position or with the seatback reclined too
far can take off weight from the seat cushion and affect the decision
of the passenger sensing system, resulting in serious injury or death in a
crash. Always sit upright against your seatback, with your feet on the floor.
Seating and Safety Restraints
128
Page 144 of 280

STARTING
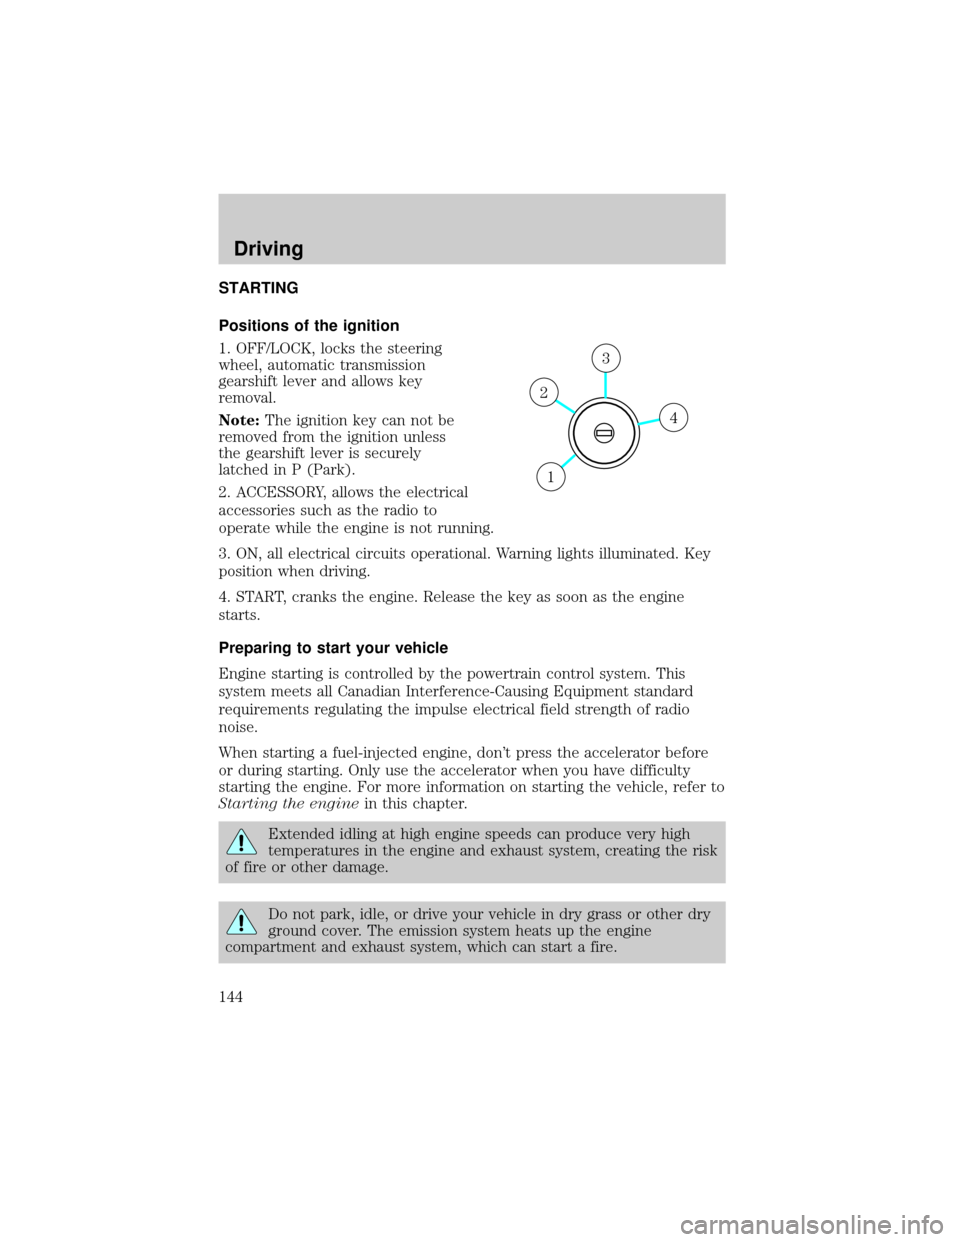
Positions of the ignition
1. OFF/LOCK, locks the steering
wheel, automatic transmission
gearshift lever and allows key
removal.
Note:The ignition key can not be
removed from the ignition unless
the gearshift lever is securely
latched in P (Park).
2. ACCESSORY, allows the electrical
accessories such as the radio to
operate while the engine is not running.
3. ON, all electrical circuits operational. Warning lights illuminated. Key
position when driving.
4. START, cranks the engine. Release the key as soon as the engine
starts.
Preparing to start your vehicle
Engine starting is controlled by the powertrain control system. This
system meets all Canadian Interference-Causing Equipment standard
requirements regulating the impulse electrical field strength of radio
noise.
When starting a fuel-injected engine, don't press the accelerator before
or during starting. Only use the accelerator when you have difficulty
starting the engine. For more information on starting the vehicle, refer to
Starting the enginein this chapter.
Extended idling at high engine speeds can produce very high
temperatures in the engine and exhaust system, creating the risk
of fire or other damage.
Do not park, idle, or drive your vehicle in dry grass or other dry
ground cover. The emission system heats up the engine
compartment and exhaust system, which can start a fire.
4
3
2
1
Driving
Driving
144
Page 190 of 280

The fuses are coded as follows.
Fuse/Relay
LocationFuse Amp
RatingPassenger Compartment Fuse
Panel Description
1 10A* Run/Accessory - Wipers,
Instrument cluster
2 20A* Stop/Turn lamps, Speed control
deactivate switch
3 5A* Power mirrors, Memory logic
power, Memory seats and pedals
4 10A* DVD battery power
5 7.5A* Keep alive memory for Powertrain
Control Module (PCM) and
climate control module
6 15A* Parklamps, BSM, Instrument
panel illumination
7 5A* Radio (start signal)
8 10A* Heated mirrors, Switch indicator
9 Ð Not used
Roadside Emergencies
190
Page 192 of 280

Fuse/Relay
LocationFuse Amp
RatingPassenger Compartment Fuse
Panel Description
27 5A* Passenger Air bag Deactivation
(PAD) warning lamp, Cluster air
bag warning lamp, Cluster RUN
/START power
28 5A* SecuriLock transceiver (PATS)
29 15A* PCM 4x4 power
30 Ð Not used
31 20A* Radio power
32 15A* Vapor Management Valve (VMV),
A/C clutch relay, Canister vent,
Heated Exhaust Gas Oxygen
(HEGO) sensors #11 and #21,
CMCV, Mass Air Flow (MAF)
sensor, VCT
33 15A* Shift solenoid, CMS #12 and #22
34 20A* Fuel injectors and PCM power
35 20A* Instrument cluster high beam
indicator, High beam headlamps
36 10A* Trailer tow right turn/stop lamps
37 20A* Rear power point
38 25A* Subwoofer power
39 20A* Instrument panel power point
40 20A* Low beam headlamps, DRL
41 20A* Cigar lighter, Diagnostic connector
power
42 10A* Trailer tow left turn/stop lamps
101 30A** Starter solenoid
102 20A** Ignition switch feed
103 20A** ABS valves
104 Ð Not used
105 30A** Electric trailer brakes
106 30A** Trailer tow battery charge
Roadside Emergencies
192
Page 230 of 280

Keep batteries out of reach of children. Batteries contain sulfuric
acid. Avoid contact with skin, eyes or clothing. Shield your eyes
when working near the battery to protect against possible splashing of
acid solution. In case of acid contact with skin or eyes, flush
immediately with water for a minimum of 15 minutes and get prompt
medical attention. If acid is swallowed, call a physician immediately.
Battery posts, terminals and related accessories contain lead and
lead compounds.Wash hands after handling.
Because your vehicle's engine is also electronically controlled by a
computer, some control conditions are maintained by power from the
battery. When the battery is disconnected or a new battery is installed,
the engine must relearn its idle and fuel trim strategy for optimum
driveability and performance. To begin this process:
1. With the vehicle at a complete stop, set the parking brake.
2. Put the gearshift in P (Park) (automatic transmission) or the neutral
position (manual transmission), turn off all accessories and start the
engine.
3. Run the engine until it reaches normal operating temperature.
4. Allow the engine to idle for at least one minute.
5. Turn the A/C on and allow the engine to idle for at least one minute.
6. Drive the vehicle to complete the relearning process.
²The vehicle may need to be driven 16 km (10 miles) or more to
relearn the idle and fuel trim strategy.
²If you do not allow the engine to relearn its idle trim, the idle
quality of your vehicle may be adversely affected until the idle
trim is eventually relearned.
If the battery has been disconnected or a new battery has been installed,
the clock and the preset radio stations must be reset once the battery is
reconnected.
Maintenance and Specifications
230
Page 273 of 280

Navigation systems
Remote start
Vehicle security systems
For maximum vehicle performance, keep the following information in
mind when adding accessories or equipment to your vehicle:
²When adding accessories, equipment, passengers and luggage to your
vehicle, do not exceed the total weight capacity of the vehicle or of
the front or rear axle (GVWR or GAWR as indicated on the Safety
Compliance Certification label). Consult your dealer for specific weight
information.
²The Federal Communications Commission (FCC) and Canadian Radio
Telecommunications Commission (CRTC) regulate the use of mobile
communications systems Ð such as two-way radios, telephones and
theft alarms - that are equipped with radio transmitters. Any such
equipment installed in your vehicle should comply with FCC or CRTC
regulations and should be installed only by a qualified service
technician.
²Mobile communications systems may harm the operation of your
vehicle, particularly as they are not properly designed for automotive
use.
Accessories
273