2004 FORD F150 radio
[x] Cancel search: radioPage 27 of 280
Treble:Press to adjust the treble setting. Use//SEEK,
SEEK
.
Bass:Press to adjust the bass setting. Use
//SEEK,
SEEK
.
Balance:Press to adjust the audio between the left and right speakers.
Use
//SEEK, SEEK.
Fade:Press to adjust the audio between the front and rear speakers.
Use
//SEEK, SEEK.
RDS(Available on Audiophile radios only): Allows you to search
RDS-equipped stations for a certain category of music format: Classic,
Country, Info, Jazz, Oldies, R&B, Religious, Rock, Soft, Top 40.
Speed sensitive volume:Radio volume automatically changes slightly
with vehicle speed to compensate for road and wind noise. Press MENU
to access and use
//SEEK, SEEKto adjust.
Traffic(Available on Audiophile radios only): Allows you to hear traffic
broadcasts. With the feature ON, press SEEK or SCAN to find a station
broadcasting a traffic report (if it is broadcasting RDS data).Traffic
information is not available in most U.S. markets.
Compression:Brings soft and loud CD passages together for a more
consistent listening level.
Ambiance(Available on Audiophile radios only): This feature gives the
feeling of ªbeing thereº to your music, creating increased clarity as well
as an open and spacious feel to the music. Press MENU to access then
use
//SEEK, SEEKto adjust. Turn the volume control to
increase/decrease the level of ambiance.
Occupancy mode:(Available on Audiophile radios only): Press MENU to
access. Use
//SEEK, SEEKselect and optimize sound for
ALL SEATS, DRIVER SEAT or REAR SEATS.
Autoset:Allows you to set the strongest local radio stations without
losing your original manually set preset stations for AM/FM1/FM2 . Press
MENU to access. Use
//SEEK, SEEKto set.
When the six strongest stations are filled, the station stored in preset 1
will begin playing. If there are less than six strong stations, the system
will store the last one in the remaining presets.
Entertainment Systems
27
Page 28 of 280
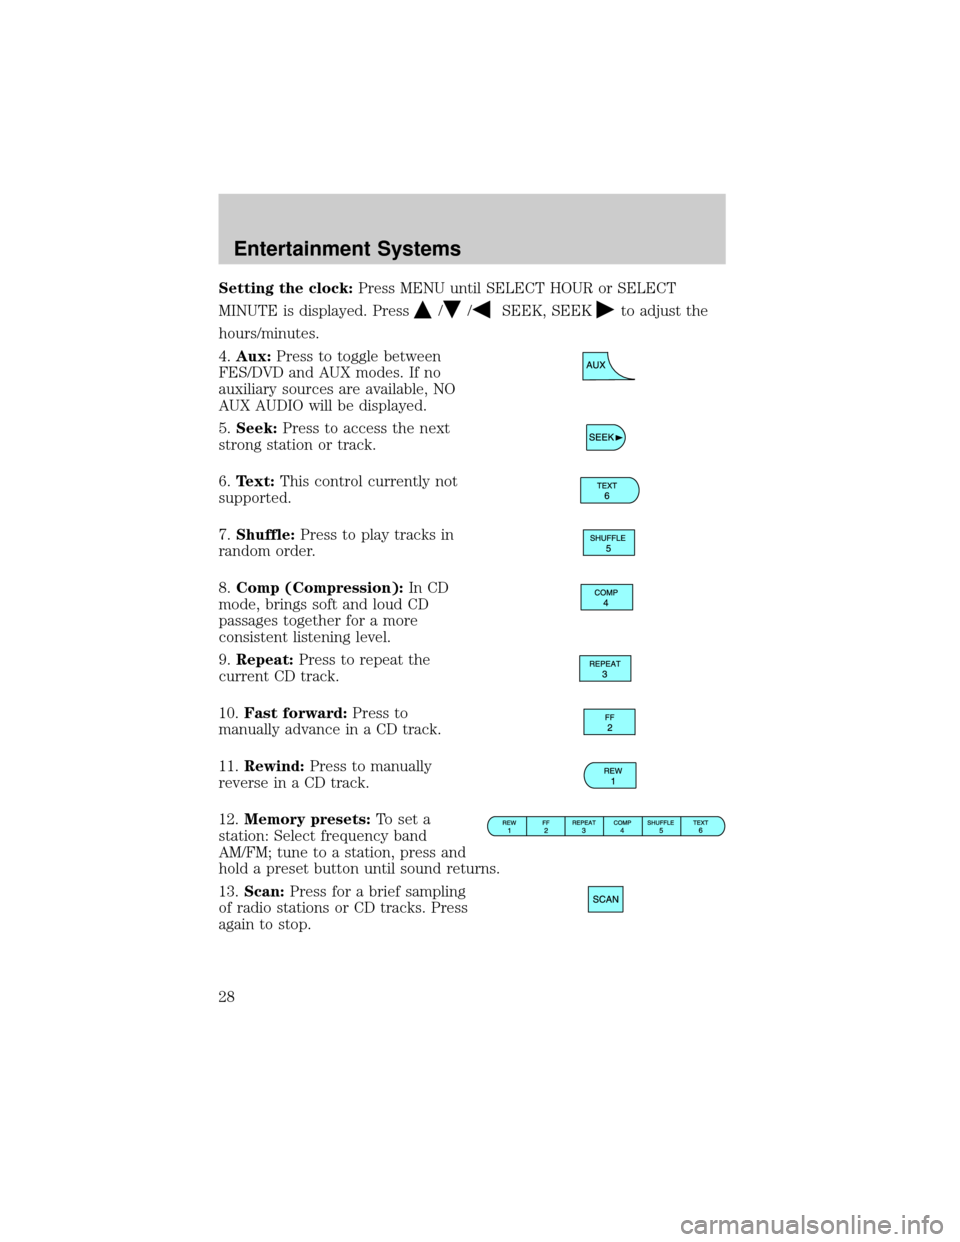
Setting the clock:Press MENU until SELECT HOUR or SELECT
MINUTE is displayed. Press
//SEEK, SEEKto adjust the
hours/minutes.
4.Aux:Press to toggle between
FES/DVD and AUX modes. If no
auxiliary sources are available, NO
AUX AUDIO will be displayed.
5.Seek:Press to access the next
strong station or track.
6.Text:This control currently not
supported.
7.Shuffle:Press to play tracks in
random order.
8.Comp (Compression):In CD
mode, brings soft and loud CD
passages together for a more
consistent listening level.
9.Repeat:Press to repeat the
current CD track.
10.Fast forward:Press to
manually advance in a CD track.
11.Rewind:Press to manually
reverse in a CD track.
12.Memory presets:To set a
station: Select frequency band
AM/FM; tune to a station, press and
hold a preset button until sound returns.
13.Scan:Press for a brief sampling
of radio stations or CD tracks. Press
again to stop.
Entertainment Systems
28
Page 29 of 280
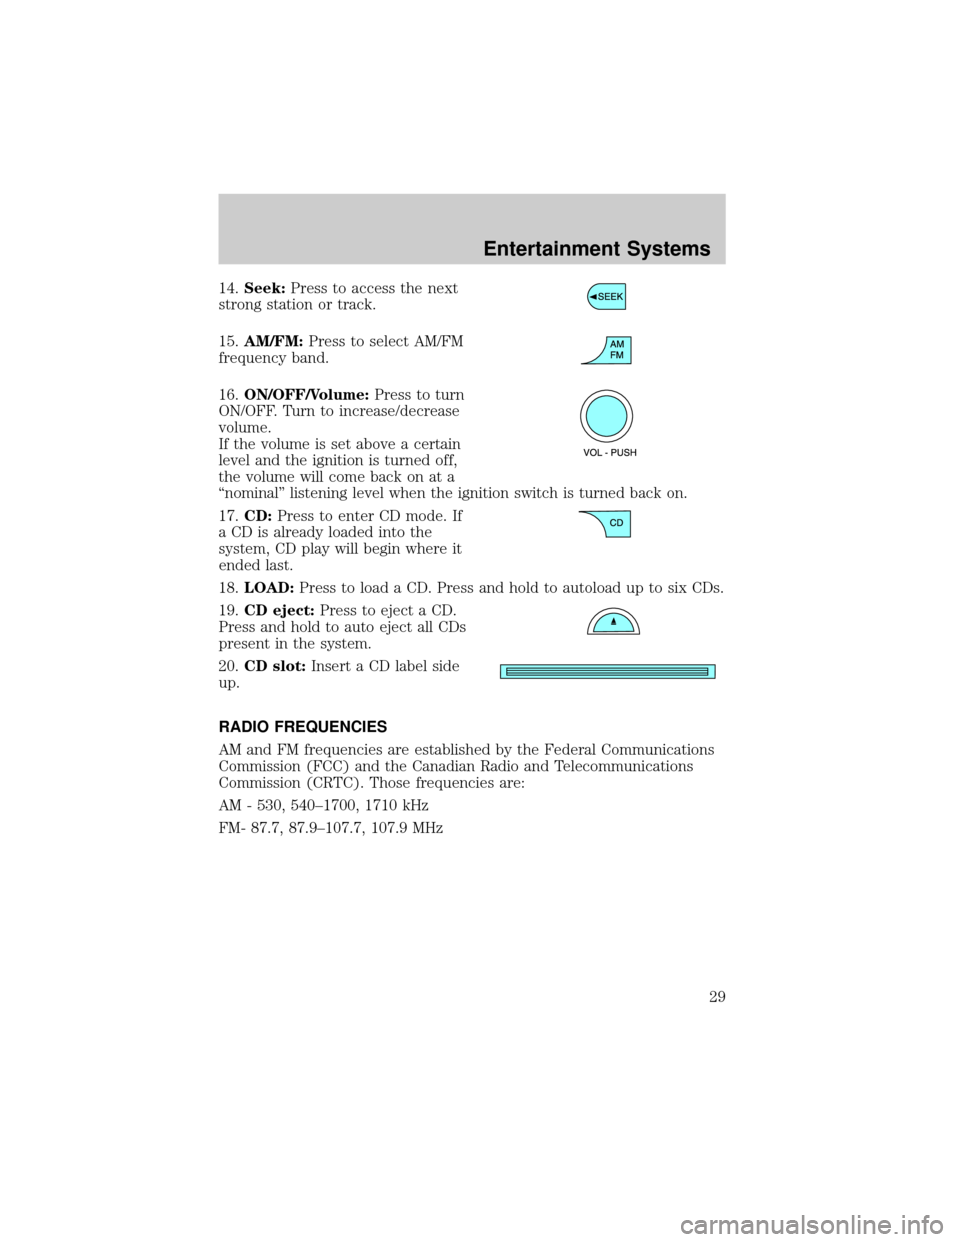
14.Seek:Press to access the next
strong station or track.
15.AM/FM:Press to select AM/FM
frequency band.
16.ON/OFF/Volume:Press to turn
ON/OFF. Turn to increase/decrease
volume.
If the volume is set above a certain
level and the ignition is turned off,
the volume will come back on at a
ªnominalº listening level when the ignition switch is turned back on.
17.CD:Press to enter CD mode. If
a CD is already loaded into the
system, CD play will begin where it
ended last.
18.LOAD:Press to load a CD. Press and hold to autoload up to six CDs.
19.CD eject:Press to eject a CD.
Press and hold to auto eject all CDs
present in the system.
20.CD slot:Insert a CD label side
up.
RADIO FREQUENCIES
AM and FM frequencies are established by the Federal Communications
Commission (FCC) and the Canadian Radio and Telecommunications
Commission (CRTC). Those frequencies are:
AM - 530, 540±1700, 1710 kHz
FM- 87.7, 87.9±107.7, 107.9 MHz
Entertainment Systems
29
Page 30 of 280

RADIO RECEPTION FACTORS
There are three factors that can affect radio reception:
²Distance/strength: The further you travel from an FM station, the
weaker the signal and the weaker the reception.
²Terrain: Hills, mountains, tall buildings, power lines, electric fences,
traffic lights and thunderstorms can interfere with your reception.
²Station overload: When you pass a broadcast tower, a stronger signal
may overtake a weaker one and play while the weak station frequency
is displayed.
CASSETTE/PLAYER CARE
Do:
²Use only cassettes that are 90 minutes long or less.
²Tighten very loose tapes by inserting a finger or pencil into the hole
and turning the hub.
²Remove loose labels before inserting tapes.
²Allow tapes which have been subjected to extreme heat, humidity or
cold to reach a moderate temperature before playing.
²Clean the cassette player head with a cassette cleaning cartridge after
10±12 hours of play to maintain good sound/operation.
Don't:
²Expose tapes to direct sunlight, extreme humidity, heat or cold.
²Leave tapes in the cassette player for a long time when not being
played.
CD/CD PLAYER CARE
Do:
²Handle discs by their edges only. Never touch the playing surface.
²Inspect discs before playing. Clean only with an approved CD cleaner
and wipe from the center out.
Don't:
²Expose discs to direct sunlight or heat sources for extended periods
of time.
²Insert more than one disc into each slot of the CD changer magazine.
²Clean using a circular motion.
Entertainment Systems
30
Page 57 of 280
CENTER CONSOLE (IF EQUIPPED)
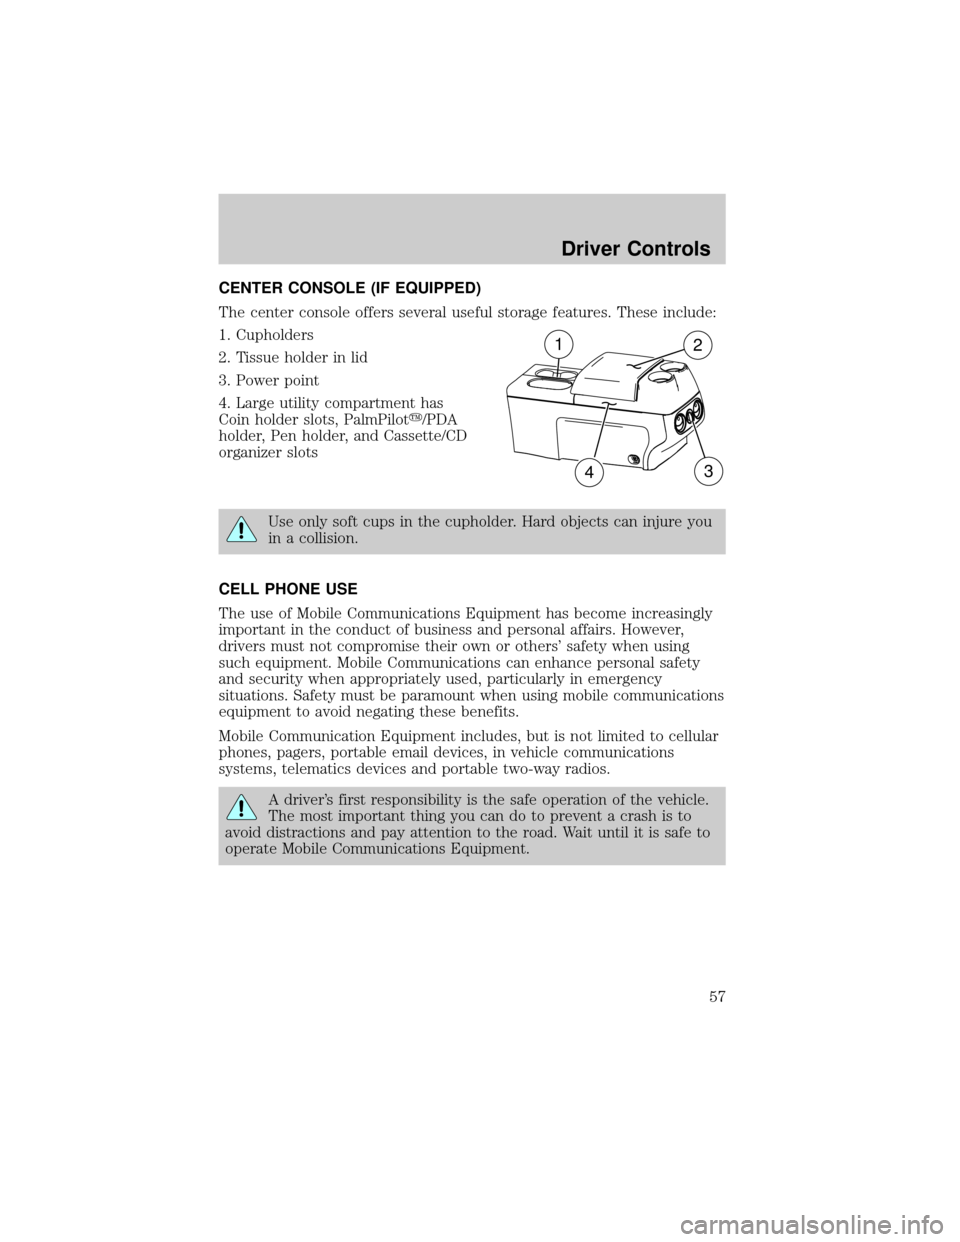
The center console offers several useful storage features. These include:
1. Cupholders
2. Tissue holder in lid
3. Power point
4. Large utility compartment has
Coin holder slots, PalmPiloty/PDA
holder, Pen holder, and Cassette/CD
organizer slots
Use only soft cups in the cupholder. Hard objects can injure you
in a collision.
CELL PHONE USE
The use of Mobile Communications Equipment has become increasingly
important in the conduct of business and personal affairs. However,
drivers must not compromise their own or others' safety when using
such equipment. Mobile Communications can enhance personal safety
and security when appropriately used, particularly in emergency
situations. Safety must be paramount when using mobile communications
equipment to avoid negating these benefits.
Mobile Communication Equipment includes, but is not limited to cellular
phones, pagers, portable email devices, in vehicle communications
systems, telematics devices and portable two-way radios.
A driver's first responsibility is the safe operation of the vehicle.
The most important thing you can do to prevent a crash is to
avoid distractions and pay attention to the road. Wait until it is safe to
operate Mobile Communications Equipment.
12
34
Driver Controls
57
Page 64 of 280
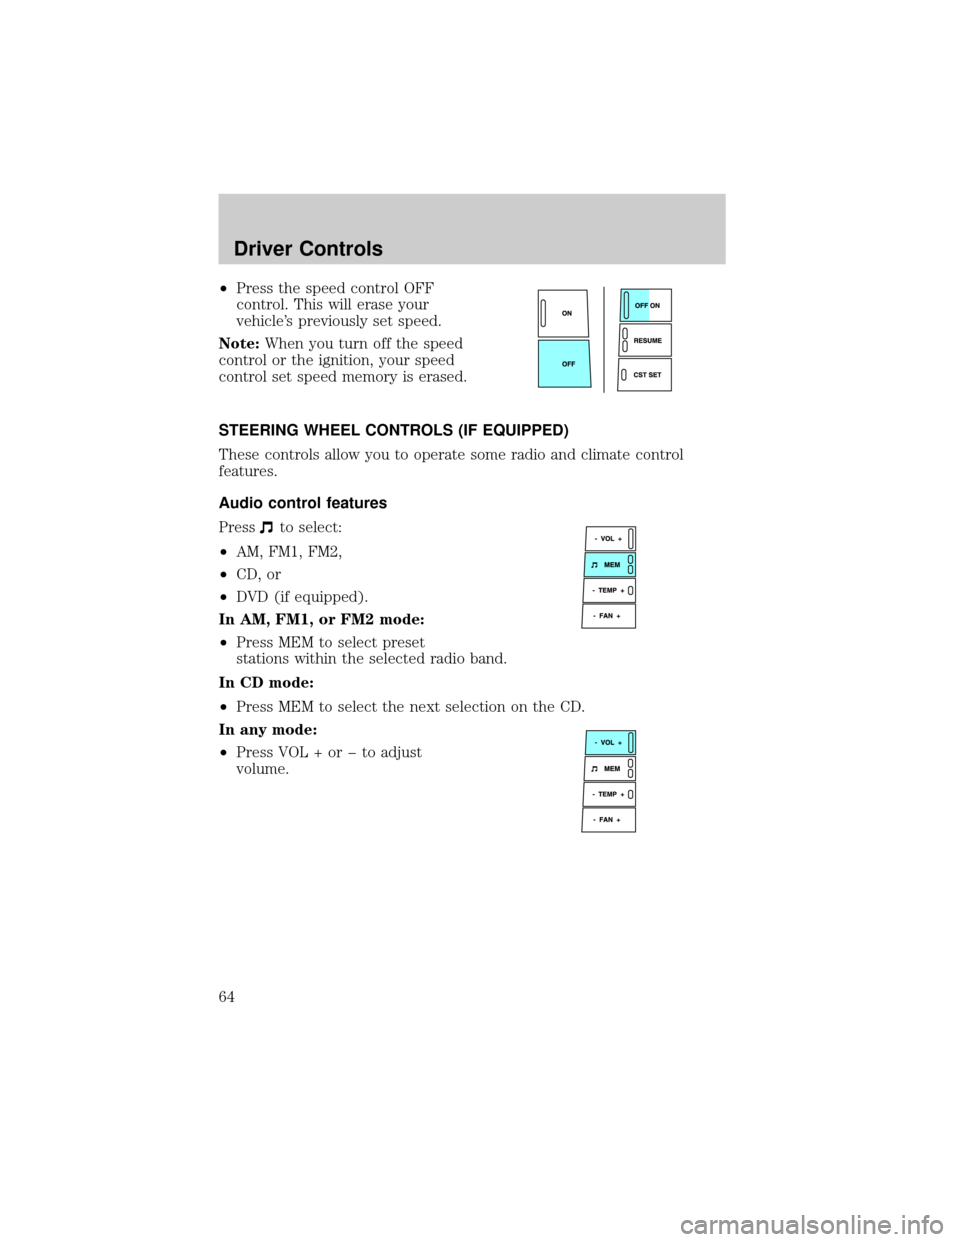
²Press the speed control OFF
control. This will erase your
vehicle's previously set speed.
Note:When you turn off the speed
control or the ignition, your speed
control set speed memory is erased.
STEERING WHEEL CONTROLS (IF EQUIPPED)
These controls allow you to operate some radio and climate control
features.
Audio control features
Press
to select:
²AM, FM1, FM2,
²CD, or
²DVD (if equipped).
In AM, FM1, or FM2 mode:
²Press MEM to select preset
stations within the selected radio band.
In CD mode:
²Press MEM to select the next selection on the CD.
In any mode:
²Press VOL + or þ to adjust
volume.
Driver Controls
64
Page 66 of 280
To vent the moon roof:Press and hold thecontrol.The moon
roof must be in the closed position in order to move it into the
vent position.To close, press and hold the
control until the glass
panel stops moving.
The moon roof has a built-in sliding shade that can be manually opened
or closed when the glass panel is shut. To close the shade, pull it toward
the front of the vehicle.
When closing the moon roof, you should verify that it is free of
obstructions and ensure that children and/or pets are not in the
proximity of the moon roof opening.
HOMELINKTWIRELESS CONTROL SYSTEM (IF EQUIPPED)
The HomeLinktWireless Control System, located on the driver's visor,
provides a convenient way to replace up to three hand-held transmitters
with a single built-in device. This feature will learn the radio frequency
codes of most current transmitters to operate garage doors, entry gate
operators, security systems, entry door locks, and home or office lighting.
When programming your HomeLinktWireless Control System to
a garage door or gate, be sure that people and objects are out of
the way to prevent potential harm or damage.
Do not use the HomeLinktWireless Control System with any garage
door opener that lacks safety stop and reverse features as required by
U.S. federal safety standards (this includes any garage door opener
model manufactured before April 1, 1982). A garage door which cannot
detect an object, signaling the door to stop and reverse, does not meet
current U.S. federal safety standards. For more information, contact
HomeLinktat:www.homelink.comor1±800±355±3515.
Retain the original transmitter for use in other vehicles as well as for
future programming procedures (i.e. new HomeLinktequipped vehicle
purchase). It is also suggested that upon the sale of the vehicle, the
programmed Homelinktbuttons be erased for security purposes, refer to
Programmingin this section.
Programming
Do not program HomeLinktwith the vehicle parked in the garage.
Note:Your vehicle may require the ignition switch to be turned to the
ACC position for programming and/or operation of the HomeLinkt.Itis
Driver Controls
66
Page 67 of 280
also recommended that a new battery be placed in the hand-held
transmitter of the device being programmed to HomeLinktfor quicker
training and accurate transmission of the radio-frequency signal.
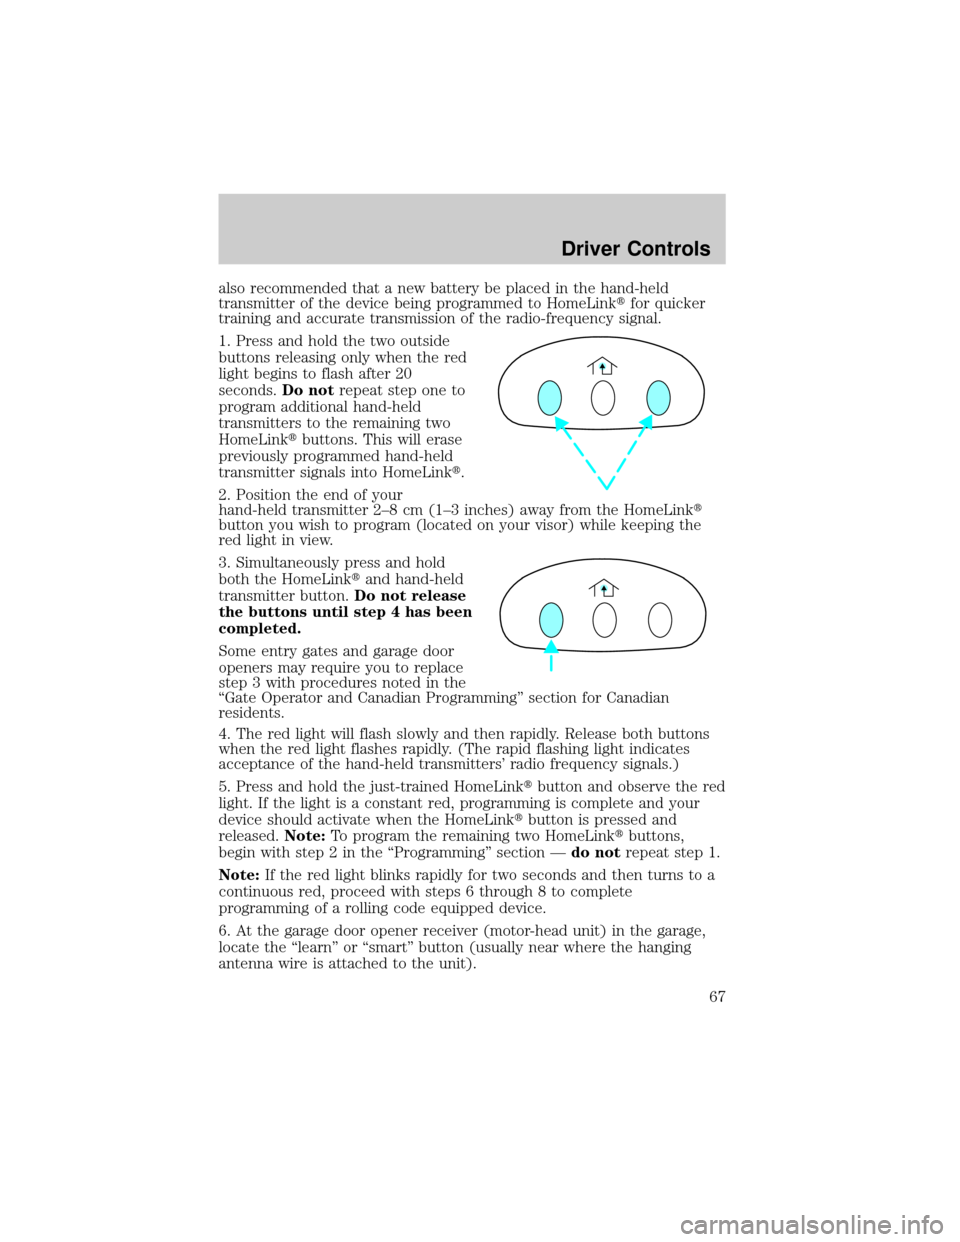
1. Press and hold the two outside
buttons releasing only when the red
light begins to flash after 20
seconds.Do notrepeat step one to
program additional hand-held
transmitters to the remaining two
HomeLinktbuttons. This will erase
previously programmed hand-held
transmitter signals into HomeLinkt.
2. Position the end of your
hand-held transmitter 2±8 cm (1±3 inches) away from the HomeLinkt
button you wish to program (located on your visor) while keeping the
red light in view.
3. Simultaneously press and hold
both the HomeLinktand hand-held
transmitter button.Do not release
the buttons until step 4 has been
completed.
Some entry gates and garage door
openers may require you to replace
step 3 with procedures noted in the
ªGate Operator and Canadian Programmingº section for Canadian
residents.
4. The red light will flash slowly and then rapidly. Release both buttons
when the red light flashes rapidly. (The rapid flashing light indicates
acceptance of the hand-held transmitters' radio frequency signals.)
5. Press and hold the just-trained HomeLinktbutton and observe the red
light. If the light is a constant red, programming is complete and your
device should activate when the HomeLinktbutton is pressed and
released.Note:To program the remaining two HomeLinktbuttons,
begin with step 2 in the ªProgrammingº section Ðdo notrepeat step 1.
Note:If the red light blinks rapidly for two seconds and then turns to a
continuous red, proceed with steps 6 through 8 to complete
programming of a rolling code equipped device.
6. At the garage door opener receiver (motor-head unit) in the garage,
locate the ªlearnº or ªsmartº button (usually near where the hanging
antenna wire is attached to the unit).
Driver Controls
67