Page 41 of 296

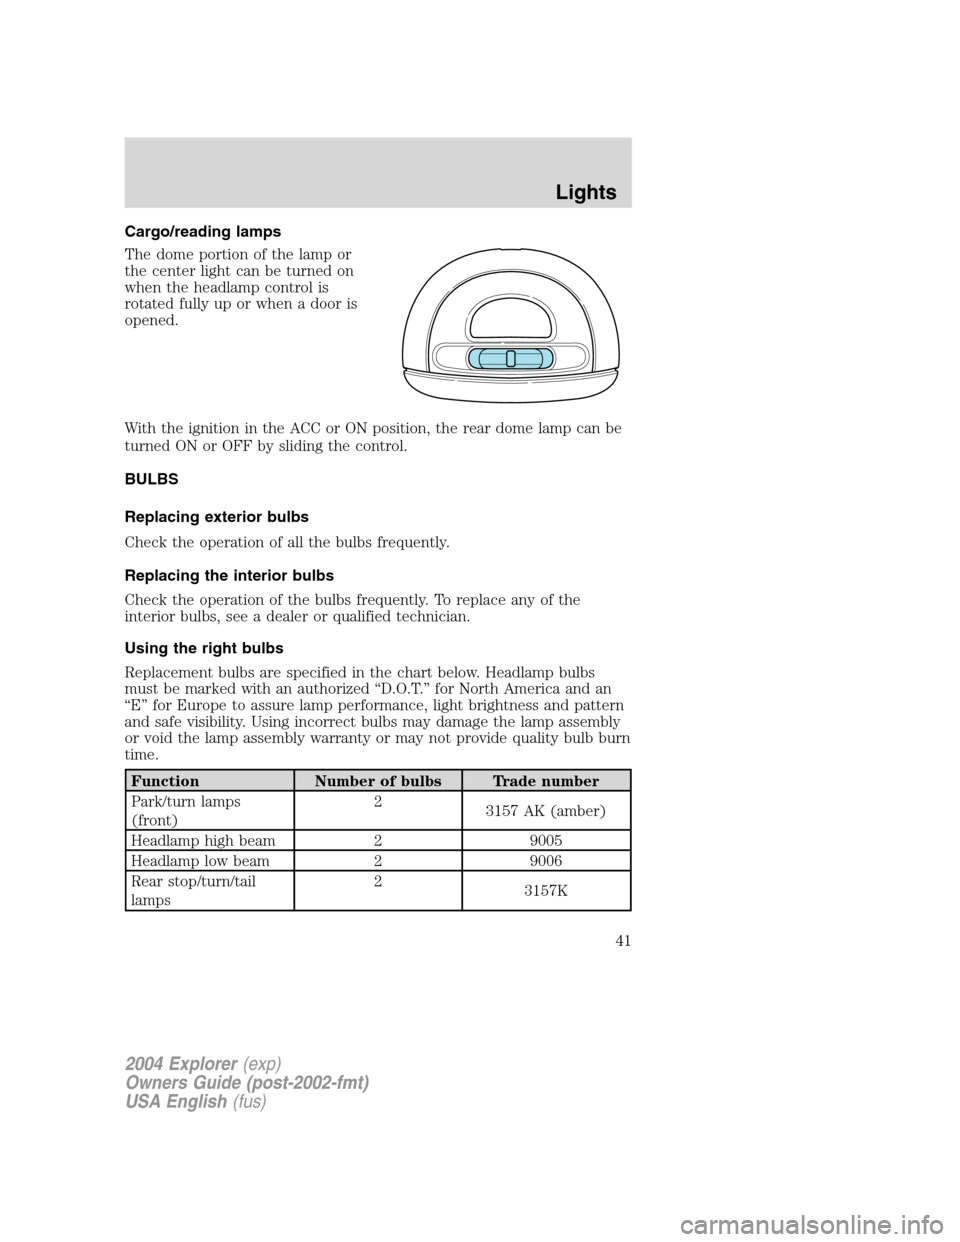
Cargo/reading lamps
The dome portion of the lamp or
the center light can be turned on
when the headlamp control is
rotated fully up or when a door is
opened.
With the ignition in the ACC or ON position, the rear dome lamp can be
turned ON or OFF by sliding the control.
BULBS
Replacing exterior bulbs
Check the operation of all the bulbs frequently.
Replacing the interior bulbs
Check the operation of the bulbs frequently. To replace any of the
interior bulbs, see a dealer or qualified technician.
Using the right bulbs
Replacement bulbs are specified in the chart below. Headlamp bulbs
must be marked with an authorized “D.O.T.” for North America and an
“E” for Europe to assure lamp performance, light brightness and pattern
and safe visibility. Using incorrect bulbs may damage the lamp assembly
or void the lamp assembly warranty or may not provide quality bulb burn
time.
Function Number of bulbs Trade number
Park/turn lamps
(front)2
3157 AK (amber)
Headlamp high beam 2 9005
Headlamp low beam 2 9006
Rear stop/turn/tail
lamps2
3157K
2004 Explorer(exp)
Owners Guide (post-2002-fmt)
USA English(fus)
Lights
41
Page 42 of 296
Function Number of bulbs Trade number
Rear license plate
lamps2
168
Backup lamp 2 3156K
High-mount stop
lamps5
W5W
Fog lamp 2 9145
Cargo lamp 1 211-2
Interior overhead lamp 1 912 (906)
Front door courtesy
lamp1
168
Map lamps 2 168 (T10)
Ashtray lamp 1 161
All replacement bulbs are clear in color except where noted.
To replace all instrument panel lights - see your dealer.
Replacing headlamp bulbs
Do not touch the glass of a halogen bulb.
1. Turn off the headlamps and open
the hood.
2. Pry up the two retainer pins until
they stop to release the headlamp
assembly from the vehicle, then pull
headlamp forward.
2004 Explorer(exp)
Owners Guide (post-2002-fmt)
USA English(fus)
Lights
42
Page 43 of 296
3. Disconnect the electrical
connector by pushing the center tab
and pulling down.
4. Remove the old bulb by turning
counterclockwise to unlock and pull
it out.
Handle a halogen headlamp bulb carefully and keep out of
children’s reach. Grasp the bulb only by its plastic base and do
not touch the glass. The oil from your hand could cause the bulb to
break the next time the headlamps are operated.
Reverse steps to reinstall bulb(s).
Replacing front parking lamp/turn signal/sidemarker bulbs
1. Turn off the headlamp switch to
off.
2. Remove headlamp screw from the
bulb assembly.
3. Disengage lamp assembly.
4. Rotate the bulb socket
counterclockwise and remove it
from the lamp assembly.
5. Pull the bulb straight out of the
socket.
Reverse steps to reinstall bulb(s).
2004 Explorer(exp)
Owners Guide (post-2002-fmt)
USA English(fus)
Lights
43
Page 44 of 296

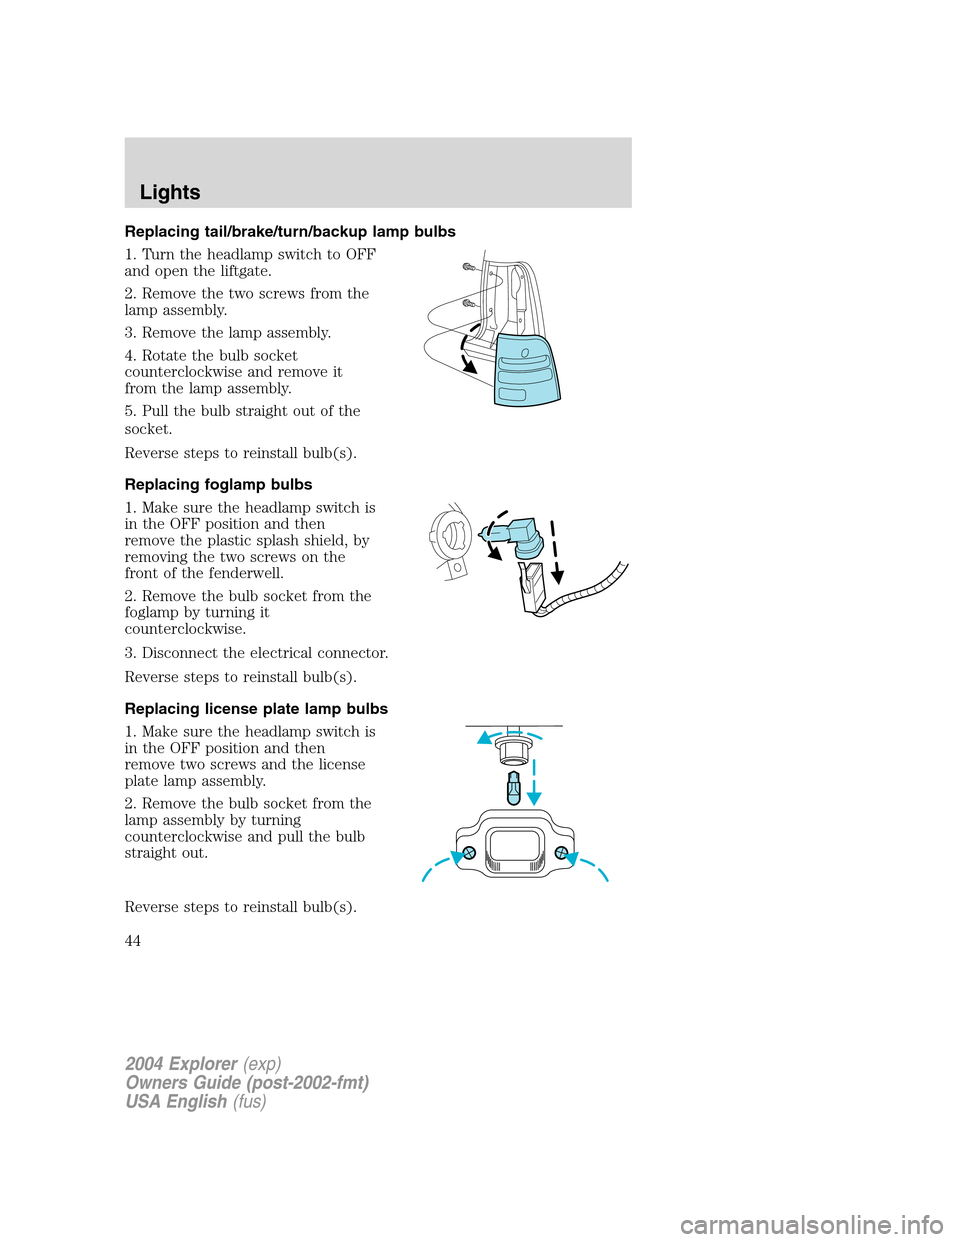
Replacing tail/brake/turn/backup lamp bulbs
1. Turn the headlamp switch to OFF
and open the liftgate.
2. Remove the two screws from the
lamp assembly.
3. Remove the lamp assembly.
4. Rotate the bulb socket
counterclockwise and remove it
from the lamp assembly.
5. Pull the bulb straight out of the
socket.
Reverse steps to reinstall bulb(s).
Replacing foglamp bulbs
1. Make sure the headlamp switch is
in the OFF position and then
remove the plastic splash shield, by
removing the two screws on the
front of the fenderwell.
2. Remove the bulb socket from the
foglamp by turning it
counterclockwise.
3. Disconnect the electrical connector.
Reverse steps to reinstall bulb(s).
Replacing license plate lamp bulbs
1. Make sure the headlamp switch is
in the OFF position and then
remove two screws and the license
plate lamp assembly.
2. Remove the bulb socket from the
lamp assembly by turning
counterclockwise and pull the bulb
straight out.
Reverse steps to reinstall bulb(s).
2004 Explorer(exp)
Owners Guide (post-2002-fmt)
USA English(fus)
Lights
44
Page 45 of 296
Replacing high-mount brakelamp bulb
1. Remove the two screws and lamp
assembly from vehicle.
2. Remove the bulb socket from the
lamp assembly by depressing the
snaps and pull the bulb straight out.
Reverse steps to reinstall bulb(s).
2004 Explorer(exp)
Owners Guide (post-2002-fmt)
USA English(fus)
Lights
45
Page 50 of 296

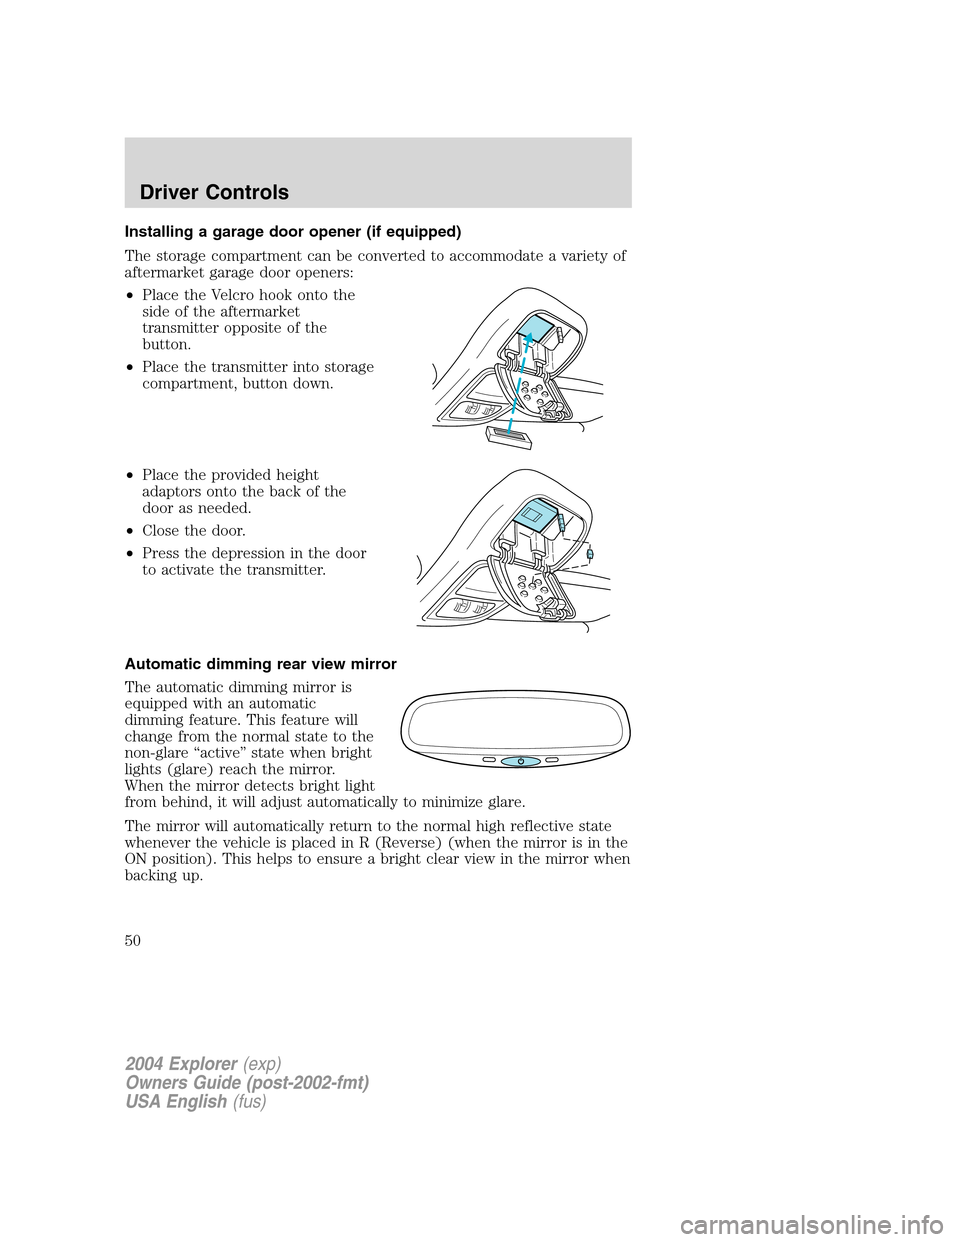
Installing a garage door opener (if equipped)
The storage compartment can be converted to accommodate a variety of
aftermarket garage door openers:
•Place the Velcro hook onto the
side of the aftermarket
transmitter opposite of the
button.
•Place the transmitter into storage
compartment, button down.
•Place the provided height
adaptors onto the back of the
door as needed.
•Close the door.
•Press the depression in the door
to activate the transmitter.
Automatic dimming rear view mirror
The automatic dimming mirror is
equipped with an automatic
dimming feature. This feature will
change from the normal state to the
non-glare “active” state when bright
lights (glare) reach the mirror.
When the mirror detects bright light
from behind, it will adjust automatically to minimize glare.
The mirror will automatically return to the normal high reflective state
whenever the vehicle is placed in R (Reverse) (when the mirror is in the
ON position). This helps to ensure a bright clear view in the mirror when
backing up.
2004 Explorer(exp)
Owners Guide (post-2002-fmt)
USA English(fus)
Driver Controls
50
Page 51 of 296

Illuminated visor mirror (if equipped)
Lift the mirror cover to turn on the
visor mirror lamps.
AUXILIARY POWER POINT
Power point outlets are designed
for accessory use only. Do not
hang any type of accessories or
accessory bracket from their
plugs. Improper use of the
power point outlet can cause
damage not covered by your
warranty.
Do not plug electrical accessories into the cigarette lighter socket
(if equipped). Always use the power point for accessories.
Do not use the power point for operating the cigarette lighter element.
The Maximum power each power point can supply depends on the fuse
rating. For example: a 20A fuse should supply a maximum of 240 Watts,
a 15A fuse should supply a maximum of 180 Watts. Exceeding these
limits will result in a blown fuse.
Always keep the power point caps closed when not being used.
Rear auxiliary power point (if equipped)
A second auxiliary power point is located on the rear side of the console.
It is accessible from the rear seats.
2004 Explorer(exp)
Owners Guide (post-2002-fmt)
USA English(fus)
Driver Controls
51
Page 55 of 296
3. Press the SET + control and
release it.
4. Take your foot off the accelerator
pedal.
5. The indicator light
on the
instrument cluster will turn on.
Note:
•Vehicle speed may vary momentarily when driving up and down a
steep hill.
•If the vehicle speed increases above the set speed on a downhill, you
may want to apply the brakes to reduce the speed.
•If the vehicle speed decreases more than 16 km/h (10 mph) below
your set speed on an uphill, your speed control will disengage.
Resuming a set speed
Press the RES (resume) control and
release it. This will automatically
return the vehicle to the previously
set speed. The RES control will not
work if the vehicle speed is not
faster than 48 km/h (30 mph).
RES
SET
COAST+
RES
SET
COAST+
2004 Explorer(exp)
Owners Guide (post-2002-fmt)
USA English(fus)
Driver Controls
55