Page 19 of 296
:Press to eject a CD.
6.COMP (Compression):In CD
mode, press to bring louder and
softer levels into more comfortable
listening level. The compression icon (c) will appear in the display.
7")
5.EJ (eject):Press to eject a CD.
6.COMP (Compression):In CD
mode, press to bring louder and
softer levels into more comfortable
listening level. The compression icon (c) will appear in the display.
7.Shuffle:Press to listen to the
tracks on the CD in random order.
Press again to turn off.
8.Memory presets:To set a
station: Select frequency band
AM/FM; tune to a station. Press and
hold a preset button until sound returns. This radio is equipped with six
station memory preset controls which allow you to set up to six AM
stations and 12 FM stations (six in FM1 and six in FM2).
9.CD:
Press and hold until
desired selection is reached.
10.
CD:Press and hold until
desired selection is reached.
11.Tune / Discs: In radio mode,
press to move up or down the
frequency band in individual
increments.
12.Seek:Press and release
SEEK
/for previous/next
strong station, selection or track.
13.Power/volume:Press to turn
ON/OFF; turn to increase or
decrease volume levels.
14.CD: Press to enter CD mode or
to play a CD already loaded into the
system.
SHUFFLE6
12 3456SHUFFLE CD CD
2004 Explorer(exp)
Owners Guide (post-2002-fmt)
USA English(fus)
Entertainment Systems
19
Page 22 of 296

4.Mute:Press to MUTE playing
media; press again to return to
playing media
5.Eject:Press to eject a CD. Press
and hold to eject all loaded discs.
6.Bass:Press BASS; then press
SEL
/to decrease/increase
the bass output.
Treble:Press TREB; then press
SEL
/to decrease/increase
the treble output.
7.Select:Use with Bass, Treble,
Balance and Fade controls, to adjust
levels, set the clock, and with
Autostore and Autoset functions.
8.Balance:Press BAL; then press
SEL
/to shift sound to the
left/right speakers.
Fade:Press FADE; then press
SEL
/to shift sound to the
rear/front speakers.
9.Menu:Press MENU and SEL to
access clock mode, RDS on/off,
Traffic announcement mode,
Program type mode, Shuffle and
Compression mode.
The Federal Communications Commission (FCC) and the Canadian Radio
and Telecommunications Commission (CRTC) recommend that FM radio
broadcasters use RDS technology to transmit information. FM radio
stations are independently operated and individually elect to use RDS
technology to transmit station ID and program type as desired.
Traffic:Allows you to hear traffic broadcasts. With the feature ON, press
SEEK or SCAN to find a station broadcasting a traffic report (if it is
broadcasting RDS data).Traffic information is not available in most
U.S. markets.
2004 Explorer(exp)
Owners Guide (post-2002-fmt)
USA English(fus)
Entertainment Systems
22
Page 28 of 296
The Dolby�noise reduction system is manufactured under license from
Dolby Laboratories Licensing Corporation. Dolby�and the double-D
symbol are registered trademarks of Dolby Laboratories Licensing
Corporation.
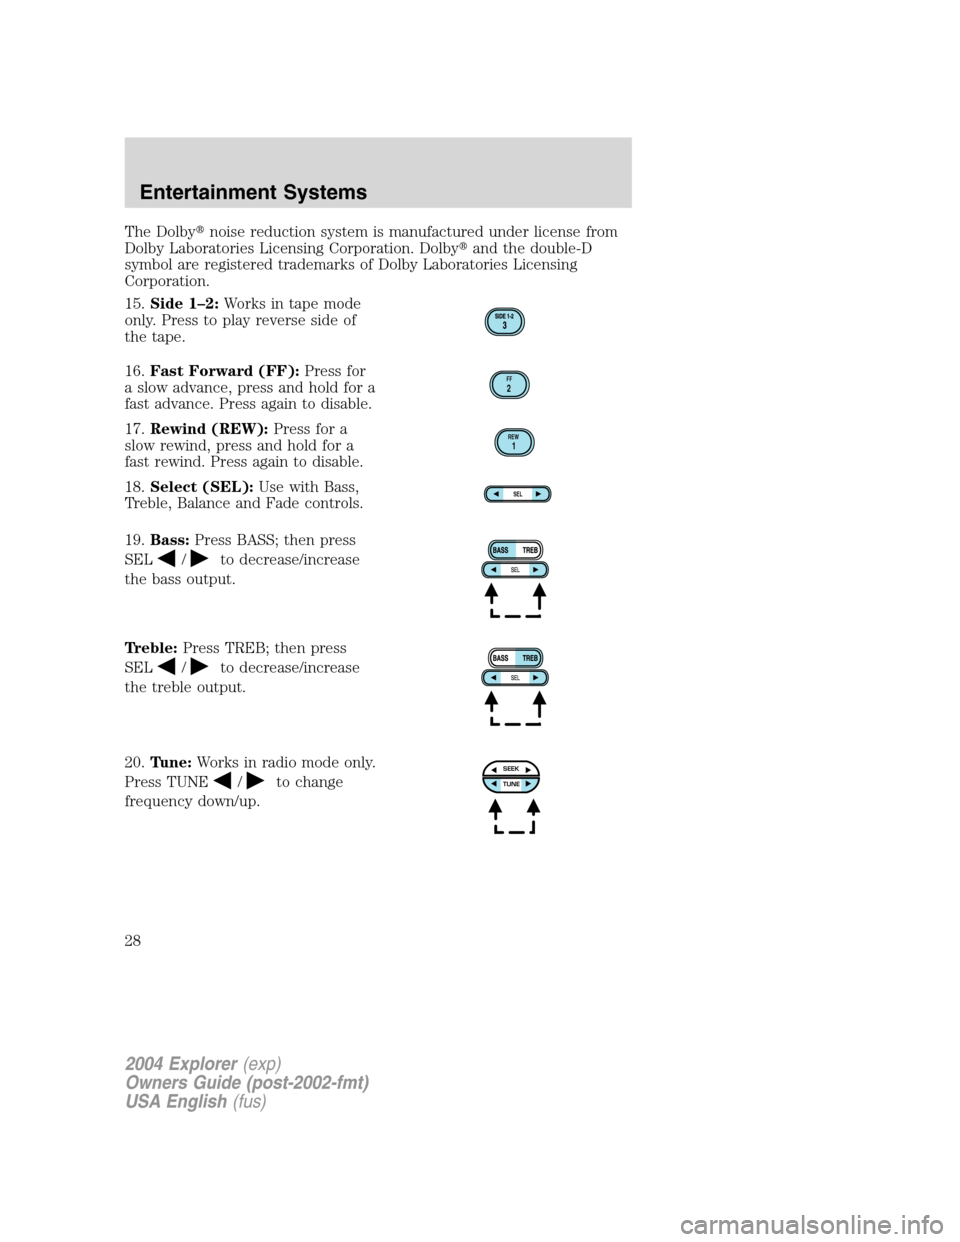
15.Side 1–2:Works in tape mode
only. Press to play reverse side of
the tape.
16.Fast Forward (FF):Press for
a slow advance, press and hold for a
fast advance. Press again to disable.
17.Rewind (REW):Press for a
slow rewind, press and hold for a
fast rewind. Press again to disable.
18.Select (SEL):Use with Bass,
Treble, Balance and Fade controls.
19.Bass:Press BASS; then press
SEL
/to decrease/increase
the bass output.
Treble:Press TREB; then press
SEL
/to decrease/increase
the treble output.
20.Tune:Works in radio mode only.
Press TUNE
/to change
frequency down/up.
FF2
REW1
SEL
SEEKTUNE
2004 Explorer(exp)
Owners Guide (post-2002-fmt)
USA English(fus)
Entertainment Systems
28
Page 48 of 296

CENTER CONSOLE
Your vehicle may be equipped with a
variety of console features. These
include:
•Utility compartment with
cassette/compact disc storage
•Auxiliary power point
•Cupholders
•Tissue box holder (located on underside of console lid)
•Ash tray (if equipped)
The rear side of the console may incorporate the following features:
•air vents
•cupholders (will pull up with break away feature)
•rear power point
Use only soft cups in the cupholder. Hard objects can injure you
in a collision.
Cell phone use
The use of Mobile Communications Equipment has become increasingly
important in the conduct of business and personal affairs. However,
drivers must not compromise their own or others’ safety when using
such equipment. Mobile Communications can enhance personal safety
and security when appropriately used, particularly in emergency
situations. Safety must be paramount when using mobile communications
equipment to avoid negating these benefits.
Mobile Communication Equipment includes, but is not limited to cellular
phones, pagers, portable email devices, in vehicle communications
systems, telematics devices and portable two-way radios.
A driver’s first responsibility is the safe operation of the vehicle.
The most important thing you can do to prevent a crash is to
avoid distractions and pay attention to the road. Wait until it is safe to
operate Mobile Communications Equipment.
2004 Explorer(exp)
Owners Guide (post-2002-fmt)
USA English(fus)
Driver Controls
48
Page 57 of 296
Turning off speed control
There are two ways to turn off the speed control:
•Depress the brake pedal. This will not erase your vehicle’s previously
set speed.
•Press the speed control OFF
control.
Note:When you turn off the speed
control or the ignition, your speed
control set speed memory is erased.
STEERING WHEEL CONTROLS (IF EQUIPPED)
These controls allow you to operate some radio and climate control
features.
Audio control features
Press
to select:
•AM, FM1, FM2,
•TAPE (if equipped),
•CD (if equipped), or
•DVD (if equipped).
2004 Explorer(exp)
Owners Guide (post-2002-fmt)
USA English(fus)
Driver Controls
57
Page 58 of 296
In AM, FM1, or FM2 mode:
•Press MEM to select preset
stations within the selected radio
band.
In Tape mode:
•Press MEM to select the next
selection on the tape.
In CD mode:
•Press MEM to select the next
selection on the CD.
In any mode:
•Press VOL + or � to adjust
volume.
Climate control features
Press TMP + or - to adjust
temperature.
2004 Explorer(exp)
Owners Guide (post-2002-fmt)
USA English(fus)
Driver Controls
58
Page 60 of 296

The HomeLink�Wireless Control System, located on the overhead
console, p")
Do not let children play with the moon roof. They may seriously
hurt themselves.
HOMELINK�WIRELESS CONTROL SYSTEM (IF EQUIPPED)
The HomeLink�Wireless Control System, located on the overhead
console, provides a convenient way to replace up to three hand-held
transmitters with a single built-in device. This feature will learn the radio
frequency codes of most current transmitters to operate garage doors,
entry gate operators, security systems, entry door locks, and home or
office lighting.
When programming your HomeLink�Wireless Control System to
a garage door or gate, be sure that people and objects are out of
the way to prevent potential harm or damage.
Do not use the HomeLink�Wireless Control System with any garage
door opener that lacks safety stop and reverse features as required by
U.S. federal safety standards (this includes any garage door opener
model manufactured before April 1, 1982). A garage door which cannot
detect an object, signaling the door to stop and reverse, does not meet
current U.S. federal safety standards. For more information, contact
HomeLink�at:www.homelink.comor1–800–355–3515.
Retain the original transmitter for use in other vehicles as well as for
future programming procedures (i.e. new HomeLink�equipped vehicle
purchase). It is also suggested that upon the sale of the vehicle, the
programmed Homelink�buttons be erased for security purposes, refer to
Programmingin this section.
Programming
Do not program HomeLink�with the vehicle parked in the garage.
Note:Some vehicles may require the ignition switch to be turned to the
second (or “ACC”) position for programming and/or operation of the
HomeLink�. It is also recommended that a new battery be placed in the
hand-held transmitter of the device being programmed to HomeLink�for
quicker training and accurate transmission of the radio-frequency signal.
2004 Explorer(exp)
Owners Guide (post-2002-fmt)
USA English(fus)
Driver Controls
60
Page 61 of 296

1. Press and hold the two outside
buttons releasing only when the red
light begins to flash after 20
seconds.Do notrepeat step one to
program additional hand-held
transmitters to the remaining two
HomeLink�buttons. This will erase
previously programmed hand-held
transmitter signals into HomeLink�.
2. Position the end of your
hand-held transmitter 2–8 cm (1–3
inches) away from the HomeLink�button you wish to program (located
on your overhead console) while keeping the red light in view.
3. Simultaneously press and hold
both the HomeLink�and hand-held
transmitter button.Do not release
the buttons until step 4 has been
completed.
Some entry gates and garage door
openers may require you to replace
step 3 with procedures noted in the
“Gate Operator and Canadian
Programming” section for Canadian
residents.
4. The red light will flash slowly and then rapidly. Release both buttons
when the red light flashes rapidly. (The rapid flashing light indicates
acceptance of the hand-held transmitters’ radio frequency signals.)
5. Press and hold the just-trained HomeLink�button and observe the red
light. If the light is a constant red, programming is complete and your
device should activate when the HomeLink�button is pressed and
released.Note:To program the remaining two HomeLink�buttons,
begin with step 2 in the “Programming” section —do notrepeat step 1.
Note:If the red light blinks rapidly for two seconds and then turns to a
continuous red, proceed with steps 6 through 8 to complete
programming of a rolling code equipped device.
6. At the garage door opener receiver (motor-head unit) in the garage,
locate the “learn” or “smart” button (usually near where the hanging
antenna wire is attached to the unit).
7. Press and release the “learn” or “smart” button. (The name and color
of the button may vary by manufacturer.)
2004 Explorer(exp)
Owners Guide (post-2002-fmt)
USA English(fus)
Driver Controls
61