Page 97 of 344

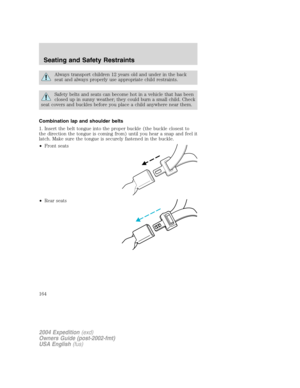
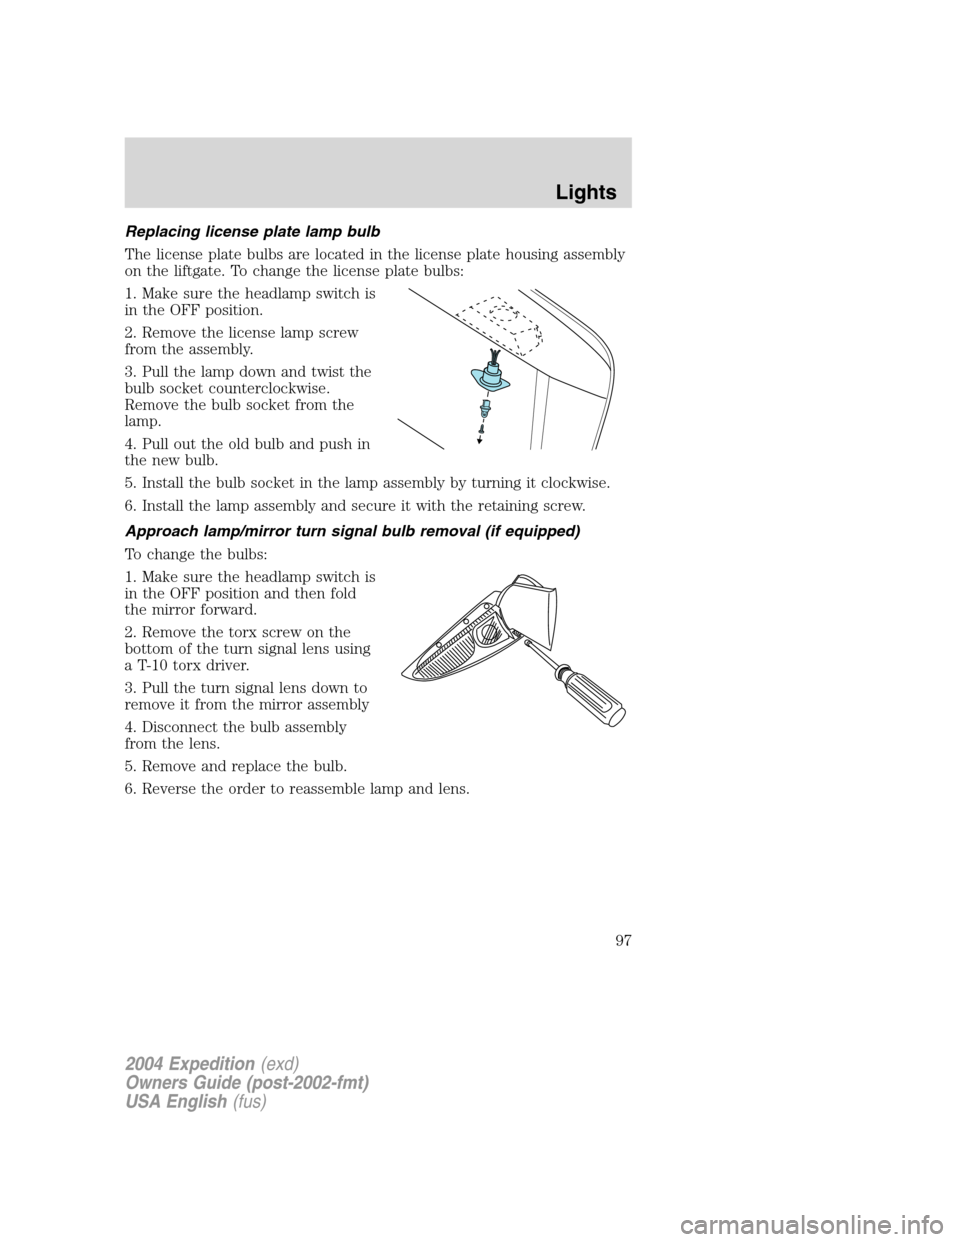
Replacing license plate lamp bulb
The license plate bulbs are located in the license plate housing assembly
on the liftgate. To change the license plate bulbs:
1. Make sure the headlamp switch is
in the OFF position.
2. Remove the license lamp screw
from the assembly.
3. Pull the lamp down and twist the
bulb socket counterclockwise.
Remove the bulb socket from the
lamp.
4. Pull out the old bulb and push in
the new bulb.
5. Install the bulb socket in the lamp assembly by turning it clockwise.
6. Install the lamp assembly and secure it with the retaining screw.
Approach lamp/mirror turn signal bulb removal (if equipped)
To change the bulbs:
1. Make sure the headlamp switch is
in the OFF position and then fold
the mirror forward.
2. Remove the torx screw on the
bottom of the turn signal lens using
a T-10 torx driver.
3. Pull the turn signal lens down to
remove it from the mirror assembly
4. Disconnect the bulb assembly
from the lens.
5. Remove and replace the bulb.
6. Reverse the order to reassemble lamp and lens.
2004 Expedition(exd)
Owners Guide (post-2002-fmt)
USA English(fus)
Lights
97
Page 98 of 344
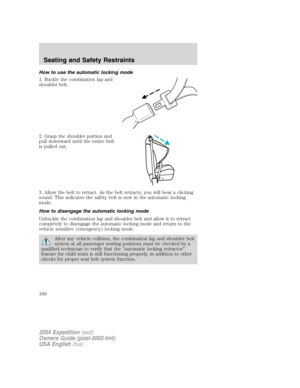
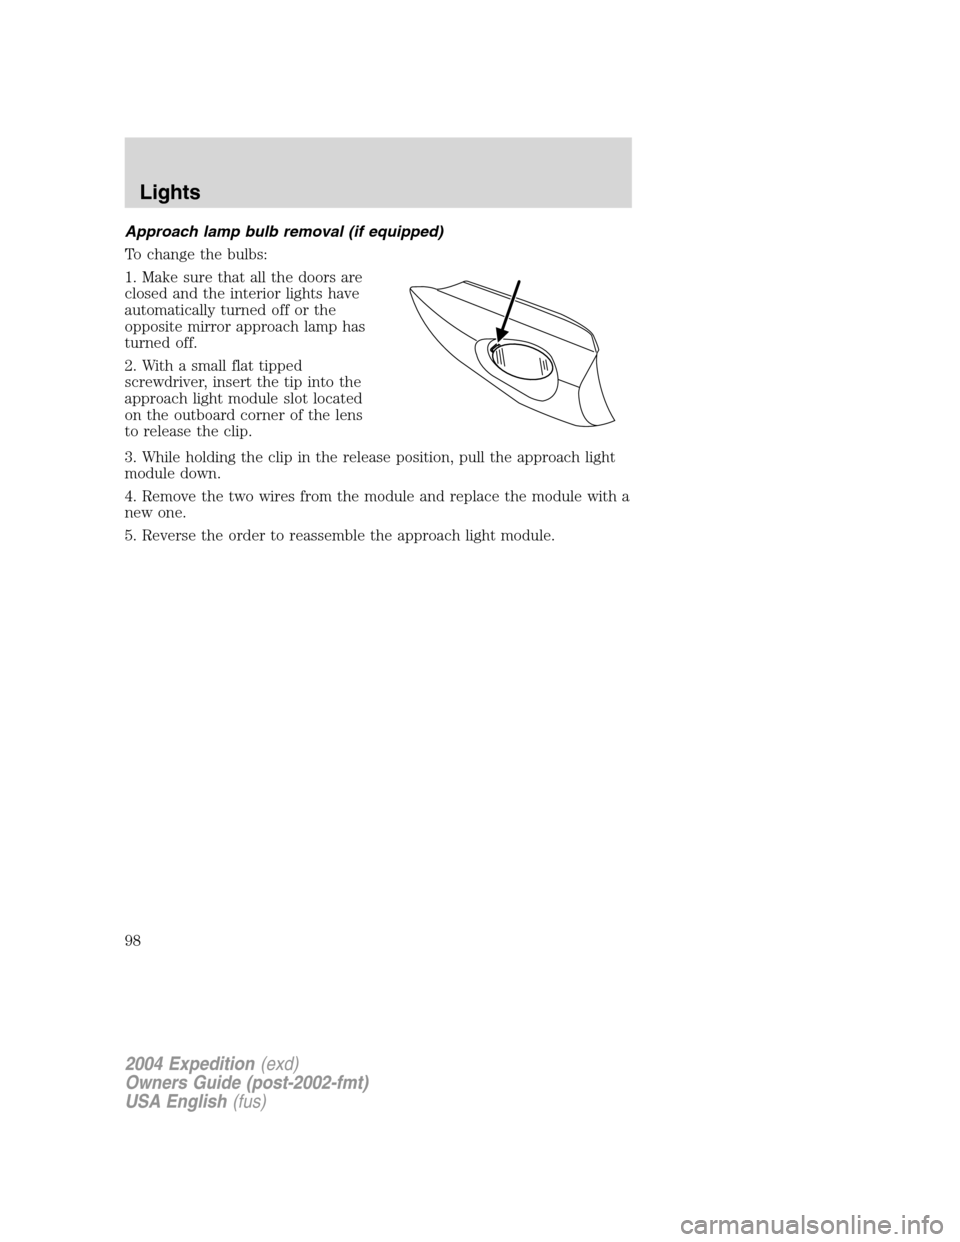
Approach lamp bulb removal (if equipped)
To change the bulbs:
1. Make sure that all the doors are
closed and the interior lights have
automatically turned off or the
opposite mirror approach lamp has
turned off.
2. With a small flat tipped
screwdriver, insert the tip into the
approach light module slot located
on the outboard corner of the lens
to release the clip.
3. While holding the clip in the release position, pull the approach light
module down.
4. Remove the two wires from the module and replace the module with a
new one.
5. Reverse the order to reassemble the approach light module.
2004 Expedition(exd)
Owners Guide (post-2002-fmt)
USA English(fus)
Lights
98
Page 99 of 344

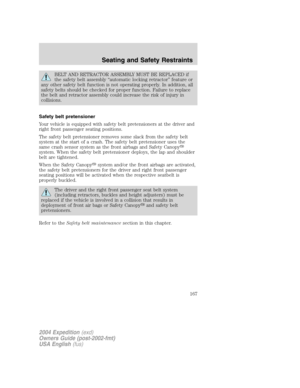
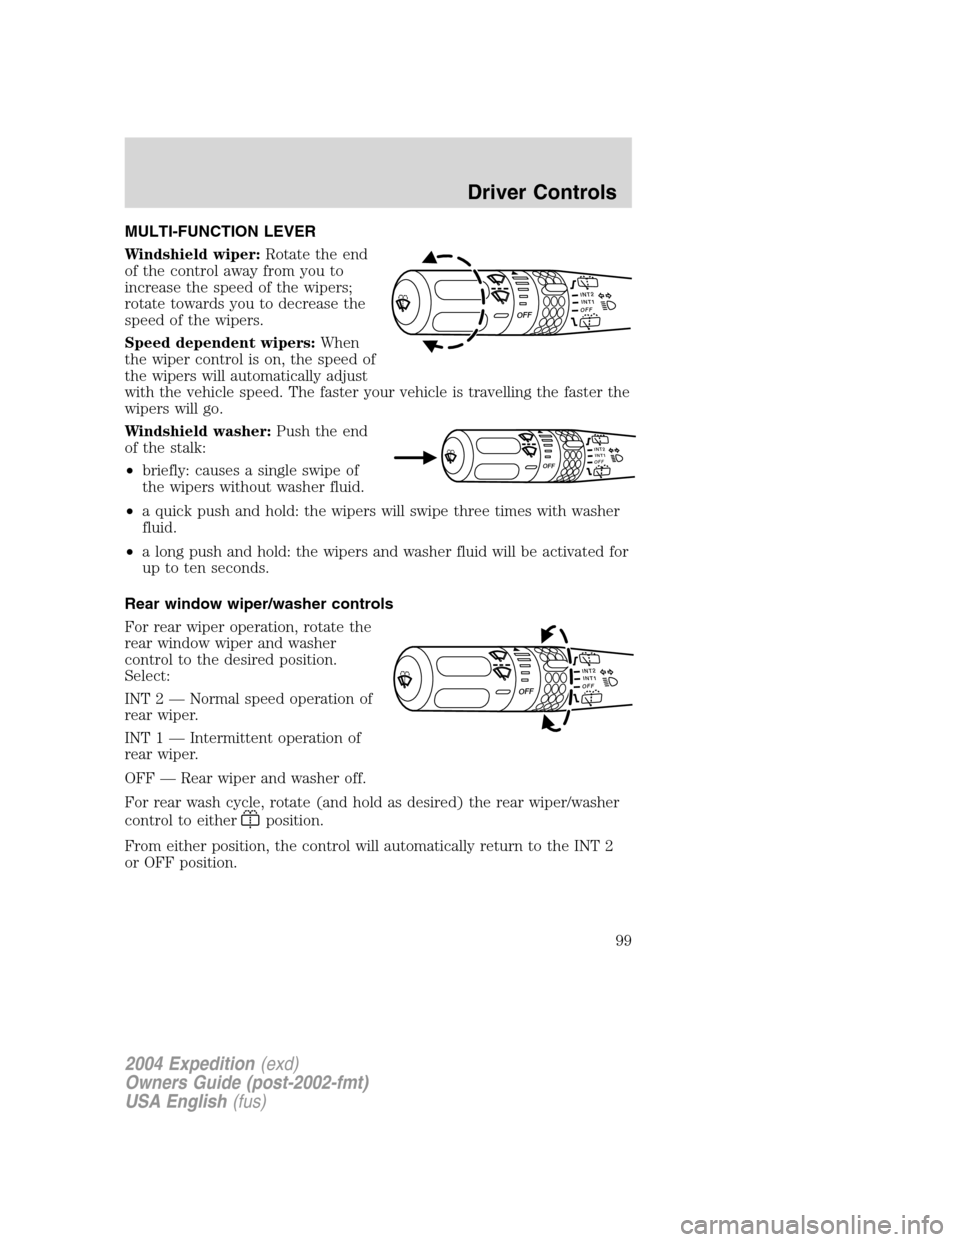
MULTI-FUNCTION LEVER
Windshield wiper:Rotate the end
of the control away from you to
increase the speed of the wipers;
rotate towards you to decrease the
speed of the wipers.
Speed dependent wipers:When
the wiper control is on, the speed of
the wipers will automatically adjust
with the vehicle speed. The faster your vehicle is travelling the faster the
wipers will go.
Windshield washer:Push the end
of the stalk:
•briefly: causes a single swipe of
the wipers without washer fluid.
•a quick push and hold: the wipers will swipe three times with washer
fluid.
•a long push and hold: the wipers and washer fluid will be activated for
up to ten seconds.
Rear window wiper/washer controls
For rear wiper operation, rotate the
rear window wiper and washer
control to the desired position.
Select:
INT 2—Normal speed operation of
rear wiper.
INT 1—Intermittent operation of
rear wiper.
OFF—Rear wiper and washer off.
For rear wash cycle, rotate (and hold as desired) the rear wiper/washer
control to either
position.
From either position, the control will automatically return to the INT 2
or OFF position.
INT2OFFOFFINT1
INT1INT2OFFOFF
INT2OFFOFFINT1
2004 Expedition(exd)
Owners Guide (post-2002-fmt)
USA English(fus)
Driver Controls
Driver Controls
99
Page 100 of 344

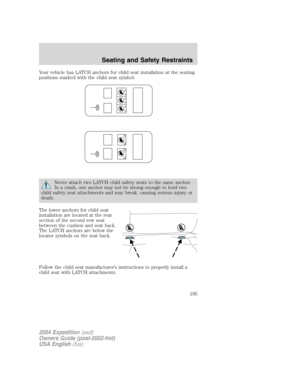
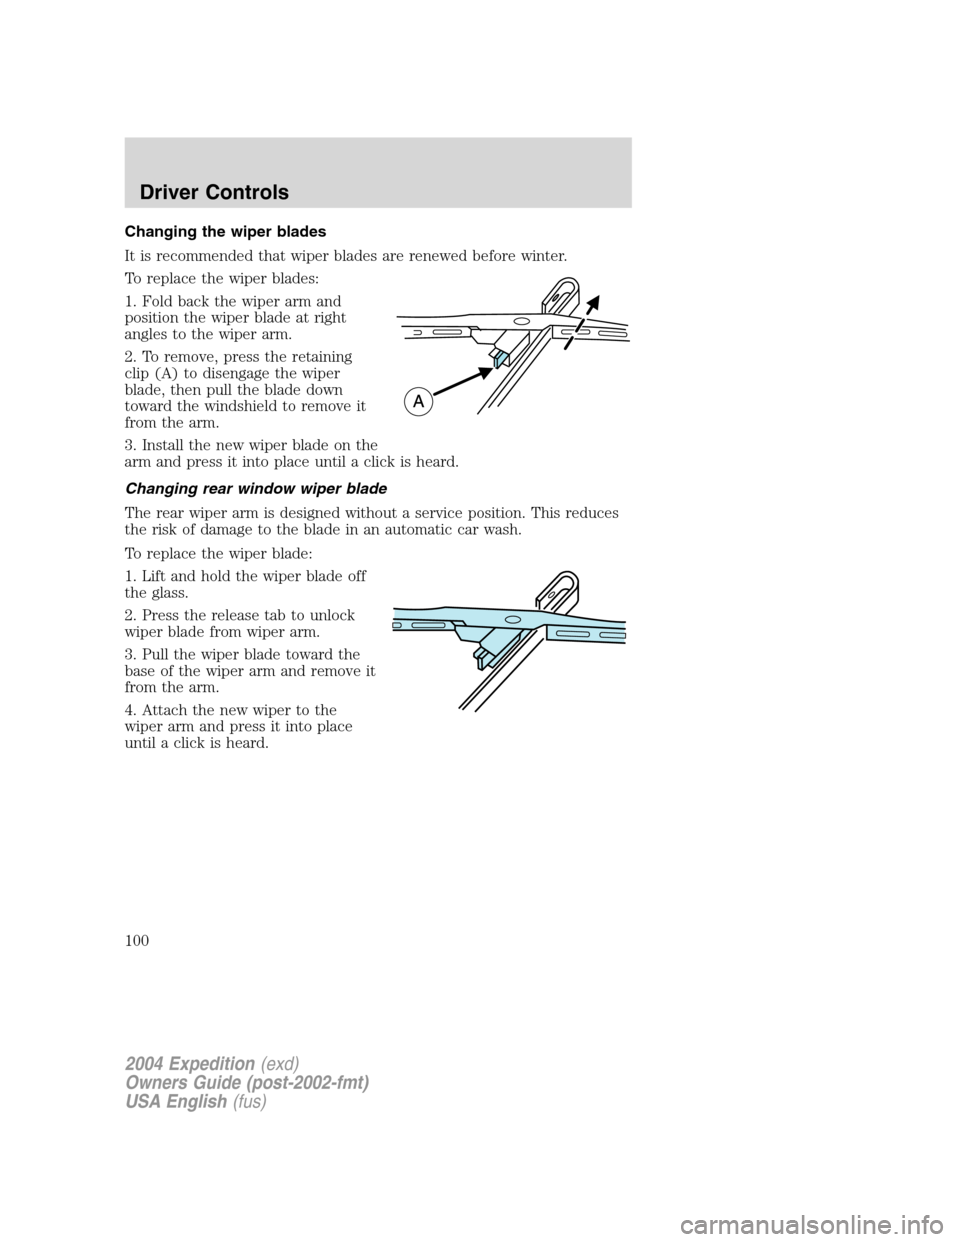
Changing the wiper blades
It is recommended that wiper blades are renewed before winter.
To replace the wiper blades:
1. Fold back the wiper arm and
position the wiper blade at right
angles to the wiper arm.
2. To remove, press the retaining
clip (A) to disengage the wiper
blade, then pull the blade down
toward the windshield to remove it
from the arm.
3. Install the new wiper blade on the
arm and press it into place until a click is heard.
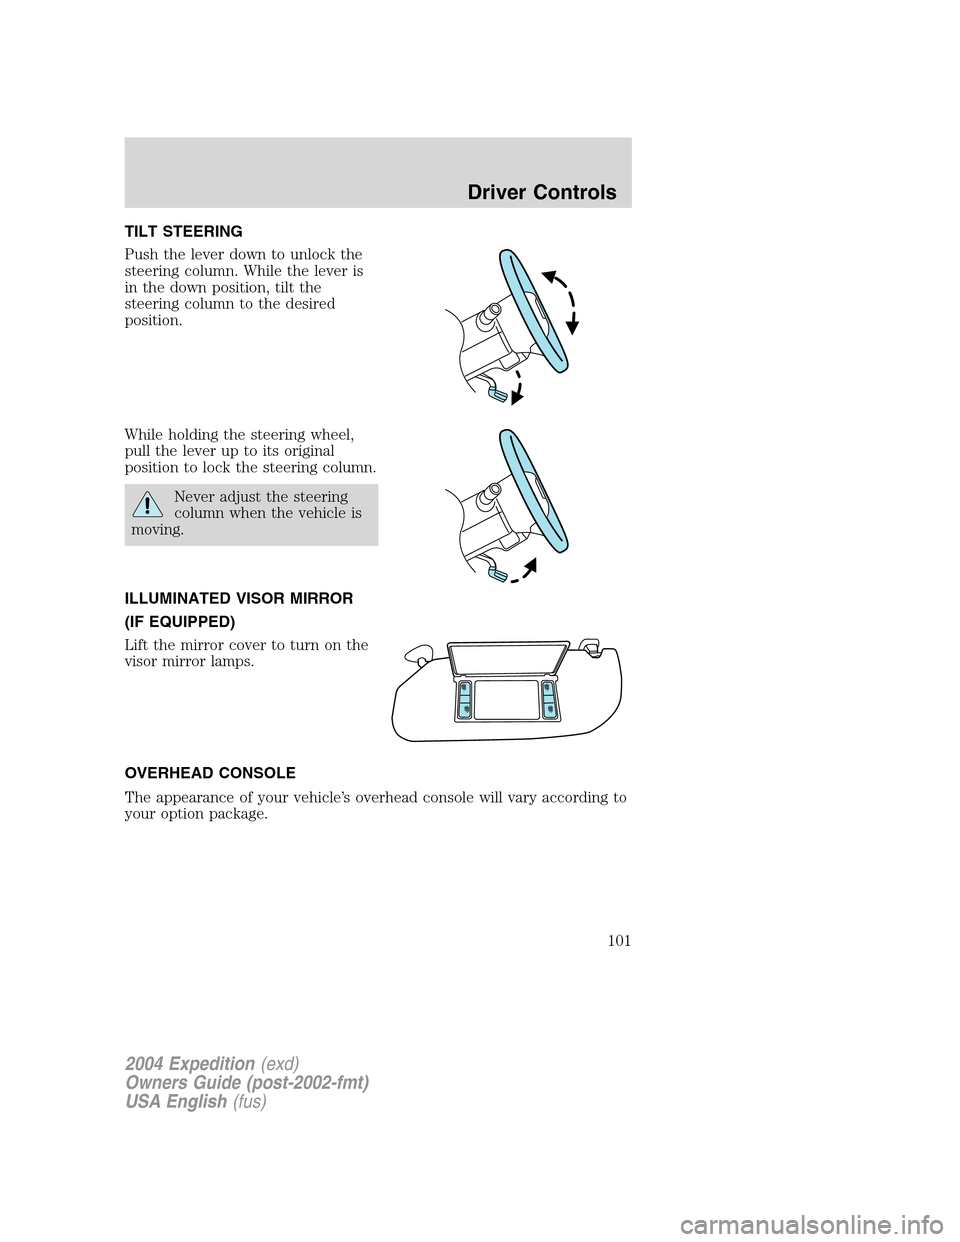
Changing rear window wiper blade
The rear wiper arm is designed without a service position. This reduces
the risk of damage to the blade in an automatic car wash.
To replace the wiper blade:
1. Lift and hold the wiper blade off
the glass.
2. Press the release tab to unlock
wiper blade from wiper arm.
3. Pull the wiper blade toward the
base of the wiper arm and remove it
from the arm.
4. Attach the new wiper to the
wiper arm and press it into place
until a click is heard.
2004 Expedition(exd)
Owners Guide (post-2002-fmt)
USA English(fus)
Driver Controls
100
Page 101 of 344
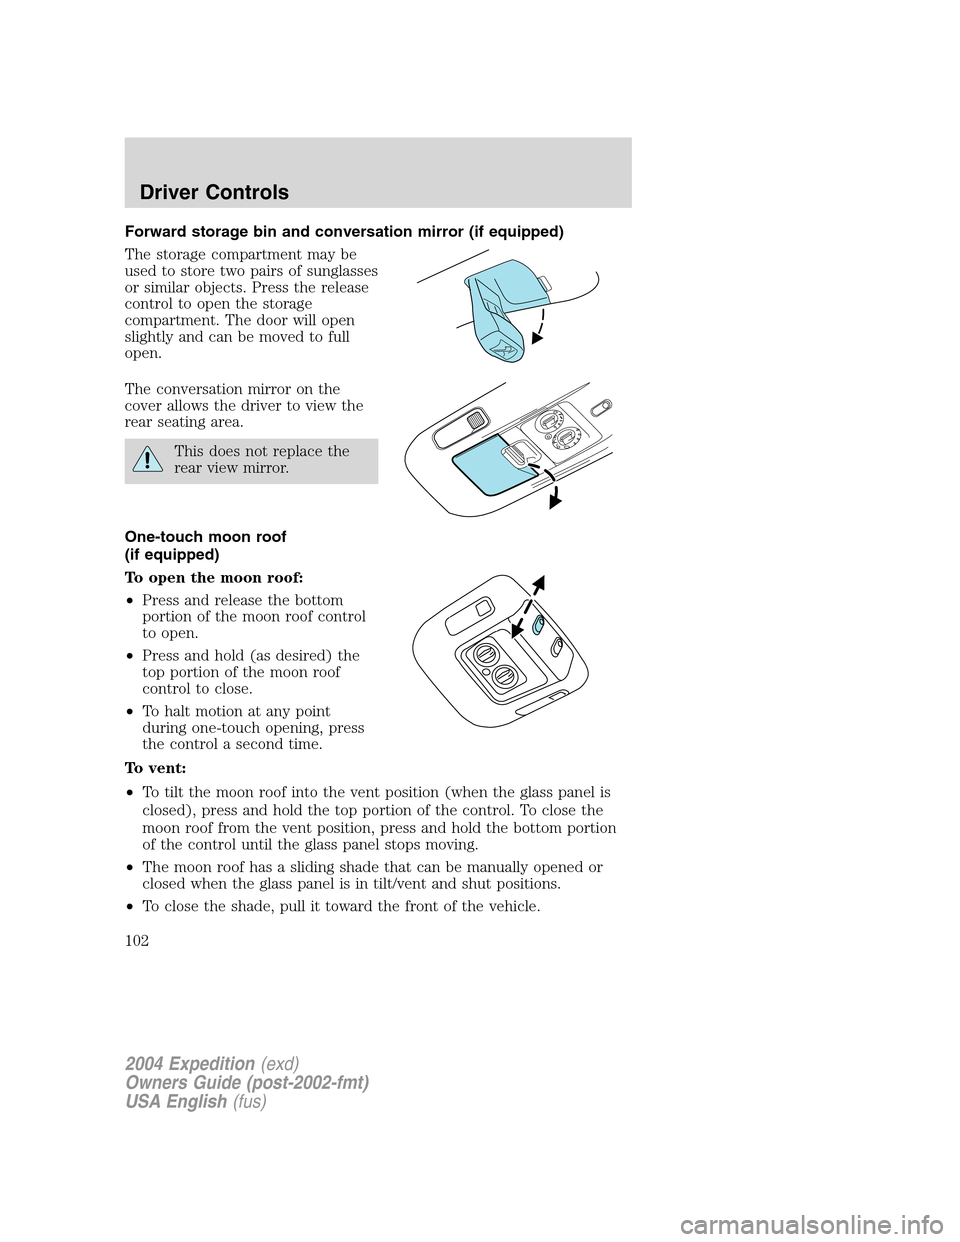
TILT STEERING
Push the lever down to unlock the
steering column. While the lever is
in the down position, tilt the
steering column to the desired
position.
While holding the steering wheel,
pull the lever up to its original
position to lock the steering column.
Never adjust the steering
column when the vehicle is
moving.
ILLUMINATED VISOR MIRROR
(IF EQUIPPED)
Lift the mirror cover to turn on the
visor mirror lamps.
OVERHEAD CONSOLE
The appearance of your vehicle’s overhead console will vary according to
your option package.
2004 Expedition(exd)
Owners Guide (post-2002-fmt)
USA English(fus)
Driver Controls
101
Page 102 of 344

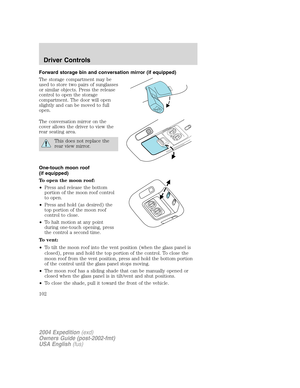
Forward storage bin and conversation mirror (if equipped)
The storage compartment may be
used to store two pairs of sunglasses
or similar objects. Press the release
control to open the storage
compartment. The door will open
slightly and can be moved to full
open.
The conversation mirror on the
cover allows the driver to view the
rear seating area.
This does not replace the
rear view mirror.
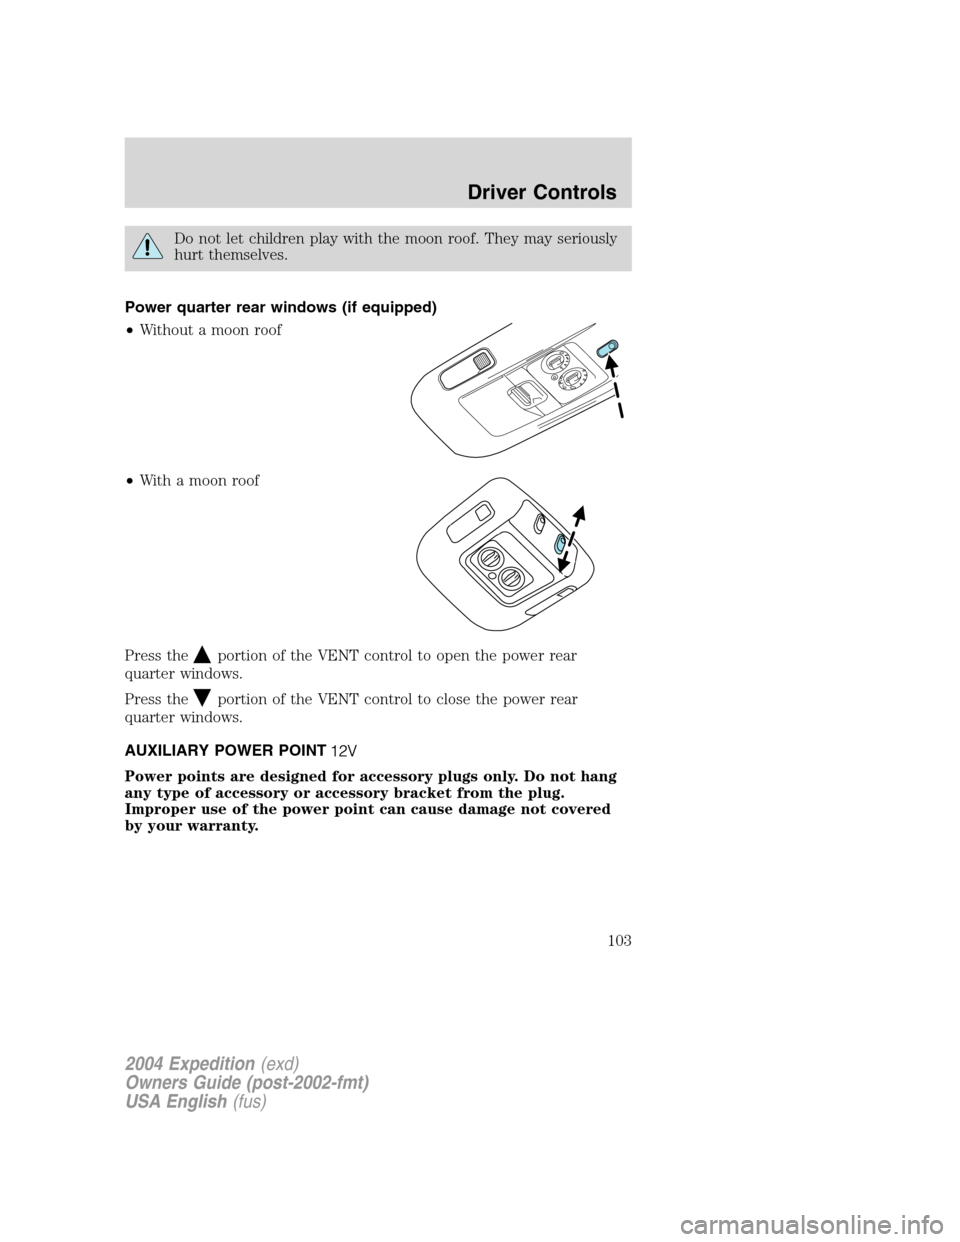
One-touch moon roof
(if equipped)
To open the moon roof:
•Press and release the bottom
portion of the moon roof control
to open.
•Press and hold (as desired) the
top portion of the moon roof
control to close.
•To halt motion at any point
during one-touch opening, press
the control a second time.
To vent:
•To tilt the moon roof into the vent position (when the glass panel is
closed), press and hold the top portion of the control. To close the
moon roof from the vent position, press and hold the bottom portion
of the control until the glass panel stops moving.
•The moon roof has a sliding shade that can be manually opened or
closed when the glass panel is in tilt/vent and shut positions.
•To close the shade, pull it toward the front of the vehicle.
2004 Expedition(exd)
Owners Guide (post-2002-fmt)
USA English(fus)
Driver Controls
102
Page 103 of 344
Do not let children play with the moon roof. They may seriously
hurt themselves.
Power quarter rear windows (if equipped)
•Without a moon roof
•With a moon roof
Press the
portion of the VENT control to open the power rear
quarter windows.
Press the
portion of the VENT control to close the power rear
quarter windows.
AUXILIARY POWER POINT
Power points are designed for accessory plugs only. Do not hang
any type of accessory or accessory bracket from the plug.
Improper use of the power point can cause damage not covered
by your warranty.
2004 Expedition(exd)
Owners Guide (post-2002-fmt)
USA English(fus)
Driver Controls
103
Page 104 of 344
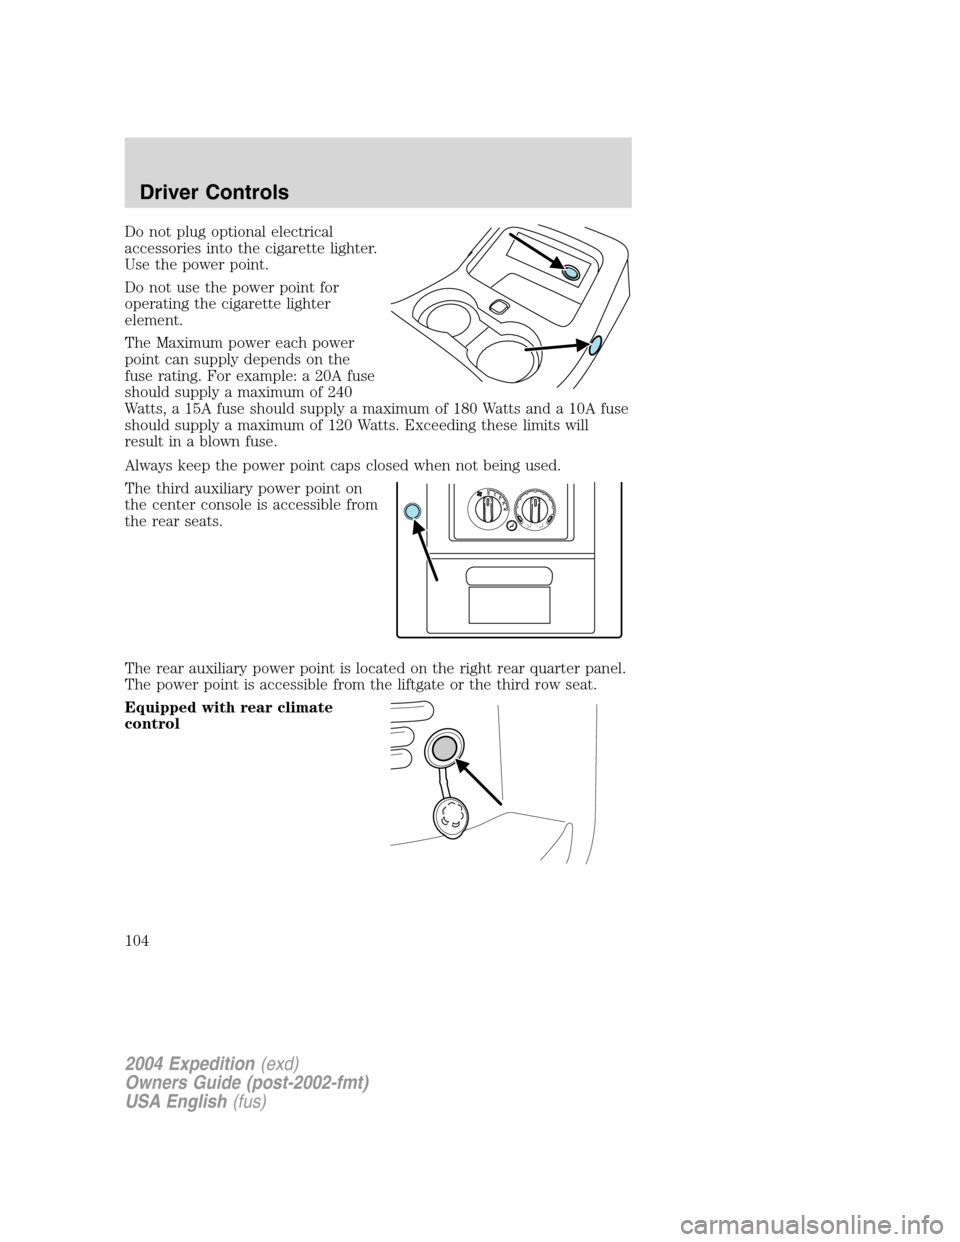
Do not plug optional electrical
accessories into the cigarette lighter.
Use the power point.
Do not use the power point for
operating the cigarette lighter
element.
The Maximum power each power
point can supply depends on the
fuse rating. For example: a 20A fuse
should supply a maximum of 240
Watts, a 15A fuse should supply a maximum of 180 Watts and a 10A fuse
should supply a maximum of 120 Watts. Exceeding these limits will
result in a blown fuse.
Always keep the power point caps closed when not being used.
The third auxiliary power point on
the center console is accessible from
the rear seats.
The rear auxiliary power point is located on the right rear quarter panel.
The power point is accessible from the liftgate or the third row seat.
Equipped with rear climate
control
4 3 2 1 0
2004 Expedition(exd)
Owners Guide (post-2002-fmt)
USA English(fus)
Driver Controls
104