Page 83 of 202

82
CONNECT NAV
NAVIGATOR
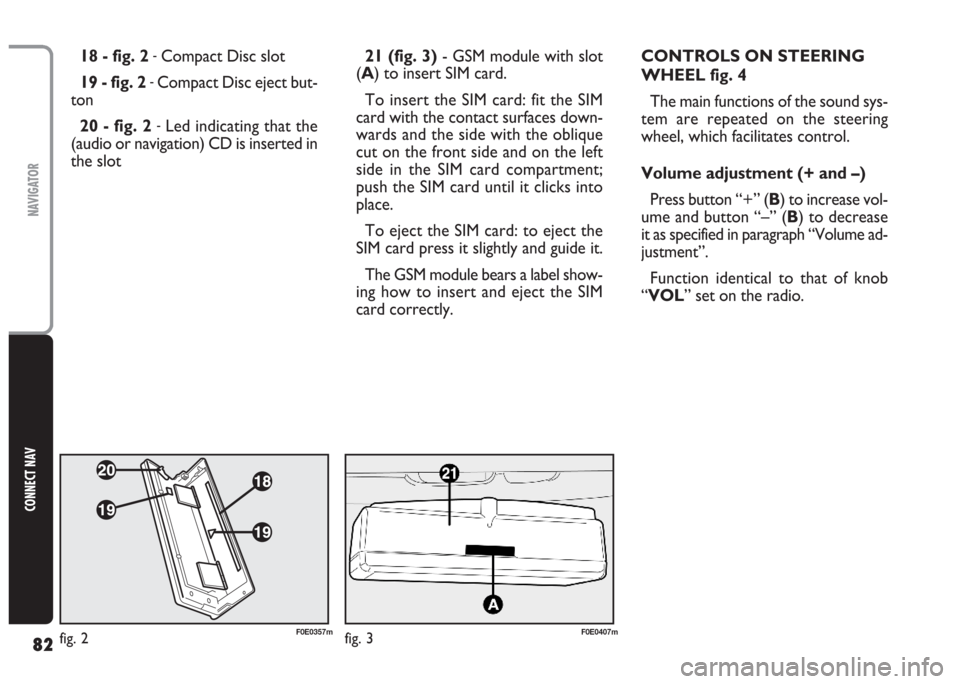
21 (fig. 3)- GSM module with slot
(A) to insert SIM card.
To insert the SIM card: fit the SIM
card with the contact surfaces down-
wards and the side with the oblique
cut on the front side and on the left
side in the SIM card compartment;
push the SIM card until it clicks into
place.
To eject the SIM card: to eject the
SIM card press it slightly and guide it.
The GSM module bears a label show-
ing how to insert and eject the SIM
card correctly. 18 - fig. 2 -Compact Disc slot
19 - fig. 2
-Compact Disc eject but-
ton
20 - fig. 2
-Led indicating that the
(audio or navigation) CD is inserted in
the slotCONTROLS ON STEERING
WHEEL fig. 4
The main functions of the sound sys-
tem are repeated on the steering
wheel, which facilitates control.
Volume adjustment (+ and –)
Press button “+” (B) to increase vol-
ume and button “–” (B) to decrease
it as specified in paragraph “Volume ad-
justment”.
Function identical to that of knob
“VOL” set on the radio.
fig. 2F0E0357mfig. 3F0E0407m
Page 86 of 202
85
CONNECT NAV
NAVIGATOR
ADJUSTING THE VOLUME
To turn the volume up: turn the
knob/button (16) clockwise.
To turn the volume down: turn
the knob/button (16) anticlockwise.
The volume is graphically shown on
the display during the adjustment (au-
dio source main menu only)fig. 5.
IMPORTANT The volume of a
navigation voice message can be
changed, regardless of the basic sound
source volume.DISPLAY fig. 6
The display will switch to night-time
operation (reversed colours) when
the side/taillights are switched on
fig. 7. This function can be switched
off if you need to travel in daytime
with the headlights on (see “Adjusting
the display” in section “Basic settings”.
fig. 5F0E3021gfig. 6F0E3095gfig. 7F0E3221g
If you drive with the volume
too high you put both your
own life and that of others in jeop-
ardy. You should adjust the volume
so that you can hear noises from
outside the car (e.g. horns, ambu-
lance/ police sirens, etc.).
WARNING
Page 100 of 202

99
CONNECT NAV
NAVIGATOR
C C
O O
M M
P P
A A
C C
T T
D D
I I
S S
C C
P P
L L
A A
Y Y
E E
R R
( (
C C
D D
) )
A symbol indicating the audio CD,
the CD programmed sequence, the
current sound source (CD), and the
TA and TMC functions status will ap-
pear in the lower row of the display.
INSERTING AND
EJECTING A CD
Proceed as follows to insert a CD:
1)press button T(1) to open the
front panel
2)press button ı(19) to eject an in-
serted CD, if any
3) place the audio CD with the la-
bel facing upwards in the groove on
the open front panel edge
4) delicately push the CD in the slot
until the automatic mechanism takes
the CD into the player
5) close the front panel. Audio CDs can be played with the in-
ternal CD player or with the CD-
Changer (where fitted).
During CD playback, either the track
number and the playing time, or the
track number only, will appear on the
display (according to the settings, see
“CD functions” in this section).
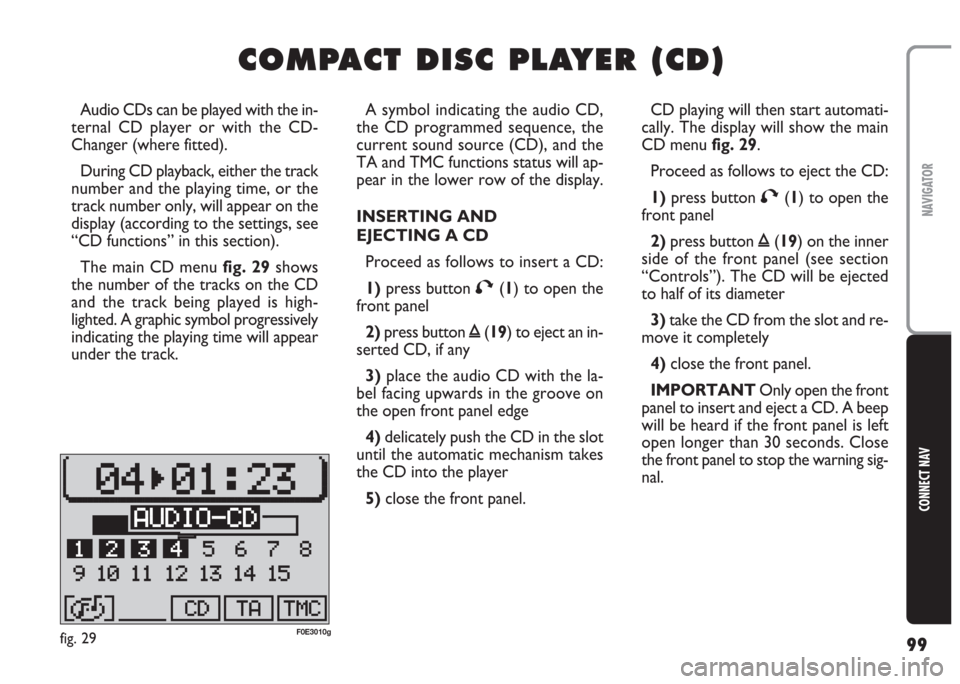
The main CD menu fig. 29shows
the number of the tracks on the CD
and the track being played is high-
lighted. A graphic symbol progressively
indicating the playing time will appear
under the track.CD playing will then start automati-
cally. The display will show the main
CD menu fig. 29.
Proceed as follows to eject the CD:
1)press button T(1) to open the
front panel
2)press button ı(19) on the inner
side of the front panel (see section
“Controls”). The CD will be ejected
to half of its diameter
3)take the CD from the slot and re-
move it completely
4)close the front panel.
IMPORTANT Only open the front
panel to insert and eject a CD. A beep
will be heard if the front panel is left
open longer than 30 seconds. Close
the front panel to stop the warning sig-
nal.
fig. 29F0E3010g
Page 124 of 202

123
CONNECT NAV
NAVIGATOR
9)position the cursor on the symbol
jand press the knob/button (11) or
hold the knob/button (11) pressed for
longer than two seconds. The alpha-
betical list of destinations will appear
on the display
10)turn the knob/button (11) to
seek the required street name in the
editing list
11) confirm the destination by press-
ing the knob/button (11).IMPORTANT Only the options
for which data is available on the nav-
igation CD are offered. A lock symbol
Swill appear next to the unavailable
options.
Press ESC (9) to return to the pre-
vious menu.
Entering the destination
“HOUSE NUMBER”
Proceed as follows to reach a house
number:
1) enter the street as described pre-
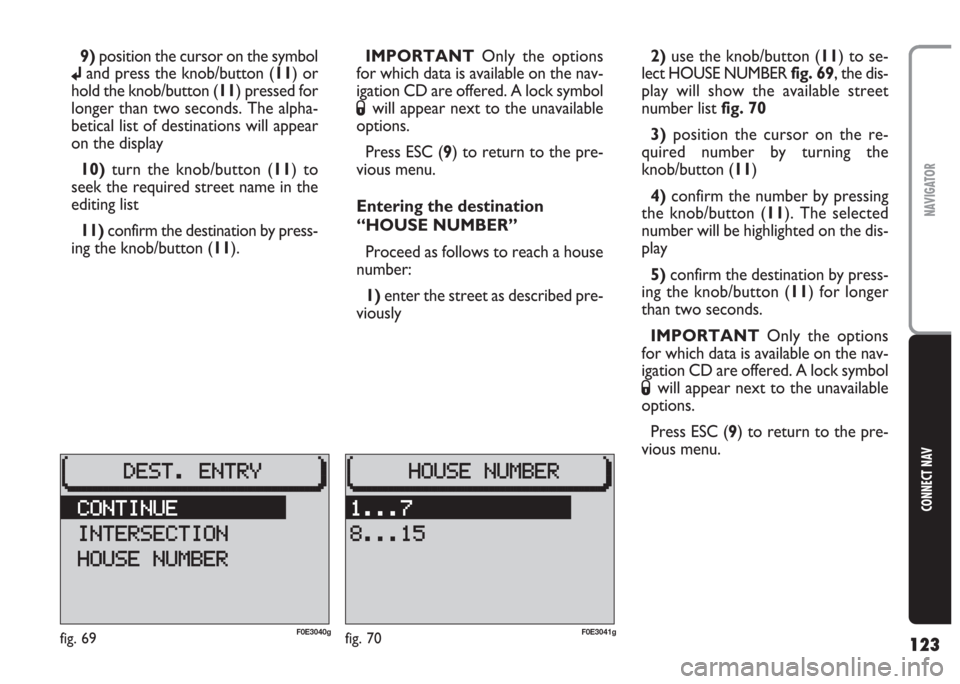
viously2)use the knob/button (11) to se-
lect HOUSE NUMBERfig. 69, the dis-
play will show the available street
number listfig. 70
3) position the cursor on the re-
quired number by turning the
knob/button (11)
4)confirm the number by pressing
the knob/button (11). The selected
number will be highlighted on the dis-
play
5)confirm the destination by press-
ing the knob/button (11) for longer
than two seconds.
IMPORTANT Only the options
for which data is available on the nav-
igation CD are offered. A lock symbol
Swill appear next to the unavailable
options.
Press ESC (9) to return to the pre-
vious menu.
fig. 69F0E3040gfig. 70F0E3041g
Page 126 of 202

125
CONNECT NAV
NAVIGATOR
4)enter the town and confirm with
the knob/button (11). The list of town
centres and districts will appear on the
display
5)position the cursor on the re-
quired town centre by turning the
knob/button (11)
6)confirm the selection by pressing
the knob/button (11). The selected
town centre will be highlighted on the
display
7) confirm the destination by press-
ing the knob/button (11).IMPORTANT Only the options
for which data is available on the nav-
igation CD are offered. A lock symbol
Swill appear next to the unavailable
options.
Press ESC (9) to return to the pre-
vious menu.
ENTERING SPECIAL
DESTINATIONS
These are destinations contained in
directories in alphabetical order and
include motorways, railway stations,
shopping centres, service stations,
parking areas, etc.
Special destinations can be sought in
four different ways:
– IN DEST. AREA: displaying the spe-
cial destinations related to the previ-
ous selection;– SUPRAREG. DESTS. supraregion-
al destinations): displaying special des-
tinations in other locations with re-
spect to the selected destination. The
directories only refer to the country
on the CD;
– DEST. SURROUND (destination
surroundings): displaying special desti-
nations (example: sports grounds, etc.)
in the area surrounding the previous-
ly selected destination;
– POS. SURROUND. (position sur-
roundings): displaying special destina-
tions near the current position of the
car.
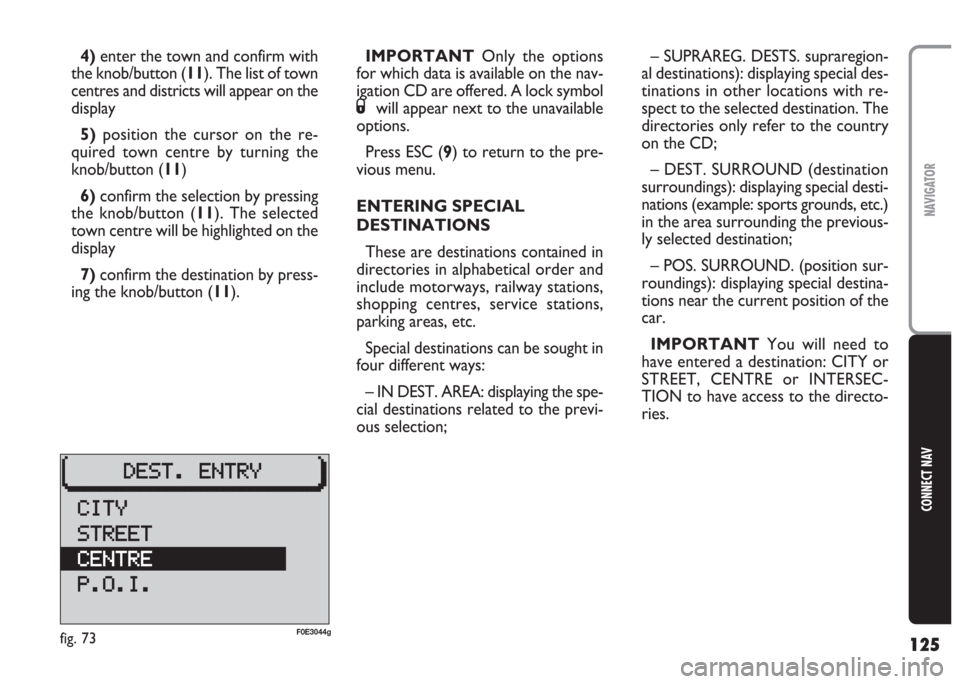
IMPORTANT You will need to
have entered a destination: CITY or
STREET, CENTRE or INTERSEC-
TION to have access to the directo-
ries.
fig. 73F0E3044g