Page 188 of 202

187
CONNECT NAV
NAVIGATOR
Selecting the time format
Proceed as follows to select the time
format (12 or 24 hour clock):
1) open the SETTINGS menu
fig. 185as described previously
2)turn the knob/button (11) to se-
lect CLOCK
3) press the knob/button (11) to
confirm
4) turn the knob/button (11) to se-
lect SETTINGS
5) turn the knob/button (11) to se-
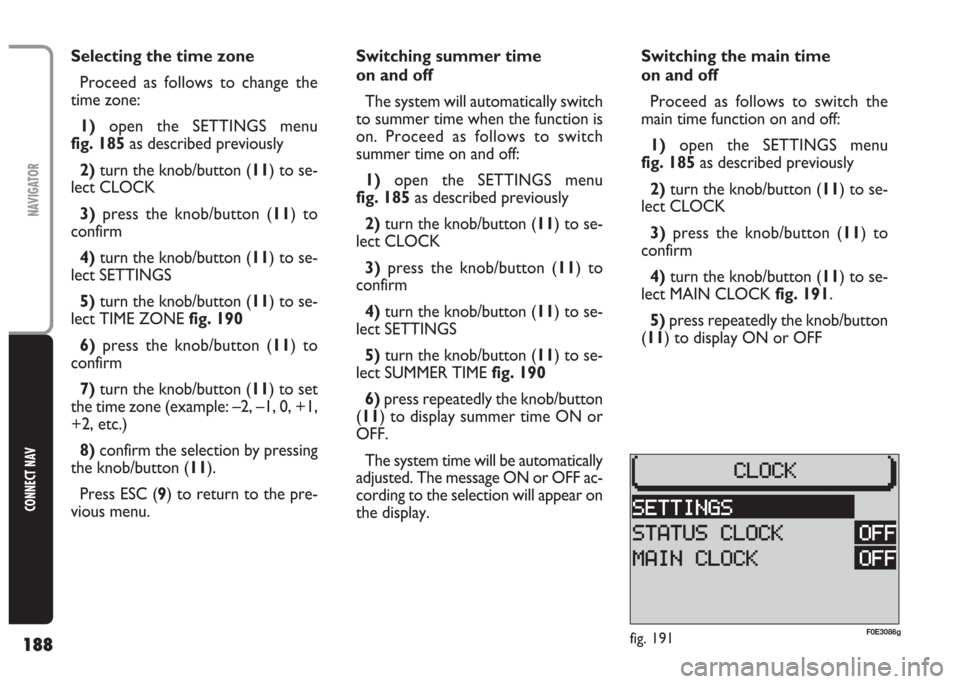
lect TIME FORMAT fig. 1906)press the knob/button (11) to
confirm
7)press repeatedly the knob/button
(11) to select 12H or 24H
8) press the knob/button (11) for
longer than two seconds to confirm
the selection.
Press ESC (
9) to return to the pre-
vious menu. SETTING THE CLOCK
The SETTINGS menu can be used to
switch the summer time on and off, ad-
just the clock format (12 hours/24
hours) and set the time zone referred
to Central European Time (MEZ).
These settings are required by the
sound/navigation system to calculate
the discrepancy between system time
and GPS transmitted time and, conse-
quently, calculate the actual navigation
time.
fig. 190F0E3087g
Page 189 of 202

188
CONNECT NAV
NAVIGATOR
Selecting the time zone
Proceed as follows to change the
time zone:
1) open the SETTINGS menu
fig. 185as described previously
2)turn the knob/button (11) to se-
lect CLOCK
3)press the knob/button (11) to
confirm
4)turn the knob/button (11) to se-
lect SETTINGS
5) turn the knob/button (11) to se-
lect TIME ZONE fig. 190
6)press the knob/button (11) to
confirm
7) turn the knob/button (11) to set
the time zone (example: –2, –1, 0, +1,
+2, etc.)
8) confirm the selection by pressing
the knob/button (11).
Press ESC (9) to return to the pre-
vious menu.Switching summer time
on and off
The system will automatically switch
to summer time when the function is
on. Proceed as follows to switch
summer time on and off:
1) open the SETTINGS menu
fig. 185as described previously
2) turn the knob/button (11) to se-
lect CLOCK
3)press the knob/button (11) to
confirm
4)turn the knob/button (11) to se-
lect SETTINGS
5) turn the knob/button (11) to se-
lect SUMMER TIME fig. 190
6) press repeatedly the knob/button
(11) to display summer time ON or
OFF.
The system time will be automatically
adjusted. The message ON or OFF ac-
cording to the selection will appear on
the display.Switching the main time
on and off
Proceed as follows to switch the
main time function on and off:
1)open the SETTINGS menu
fig. 185as described previously
2)turn the knob/button (11) to se-
lect CLOCK
3) press the knob/button (
11) to
confirm
4) turn the knob/button (11) to se-
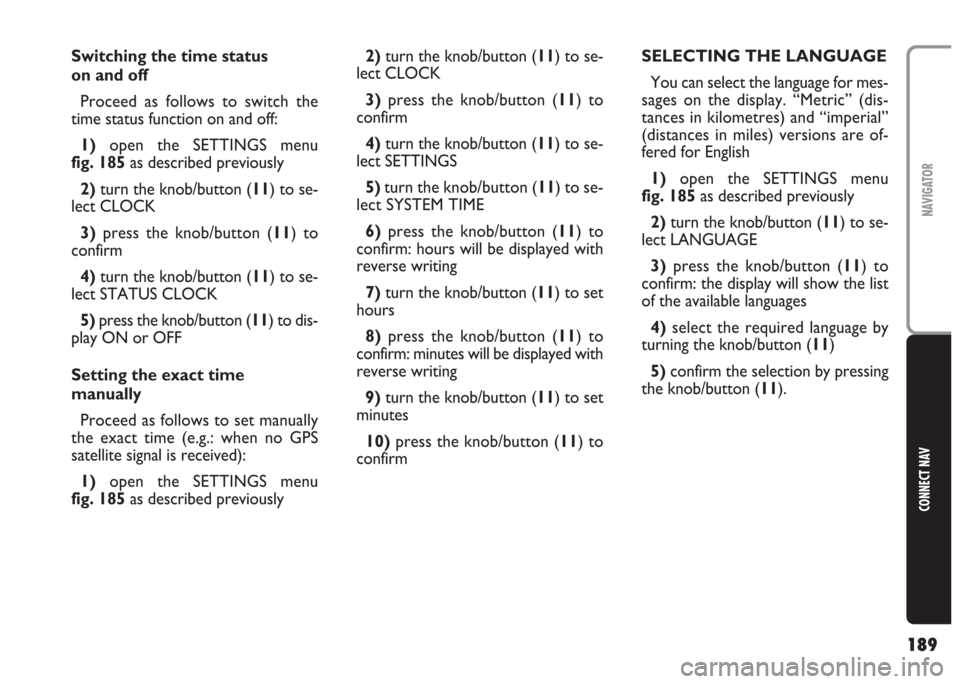
lect MAIN CLOCK fig. 191.
5)press repeatedly the knob/button
(11) to display ON or OFF
fig. 191F0E3086g
Page 190 of 202

189
CONNECT NAV
NAVIGATOR
Switching the time status
on and off
Proceed as follows to switch the
time status function on and off:
1)open the SETTINGS menu
fig. 185as described previously
2) turn the knob/button (11) to se-
lect CLOCK
3) press the knob/button (11) to
confirm
4)turn the knob/button (11) to se-
lect STATUS CLOCK
5) press the knob/button (11) to dis-
play ON or OFF
Setting the exact time
manually
Proceed as follows to set manually
the exact time (e.g.: when no GPS
satellite signal is received):
1) open the SETTINGS menu
fig. 185as described previously2) turn the knob/button (11) to se-
lect CLOCK
3)press the knob/button (11) to
confirm
4)turn the knob/button (11) to se-
lect SETTINGS
5) turn the knob/button (11) to se-
lect SYSTEM TIME
6)press the knob/button (11) to
confirm: hours will be displayed with
reverse writing
7)turn the knob/button (11) to set
hours
8) press the knob/button (11) to
confirm: minutes will be displayed with
reverse writing
9)turn the knob/button (11) to set
minutes
10)press the knob/button (11) to
confirmSELECTING THE LANGUAGE
You can select the language for mes-
sages on the display. “Metric” (dis-
tances in kilometres) and “imperial”
(distances in miles) versions are of-
fered for English
1)open the SETTINGS menu
fig. 185as described previously
2)turn the knob/button (11) to se-
lect LANGUAGE
3) press the knob/button (11) to
confirm: the display will show the list
of the available languages
4)select the required language by
turning the knob/button (
11)
5)confirm the selection by pressing
the knob/button (11).