Page 120 of 202

119
CONNECT NAV
NAVIGATOR
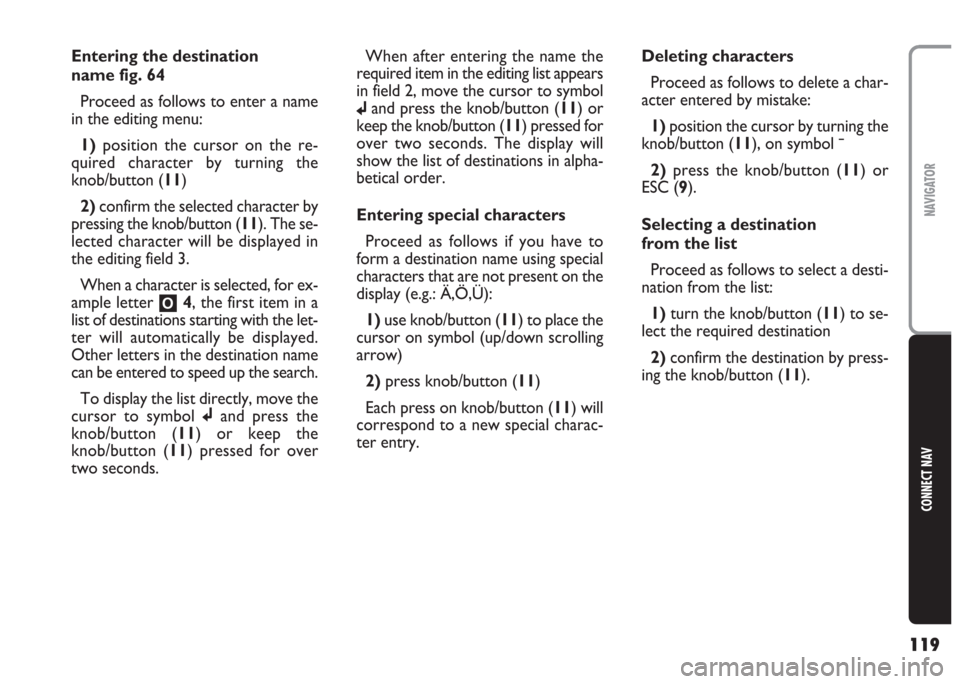
Entering the destination
name fig. 64
Proceed as follows to enter a name
in the editing menu:
1)position the cursor on the re-
quired character by turning the
knob/button (11)
2) confirm the selected character by
pressing the knob/button (11). The se-
lected character will be displayed in
the editing field 3.
When a character is selected, for ex-
ample letter
O4, the first item in a
list of destinations starting with the let-
ter will automatically be displayed.
Other letters in the destination name
can be entered to speed up the search.
To display the list directly, move the
cursor to symbol jand press the
knob/button (11) or keep the
knob/button (11) pressed for over
two seconds.When after entering the name the
required item in the editing list appears
in field 2, move the cursor to symbol
jand press the knob/button (11) or
keep the knob/button (11) pressed for
over two seconds. The display will
show the list of destinations in alpha-
betical order.
Entering special characters
Proceed as follows if you have to
form a destination name using special
characters that are not present on the
display (e.g.: Ä,Ö,Ü):
1)use knob/button (11) to place the
cursor on symbol (up/down scrolling
arrow)
2) press knob/button (11)
Each press on knob/button (11) will
correspond to a new special charac-
ter entry.Deleting characters
Proceed as follows to delete a char-
acter entered by mistake:
1)position the cursor by turning the
knob/button (11), on symbol ¯
2)press the knob/button (11) or
ESC (9).
Selecting a destination
from the list
Proceed as follows to select a desti-
nation from the list:
1)turn the knob/button (11) to se-
lect the required destination
2)confirm the destination by press-
ing the knob/button (11).
Page 141 of 202

140
CONNECT NAV
NAVIGATOR
7) use the knob/button (11) to spec-
ify the distance with respect to your
position to start detour
8)position the cursor on TO with
the knob/button (11)
9) use the knob/button (11) to spec-
ify the distance with respect to your
position to end detour
10) select OK with the knob/button
(11). Press the knob/button (11) to
confirm. The route guidance menu will
appear on the display and the new
route is recalculated. The message
NEW CALC. will appear on the dis-
play
Proceed as follows to switch the
function off:
1)press T (8): the display will show
the TRAFFIC menu fig. 101
2) turn the knob/button (11) to se-
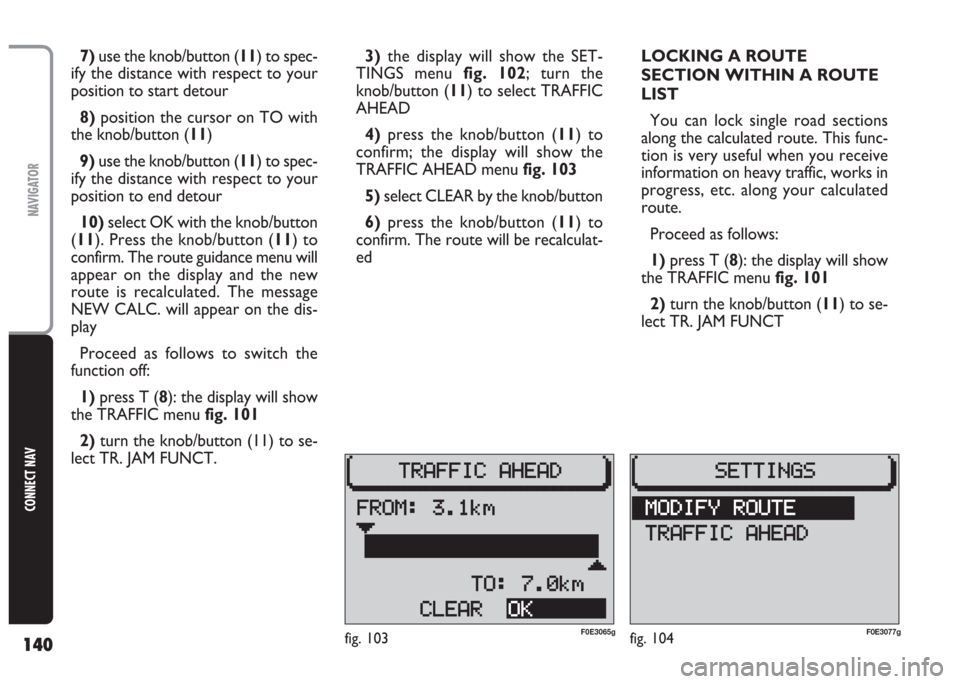
lect TR. JAM FUNCT. 3)the display will show the SET-
TINGS menu fig. 102; turn the
knob/button (11) to select TRAFFIC
AHEAD
4)press the knob/button (11) to
confirm; the display will show the
TRAFFIC AHEAD menu fig. 103
5) select CLEAR by the knob/button
6)press the knob/button (11) to
confirm. The route will be recalculat-
edLOCKING A ROUTE
SECTION WITHIN A ROUTE
LIST
You can lock single road sections
along the calculated route. This func-
tion is very useful when you receive
information on heavy traffic, works in
progress, etc. along your calculated
route.
Proceed as follows:
1) press T (8): the display will show
the TRAFFIC menu fig. 101
2) turn the knob/button (11) to se-
lect TR. JAM FUNCT
fig. 103F0E3065gfig. 104F0E3077g
Page 170 of 202

169
CONNECT NAV
NAVIGATOR
SELECTING A NUMBER
FROM THE PHONE BOOK
Applying the following procedure will
make it possible to call a number pre-
viously stored in the phone book.
Search name
Proceed as follows:
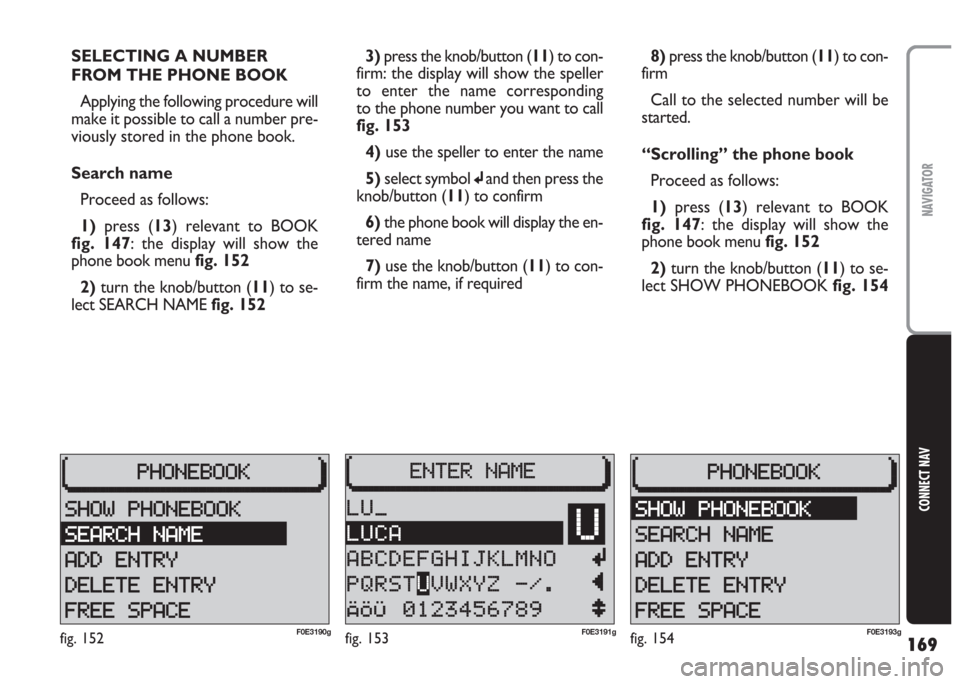
1)press (13) relevant to BOOK
fig. 147: the display will show the
phone book menu fig. 152
2)turn the knob/button (11) to se-
lect SEARCH NAME fig. 1523)press the knob/button (11) to con-
firm: the display will show the speller
to enter the name corresponding
to the phone number you want to call
fig. 153
4) use the speller to enter the name
5) select symbol
jand then press the
knob/button (11) to confirm
6) the phone book will display the en-
tered name
7)use the knob/button (11) to con-
firm the name, if required8) press the knob/button (11) to con-
firm
Call to the selected number will be
started.
“Scrolling” the phone book
Proceed as follows:
1) press (13) relevant to BOOK
fig. 147: the display will show the
phone book menu fig. 152
2)turn the knob/button (11) to se-
lect SHOW PHONEBOOK fig. 154
fig. 152F0E3190gfig. 153F0E3191gfig. 154F0E3193g