Page 110 of 273
Bass and Treble Tone Control
The tone controls consist of 2 separate bands. The bass
band is on the left, and the treble band is on the right.
Each band is adjusted by a slider control with a detent at
the mid-position. Moving the control up or down in-
creases or decreases amplification of that band. The mid
position provides a balanced output.
AM/FM Selection
Press the AM/FM button to change from AM to FM. The
operating mode will be displayed next to the station
frequency. The display will show ST when a stereo
station is received.
To Set The Radio Push-Button Memory
When you are receiving a station that you wish to
commit to push-button memory, press the SET button.
SET 1 will show in the display window. Select the ª1±5º
button you wish to lock onto this station and press and
release that button. If a button is not selected within 5
seconds after pressing the SET button, the station will
continue to play but will not be locked into push-button
memory.You may add a second station to each push-button by
repeating the above procedure with this exception: Press
the SET button twice and SET 2 will show in the display
window. Each button can be set for SET 1 and SET 2 in
both AM and FM. This allows a total of 10 AM and 10 FM
stations to be locked into push-button memory. The
stations stored in SET 2 memory can be selected by
pressing the push-button twice. Every time a preset
button is used a corresponding button number will be
displayed.
Time
Press the TIME button to change the display between
radio frequency and time.
General Information
This radio complies with Part 15 of FCC rules and with
RSS-210 of Industry Canada. Operation is subject to the
following conditions:
1. This device may not cause harmful interference,
2. This device must accept any interference received,
including interference that may cause undesired opera-
tion.
110 UNDERSTANDING YOUR INSTRUMENT PANEL
Page 122 of 273
Mode Control
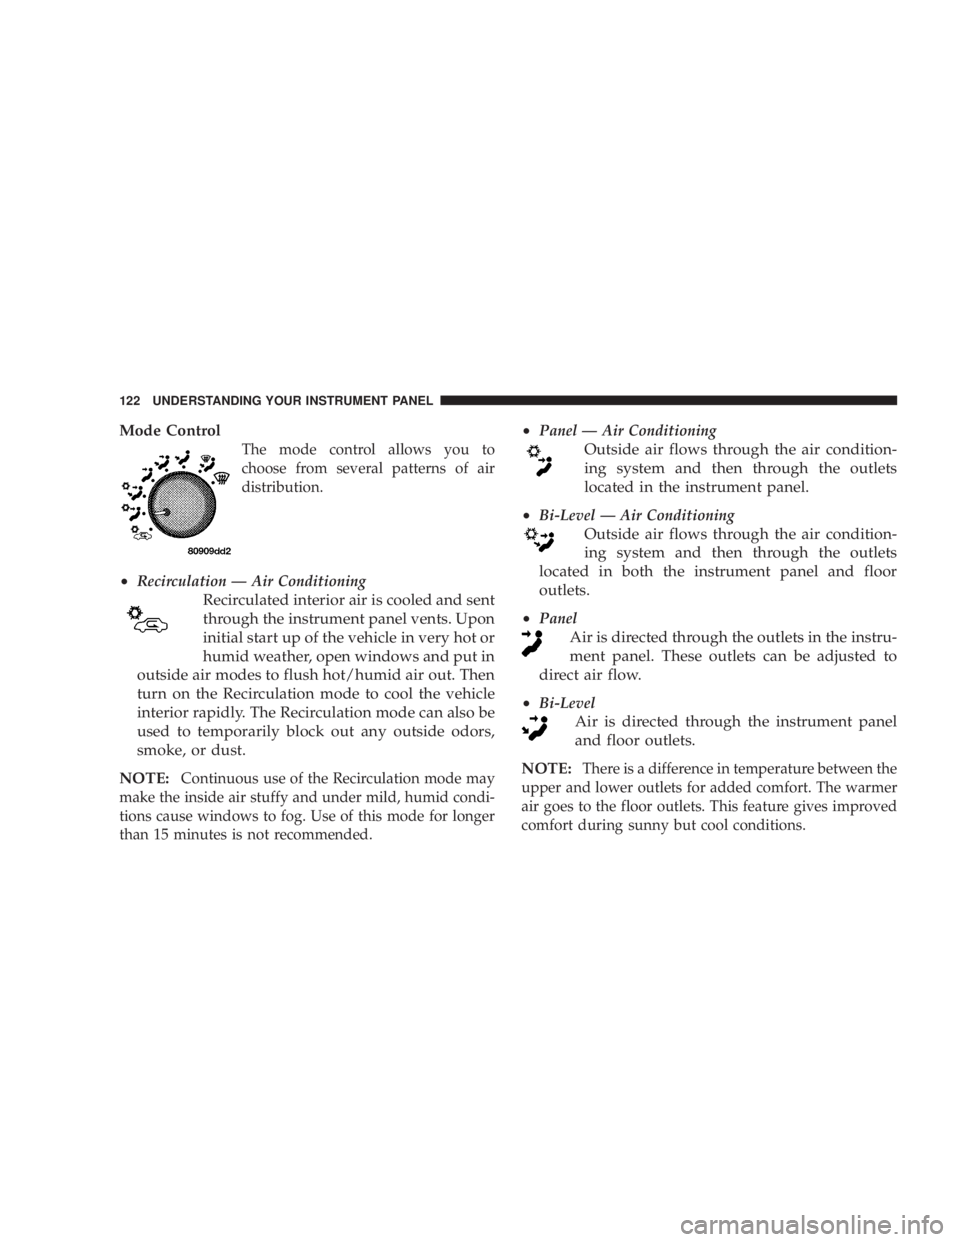
The mode control allows you to
choose from several patterns of air
distribution.
²Recirculation Ð Air Conditioning
Recirculated interior air is cooled and sent
through the instrument panel vents. Upon
initial start up of the vehicle in very hot or
humid weather, open windows and put in
outside air modes to flush hot/humid air out. Then
turn on the Recirculation mode to cool the vehicle
interior rapidly. The Recirculation mode can also be
used to temporarily block out any outside odors,
smoke, or dust.
NOTE:
Continuous use of the Recirculation mode may
make the inside air stuffy and under mild, humid condi-
tions cause windows to fog. Use of this mode for longer
than 15 minutes is not recommended.
²Panel Ð Air Conditioning
Outside air flows through the air condition-
ing system and then through the outlets
located in the instrument panel.
²
Bi-Level Ð Air Conditioning
Outside air flows through the air condition-
ing system and then through the outlets
located in both the instrument panel and floor
outlets.
²
Panel
Air is directed through the outlets in the instru-
ment panel. These outlets can be adjusted to
direct air flow.
²
Bi-Level
Air is directed through the instrument panel
and floor outlets.
NOTE:
There is a difference in temperature between the
upper and lower outlets for added comfort. The warmer
air goes to the floor outlets. This feature gives improved
comfort during sunny but cool conditions.
122 UNDERSTANDING YOUR INSTRUMENT PANEL
Page 127 of 273
STARTING AND OPERATING
CONTENTS
mStarting Procedures....................130
NAutomatic Transaxle...................130
NManual Transaxle.....................130
NNormal Starting......................130
NExtreme Cold Weather
(Below -20ÉF Or -29ÉC).................131
NIf Engine Fails To Start.................132
NAfter Starting........................132
mBattery And Engine Block Heaters Ð If
Equipped
............................132
mAutomatic Transaxle....................133
NBrake/Transmission Interlock.............133NAutomatic Transaxle Ignition Interlock
System.............................134
NFour Speed Automatic Transaxle..........135
NReset Mode.........................135
NGear Ranges For Four Speed Automatic
Transaxle...........................135
mManual Transaxle......................137
NRecommended Shift Speeds..............138
NDownshifting........................138
NCruise Control.......................138
mParking Brake.........................139
mBrake System.........................140
5
Page 128 of 273
NAnti-Lock Brake System (ABS) Ð If
Equipped...........................141
mPower Steering........................142
mTraction Control Ð If Equipped...........142
mTire Safety Information..................143
NTire Markings........................143
NTire Identification Number (TIN)..........146
NTire Loading And Tire Pressure...........147
mTiresÐGeneral Information...............150
NTire Pressure.........................150
NTire Inflation Pressures.................151
NRadial-Ply Tires......................153
NCompact Spare Tire Ð If Equipped.........153
NTire Spinning........................154
NTread Wear Indicators..................155
NReplacement Tires.....................155NAlignment And Balance.................156
mTire Chains...........................157
mSnow Tires...........................157
mTire Rotation Recommendations...........157
mAutoStick Ð If Equipped................158
NAutoStick Operation...................158
NAutoStick General Information............159
mFuel Requirements.....................160
NReformulated Gasoline.................160
NGasoline/Oxygenate Blends..............160
NMMT In Gasoline.....................161
NSulfur In Gasoline.....................161
NMaterials Added To Fuel................162
mAdding Fuel..........................162
NFuel Filler Cap (Gas Cap)...............162
mVehicle Loading.......................164
128 STARTING AND OPERATING
Page 131 of 273
WARNING!
Never pour fuel or other flammable liquid into the
throttle body air inlet opening in an attempt to start
the vehicle. This could result in flash fire causing
serious personal injury.
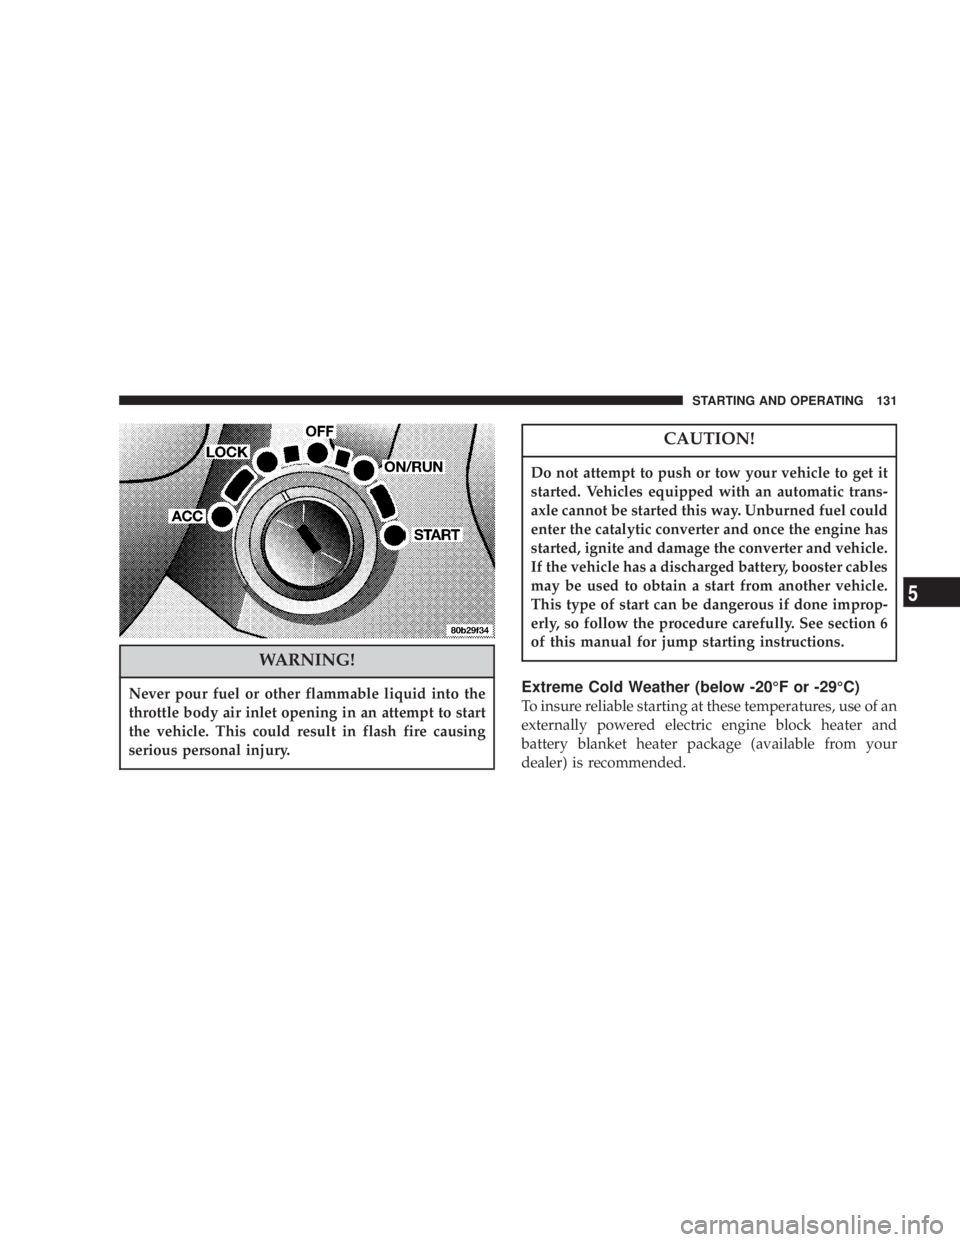
CAUTION!
Do not attempt to push or tow your vehicle to get it
started. Vehicles equipped with an automatic trans-
axle cannot be started this way. Unburned fuel could
enter the catalytic converter and once the engine has
started, ignite and damage the converter and vehicle.
If the vehicle has a discharged battery, booster cables
may be used to obtain a start from another vehicle.
This type of start can be dangerous if done improp-
erly, so follow the procedure carefully. See section 6
of this manual for jump starting instructions.
Extreme Cold Weather (below -20ÉF or -29ÉC)
To insure reliable starting at these temperatures, use of an
externally powered electric engine block heater and
battery blanket heater package (available from your
dealer) is recommended.
STARTING AND OPERATING 131
5
Page 132 of 273
If Engine Fails to Start
If the engine fails to start after you have followed the
ªNORMAL STARTINGº or ªEXTREME COLD
WEATHERº procedures, it may be flooded. Push the
accelerator pedal all the way to the floor and hold it there
while cranking the engine. This should clear any excess
fuel in case the engine is flooded.
CAUTION!
To prevent damage to the starter, do not crank the
engine for more than 15 seconds at a time. Wait 10 to
15 seconds before trying again.
If the engine has been flooded, it may start to run, but not
have enough power to continue running when the key is
released. If this occurs, continue cranking with the accel-
erator pedal pushed all the way to the floor. Release the
accelerator pedal and the key once the engine is running
smoothly.If the engine shows no sign of starting after two 15
second periods of cranking with the accelerator pedal
held to the floor, the ªNORMAL STARTINGº or ªEX-
TREME COLD WEATHERº procedure should be re-
peated.
After Starting
The idle speed will automatically decrease as the engine
warms up. At cooler ambient temperatures, the idle
speed for the 2.7L engine may increase during extended
idles for improved heater performance.
BATTERY AND ENGINE BLOCK HEATERS Ð If
EQUIPPED
The engine block heater warms engine coolant and
permits quicker starts in cold weather. Connect the cord
to a standard 110-115 volt AC electrical outlet with a
grounded, three wire extension cord. The engine block
heater cord is found under the hood near the air cleaner
housing.
132 STARTING AND OPERATING
Page 133 of 273
WARNING!
Remember to disconnect the cord before driving.
Damage to the 110-115 volt AC electrical cord could
cause electrocution.
Use the heater when temperatures below 0ÉF (-18ÉC) are
expected to last for several days.
AUTOMATIC TRANSAXLE
Brake/Transmission Interlock
This interlock system prevents you from moving the gear
selector out of the Park position unless the brake pedal is
pressed. The system is active when the ignition switch is
in the RUN position.
WARNING!
Unintended movement of a vehicle could injure
those in and near the vehicle. As with all vehicles,
you should never exit a vehicle while the engine is
running. Before exiting a vehicle you should shift
the transmission into Park, remove the key from the
ignition, and apply the park brake. Once the key is
removed from the ignition the transmission shift
lever is locked in the Park position, securing the
vehicle against unwanted movement. Furthermore,
you should never leave children unattended inside a
vehicle. The following indicators should be used to
ensure that you have engaged the transmission shift
lever into the ªParkº position:
²When shifting into Park, depress the button on
the shift lever and firmly move the lever all the
way forward until it stops.
²Look at the shift indicator window on the console
to ensure it is in the ªPº position.
²When engaged in Park you will not be able to
move the shifter rearward without depressing the
shift lever button.
STARTING AND OPERATING 133
5
Page 134 of 273
CAUTION!
Damage to the transaxle may occur if the following
precautions are not observed:
²Shift into PARK only after the vehicle has come to
a complete stop.
²Shift into or out of REVERSE only after the
vehicle has come to a complete stop and the
engine is at idle speed.
²Do not shift from REVERSE, PARK, or NEUTRAL
into any forward gear when the engine is above
idle speed.
²Before shifting into any gear, make sure your foot
is firmly on the brake pedal.
WARNING!
It is dangerous to shift the selector lever out of ªPº or
ªNº if the engine speed is higher than idle speed. If
your foot is not firmly on the brake pedal, the
vehicle could accelerate quickly forward or in re-
verse. You could lose control of the vehicle and hit
someone or something. Only shift into gear when
the engine is idling normally and when your right
foot is firmly on the brake pedal.
Automatic Transaxle Ignition Interlock System
This system prevents the key from being removed unless
the shift lever is in PARK and the shift knob push-button
is out. It also prevents shifting out of PARK unless the
key is in the OFF or RUN positions.
NOTE:If a malfunction occurs, the system may trap the
key in the ignition cylinder to warn you that this safety
feature is inoperable. The engine can be started and
stopped but the key cannot be removed until you obtain
service.
134 STARTING AND OPERATING