Page 180 of 397

both AM and FM. This allows a total of 10 AM and 10 FM
stations to be locked into push-button memory. The
stations stored in SET 2 memory can be selected by
pressing the push-button twice. Every time a preset
button is used a corresponding button number will be
displayed.
Time
Press the TIME button to change the display between
radio frequency and time.
General Information
This radio complies with Part 15 of FCC rules and with
RSS-210 of Industry Canada. Operation is subject to the
following conditions:
1. This device may not cause harmful interference,
2. This device must accept any interference received,
including interference that may cause undesired opera-
tion. NOTE: Changes or modifications not expressively ap-
proved by the party responsible for compliance could
void the user's authority to operate the equipment.
CD Player Operation
NOTE: The ignition switch must be in the ON or ACC
position and the volume control ON before the CD player
will operate.
Inserting The Compact Disc
CAUTION!This CD player will accept 4 3
¤ 4
inch (12 cm) discs
only. The use of other sized discs may damage the
CD player mechanism.
You may either insert or eject a disc with the radio OFF.180 UNDERSTANDING YOUR INSTRUMENT PANEL
Page 193 of 397
Power Button
Pressing the power button will turn the headphones
ON/OFF.
NOTE:
² The headphones will turn off automatically and the
red LED will illuminate for approximately 2 minutes
when the radio or rear audio/video system is turned
off.
² The rear audio/video system must be turned ON
before sound can be heard from the headphones.
Volume Control
Rotate the volume control upward to increase the vol-
ume. Scan Button
Pressing the scan button will automatically find the
audio signal that is transmitted from the CD/DVD
changer when the rear audio/video system and the
headphones are on. This button is used only if the
headphones are locked on to a source other than the
vehicle's radio.
NOTE: When the ªGREEN LEDº is showing the head-
phones are receiving the audio signal. When the ªRED
LEDº is showing the headphones are searching for the
audio signal UNDERSTANDING YOUR INSTRUMENT PANEL 193
4
Page 195 of 397

NOTE: Follow the manufactures instructions for the
correct colors when connecting the RCA cables.
Operating Instructions Ð Video
Games/Camcorders
A video game unit or camcorder can be connected to the
rear audio/video system. Connect the cables to the RCA
jacks located on the front of the CD/DVD changer.
NOTE: To operate a video game unit a DC to AC
adapter may be required, plug the adapter into any
power outlet.
Follow the manufactures instructions for the correct
colors when connecting the RCA cables.
NOTE: MP3 player's, video game systems, camcorders
connected to the RCA jacks and CD's or DVD's inserted
into the CD/DVD changer can be heard through the
headphones. REMOTE SOUND SYSTEM CONTROLS Ð IF
EQUIPPED
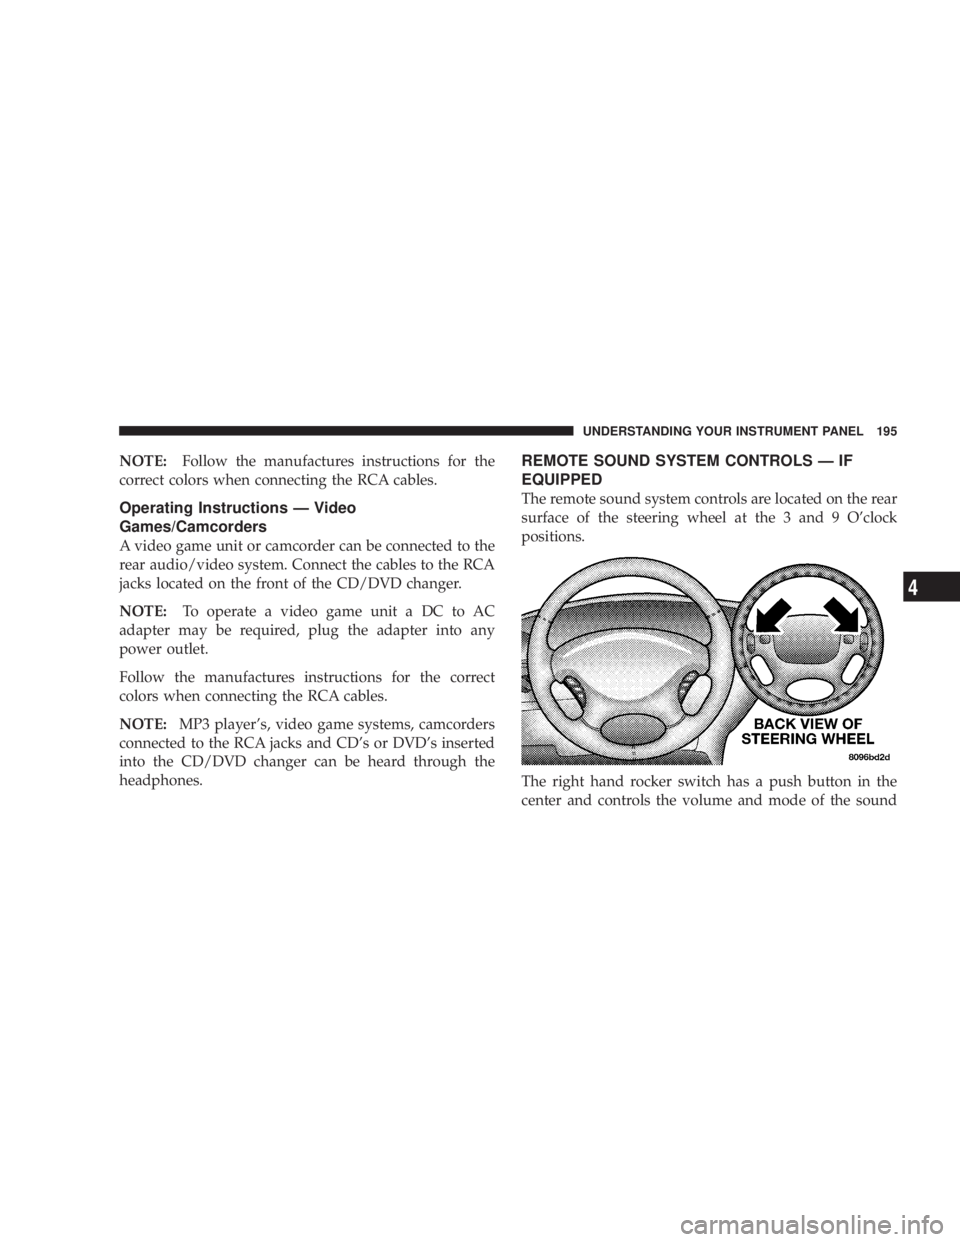
The remote sound system controls are located on the rear
surface of the steering wheel at the 3 and 9 O'clock
positions.
The right hand rocker switch has a push button in the
center and controls the volume and mode of the sound UNDERSTANDING YOUR INSTRUMENT PANEL 195
4
Page 199 of 397
CLIMATE CONTROLS
The Air Conditioning and Heating System is designed to
make you comfortable in all types of weather.
Manual Air Conditioning and Heating System
Front Blower Control
The Front Blower Control selects whether the Cli-
mate Control System is ON or OFF. When the blower control is set to the O (OFF) position the front blower will
turn off and the system will be placed in the Recirculation
mode. When the blower control is set to any position
other than off, it selects the amount of air delivered to the
passenger compartment. There are four blower speeds.
The fan speed increases as you
move the control clockwise. UNDERSTANDING YOUR INSTRUMENT PANEL 199
4
Page 204 of 397

² If your air conditioning performance seems lower than
expected, check the A/C air filter and the front of the
A/C condenser for an accumulation of dirt or insects.
The A/C condenser is located in front of the radiator.
The A/C air filter is located under the instrument
panel on the passenger side.
² Fabric type fascia protectors tend to block the amount
of air to the condenser and may reduce air condition-
ing performance.
Economy Mode
If economy mode is desired, press the A/C button to turn
off the indicator light, and the A/C compressor. Move the
temperature control lever to the desired temperature.
Recirculation Control
Press the recirculation button to recirculate the
air inside the vehicle. This is located next to the
A/C button. An indicator light on the button
shows that air is being recirculated. Use the recirculation mode to rapidly cool the inside of the
vehicle. The recirculation mode can also be used to
temporarily block out outside odors, smoke, and dust.
NOTE:
² When the ignition switch is turned OFF, the recircula-
tion feature will be cancelled.
² In cold weather, use of the Recirculation mode may
lead to excessive window fogging. The Recirculation
mode is not allowed in the Mix and Defrost modes to
improve window clearing operation. Recirculation
will be disabled automatically if these modes are
selected.
² If the recirculation button is pressed while in the Mix
or Defrost mode, the indicator light in the recirculation
button will flash 3 times indicating that recirculation is
not allowed.204 UNDERSTANDING YOUR INSTRUMENT PANEL
Page 207 of 397

speed positions. This allows the second seat occupants to
control the volume of air circulated in the rear of the
vehicle.
CAUTION!Interior air enters the Manual Rear Zone Climate
Control system through an intake grille located in
the passenger side trim panel behind the third seat.
The heater outlets are located in the passenger side
trim panel just behind the sliding door. Do not block
or place objects directly in front of the inlet grille or
heater outlets. The electrical system could overload
causing damage to the blower motor. Rear Temperature And Mode Control
When the center knob on the front climate control unit is
set to the ªREARº position, the second seat occupants
also have control of the rear temperature and modes as
follows:
² The rear temperature knob controls both the rear
temperature and mode. When the temperature knob is
in the cold position, cold air will be delivered from the
headliner outlets. As the rear temperature knob is
turned towards hot, the air will get warmer, and the
air will be delivered from both the headliner and floor
outlets. When the rear temperature knob reaches the
full hot position, all of the air will be delivered from
the floor outlets.
² When the center knob on the front climate control unit
is set to any position other than ªREARº, the rear UNDERSTANDING YOUR INSTRUMENT PANEL 207
4
Page 214 of 397

improve window clearing operation. Recirculation will
be disabled automatically if these modes are selected.
Auxiliary Rear Automatic Temperature Control Ð
If Equipped
The Rear Automatic Temperature Control System has
floor air outlets to the rear of the right side sliding door
and overhead outlets at each outboard rear seating
position. The unit provides heated air through the floor
outlets or cool, dehumidified air through the headliner
outlets.
The ªREAR SYSTEMº knob for the Rear Automatic
Temperature Control System is on the front ATC control
unit located on the instrument panel.
Selecting the ªAUTOº position for the Rear Automatic
Temperature Control System from the front ATC control
unit, illuminates a ªLOCKº symbol in the rear display.
The rear temperature and air source are controlled from
the front ATC control unit. The ªREAR SYSTEMº knob on the front ATC control unit
has three positions, ªREAR CONTROLº, ªOFFº, and
ªAUTOº. Only when the ªREAR SYSTEMº knob is in the
ªREAR CONTROLº position do the second seat occu-
pants have control of the Rear Automatic Temperature
Control System.
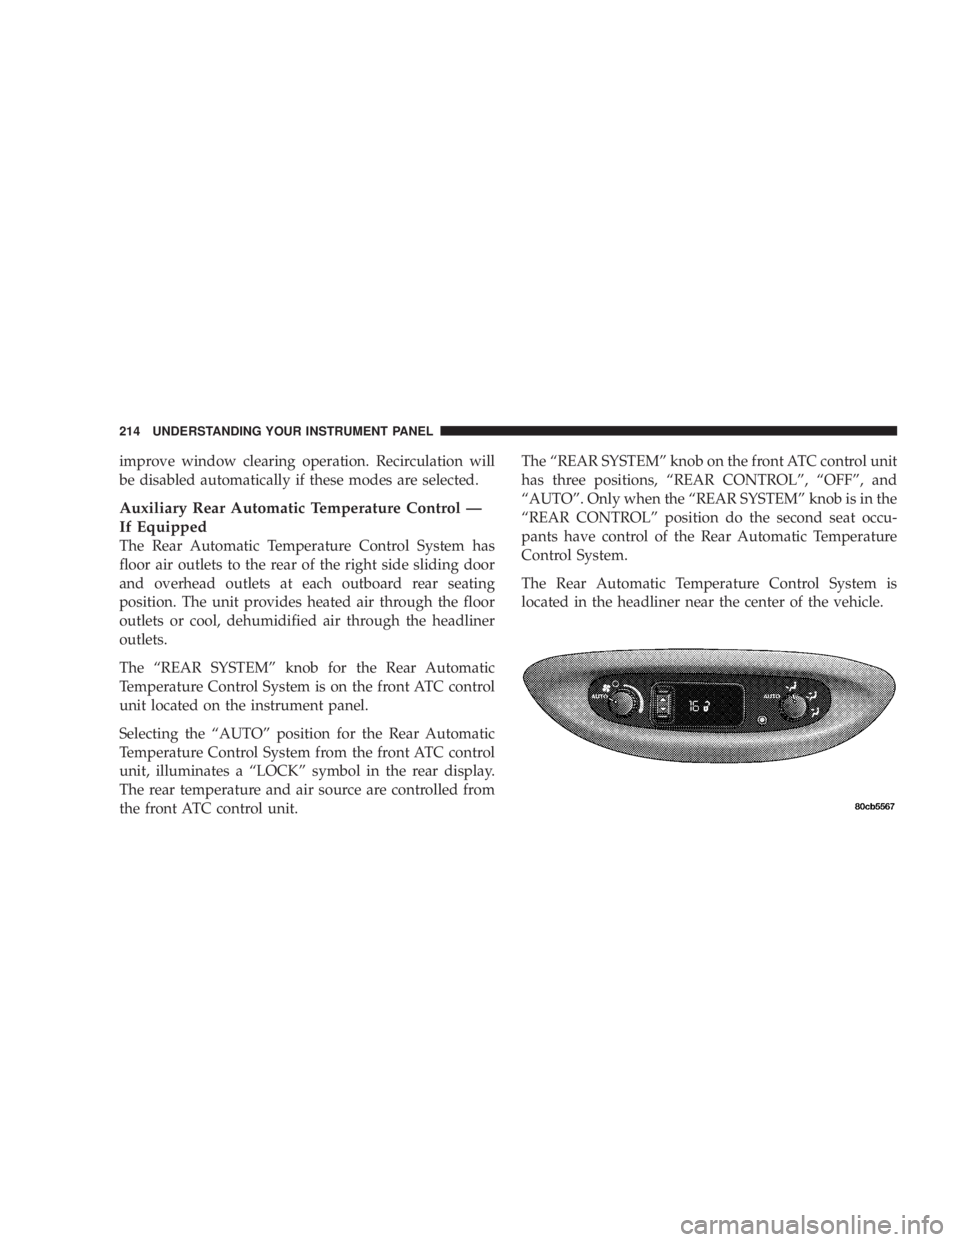
The Rear Automatic Temperature Control System is
located in the headliner near the center of the vehicle.214 UNDERSTANDING YOUR INSTRUMENT PANEL
Page 215 of 397

Operation of the rear system is quite simple. Begin by
rotating the rear system center control knob on the front
ATC control unit to the ªREAR CONTROLº position, this
illuminates an ªUNLOCKº symbol in the rear display.
Next, rotate the Rear Blower Control and the Rear Mode
Control to the ªAUTOº positions. Select the temperature
you would like the system to maintain by pressing the
Rear Temperature Control button. Once the desired tem-
perature is displayed, the system will achieve and main-
tain that comfort level automatically. When the system is
set up for your comfort level, it is not necessary to change
the settings. You will experience the greatest efficiency by
simply allowing the system to function automatically.
NOTE:
² It is not necessary to move the temperature settings for
cold or hot vehicles. The system automatically adjusts
the temperature, mode and fan speed to provide
comfort as quickly as possible. ² The temperature can be displayed in U.S. or Metric by
selecting the US/M customer programmable feature.
Refer to the ªOverhead Console-Customer Program-
mable Featuresº in Section 3 of this manual.
Rear Blower Control
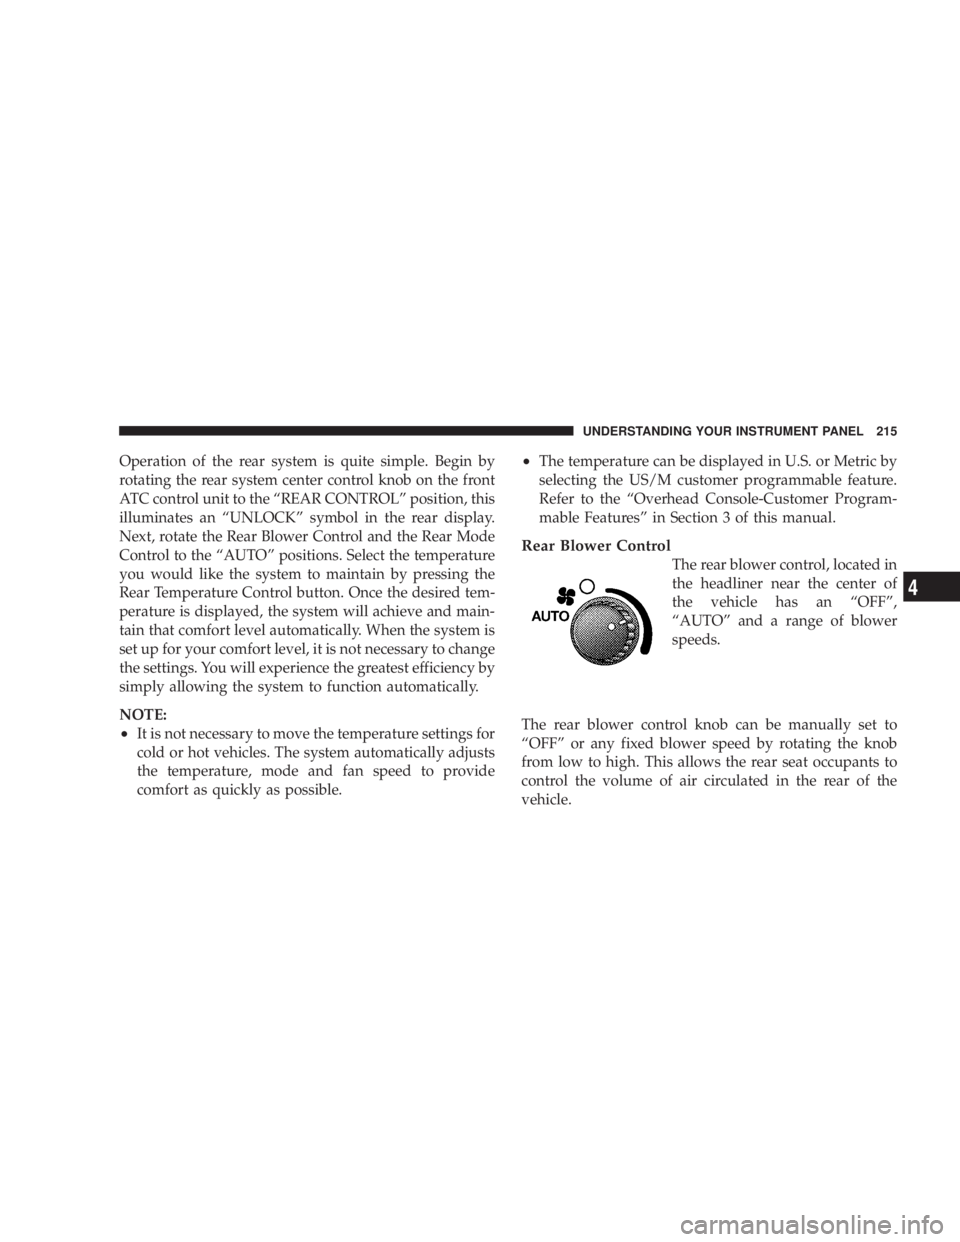
The rear blower control, located in
the headliner near the center of
the vehicle has an ªOFFº,
ªAUTOº and a range of blower
speeds.
The rear blower control knob can be manually set to
ªOFFº or any fixed blower speed by rotating the knob
from low to high. This allows the rear seat occupants to
control the volume of air circulated in the rear of the
vehicle. UNDERSTANDING YOUR INSTRUMENT PANEL 215
4