2004 DODGE DAKOTA spare tire
[x] Cancel search: spare tirePage 211 of 300
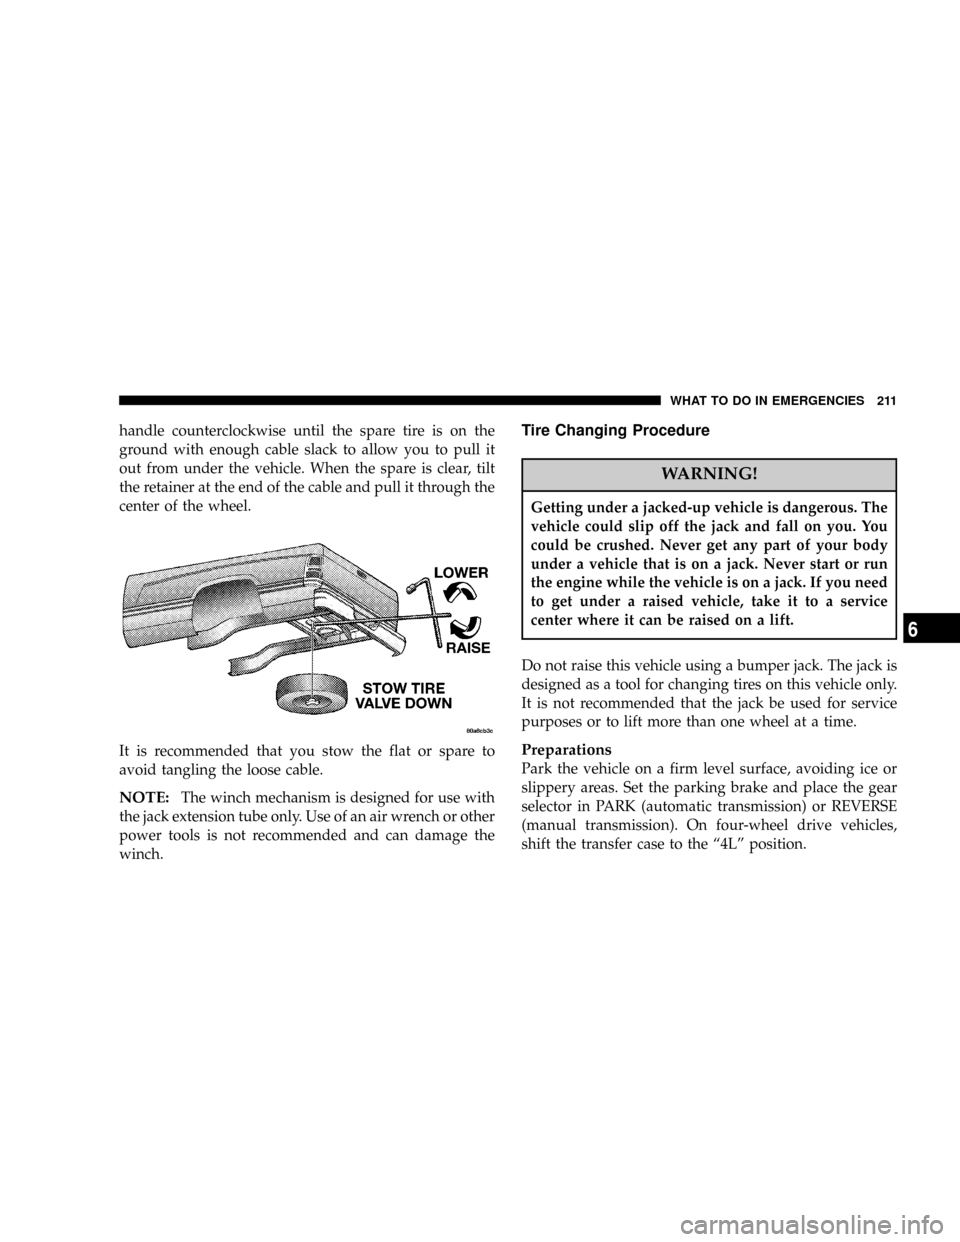
handle counterclockwise until the spare tire is on the
ground with enough cable slack to allow you to pull it
out from under the vehicle. When the spare is clear, tilt
the retainer at the end of the cable and pull it through the
center of the wheel.
It is recommended that you stow the flat or spare to
avoid tangling the loose cable.
NOTE:The winch mechanism is designed for use with
the jack extension tube only. Use of an air wrench or other
power tools is not recommended and can damage the
winch.
Tire Changing Procedure
WARNING!
Getting under a jacked-up vehicle is dangerous. The
vehicle could slip off the jack and fall on you. You
could be crushed. Never get any part of your body
under a vehicle that is on a jack. Never start or run
the engine while the vehicle is on a jack. If you need
to get under a raised vehicle, take it to a service
center where it can be raised on a lift.
Do not raise this vehicle using a bumper jack. The jack is
designed as a tool for changing tires on this vehicle only.
It is not recommended that the jack be used for service
purposes or to lift more than one wheel at a time.
Preparations
Park the vehicle on a firm level surface, avoiding ice or
slippery areas. Set the parking brake and place the gear
selector in PARK (automatic transmission) or REVERSE
(manual transmission). On four-wheel drive vehicles,
shift the transfer case to the ª4Lº position.
WHAT TO DO IN EMERGENCIES 211
6
Page 212 of 300

WARNING!
Do not attempt to change a tire on the side of the
vehicle close to moving traffic. Pull far enough off
the road to avoid the danger of being hit when
operating the jack or changing the wheel.
²Turn on the Hazard Warning Flasher.
²Block both the front and rear
of the wheel diagonally oppo-
site the jacking position. For
example, if the right front
wheel is being changed, block
the left rear wheel.
²Passengers should not remain in the vehicle when the
vehicle is being jacked.
Instructions
1. Remove the spare wheel, jack, and tools from storage.
2. Remove wheel center cap using the spade end of the
wheel wrench.
3. Using the wheel wrench, loosen, but do not remove,
the wheel nuts by turning them counterclockwise one
turn while the wheel is still on the ground.
4. When changing a front wheel, place the jack under the
frame rail behind the wheel. Locate the jack as far
forward as possible on the straight part of the frame.
Make sure that the upstanding tab of the jack contacts the
vertical side of the frame. Operate the jack using the jack
drive tube and the wheel wrenchÐ the tube extension,
may be used but is not required.
When changing a rear wheel, assemble the jack drive
tube to the jack and connect the drive tube to the
extension tube. Place the jack under the axle between the
spring and the shock absorber with the drive tubes
extending to the rear. Connect the jack tube extension and
wheel wrench.
212 WHAT TO DO IN EMERGENCIES
Page 213 of 300
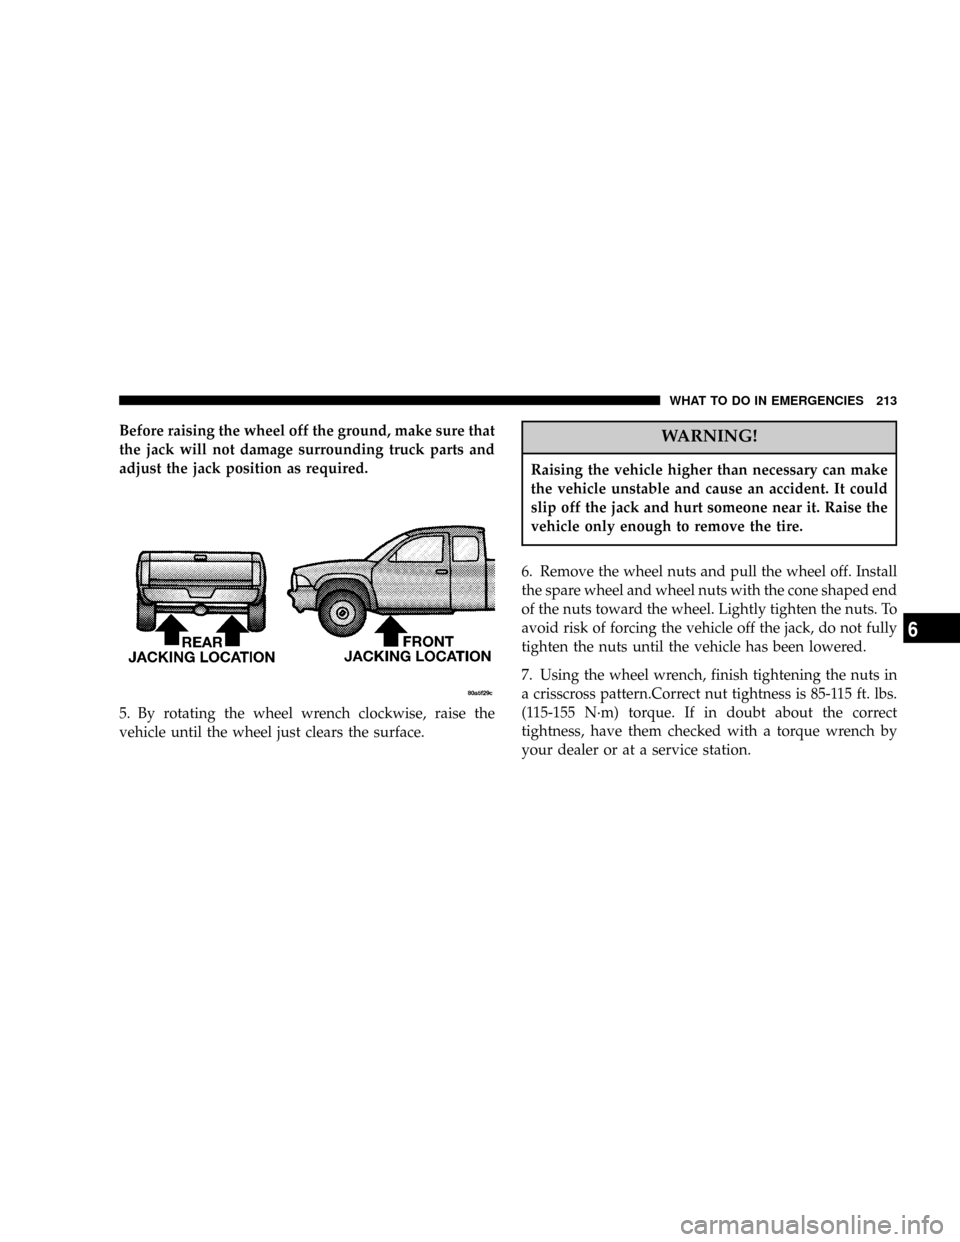
Before raising the wheel off the ground, make sure that
the jack will not damage surrounding truck parts and
adjust the jack position as required.
5. By rotating the wheel wrench clockwise, raise the
vehicle until the wheel just clears the surface.WARNING!
Raising the vehicle higher than necessary can make
the vehicle unstable and cause an accident. It could
slip off the jack and hurt someone near it. Raise the
vehicle only enough to remove the tire.
6. Remove the wheel nuts and pull the wheel off. Install
the spare wheel and wheel nuts with the cone shaped end
of the nuts toward the wheel. Lightly tighten the nuts. To
avoid risk of forcing the vehicle off the jack, do not fully
tighten the nuts until the vehicle has been lowered.
7. Using the wheel wrench, finish tightening the nuts in
a crisscross pattern.Correct nut tightness is 85-115 ft. lbs.
(115-155 N´m) torque. If in doubt about the correct
tightness, have them checked with a torque wrench by
your dealer or at a service station.
WHAT TO DO IN EMERGENCIES 213
6
Page 214 of 300
WARNING!
A loose tire or jack thrown forward in a collision or
hard stop could injure someone in the vehicle.
Always stow the jack parts and the extra tire and
wheel in the places provided.
8. Install wheel center cap and remove wheel blocks. Do
not install chrome or aluminum wheel center caps on the
spare wheel. This may result in cap damage.
9. Lower the jack to its fully closed position. Stow the
replaced tire, jack, and tools as previously described.
10. Adjust the tire pressure when possible.
NOTE:Do not oil wheel studs. For chrome wheels, do
not substitute with chrome plated wheel nuts.
WARNING!
Carefully follow these tire changing warnings to
help prevent personal injury or damage to your
vehicle:
²Always park on a firm, level surface as far from
the edge of the roadway as possible before raising
the vehicle.
²Block the wheel diagonally opposite the wheel to
be raised.
²Apply the parking brake firmly before jacking.
²Never start the engine with the vehicle on a jack.
²Do not let anyone sit in the vehicle when it is on
a jack.
²Do not get under the vehicle when it is on a jack.
²Only use the jack in the positions indicated.
²If working on or near a roadway, be extremely
careful of motor traffic.
214 WHAT TO DO IN EMERGENCIES
Page 215 of 300
To Stow The Flat Or Spare
Turn the wheel so that the valve stem is down. Slide the
wheel retainer through the center of the wheel and
position it properly across the wheel opening.
For convenience in checking the spare tire inflation, stow
with the valve stem toward the rear of the vehicle.
Attach the wheel wrench to the extension tube. Rotate the
winch mechanism until the wheel is drawn into place
against the underside of the vehicle. Continue to rotate
until you feel the winch mechanism slip or click 3 or 4
times. It cannot be overtightened. Push against the tire
several times to be sure it is firmly in place.
JUMP STARTING
WARNING!
²Battery fluid is a corrosive acid solution; do not
allow battery fluid to contact eyes, skin or cloth-
ing. Don't lean over battery when attaching
clamps or allow the clamps to touch each other. If
acid splashes in eyes or on skin, flush the con-
taminated area immediately with large quantities
of water.
²A battery generates hydrogen gas which is flam-
mable and explosive. Keep flame or spark away
from the vent holes. Do not use a booster battery
or any other booster source with an output that
exceeds 12 volts.
Check the Battery Test Indicator (if equipped). If a yellow
or bright colored dot is visible in the indicator (if
equipped), DO NOT jump-start the battery.
WHAT TO DO IN EMERGENCIES 215
6
Page 290 of 300
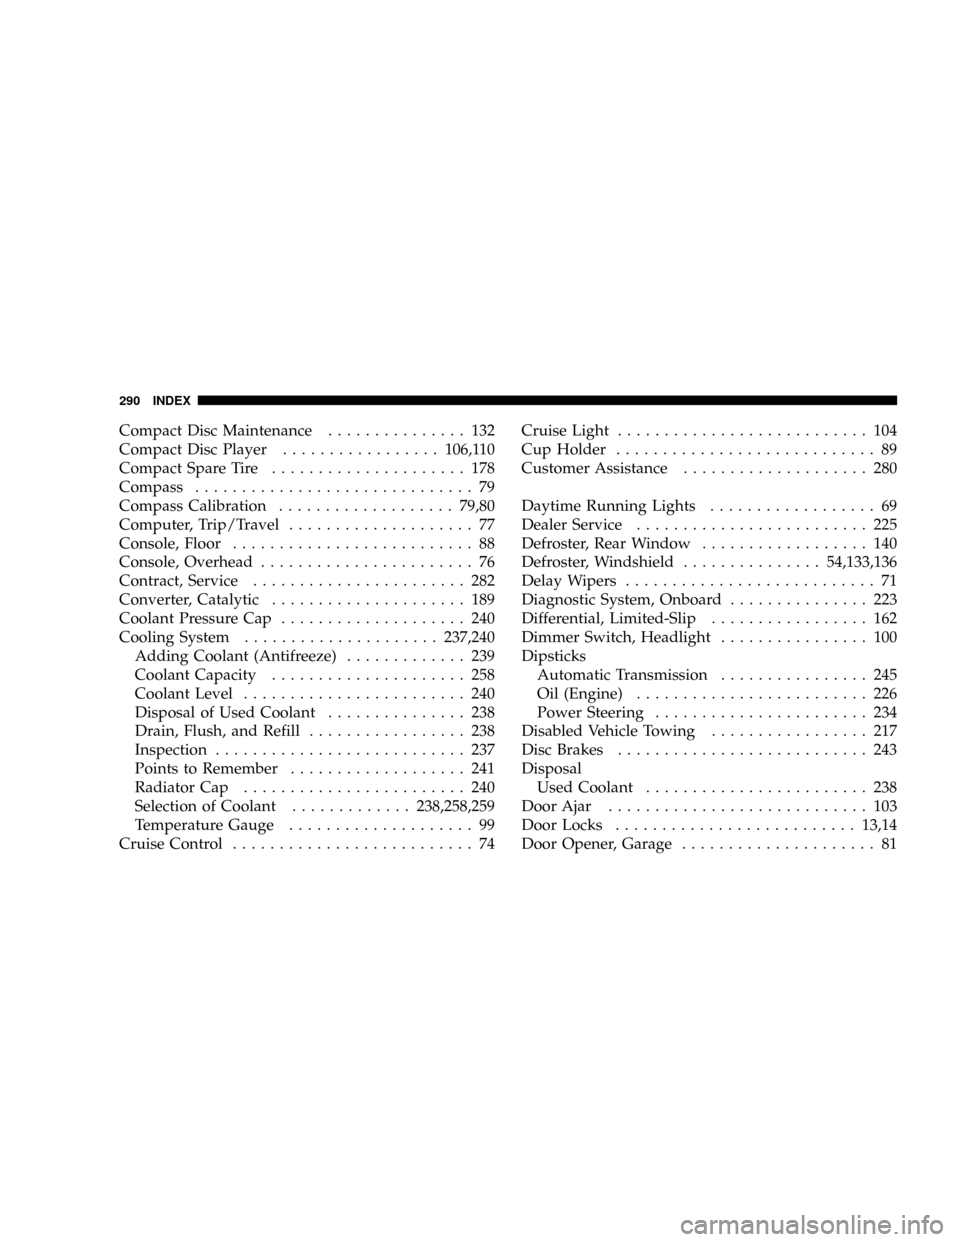
Compact Disc Maintenance............... 132
Compact Disc Player.................106,110
Compact Spare Tire..................... 178
Compass.............................. 79
Compass Calibration...................79,80
Computer, Trip/Travel.................... 77
Console, Floor.......................... 88
Console, Overhead....................... 76
Contract, Service....................... 282
Converter, Catalytic..................... 189
Coolant Pressure Cap.................... 240
Cooling System.....................237,240
Adding Coolant (Antifreeze)............. 239
Coolant Capacity..................... 258
Coolant Level........................ 240
Disposal of Used Coolant............... 238
Drain, Flush, and Refill................. 238
Inspection........................... 237
Points to Remember................... 241
Radiator Cap........................ 240
Selection of Coolant.............238,258,259
Temperature Gauge.................... 99
Cruise Control.......................... 74Cruise Light........................... 104
Cup Holder............................ 89
Customer Assistance.................... 280
Daytime Running Lights.................. 69
Dealer Service......................... 225
Defroster, Rear Window.................. 140
Defroster, Windshield...............54,133,136
Delay Wipers........................... 71
Diagnostic System, Onboard............... 223
Differential, Limited-Slip................. 162
Dimmer Switch, Headlight................ 100
Dipsticks
Automatic Transmission................ 245
Oil (Engine)......................... 226
Power Steering....................... 234
Disabled Vehicle Towing................. 217
Disc Brakes........................... 243
Disposal
Used Coolant........................ 238
Door Ajar............................ 103
Door Locks..........................13,14
Door Opener, Garage..................... 81
290 INDEX
Page 298 of 300

Transfer Case........................ 151
Transfer Case, Shifting into Transfer
Case Neutral (N).................... 202
Transfer Case, Shifting out of Transfer
Case Neutral (N).................... 204
Shoulder Belt Upper Anchorage............. 29
Signals, Turn......................70,99,256
Sliding Rear Window..................... 23
Snow Chains.......................... 182
Snow Plow........................... 201
Snow Tires............................ 183
Spare Tire............................ 210
Spark Plugs........................... 230
Specifications
Fuel............................... 184
Speed Control.......................... 74
Speedometer.......................... 100
Starting.............................. 144
Emergency (Jump Starting).............. 215
Engine Block Heater................... 146
Steering
Column Controls...................... 70
Column Lock......................... 11Linkage............................ 235
Power...........................166,234
Wheel, Tilt........................... 73
Steering Wheel Mounted Sound System
Controls............................ 130
Storage Compartment, Center Seat........... 89
Storage, Vehicle........................ 254
Stuck, Freeing......................... 167
Supplemental Tire Pressure Information...... 182
Synthetic Engine Oil..................... 229
Tachometer............................ 99
Tailgate............................... 90
Taillights............................. 256
Tape Player........................... 131
Temperature Gauge, Engine Coolant......... 99
Tether Anchor, Child Restraint.............. 42
Thermostat........................... 241
Tilt Steering Column..................... 73
Tire and Loading Information Placard.....172,182
Tire Identification Number (TIN)........... 171
Tire Markings......................... 167
Tire Safety Information................... 167
298 INDEX
Page 299 of 300
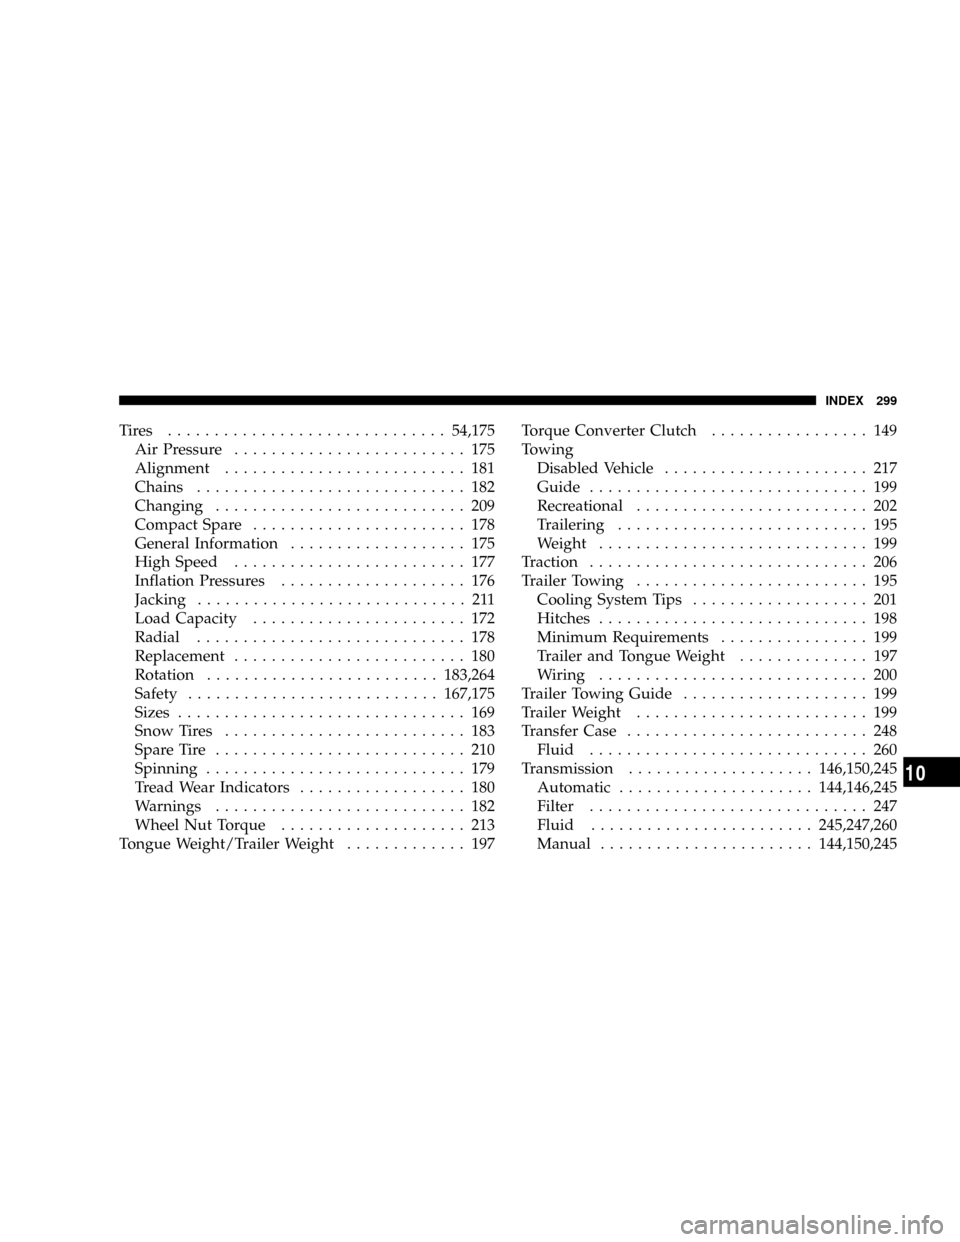
Tires ..............................54,175
Air Pressure......................... 175
Alignment.......................... 181
Chains............................. 182
Changing........................... 209
Compact Spare....................... 178
General Information................... 175
High Speed......................... 177
Inflation Pressures.................... 176
Jacking............................. 211
Load Capacity....................... 172
Radial............................. 178
Replacement......................... 180
Rotation.........................183,264
Safety...........................167,175
Sizes............................... 169
Snow Tires.......................... 183
Spare Tire........................... 210
Spinning............................ 179
Tread Wear Indicators.................. 180
Warnings........................... 182
Wheel Nut Torque.................... 213
Tongue Weight/Trailer Weight............. 197Torque Converter Clutch................. 149
Towing
Disabled Vehicle...................... 217
Guide.............................. 199
Recreational......................... 202
Trailering........................... 195
Weight............................. 199
Traction.............................. 206
Trailer Towing......................... 195
Cooling System Tips................... 201
Hitches............................. 198
Minimum Requirements................ 199
Trailer and Tongue Weight.............. 197
Wiring............................. 200
Trailer Towing Guide.................... 199
Trailer Weight......................... 199
Transfer Case.......................... 248
Fluid.............................. 260
Transmission....................146,150,245
Automatic.....................144,146,245
Filter.............................. 247
Fluid........................245,247,260
Manual.......................144,150,245
INDEX 299
10