2004 CHRYSLER SEBRING SEDAN manual transmission
[x] Cancel search: manual transmissionPage 23 of 273

Security System Manual Override
The system will not arm if you lock the doors using the
manual lock control.
TRUNK LOCK AND RELEASE
Use the key or the Remote Keyless Entry Transmitter to
open the trunk from outside the vehicle. From inside the
car the trunk lid can be released by depressing the Trunk
Release Button located on the instrument panel to the left
of the steering wheel. The transmission must be in Parkbefore the switch will operate. Vehicles with manual
transmissions must be at zero mph for the switch to work.
With the ignition ON, the word ªdeckº will be displayed
in place of the odometer display indicating that the trunk
is open. The odometer display will reappear once the
trunk is closed or if the trip button is depressed.
With the key in lock position or key out, the ªdeckº will
be displayed until the trunk is closed.
TRUNK SAFETY WARNING
WARNING!
Do not allow children to have access to the trunk,
either by climbing into the trunk from outside, or
through the inside of the vehicle. Always close the
trunk lid when your vehicle is unattended. Once in
the trunk, young children may not be able to escape,
even if they entered through the rear seat. If trapped
in the trunk, children can die from suffocation or
heat stroke.
THINGS TO KNOW BEFORE STARTING YOUR VEHICLE 23
2
Page 69 of 273

To Deactivate:
A soft tap on the brake pedal, pushing the CANCEL
button, or normal brake or clutch pressure will deactivate
speed control without erasing the memory. Pushing the
ON/OFF button or turning off the ignition turns the
speed control system off and erases the memory.
To Resume Speed:
To resume a previously set speed, push and release the
RESUME/ACCEL button. Resume can be used at any
speed above 25 mph (40 km/h).
To Vary The Speed Setting:
When the speed control is Engaged (actively controlling
to a SET speed), speed can be increased by pressing and
holding the RESUME/ACCEL button. When the button
is released, a new set speed will be established.
Tapping the RESUME/ACCEL button once will result in
a 2 mph (3 km/h) increase in the SET speed. Each time
the button is tapped, the SET speed increases. For ex-
ample tapping the button three times will increase speed
by 6 mph (10 km/h), etc.To decrease speed while speed control is Engaged, press
and hold the COAST button. Releasing the button when
the desired speed is reached, will establish a new SET
speed.
Tapping the COAST button once will result ina1mph
(1.6 km/h) decrease in the SET speed. Each time the
button is tapped, the SET speed decreases. For example,
tapping the button three times will decrease speed by 3
mph (5 km/h).
To Accelerate For Passing:
NOTE:
If the set speed is exceeded by 20 mph (32
km/h) or more during the acceleration, the set speed will
have to manually re-engaged.
Depress the accelerator as you would normally. When the
pedal is released, the vehicle will return to the SET speed.
Using Speed Control On Hills
Vehicles with automatic transmissions are equipped with
Interactive Speed Control. This feature operates when
travelling up or down hills with the Speed Control
engaged and the driver's foot off of the accelerator.
UNDERSTANDING THE FEATURES OF YOUR VEHICLE 69
3
Page 87 of 273

5. Tachometer
The red area of the scale shows the maximum permissible
engine revolutions-per-minute (rpm x 1000) for each gear
range. Before reaching the red area (over 6,500 rpm), ease
up on the accelerator to prevent engine over speed.
6. Turn Signal Indicators
The arrows will flash in unison with the exterior turn
signal, when using the turn signal lever.
7. High Beam Indicator
This light shows that the headlights are on high
beam. Pull the turn signal lever toward the
steering wheel to switch the headlights from high or
low beam.
8. Speedometer
Shows the vehicle speed in miles-per-hour and
kilometers-per-hour.
9. Charging System Light
This light shows the status of the electrical
charging system. The light should come on
briefly when the ignition is first turned on and remain
on briefly as a bulb check. If the light stays on orcomes on while driving, turn off some of the vehicle's
electrical devices, such as the Fog Lights or Rear
Defroster. If the Charging System Light remains on, it
means that the vehicle is experiencing a problem with
the charging system. Obtain SERVICE IMMEDI-
ATELY. See your local authorized dealer.
10. Malfunction Indicator Light
This light is part of an onboard diagnostic
system called OBD that monitors engine and
automatic transmission control systems. The
light will illuminate as long as the key is in the ON
position, prior to engine start up. Approximately 15
seconds later the MIL may blink for 10 seconds then
resume to full illumination. (See ªEMISSIONS IN-
SPECTION AND MAINTENANCE PROGRAMSº in
the ªMAINTAINING YOUR VEHICLEº section of
your Owner Manual for more details). If the bulb does
not come on when turning the key from OFF to ON,
have the condition checked promptly.
Certain conditions such as a loose or missing gas cap or
poor fuel quality may illuminate the light after engine
start. The vehicle should be serviced if the light stays on
UNDERSTANDING YOUR INSTRUMENT PANEL 87
4
Page 167 of 273

²The automatic transaxle fluid and filter should be
changed if you REGULARLY tow a trailer for more
than 45 minutes of continuous operation. See Schedule
ªBº in section 8 of this manual for transaxle fluid
change intervals.
NOTE:Check the automatic transaxle fluid level before
towing. Fluid discoloration, or a burnt odor, shows the
need for a transmission fluid and filter change.
NOTE:For vehicles equipped with Autostick. By using
the Autostick modes, and slecting a specific gear range,
frequent shifting can be avoided. The highest gear range
should be selected that allows for adequate performance.
For example, choose ª4º if the desired speed can be
maintaned. Choose ª3º or ª2º if needed to maintain the
desired speed.
NOTE:Extended driving at high RPM should be
avoided to prevent excess heat generation. A reduction in
vehicle speed may be required to avoid extended driving
at high RPM. Return to a higher gear range or vehicle
speed when road conditions and RPM level allows.
FLEXIBLE FUEL ± (2.7L Engines with Automatic
Transmission Only)
E-85 General Information
The information in this section is for Flexible Fuel ve-
hicles only. These vehicles can be identified by the unique
fuel filler door label that statesEthanol (E-85) or Un-
leaded Gasoline Only.This section only covers those
subjects that are unique to these vehicles. Please refer to
the other sections of this manual for information on
features that are common between Flexible Fuel and
gasoline only powered vehicles.
CAUTION!
Only vehicles with the E-85 fuel filler door label can
operate on E-85.
ETHANOL FUEL (E-85)
E-85 is a mixture of approximately 85% fuel ethanol and
15% unleaded gasoline.
STARTING AND OPERATING 167
5
Page 174 of 273

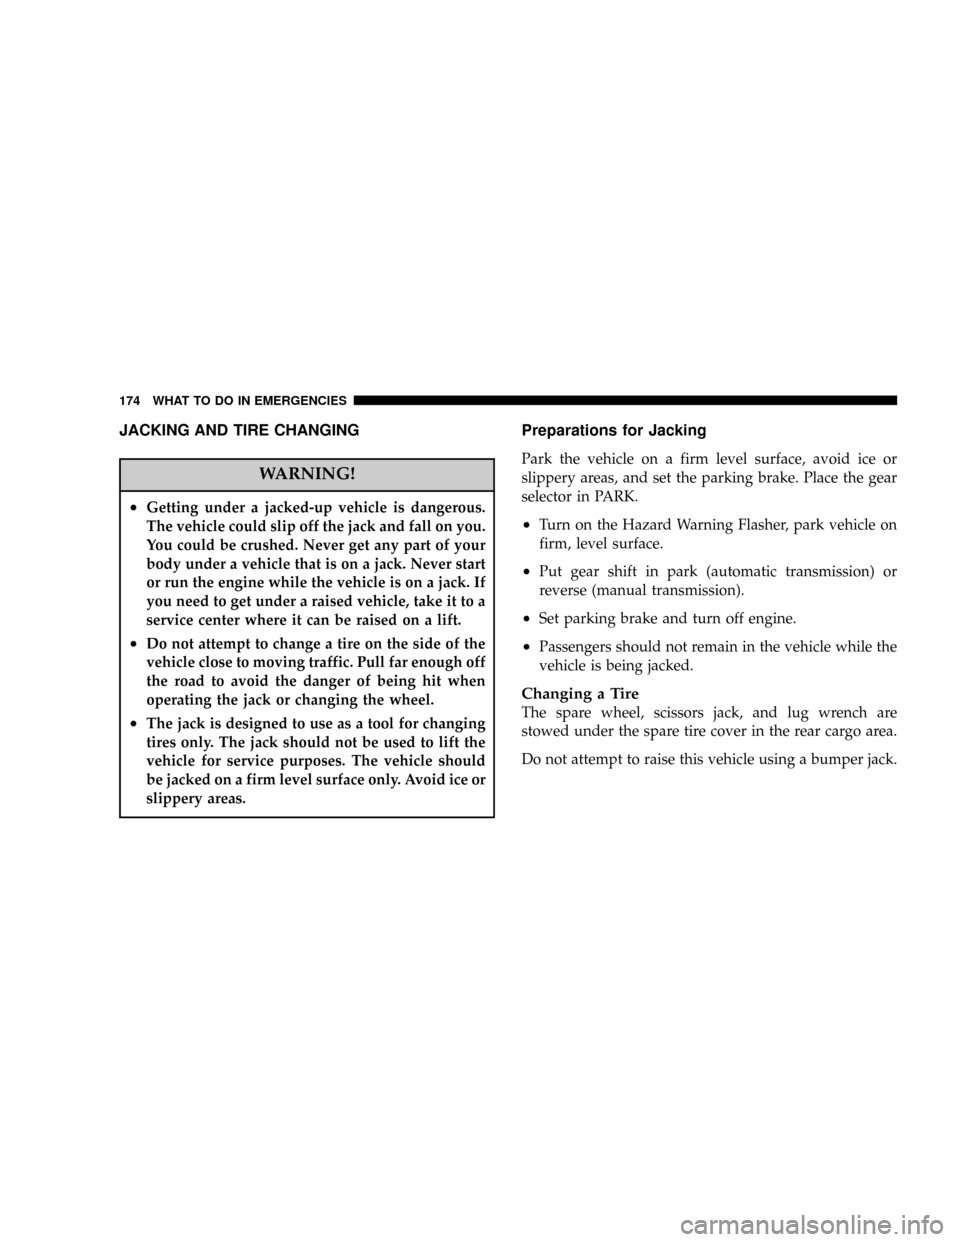
JACKING AND TIRE CHANGING
WARNING!
²Getting under a jacked-up vehicle is dangerous.
The vehicle could slip off the jack and fall on you.
You could be crushed. Never get any part of your
body under a vehicle that is on a jack. Never start
or run the engine while the vehicle is on a jack. If
you need to get under a raised vehicle, take it to a
service center where it can be raised on a lift.
²Do not attempt to change a tire on the side of the
vehicle close to moving traffic. Pull far enough off
the road to avoid the danger of being hit when
operating the jack or changing the wheel.
²The jack is designed to use as a tool for changing
tires only. The jack should not be used to lift the
vehicle for service purposes. The vehicle should
be jacked on a firm level surface only. Avoid ice or
slippery areas.
Preparations for Jacking
Park the vehicle on a firm level surface, avoid ice or
slippery areas, and set the parking brake. Place the gear
selector in PARK.
²Turn on the Hazard Warning Flasher, park vehicle on
firm, level surface.
²Put gear shift in park (automatic transmission) or
reverse (manual transmission).
²Set parking brake and turn off engine.
²Passengers should not remain in the vehicle while the
vehicle is being jacked.
Changing a Tire
The spare wheel, scissors jack, and lug wrench are
stowed under the spare tire cover in the rear cargo area.
Do not attempt to raise this vehicle using a bumper jack.
174 WHAT TO DO IN EMERGENCIES
Page 213 of 273

²If the fluid is hot (180ÉF / 82ÉC), the reading should be
in the cross hatched area marked ºHOTº (between the
upper two holes in the dipstick).
²If the fluid level shows low, add sufficient transmis-
sion fluid to bring to the proper level.
CAUTION!
Do not overfill. Dirt and water in the transaxle can
cause serious damage. To prevent dirt and water
from entering the transaxle after checking or replen-
ishing fluid, make certain that the dipstick cap is
seated properly.
Fluid and Filter Changes
Automatic transmission fluid and filter should be
changed as follows:
Maintenance schedule ªAºÐ No change necessary.Maintenance schedule ªBºÐ Every 60,000 miles (96 000
km) change fluid and filter under the following condi-
tions:
²Police, taxi, limousine, commercial type operation, or
trailer towing where the vehicle is drivenregularlyfor
more than 45 minutes of continuous operation.
NOTE:Refer to Section 8 of this manual for mainte-
nance schedules.
If the transaxle is disassembled for any reason, the fluid
and filter should be changed.
Special Additives
The manufacturer recommends against the addition of
any fluid additives to the transaxle. The only exception to
this policy is the use of special dyes to aid in detecting
fluid leaks. The use of transmission sealers should be
avoided as they may adversely affect seals.
MAINTAINING YOUR VEHICLE 213
7
Page 229 of 273

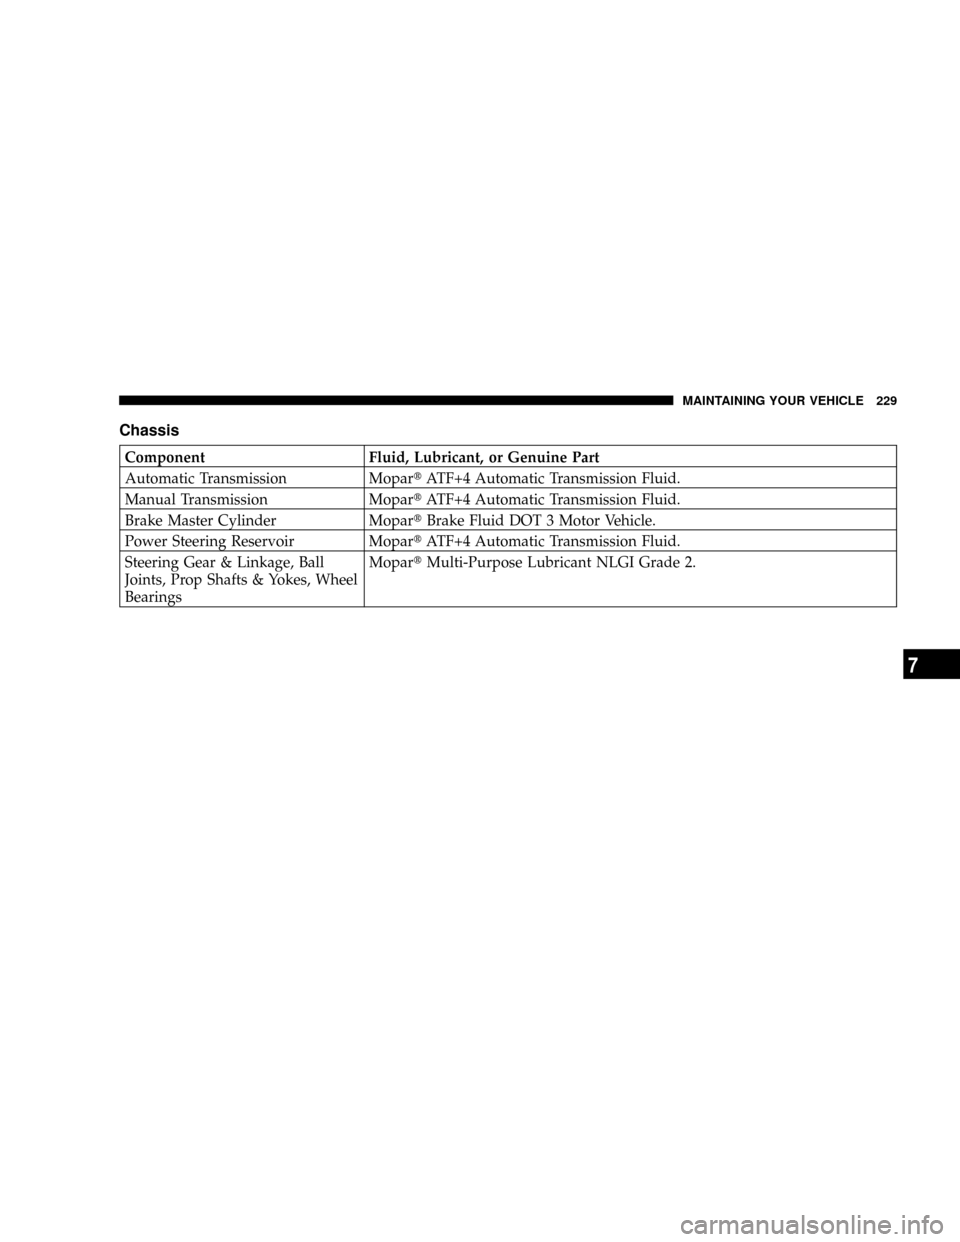
Chassis
Component Fluid, Lubricant, or Genuine Part
Automatic Transmission MopartATF+4 Automatic Transmission Fluid.
Manual Transmission MopartATF+4 Automatic Transmission Fluid.
Brake Master Cylinder MopartBrake Fluid DOT 3 Motor Vehicle.
Power Steering Reservoir MopartATF+4 Automatic Transmission Fluid.
Steering Gear & Linkage, Ball
Joints, Prop Shafts & Yokes, Wheel
BearingsMopartMulti-Purpose Lubricant NLGI Grade 2.
MAINTAINING YOUR VEHICLE 229
7
Page 235 of 273

Once a Month
²
Check tire pressure and look for unusual wear or
damage.
²Inspect the battery and clean and tighten the terminals
as required.
²Check the fluid levels of coolant reservoir, brake
master cylinder, and transaxle and add as needed.
²Check all lights and all other electrical items for correct
operation.
²Check rubber seals on each side of the radiator for
proper fit.
At Each Oil Change
²
Change the engine oil filter.
²Inspect the exhaust system.
²Inspect the brake linings, hoses and calipers.
²Inspect the CV joints and front and rear suspension
components.
²Check the automatic transmission fluid level.
²Check the brake master cylinder fluid level.
²Check the manual transmission fluid level.
²Check the coolant level, hoses, and clamps.
²Rotate the tires at each oil change interval shown on
Schedule ªAº 6,000 miles (10 000 km) or every other
interval shown on Schedule ªBº 6,000 miles (10 000
km).
NOTE:In 2.7L Engines equipped with Flex Fuel Engine
(FFV), change engine oil every 5 months or 5,000 miles,
whichever comes first. This applies to both Maintenance
Schedule A and B.
MAINTENANCE SCHEDULES 235
8
M
A
I
N
T
E
N
A
N
C
E
S
C
H
E
D
U
L
E
S